I used my first clicker wrong for two full weeks — clicking late, handing out treats randomly, wondering why nothing stuck. Once I learned the actual mechanics, everything changed in a single afternoon.
The tool only works when you understand the rules behind it.
Here are fifteen steps from unboxing the clicker to fading it out entirely.
Your clicker training roadmap
15 steps from first click to reliable cues
These steps follow the order most dogs learn best. Start at the top and build on each one before moving forward.
1. Understand What the Clicker Actually Does Before You Use It
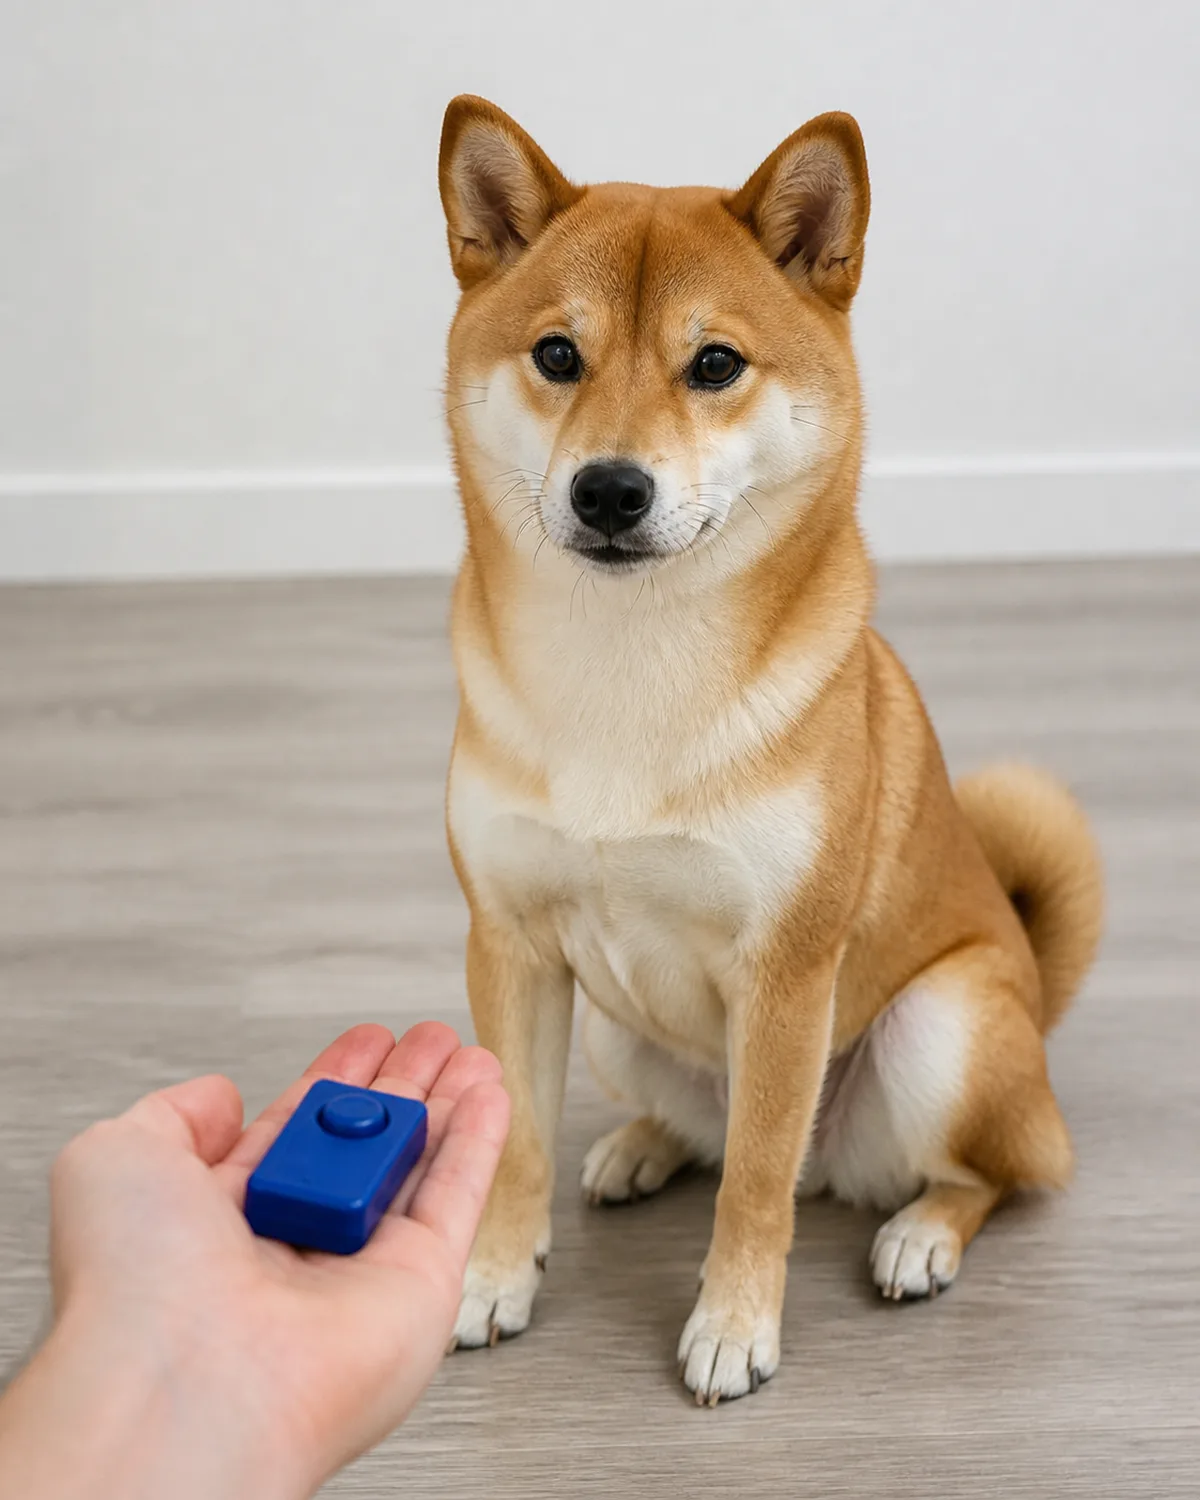
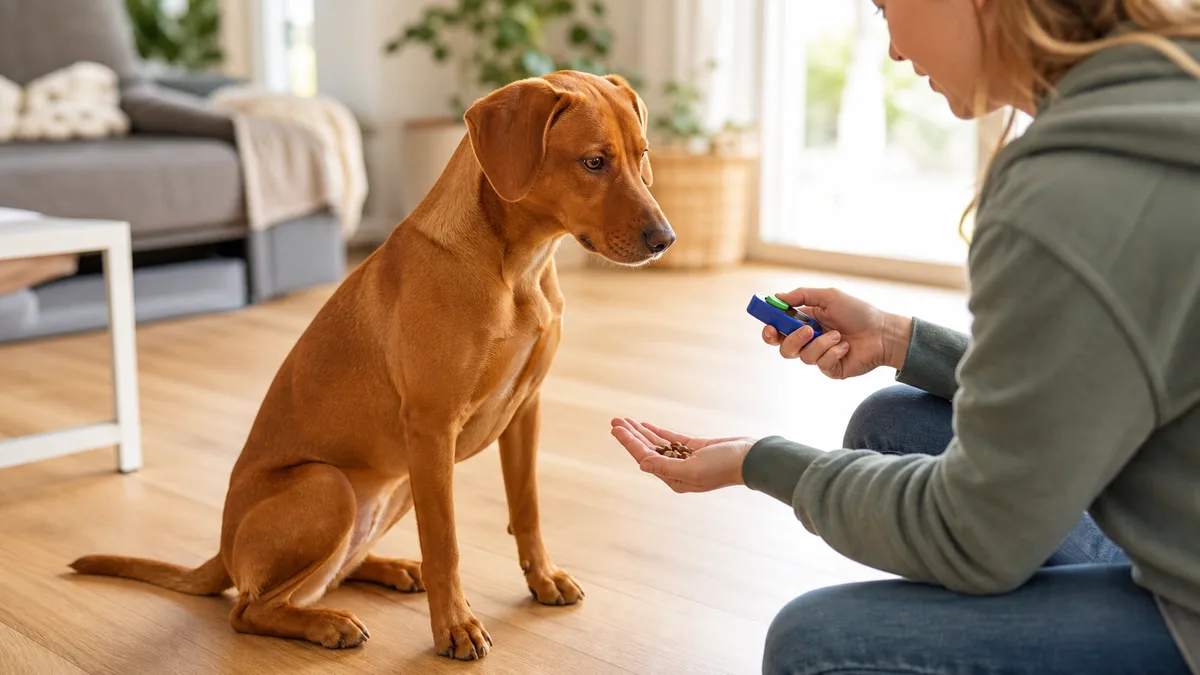
The clicker is not a remote control for your dog. It is a precise event marker that captures the exact half-second when your dog does something right.
When you press it at the moment your dog sits, the click tells them one specific thing: that action is the reason a treat is coming. The sound cuts through background noise, stays perfectly consistent unlike your voice, and creates a bridge between the behavior and the reward.
- The click always means the same thing regardless of your mood, tone, or volume
- It pinpoints a specific instant in time, which your voice cannot do as precisely
- It works because the sound itself has no meaning until you load it with value
This principle powers every step that follows. If you treat the clicker like a recall button or a correction tool, none of the techniques below will produce the results they should.
2. Choose the Right Clicker for Your Dog
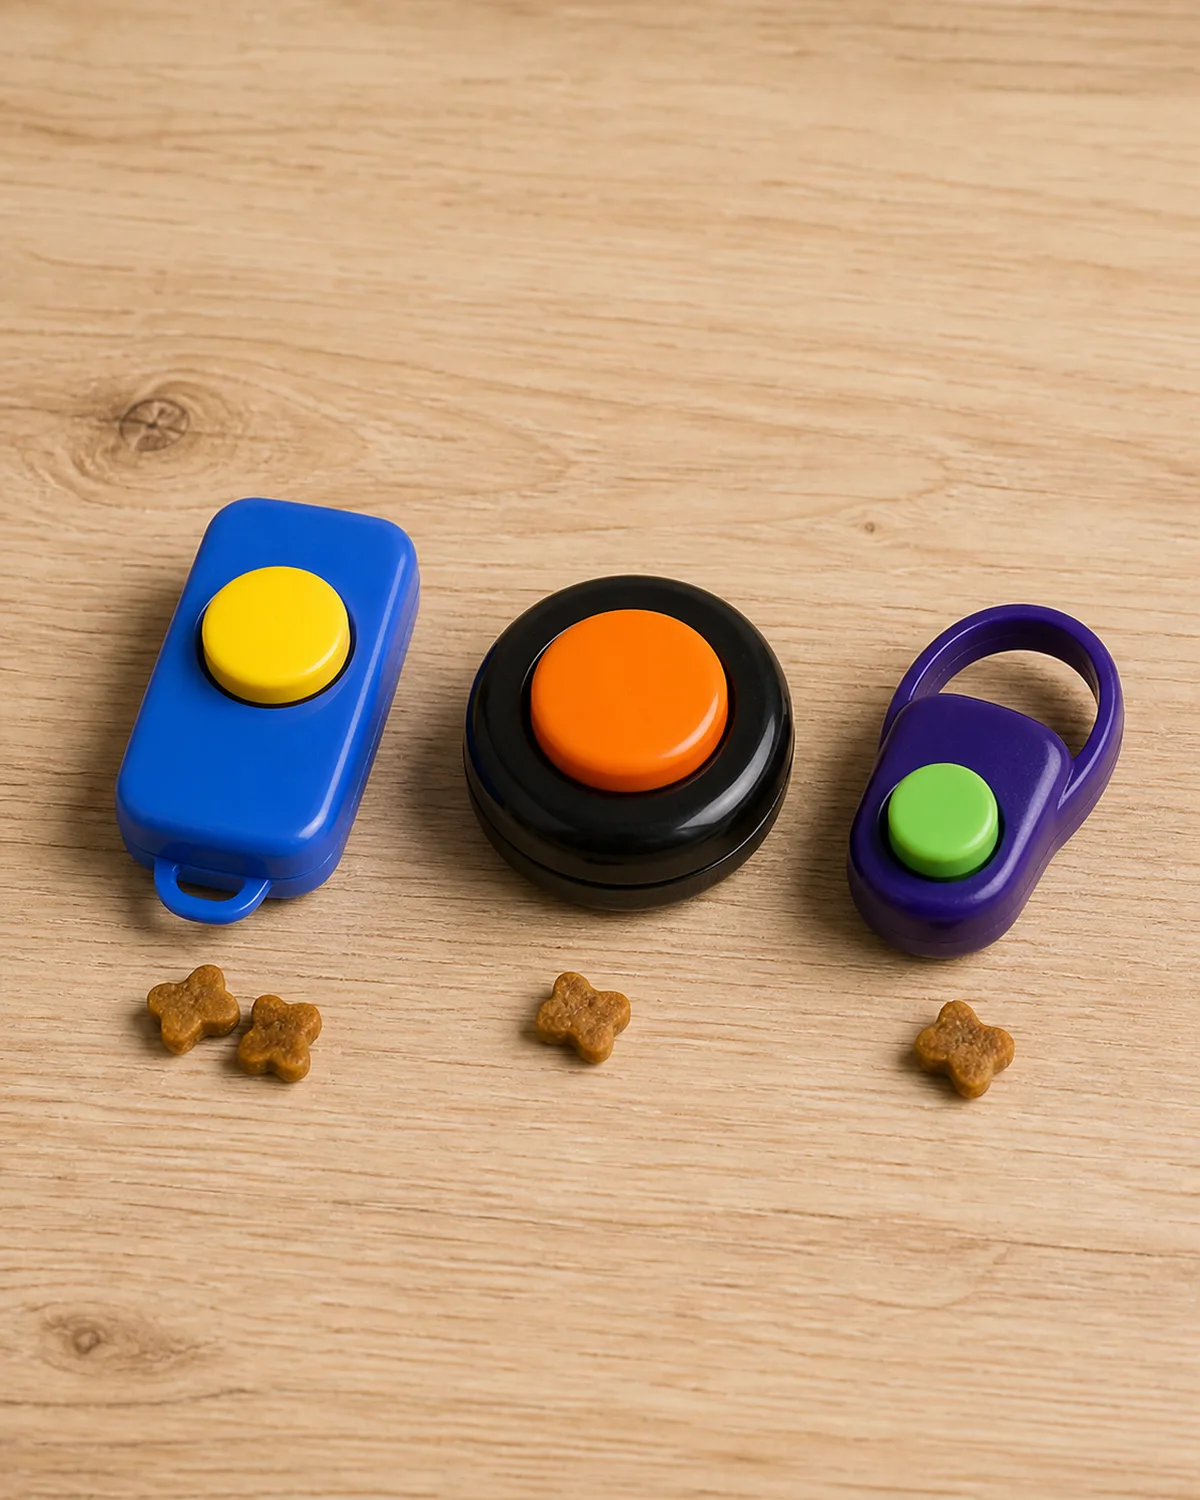
The three main types each have a specific use case:
- Box clickers produce a sharp, loud click that carries well outdoors. Works for dogs with reduced hearing. Can startle noise-sensitive dogs.
- Button-style i-Clicks are softer and quieter. Great for puppies, small dogs, and any dog that flinches at louder sounds.
- Verbal markers like a crisp "yes" work if your dog reacts negatively to any mechanical sound. Less precise, but functional.
Pick based on your dog's sensitivity, not on what looks best online. If you start with a box clicker and your dog cowers at the sound, switch to a button style before you create a negative association that takes weeks to undo.
Timing matters most
The One-Second Window
The click must land within one second of the correct behavior. Late clicks mark the wrong action. Practice without your dog first to sharpen your reflexes.
1Have a friend bounce a ball. Click the instant it hits the ground.
2Watch a video of dogs. Click each time the dog sits, not after.
3Once you can mark the moment consistently, start training your dog.
4If unsure whether you clicked on time, treat anyway and try again next rep.
3. Charge the Clicker So Your Dog Connects Click With Treat
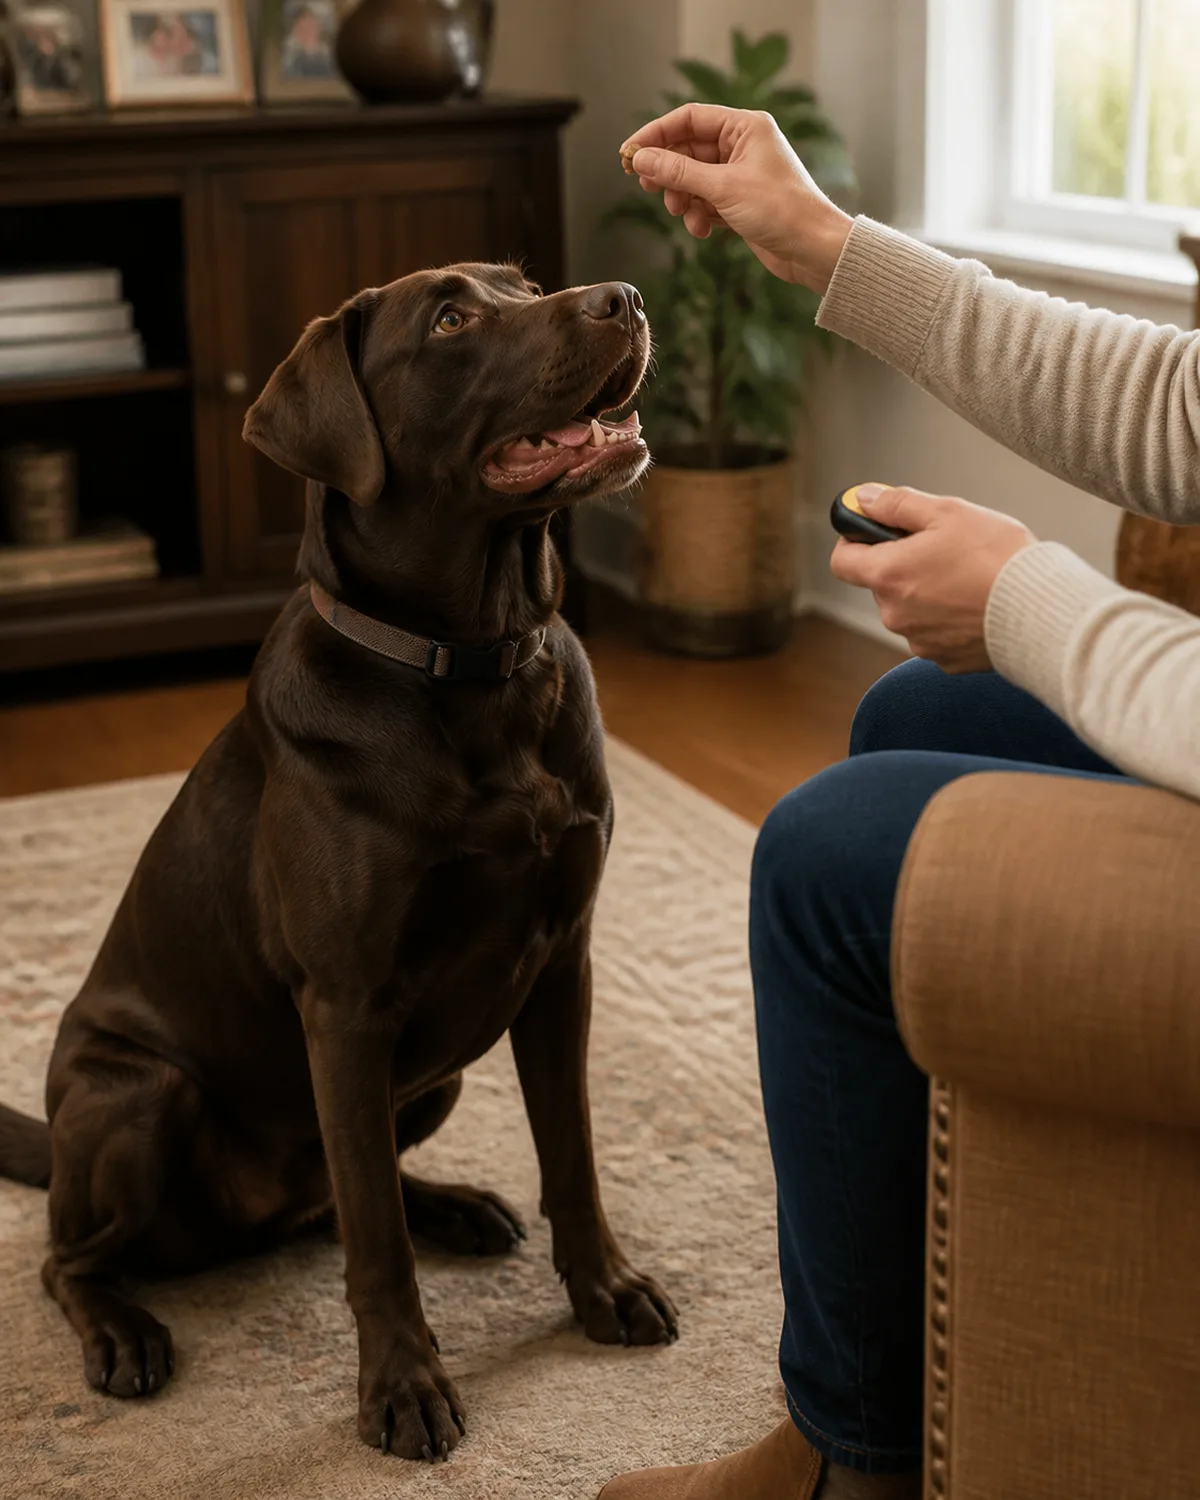
Before you train a single behavior, you need to load the clicker with meaning. This charging process is straightforward:
- Press the clicker once
- Immediately hand your dog a small treat
- Repeat twenty to thirty times in a calm, distraction-free room
You are not asking your dog to do anything during this phase. You are building an automatic association: click sound equals food is coming.
The charging is complete when your dog hears the click and immediately looks at your hand or treat pouch. Most dogs reach this point within ten minutes. Rushing through fewer repetitions or skipping this step entirely means every training session after will take longer than it needs to.
4. Master Your Click Timing Because Half a Second Matters
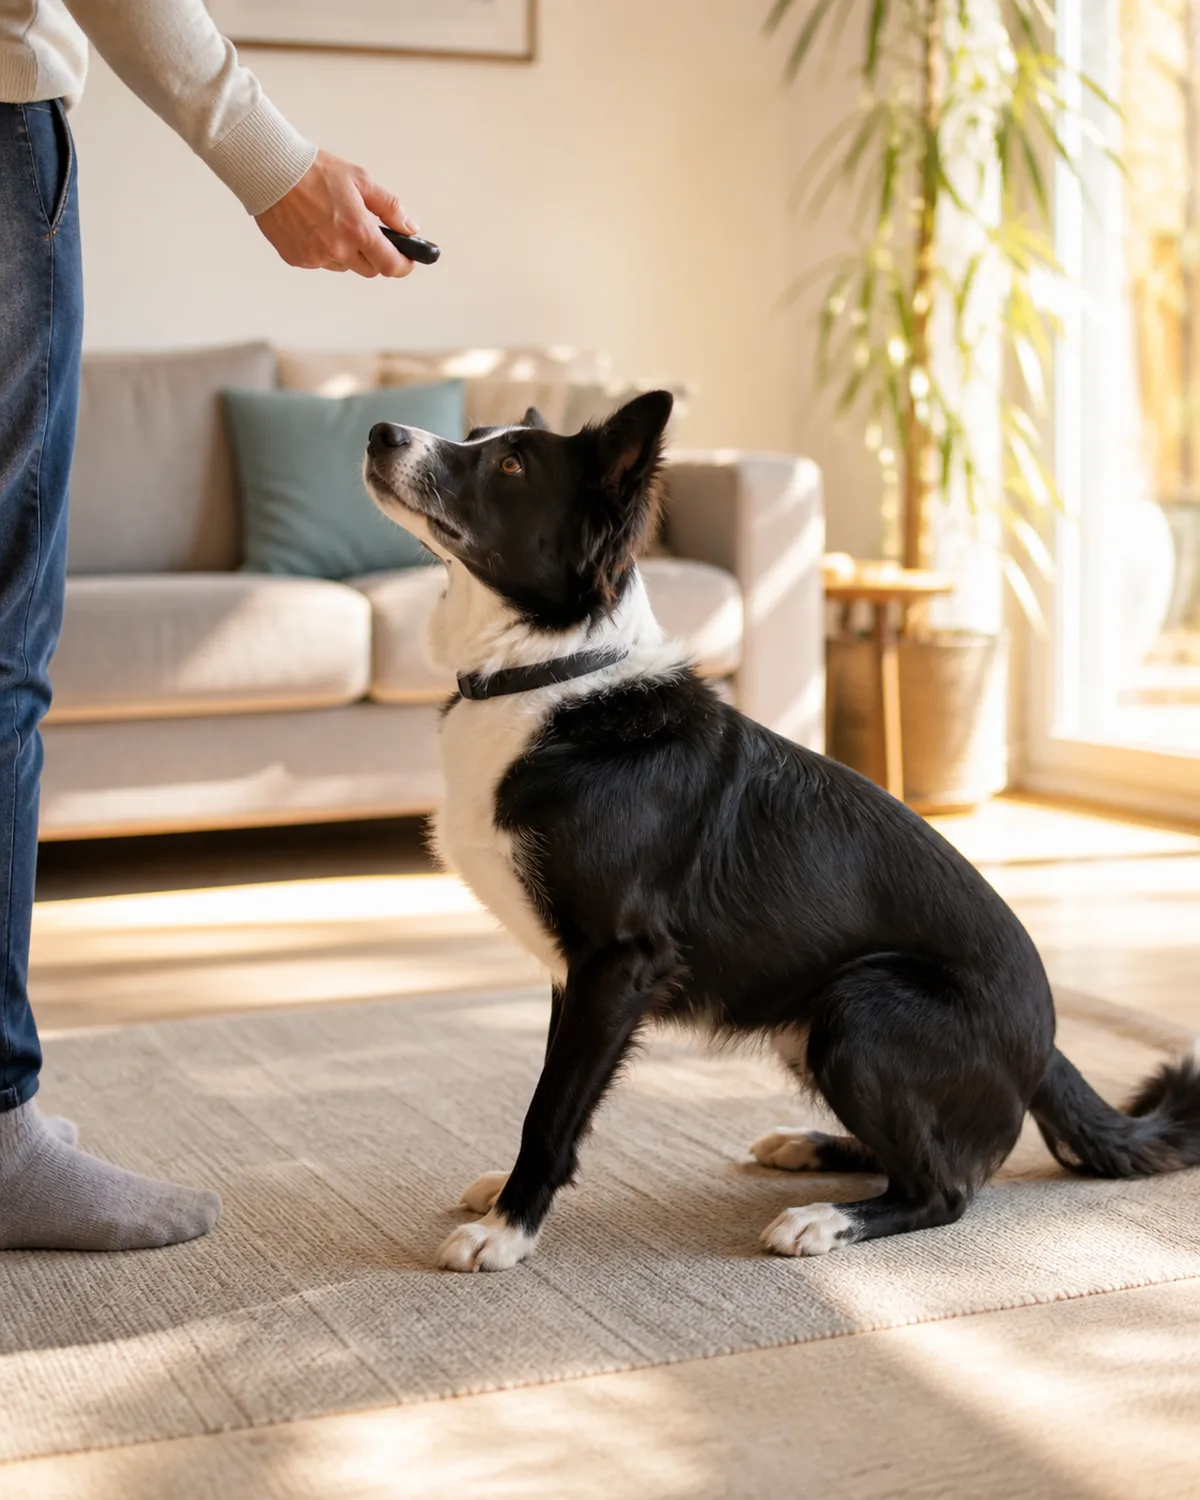
The click needs to land at the exact moment the correct behavior happens. If your dog is lowering into a sit and you click half a second after they stand back up, you just marked standing.
This is the most common reason clicker training fails for beginners. The timing feels impossible at first, but it improves quickly with deliberate practice.
- Click when the rear touches the floor, not when the dog looks up at you afterward
- Click when the paw lifts for a shake, not when you reach to grab it
- Click when the belly hits the ground for a down, not when the dog shifts position
Your muscle memory improves within a few sessions. The precision of your timing directly determines how fast your dog learns.
Worth knowing
Dogs Can Learn the Click-Treat Link in Under 10 Minutes
Most dogs need only twenty to thirty click-then-treat repetitions to build the association. The entire charging process usually takes less than ten minutes. After that, the clicker becomes a powerful communication tool that marks exact moments your dog cannot identify from your voice alone.
5. Always Deliver the Treat After the Click, Every Single Time
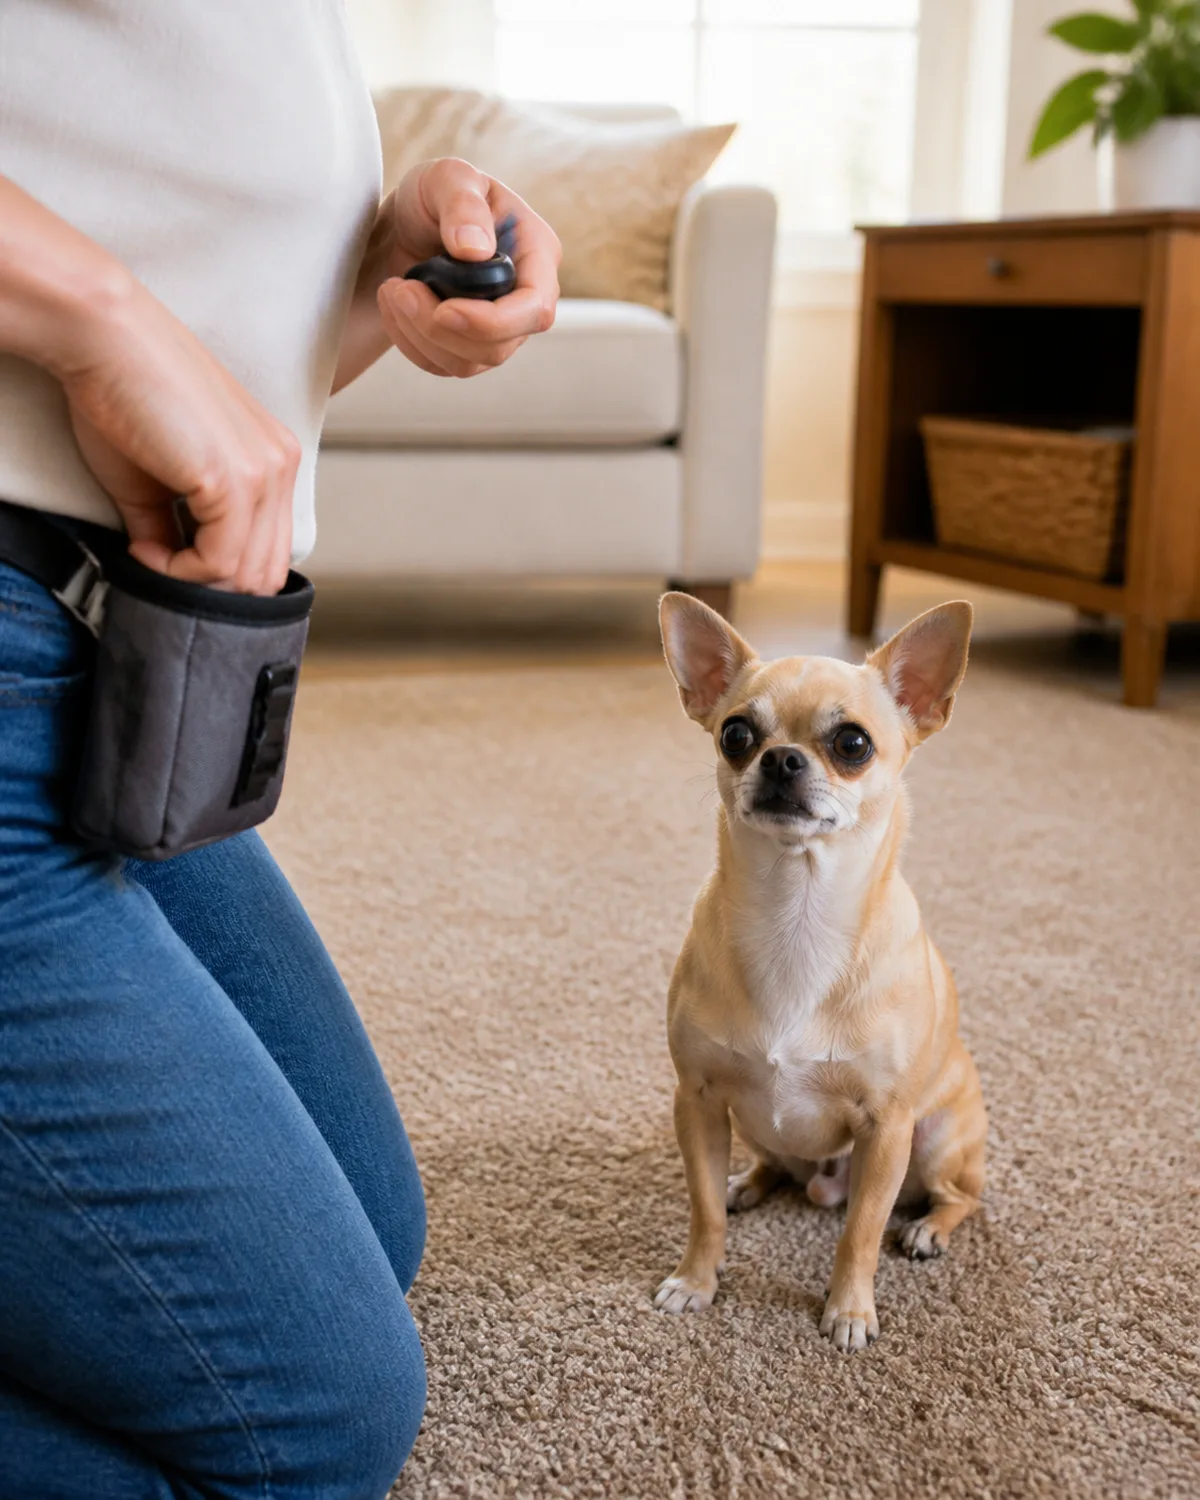
Every click is a contract. Your dog performed the behavior, and the click promised that payment is on its way.
Skipping the treat even twice out of ten repetitions starts eroding the signal. Your dog begins to question whether the click actually means anything, and the precision you built in the charging phase degrades.
The treat does not need to arrive instantly. You have one to two seconds to reach into your pocket or pouch and deliver it. That small delay is fine. What is not fine is clicking and then forgetting, getting distracted, or deciding the behavior was not quite good enough to deserve the treat.
- If you clicked, you treat. No exceptions.
- If the behavior was not exactly what you wanted, improve your timing on the next repetition instead of withholding the reward.
- Keep treats pre-cut and accessible so delivery is fast.
6. Start With Capturing to Reward Behaviors Your Dog Already Does
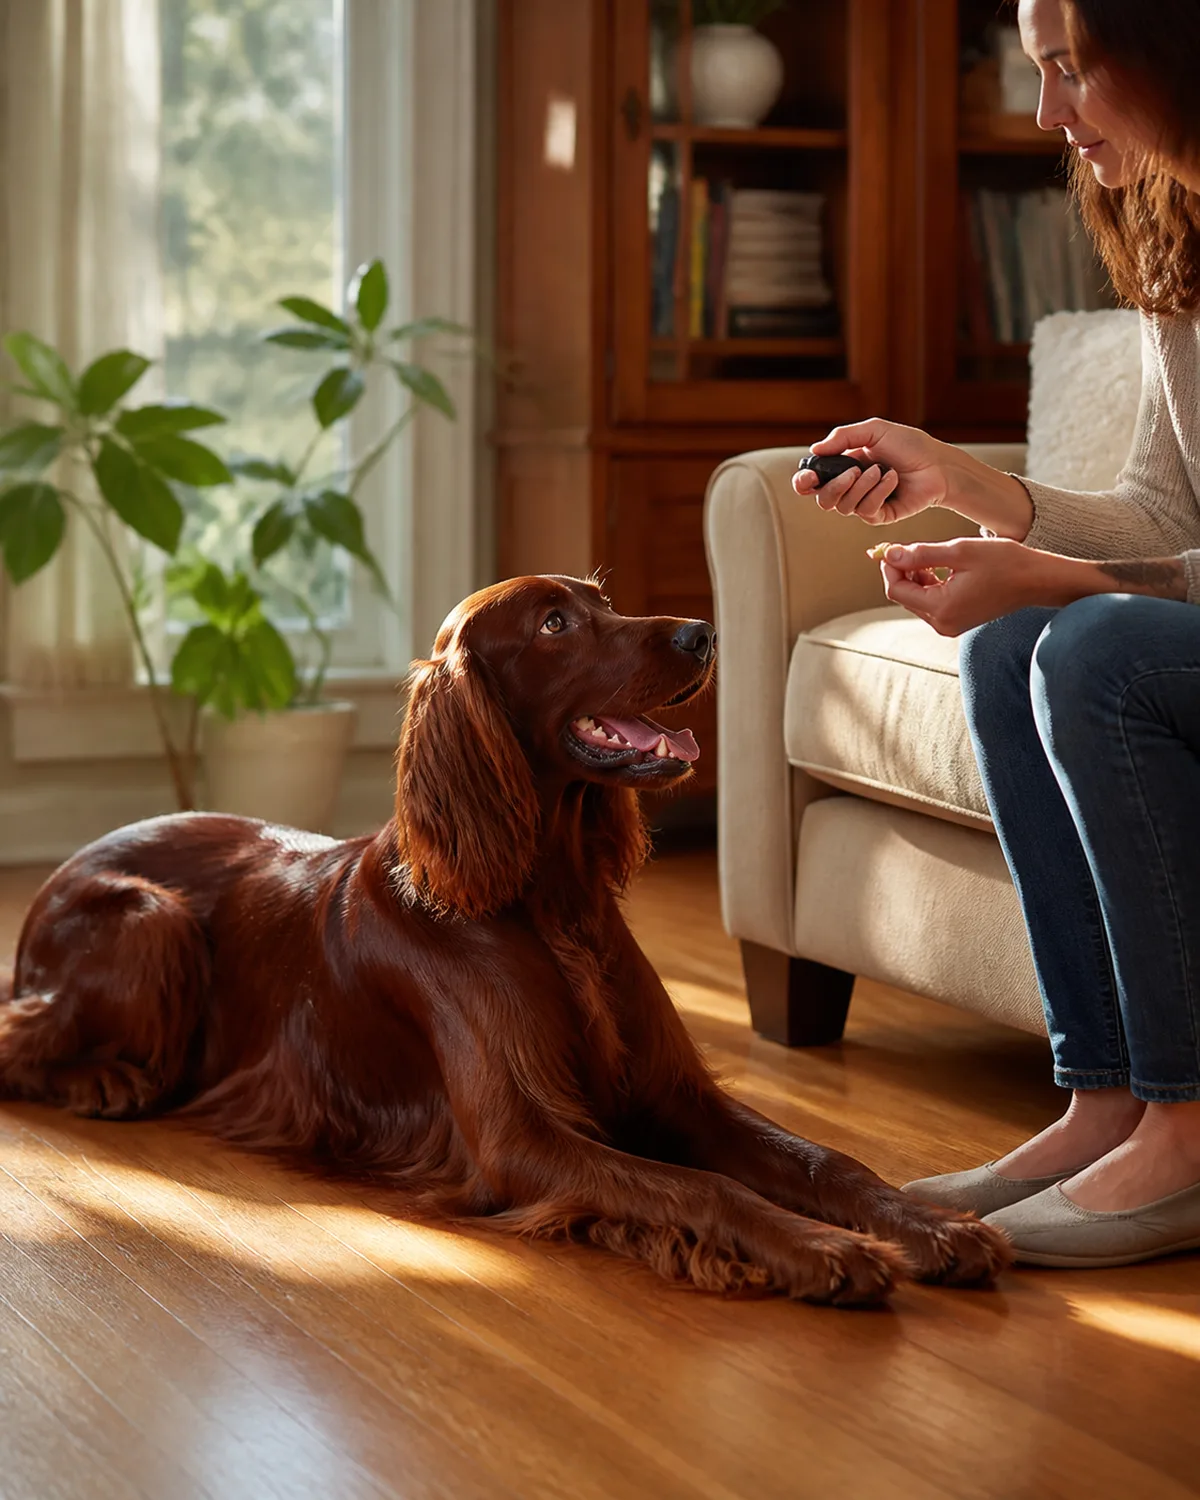
Capturing is the easiest entry point for clicker training. You do not ask your dog to do anything. You watch, wait, and mark whatever good behavior happens naturally.
Your dog sits on their own while you are reading. Click, treat. Your dog lies down after a walk. Click, treat. Your dog makes eye contact. Click, treat.
This method works especially well for:
- Shy dogs who freeze up when prompted
- Rescue dogs who have not learned to respond to cues
- Older dogs who resist physical guidance
- Any dog on their first day of clicker training
The limitation is speed. You are waiting for the dog to offer the behavior, which can take time with less common actions. For faster results with new positions, move to luring.
7. Use Luring to Guide Your Dog Into New Positions
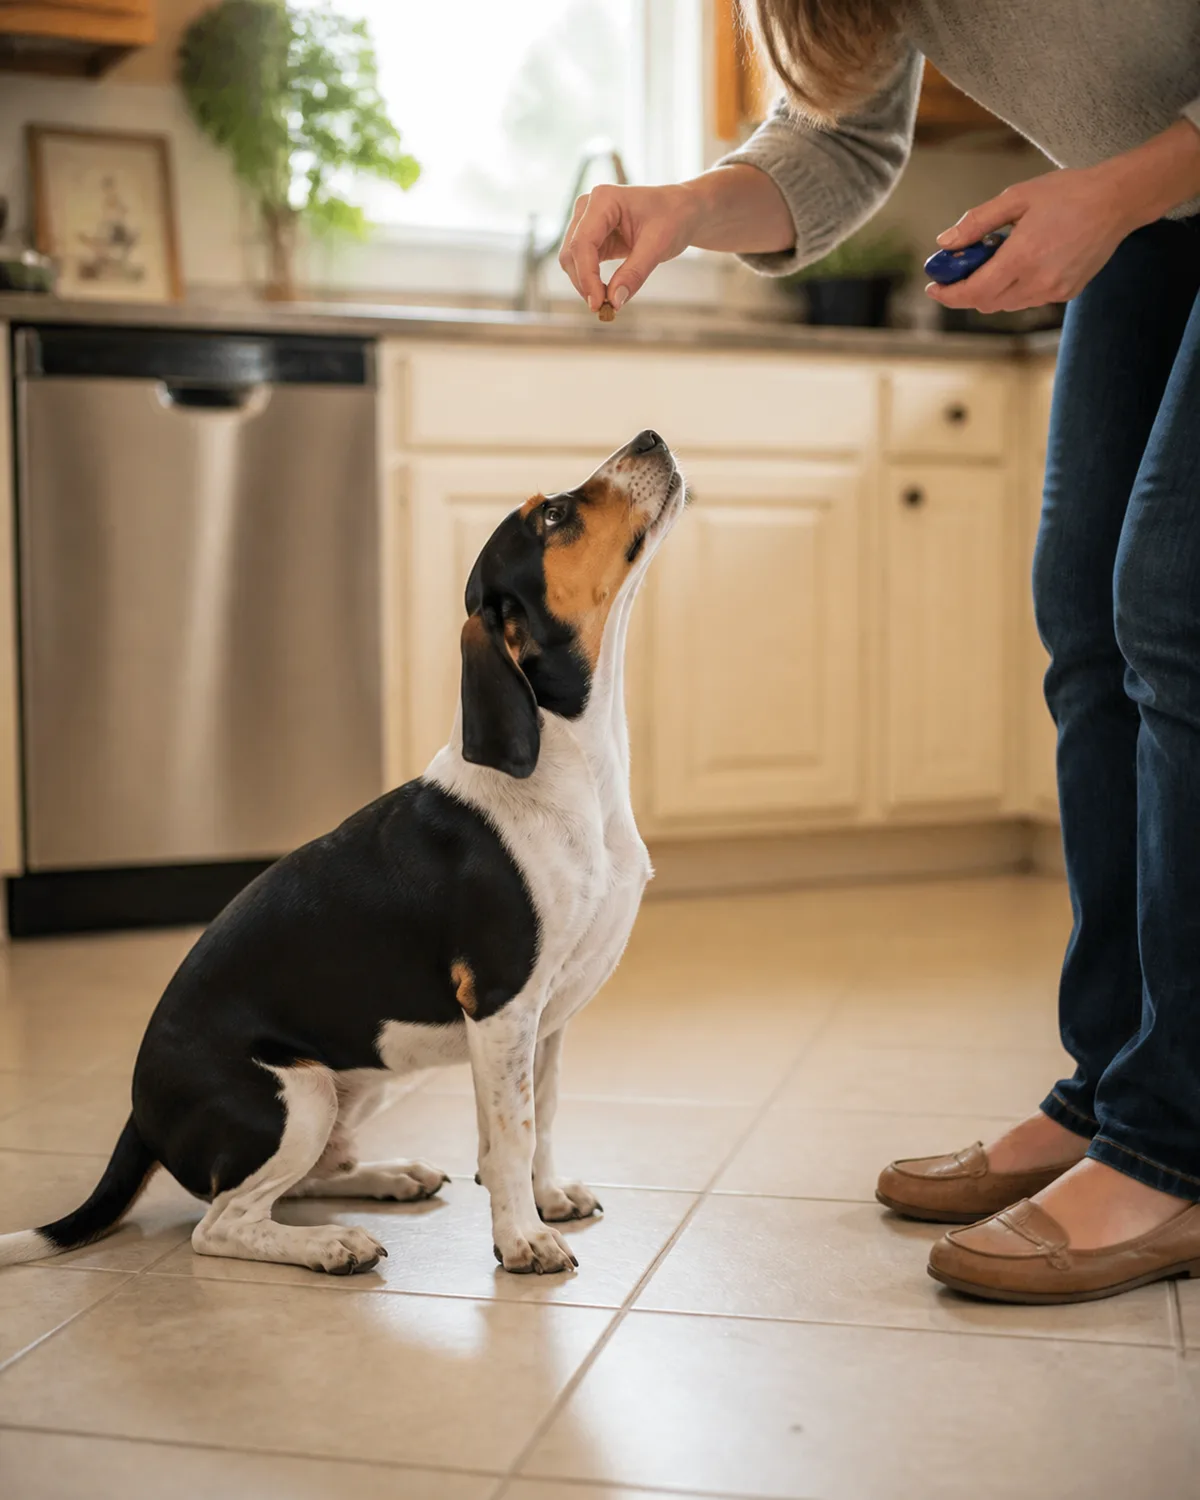
Hold a treat close to your dog's nose and move it slowly in the direction you want. For a sit, move the treat over the head. The nose follows up while the rear goes down. Click the instant the rear touches the floor, then hand over the treat.
Luring gives you more control than capturing because you actively guide the dog into position rather than waiting for it to happen.
The important detail is fading the lure quickly. After five to ten successful repetitions with the treat in your hand, switch to the same hand motion with an empty hand. Click and treat from your other hand or pouch when the position happens. Dogs who rely on seeing food in the guiding hand stop responding once the visible food disappears.
- Lure with food in hand for the first five to ten reps
- Switch to an empty hand doing the same motion
- Click the position, then treat from your other hand
- Fade the hand motion over the next several sessions
8. Try Shaping to Build Complex Behaviors in Small Steps
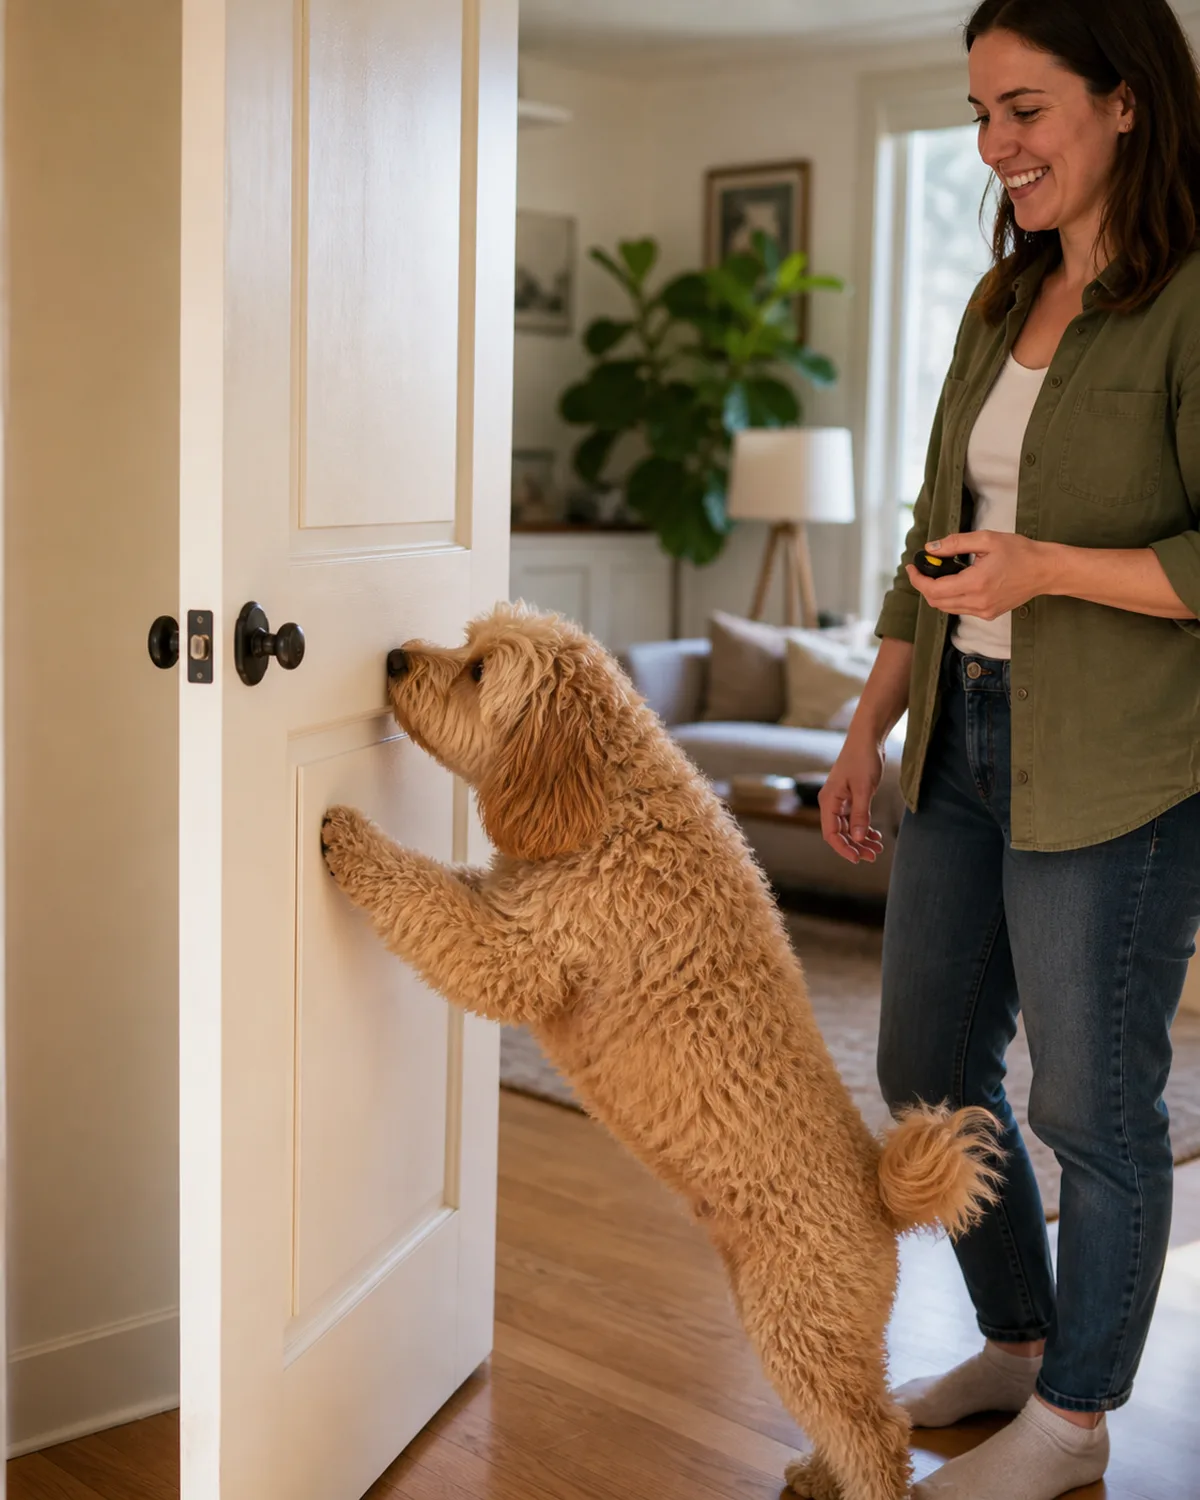
Shaping is how you teach your dog something they would never figure out from luring alone. You break a complex behavior into five to eight small steps and reward each one before raising the bar.
Teaching a dog to close a cabinet door, for example:
- Click when your dog looks at the door
- Click when they take a step toward it
- Click when they touch it with their nose
- Click when they push it slightly
- Click when the door moves and latches
Each step only gets rewarded until the dog does it reliably, then you hold the click and wait for the next level of effort. The dog has to experiment, which builds problem-solving skills along with the target behavior.
Shaping takes patience. Some sessions end with zero progress, and that is normal. The breakthroughs tend to come suddenly when the dog figures out the pattern.
9. End Each Click Session Before Your Dog Loses Interest
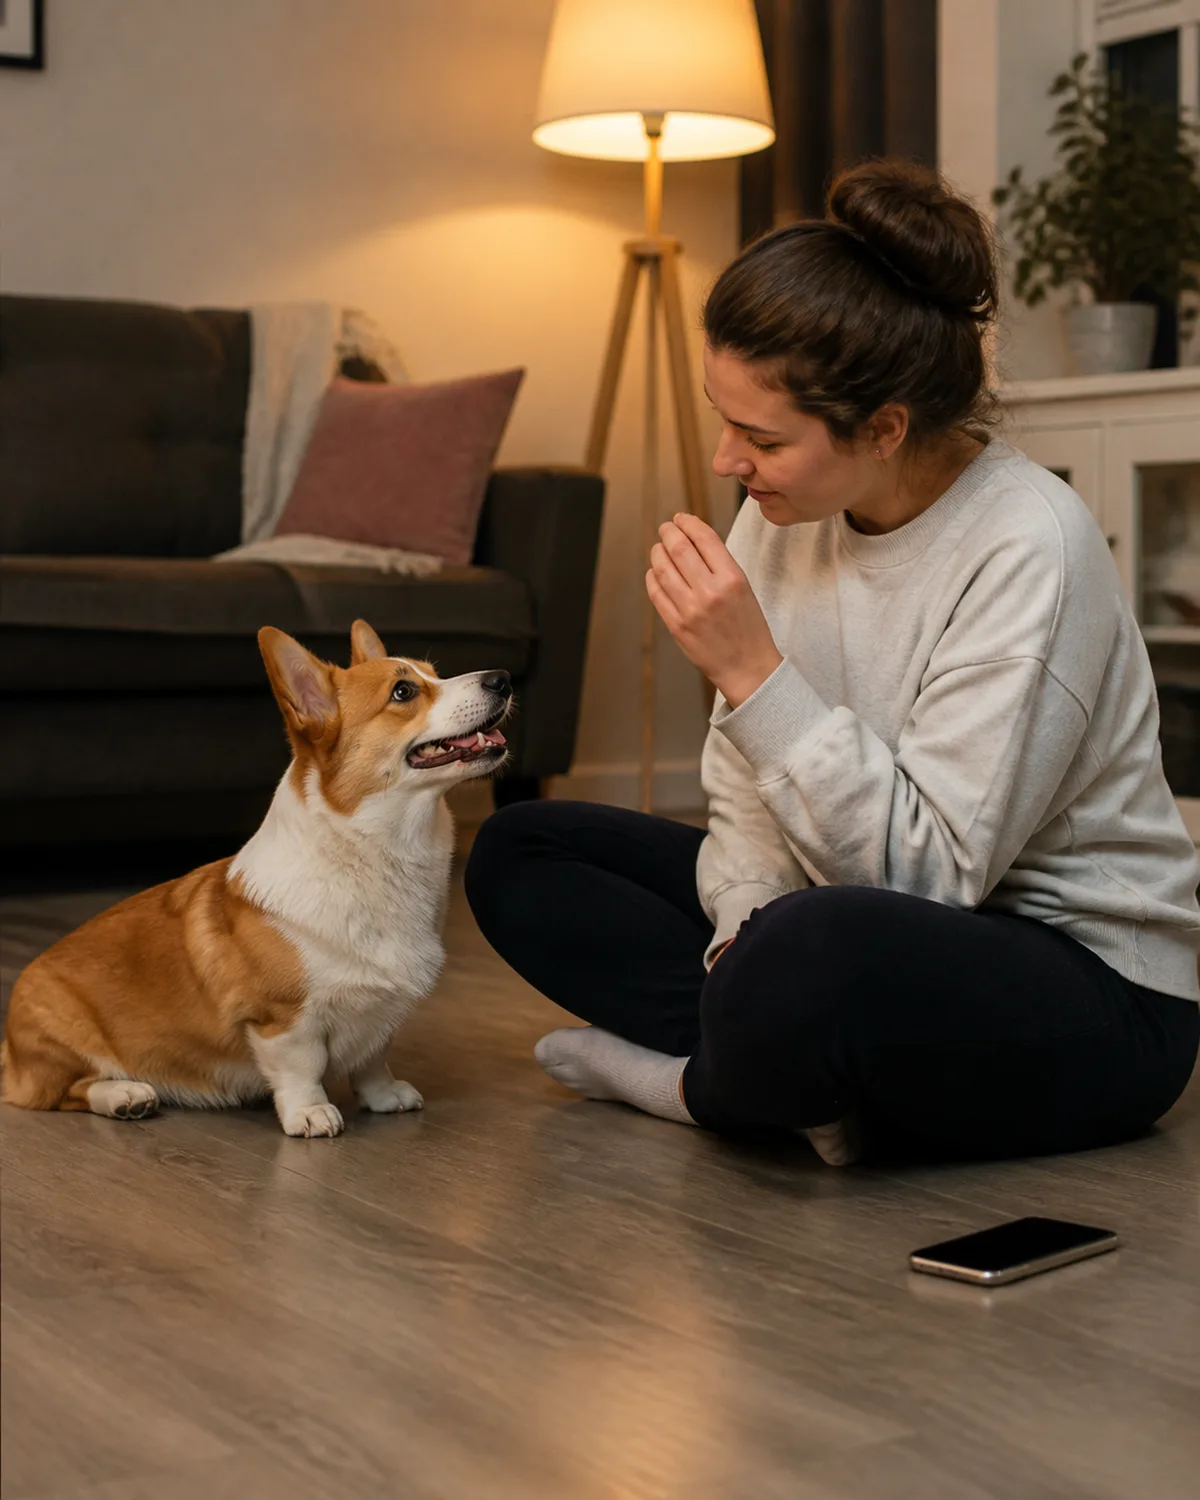
The clicker demands sharp focus from both you and your dog. When your dog starts sniffing the floor, looking away, or throwing out random behaviors instead of the one you are building, the session has already lasted too long.
Wrap up on the very next correct repetition so the session ends on a win. Your dog walks away thinking the game was fun and wanting more, which means the next session starts with built-in motivation.
- Most clicker sessions run three to five minutes at their productive best
- The signal to stop is your dog losing sharpness, not a timer
- Three to four short rounds spread through the day beat one long block
- Ending early feels counterintuitive but produces faster overall progress
10. Add the Verbal Cue Only After Your Dog Knows the Behavior
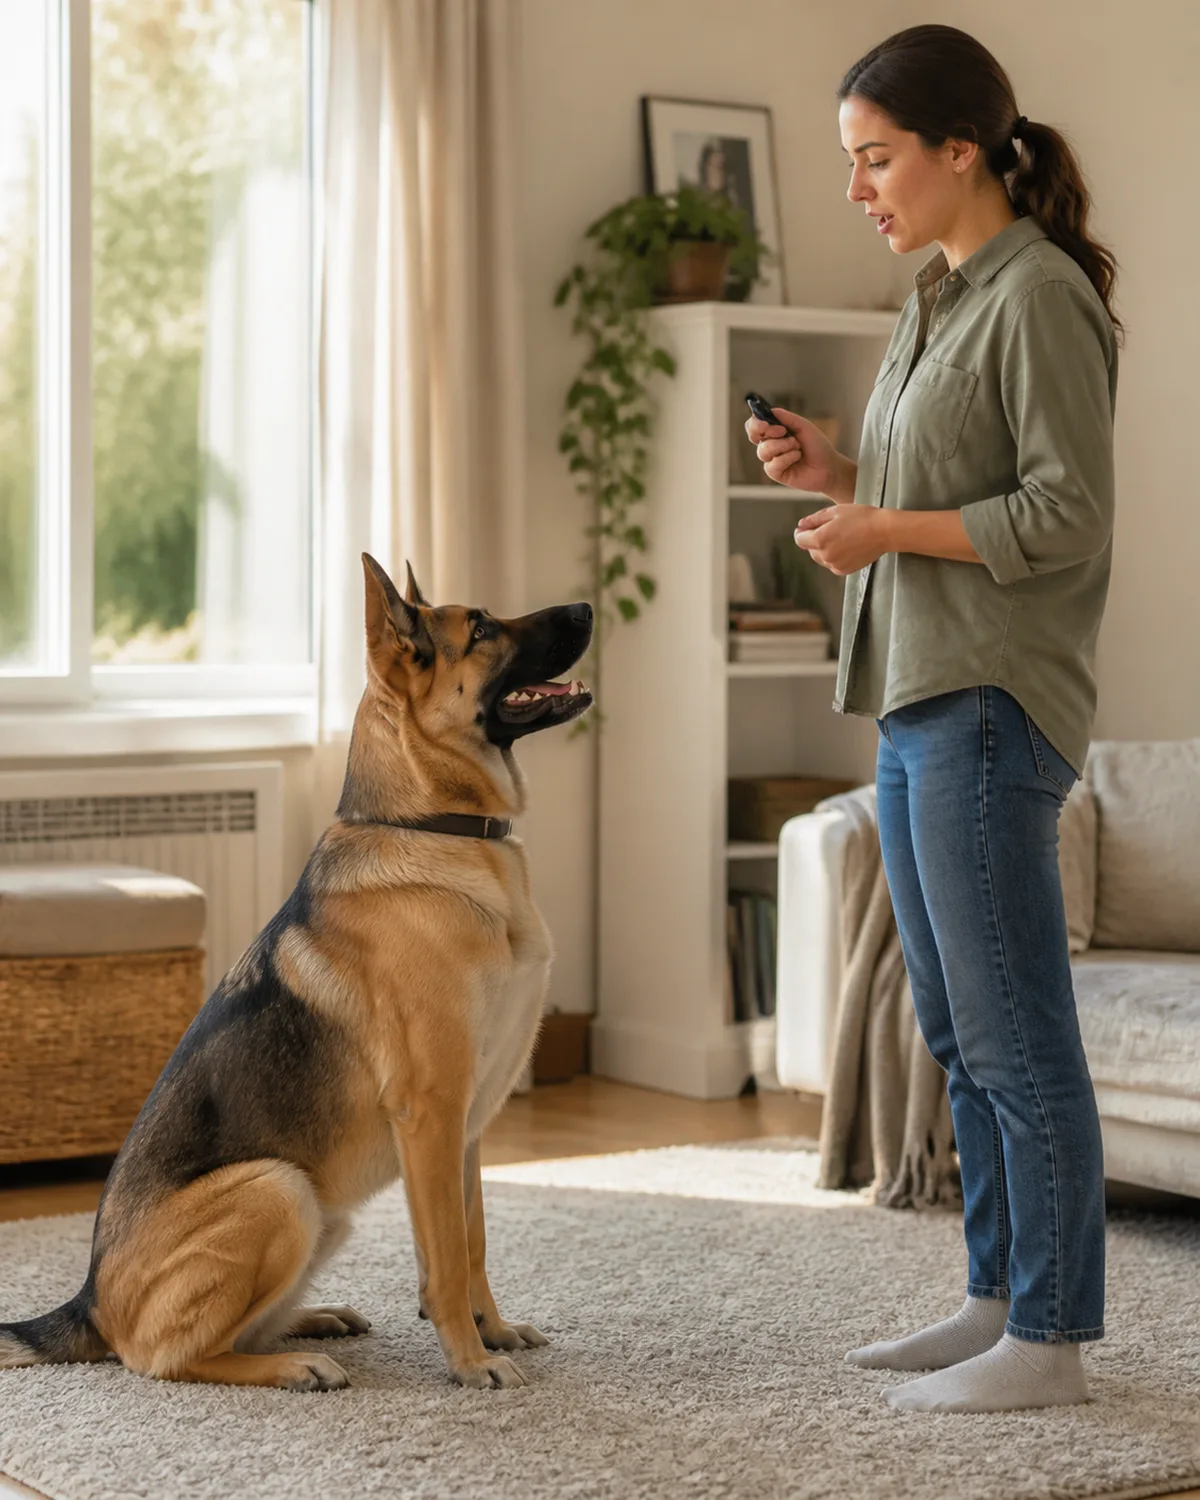
Most people start saying "sit" on day one. The word means nothing to a dog who has never connected it to an action.
The correct sequence has three stages:
- Build the behavior with capturing, luring, or shaping until your dog offers it about eighty percent of the time without any verbal prompt
- Introduce the word by saying the cue half a second before the behavior starts. The word lands right before the action
- Test the cue by saying it cold. If your dog responds, the link is formed. If not, go back to step two
This sequence works because the dog learns the action first and then learns the label for it. Teaching both at once is like trying to teach someone a new dance move while shouting the name of the move in a language they do not speak.
You can use this same process for basic commands like sit, down, stay, and come.
11. Practice in Different Locations to Proof the Behavior
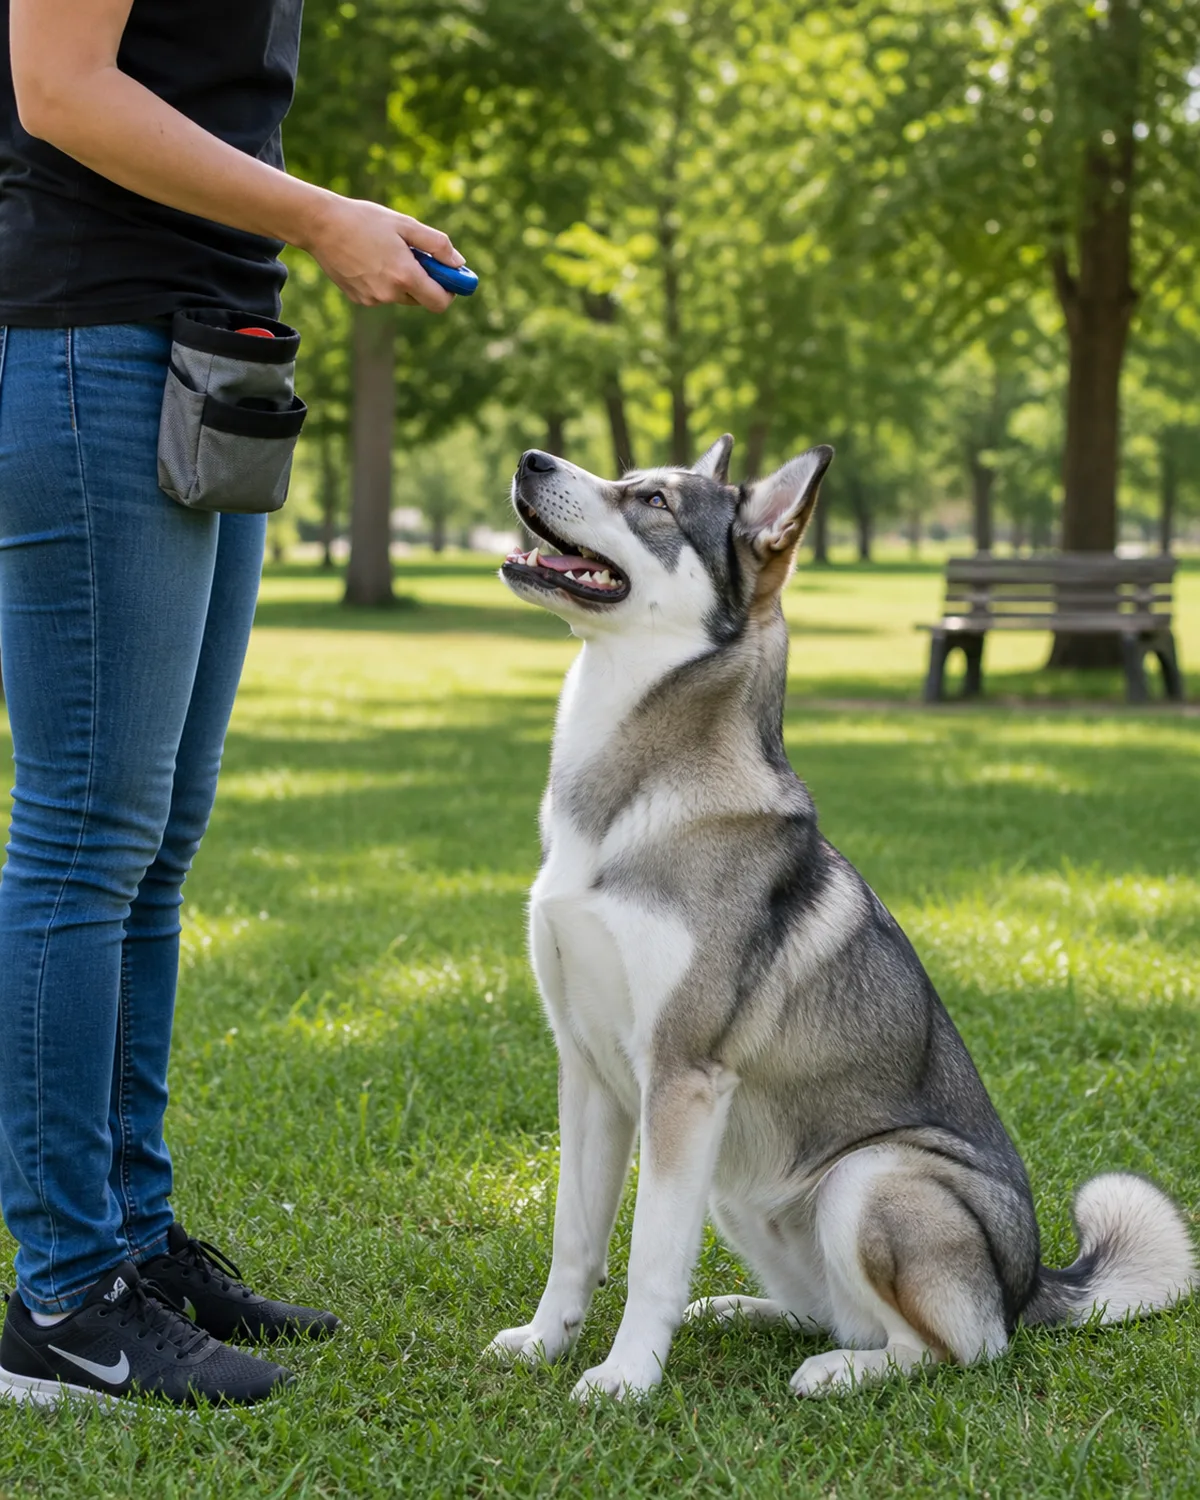
A stay learned in your living room may completely fall apart at the park. Every new environment introduces distractions that compete with your training signal.
The fix is systematic. When you change locations, drop the difficulty back to the earliest steps and rebuild with click and treat. Do not assume your dog can perform at the same level outside just because they aced it indoors.
A practical proofing ladder:
- Kitchen (new room, same house)
- Backyard or balcony (outdoor sounds, mild distractions)
- Quiet sidewalk during a low-traffic hour
- Busier sidewalk with pedestrians and strollers
- A park bench area with other dogs visible at a distance
Each rung adds one new challenge. If your dog fails consistently at a new level, step back to the previous one and strengthen it before trying again.
12. Fade the Clicker and Treats Gradually, Not All at Once
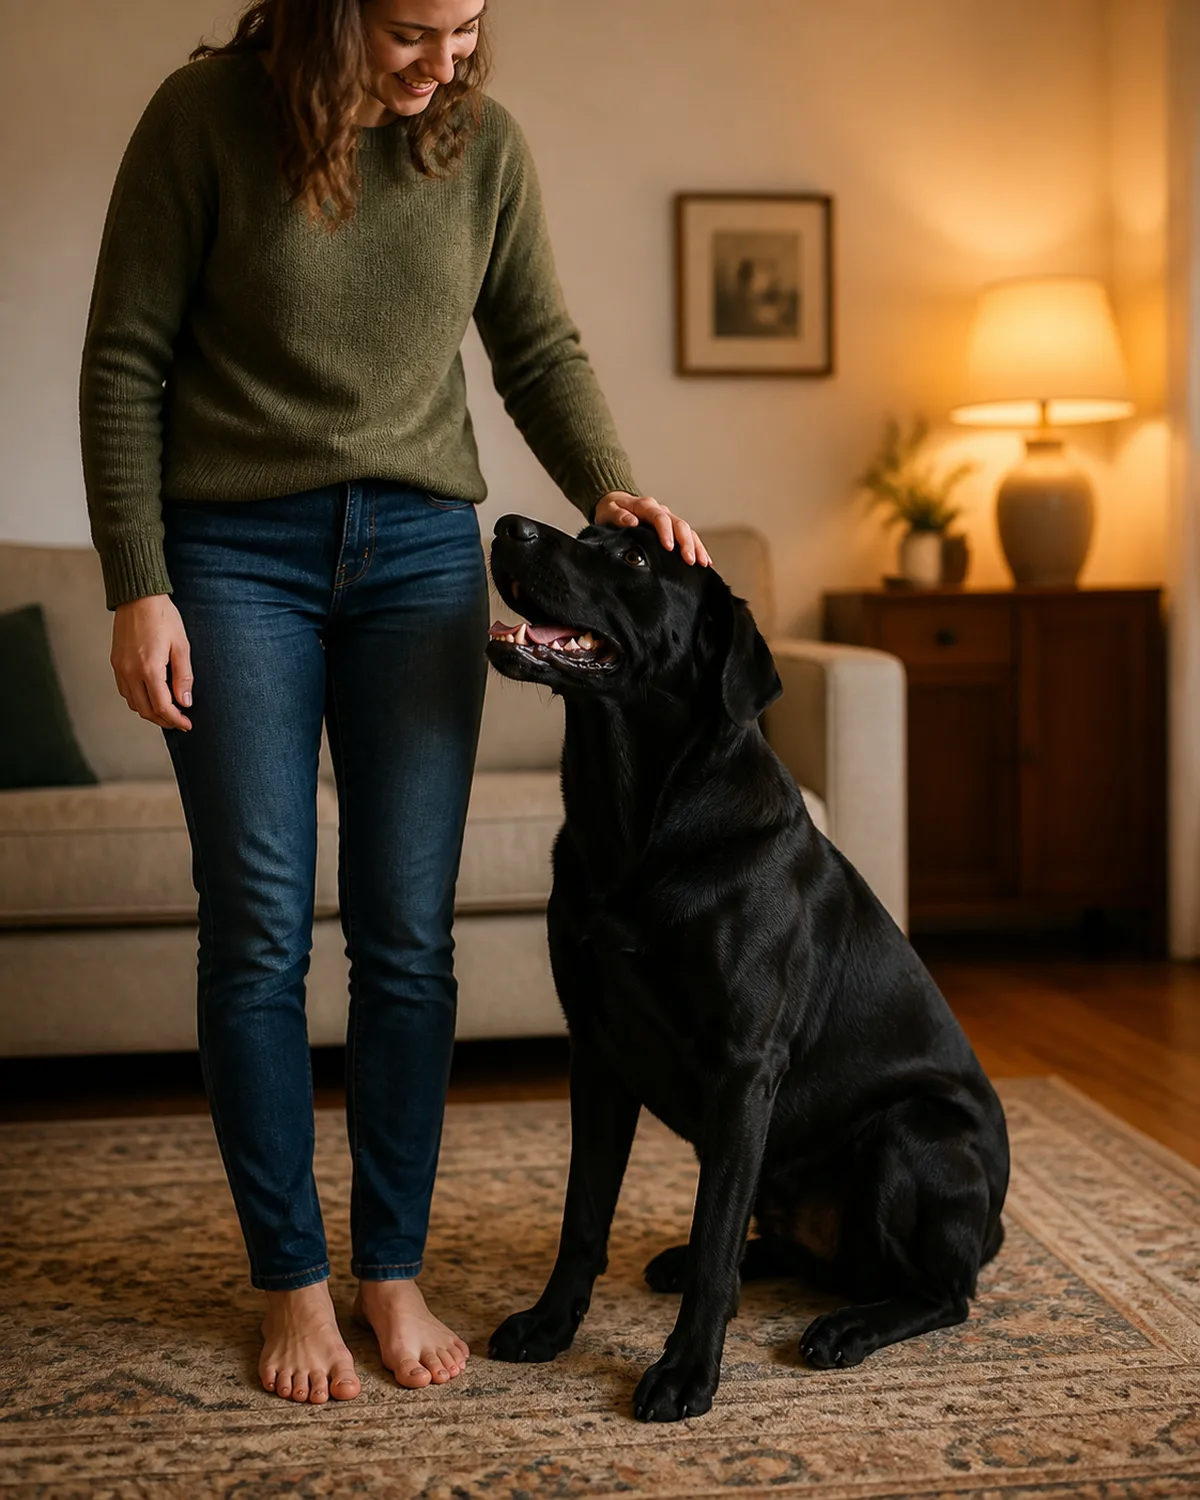
The end goal is a dog who responds to verbal cues without needing a click or a treat every time. You get there through a gradual transition, not a cold stop.
The fading sequence:
- Variable click — click every other rep, then every third. Unpredictability drives effort.
- Verbal praise — swap the click for "good" while still treating occasionally.
- Variable treats — keep the verbal marker, deliver treats on a random schedule.
- Maintenance — your dog responds reliably. Surprise treats keep the behavior strong.
The entire fading process takes weeks, not days. Rushing it undoes the precision you built.
13. Troubleshoot the Three Most Common Clicker Mistakes
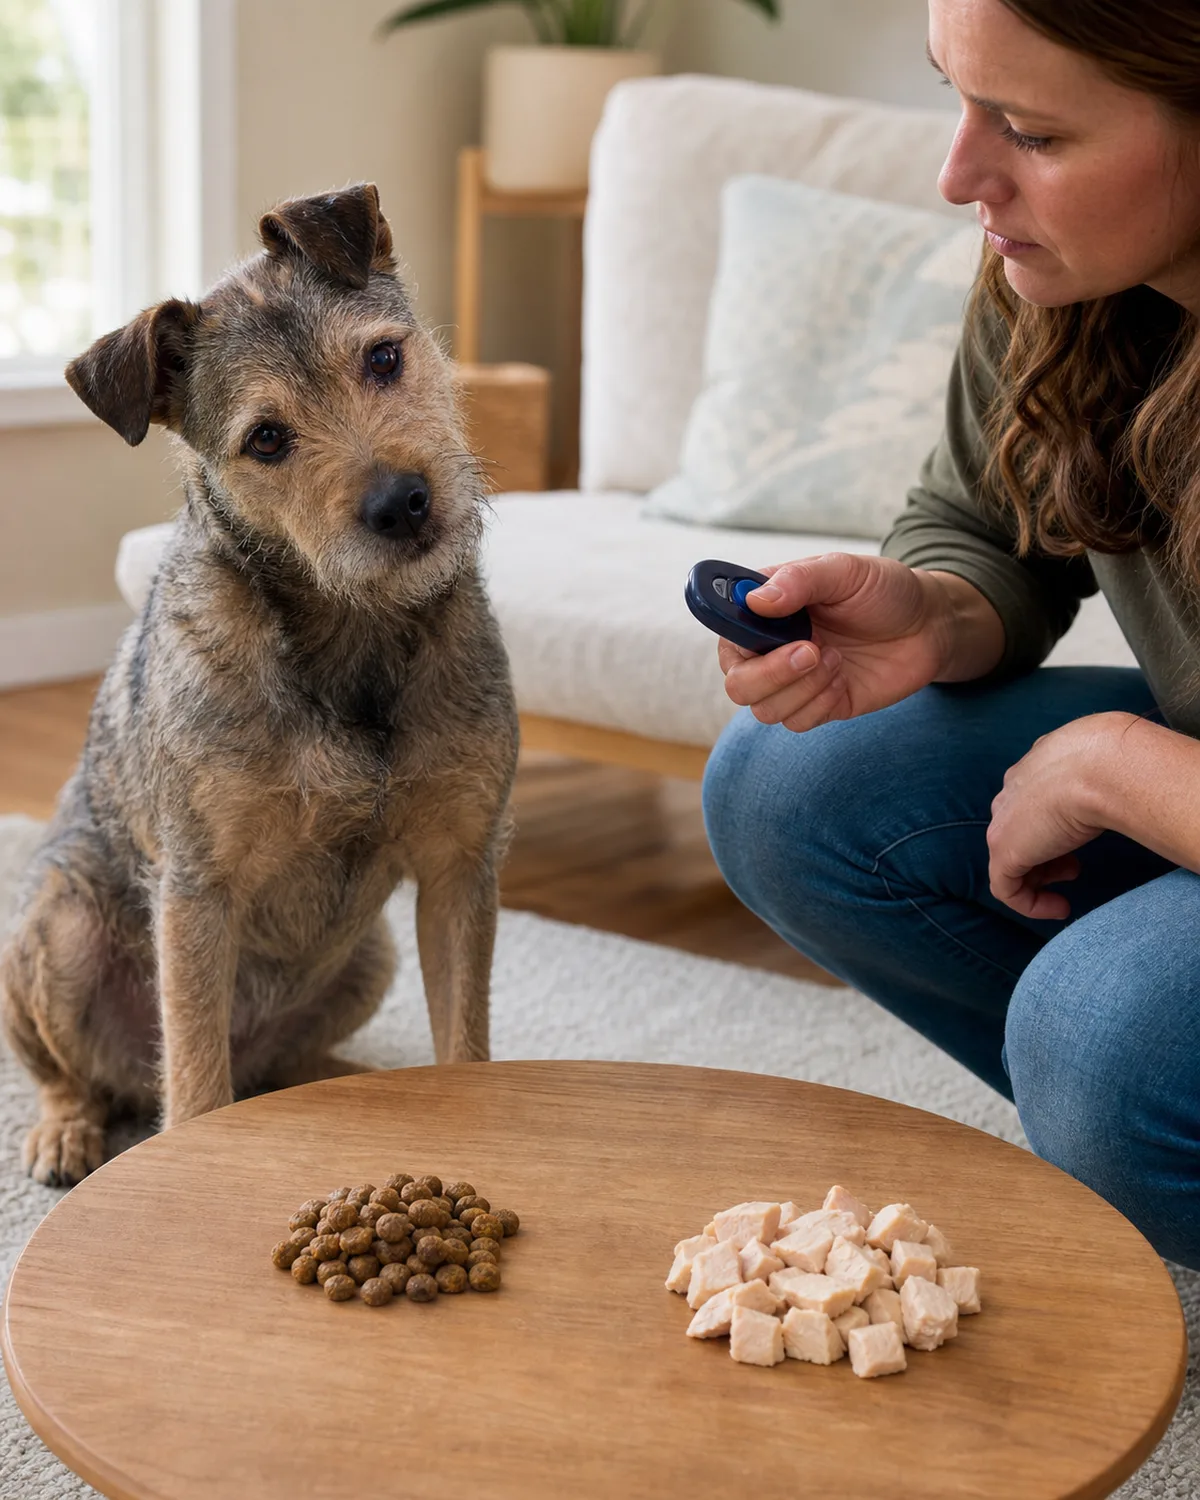
When clicker training stalls, the cause is almost always one of these three problems:
Late timing
Your click is landing after the behavior ends instead of during it. The diagnostic sign is your dog offering the wrong behavior consistently. If you are trying to mark a sit and your dog keeps standing up and looking at you, your click is hitting the stand-up moment.
Fix: Go back to the ball-bounce exercise. Rebuild your reflexes, then return to your dog.
Low-value treats
Your dog's enthusiasm dropped because the reward is not worth the effort. Dry kibble might work in a quiet room, but it cannot compete with the smell of squirrels at the park.
Fix: Upgrade to high-value treats — small pieces of cooked chicken, cheese, or freeze-dried liver. Save the best rewards for the hardest environments.
Too much distraction too soon
Training in an exciting environment before your dog has the behavior solid at home sets both of you up for frustration.
Fix: Move back to a calmer environment, rebuild consistency there, then try the harder setting with better treats.
14. Use Clicker Training to Fix Problem Behaviors, Not Just Tricks
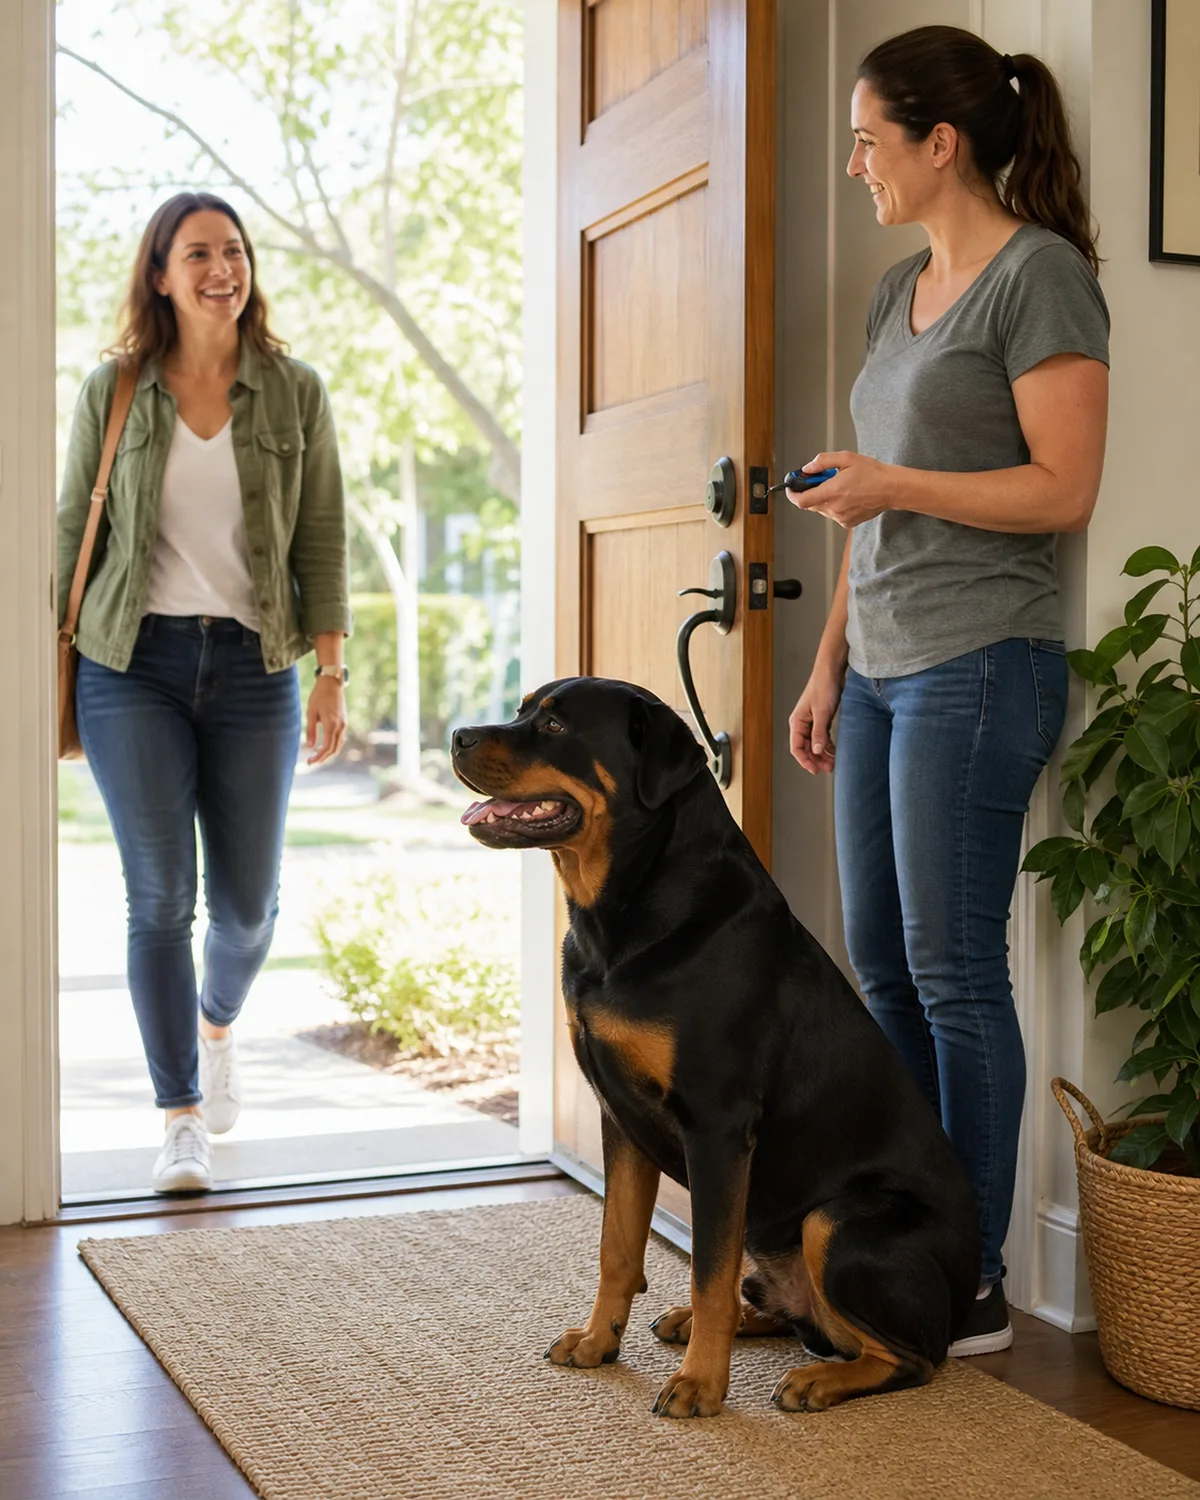
The clicker works far beyond party tricks. It is one of the most effective tools for reshaping everyday problem behaviors because it lets you mark the exact moment your dog chooses the right alternative.
Practical applications:
- Door manners — click the instant all four paws stay on the floor when someone knocks. Feet-on-floor becomes the default over time.
- Leave it — click the moment your dog turns away from a forbidden object. You are marking the choice to disengage.
- Calm settling — click when your dog lies down quietly on a mat during dinner. The mat becomes a cue for relaxation.
- Loose-leash walking — click the moment the leash goes slack. Staying close pays better than pulling ahead.
The principle is identical to teaching tricks. You are marking and rewarding a replacement behavior until the problem behavior stops paying off.
Save this list
15 Steps for Clicker Training
- 1Understand the toolThe clicker is a precise event marker that captures the exact moment your dog does something right, bridging the gap between action and reward.
- 2Choose the right clickerBox clickers for outdoor use and hard-of-hearing dogs. Button-style for puppies and sound-sensitive dogs. Verbal markers as a fallback.
- 3Charge the clickerClick then treat twenty to thirty times with no behavior required. Done when your dog looks at your hand the instant they hear the click.
- 4Master your timingClick during the behavior, not after. Practice with a bouncing ball first to train your own reflexes before involving your dog.
- 5Always treat after a clickEvery click is a promise. Skipping the treat even occasionally weakens the entire marker signal you built during charging.
- 6Start with capturingMark behaviors your dog offers naturally. No prompting needed. Works well for shy dogs and first-timers.
- 7Use luringGuide your dog into position with a treat, click the moment they arrive, then fade the lure hand within ten reps.
- 8Try shapingBreak complex behaviors into small steps and reward each one before raising the bar. Builds problem-solving alongside the target skill.
- 9End before interest fadesStop while your dog is still sharp. Three-to-five-minute sessions ending on a win produce faster long-term progress.
- 10Add the verbal cue lastSay the word half a second before the behavior once your dog offers it reliably. They learn the label for what they already know how to do.
- 11Proof in new locationsEvery new environment resets difficulty. Drop back to step one with click and treat each time you change the setting.
- 12Fade graduallyShift from every-rep clicking to variable schedules, then replace the clicker with verbal praise and occasional surprise treats.
- 13Fix common mistakesLate timing, low-value treats, and too-stimulating environments cause most stalls. Diagnose which one and address it directly.
- 14Fix real problemsDoor jumping, counter surfing, pulling, and impulse issues all respond to clicker-marked alternative behaviors.
- 15Know the limitsEmergency safety, severe aggression, and hearing loss require tools beyond the clicker. Recognizing boundaries is responsible training.
15. Know When Clicker Training Is Not the Right Fit
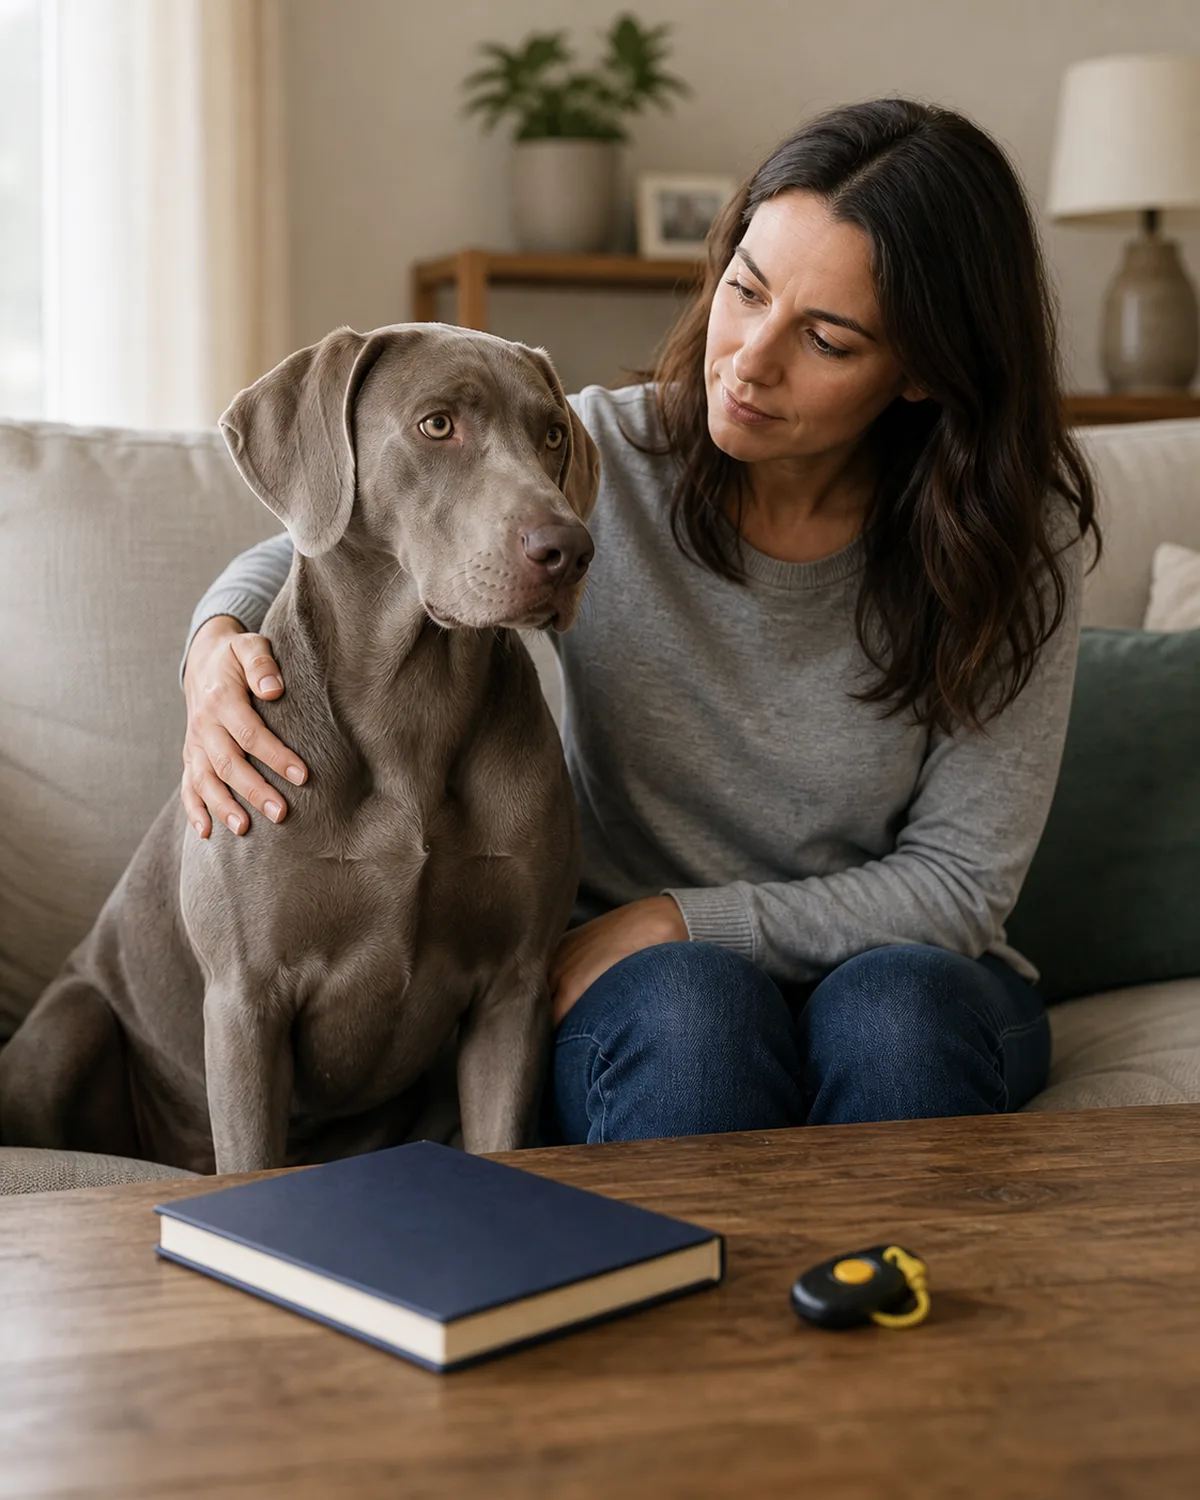
The clicker is powerful, but it has limits. Knowing those limits is part of using any tool responsibly.
- Emergency safety situations — if your dog is running toward traffic, you need a leash, a fence, or a physical barrier. A clicker cannot override a dog in full flight. Manage the environment first, then train recall in a controlled setting later.
- Severe aggression or fear-based reactivity — a dog lunging out of genuine fear needs a veterinary behaviorist, not a YouTube clicker tutorial. These cases involve neurochemistry that operant conditioning alone cannot address.
- Dogs with hearing loss — a deaf dog cannot hear the click. Swap it for a visual marker like a thumbs-up or a vibration collar set to vibrate only (never shock). The same principles apply through a different sensory channel.
The clicker belongs in your training toolkit, not as your only tool. Pair it with management, enrichment, and professional guidance when the situation calls for it.
Common questions
FAQ
Can I use a word instead of a clicker?
Yes. A short, crisp word like "yes" or "good" works as a marker. The tradeoff is consistency — your voice changes with mood, fatigue, and context, while the clicker always sounds the same. Verbal markers work, but they are slightly less precise for complex shaping work.
How old does my dog need to be for clicker training?
Puppies as young as eight weeks old can learn the click-treat association. Keep sessions to one or two minutes for very young puppies and use soft, small treats. There is no upper age limit — older dogs learn through the clicker the same way younger dogs do, sometimes more patiently.
My dog seems scared of the clicker sound. What do I do?
Wrap the clicker in a thick sock or towel to muffle the sound, or switch to a quieter button-style clicker. You can also try clicking behind your back or in your pocket first. If the fear persists after two or three muffled sessions, switch permanently to a verbal marker word instead.
Do I have to use the clicker forever?
No. The clicker is a teaching tool, not a permanent fixture. Once your dog reliably responds to verbal cues and the behavior is solid, you fade the clicker out through the variable schedule process described in step twelve. Most people phase it out within a few months of starting.
Can I click to get my dog to stop doing something?
Not directly. The clicker marks the moment your dog does something right. To stop an unwanted behavior, you click and reward the alternative behavior you want instead. For example, instead of clicking to stop jumping, you click the moment your dog has all four feet on the floor. The unwanted behavior fades because the replacement behavior consistently earns the reward.

Written by Jess Calloway
Dog mom to three very different dogs. Every guide on Pawliqa is based on real experience, veterinary guidance, and way too many hours reading ingredient labels. More about Jess