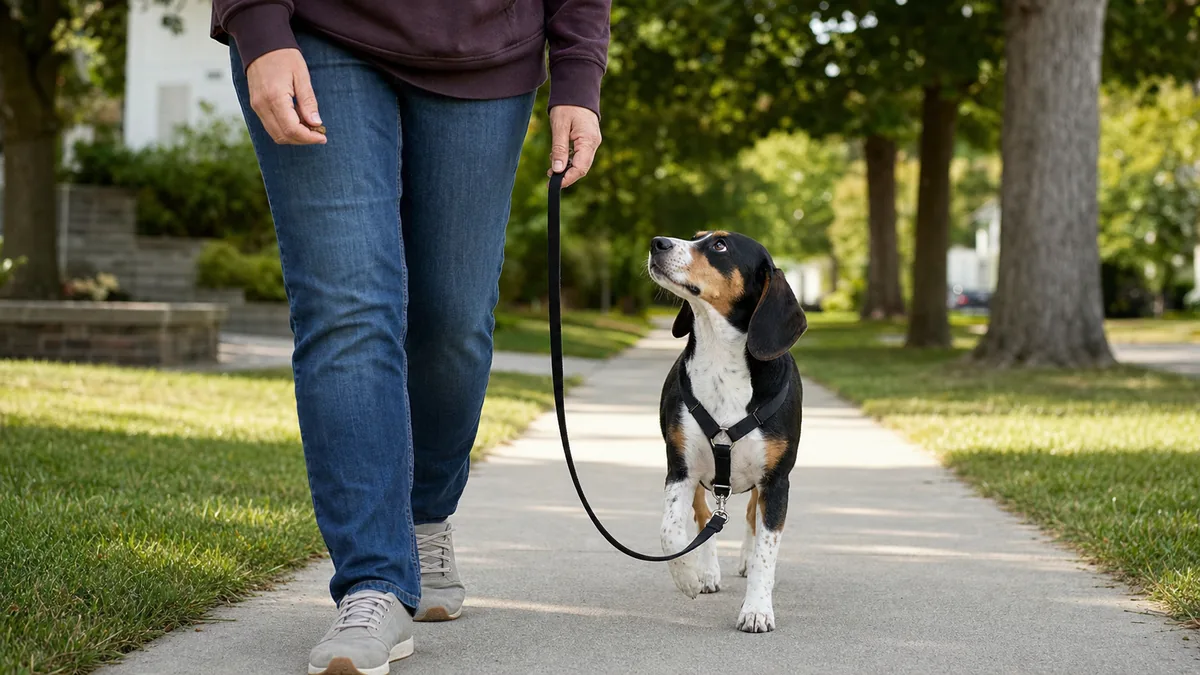
Pulling is the default. Calm walking is the skill. Almost every dog pulls at first because the first time they did it, they got closer to the smell — and the brain remembers what worked.
This is the calm, positive-only way to teach loose-leash walking at home: gear that helps, the still-tree rule, the reward window, and a two-week plan that survives day five — when most owners quit.
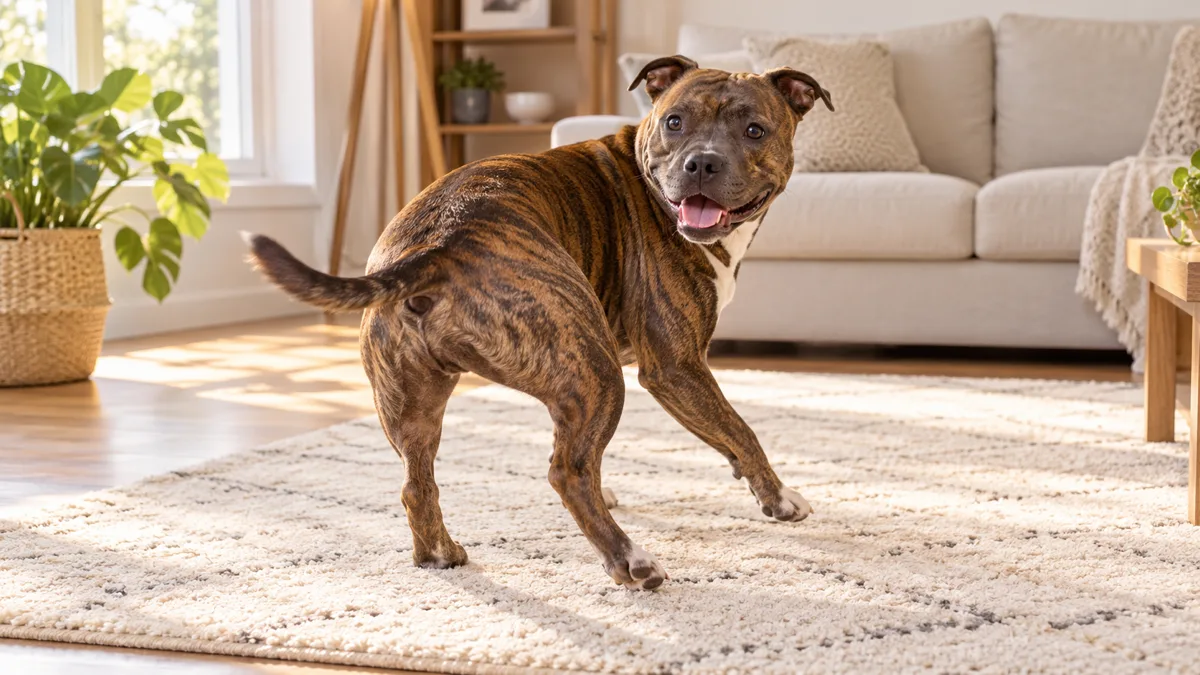
I have three dogs, one a sixty-pound goofball who used to drag me into every patch of grass. The routine works now because I stopped “correcting” the pull and started teaching two things — pull means stop, slack means go.
This is the gentle, evidence-aligned way to teach loose-leash walking at home — gear that helps, the still-tree rule, the reward window, and a two-week sticking plan. Skip to whatever you need right now.
- 1Why your dog pulls (it’s not dominance)
- 2Gear that helps: front-clip vs head halter vs collar
- 3The still-tree rule: pull = stop, slack = go
- 4The U-turn reset when pull won’t stop
- 5The loose-leash reward window (3-second mark + treat)
- 6Drain some energy before you train
- 7How to hold the leash so you don’t set up the pull
- 8Build up by environment difficulty
- 9Reactive dogs: the distance game
- 10Big dogs vs small dogs: different physics, same rule
- 11Puppy leash conditioning starts at home
- 12The 14-day sticking-with-it plan
- 13When to get a professional trainer
Why Your Dog Pulls (It’s Not Dominance — It’s Excitement and Untrained Default)
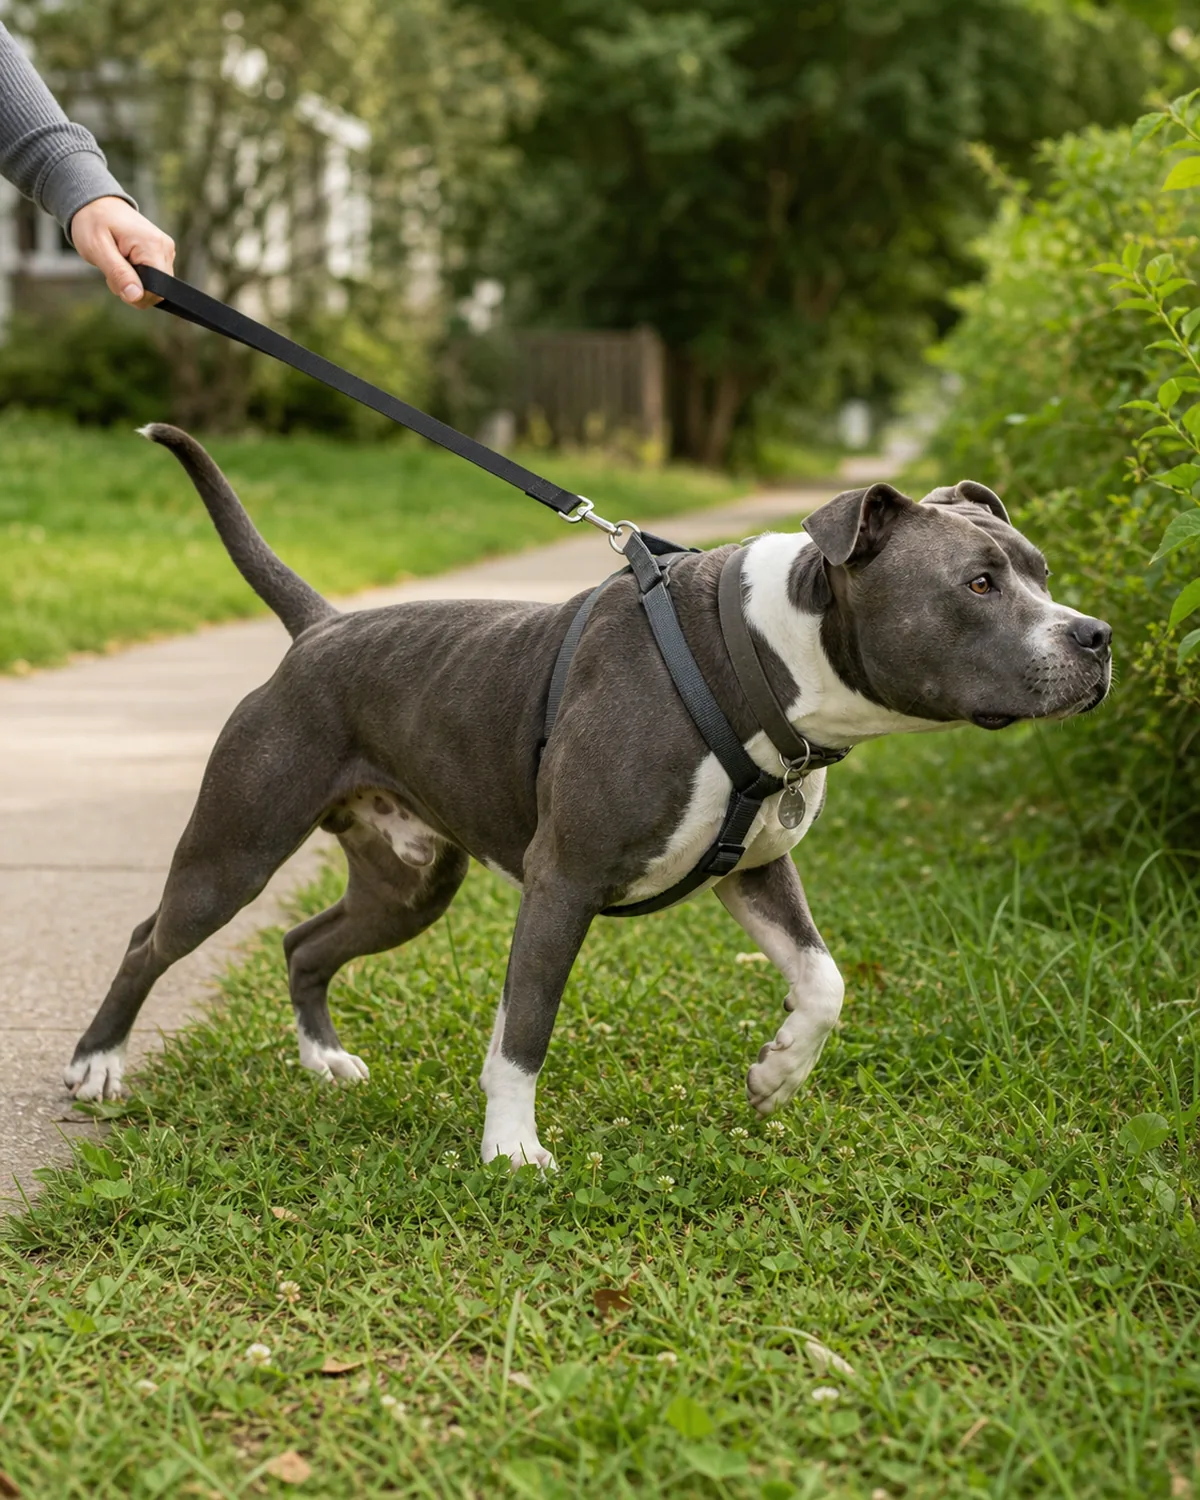
Dogs do not pull to “be the boss.” They pull because the leash is the most predictable way they have ever found to get somewhere interesting. Every time the pull pays off — a sniff, a squirrel, a patch of grass — that pull gets a little stronger.
The dominance idea got popular in the 1970s and modern behavior science has long since walked it back. The practical takeaway is simpler: a pulling dog is not a moral problem, it is an untrained skill. That reframe matters because the answer is teaching, not punishing.
- Pulling is reinforced every time it gets the dog something interesting.
- Excitement and a strong nose drive most of the pull, not status.
- Treat loose-leash walking as a skill to teach, not a battle to win.
Gear That Helps (Front-Clip Harness vs No-Pull vs Flat Collar)
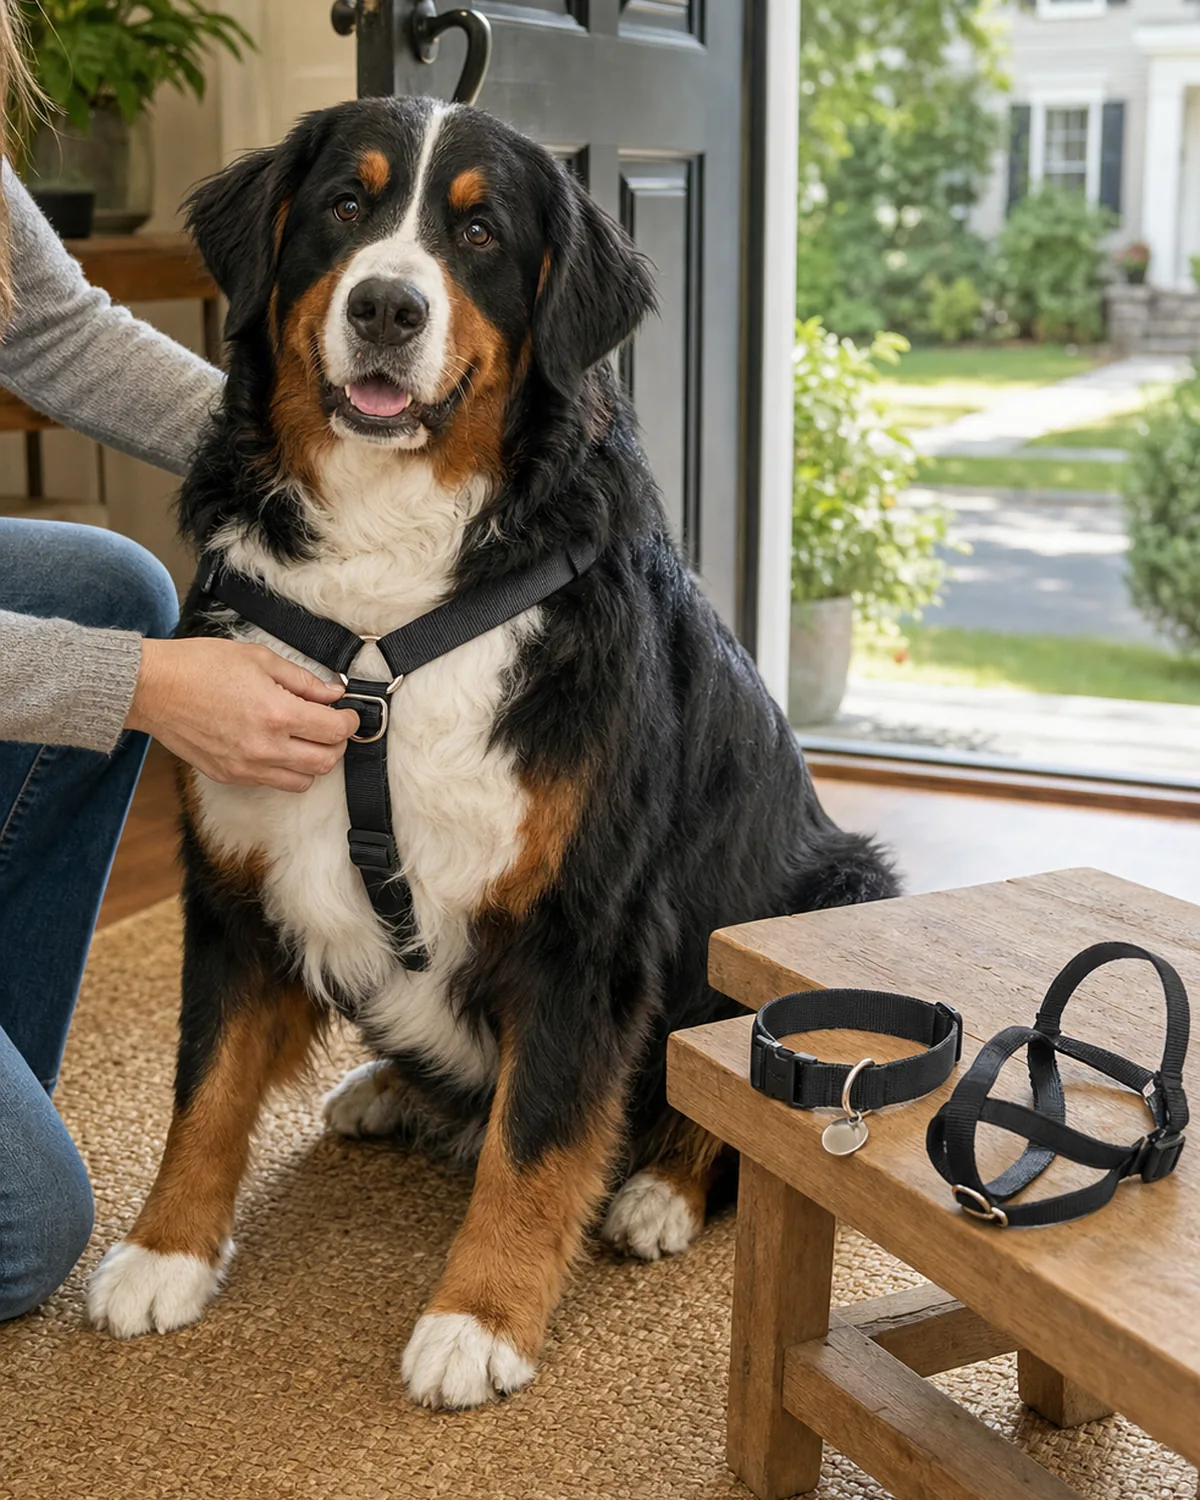
A flat collar is fine for dogs that already walk on a loose leash and for holding the ID tag. For a dog that pulls, the most useful single change is a front-clip harness — a chest D-ring quietly turns the dog sideways the moment they lean in, which removes the reward the pull was built on.
A head halter sits like a horse halter and gives you steering on a very strong puller, but it needs a week of gentle conditioning first so the dog accepts pressure on the muzzle. A back-clip harness teaches the dog to pull harder — that is literally how sled dogs are equipped. Skip prong, pinch, and shock collars entirely; the calm gear plus the next two steps does the job.
- A front-clip harness redirects pull energy without any pain or pressure.
- A head halter helps very strong pullers after a slow week of conditioning.
- Avoid back-clip harnesses for trainees and never use prong, pinch, or shock.
The Still-Tree Rule: Pull = Stop, Slack = Go
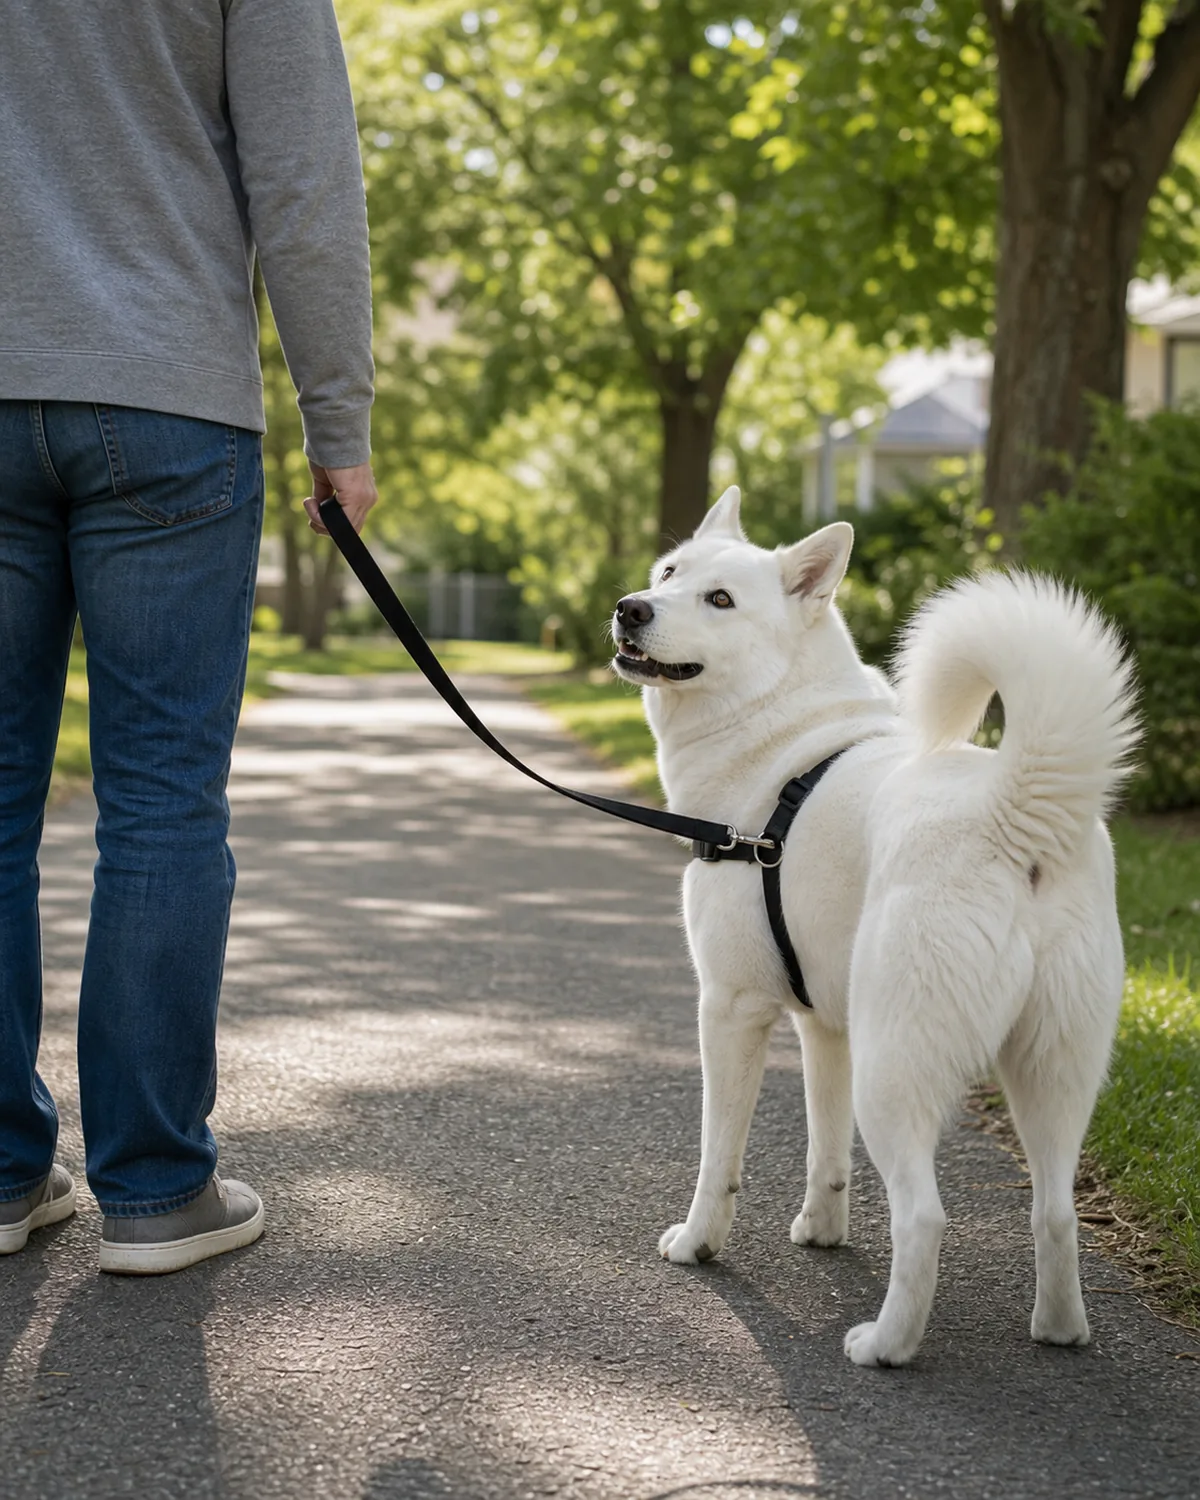
The single most important mechanic of loose-leash walking is the still-tree rule. The instant the leash goes tight, you stop dead. No tug, no scolding, no explaining — just become a tree. The moment the leash goes slack again, you walk.
The first time you do this, your dog will be confused. By the third or fourth stop they will glance back at you, which is the exact moment to mark with a word like “yes,” treat, and walk on. After ten or twenty reps spread across a few walks, the dog starts releasing tension on the leash all by themselves.
- The instant the leash tightens, freeze; the instant it slackens, walk again.
- Never tug, never lecture — let the leash itself deliver the lesson.
- Mark and treat the moment the dog turns to check in with you.
You do not need every step at once. Find the version of “your dog” below and begin there.
The U-Turn: Reset When the Pull Won’t Stop
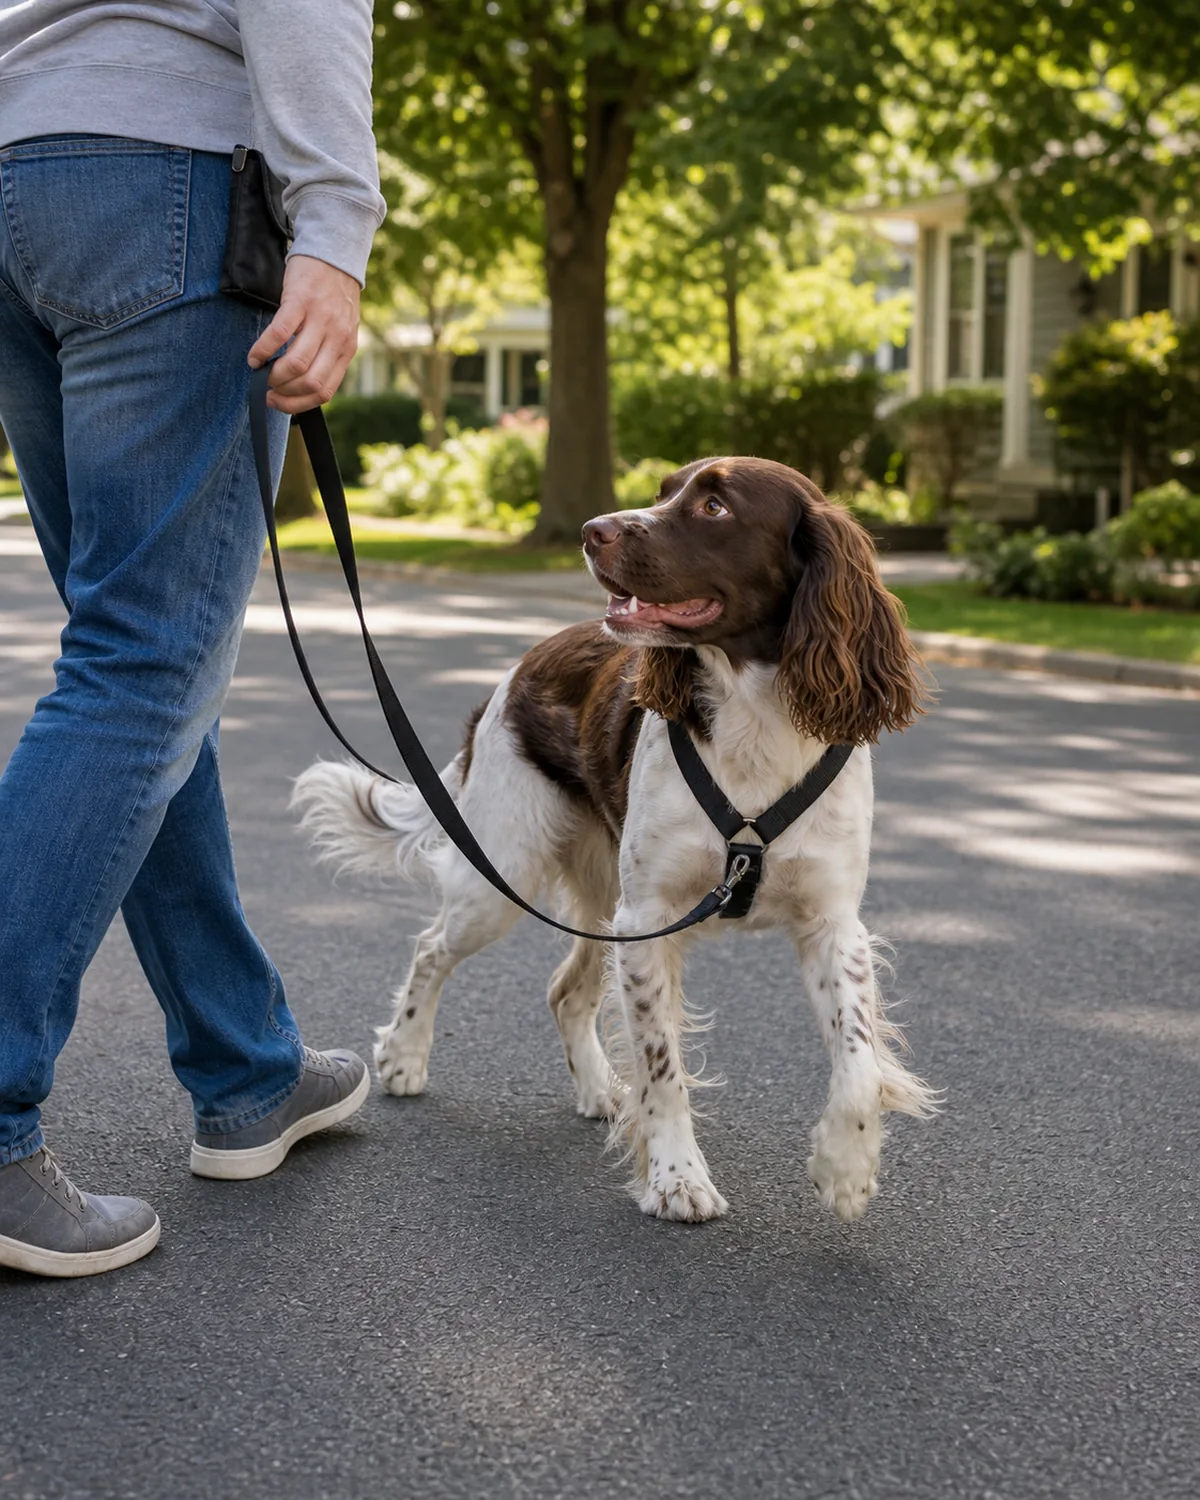
When the still-tree rule isn’t doing it — usually because there is a powerful target up ahead — go to the U-turn. Calmly pivot one-eighty, walk ten steps in the new direction, then turn back when the leash is slack and try the original path again.
The dog quickly learns that pulling does not move them closer to the squirrel — it moves them away. That single piece of feedback rewires the leash math from “pull = get there faster” to “pull = lose ground.” Three to five U-turns on every walk for the first two weeks is normal.
- Pivot one-eighty and walk away when the still-tree rule cannot hold the line.
- Walk ten steps the other way before turning back to try the path again.
- Plan on three to five U-turns per walk during the first two training weeks.
The Loose-Leash Reward Window (3-Second Mark + Treat)
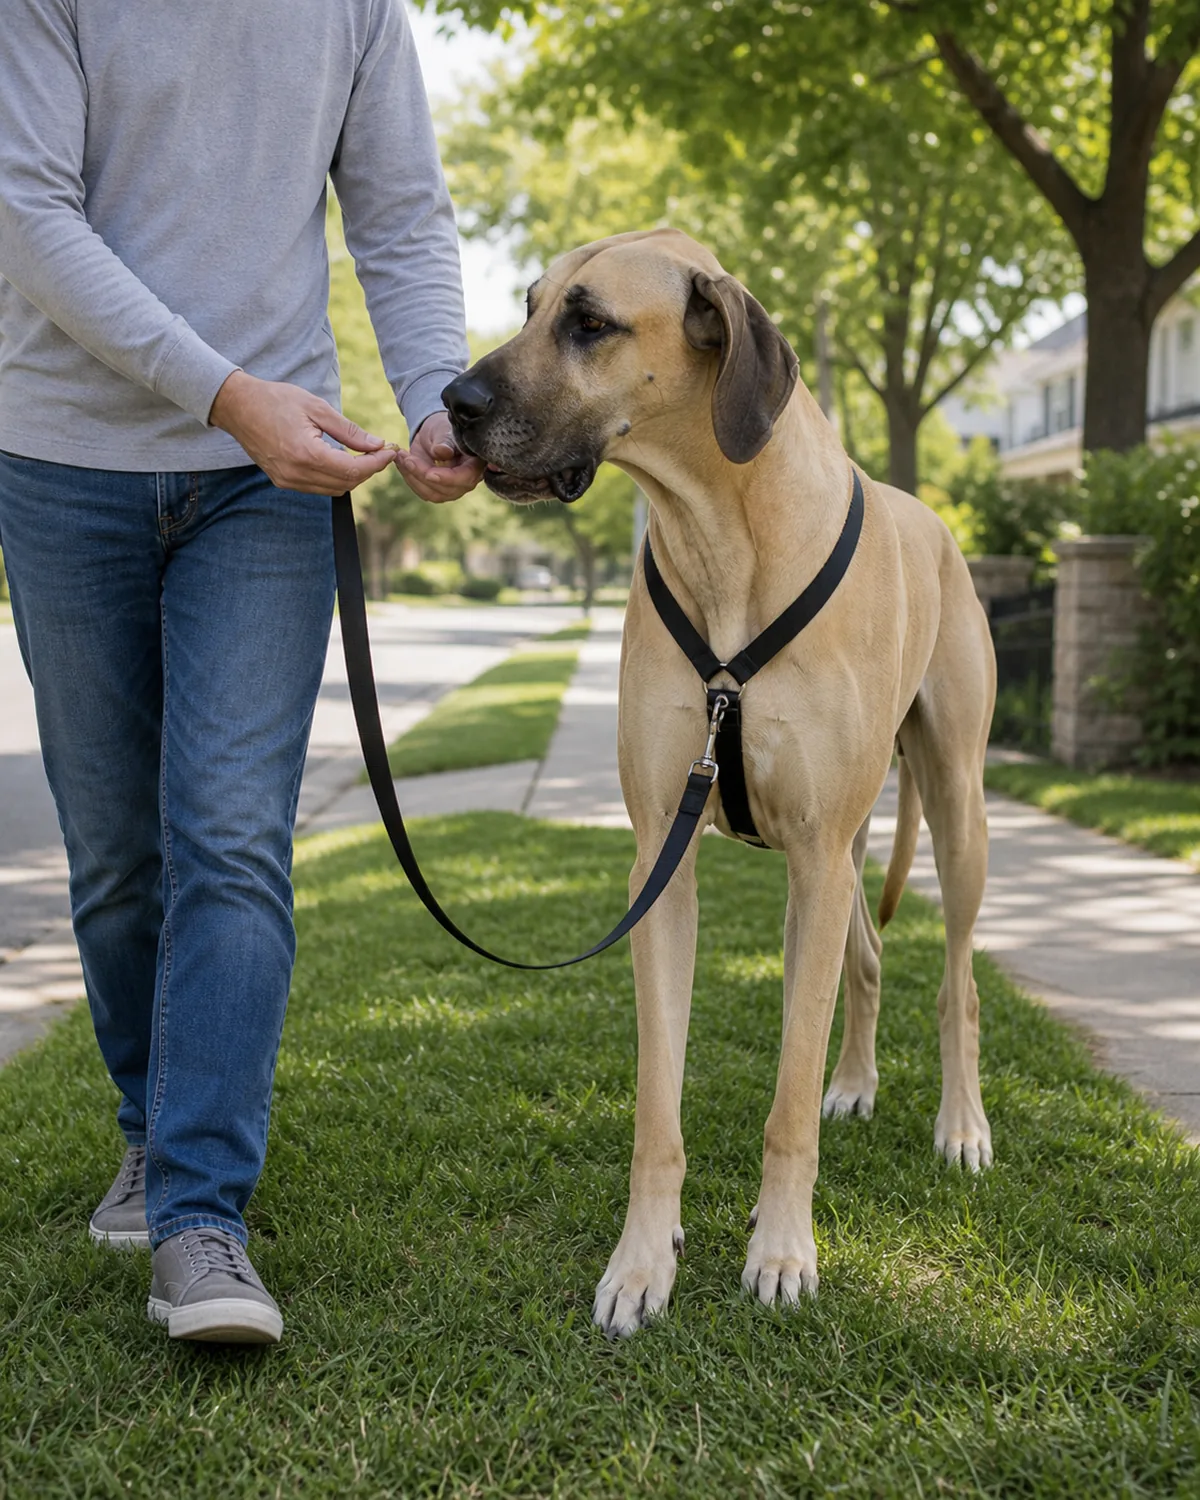
A slack leash doesn’t reinforce itself. You have to tell the dog “that — yes, that — was the thing.” The moment the leash drops into a J-shape or the dog falls in beside you, mark with a word or a clicker, and get the treat to the dog’s mouth within three seconds.
After three seconds the dog has already moved on and the reward attaches to whatever came next. For the first two weeks, mark and treat roughly every five to ten steps that the leash is loose. Frequency does the teaching; you can stretch the gap once the dog is reliably choosing slack.
- Mark the loose leash the moment it happens, then deliver the treat within three seconds.
- Treat every five to ten loose-leash steps for the first two weeks of training.
- Stretch the interval gradually once the dog reliably chooses slack on their own.
Drain Some Energy Before You Try to Train (Mental + Physical)
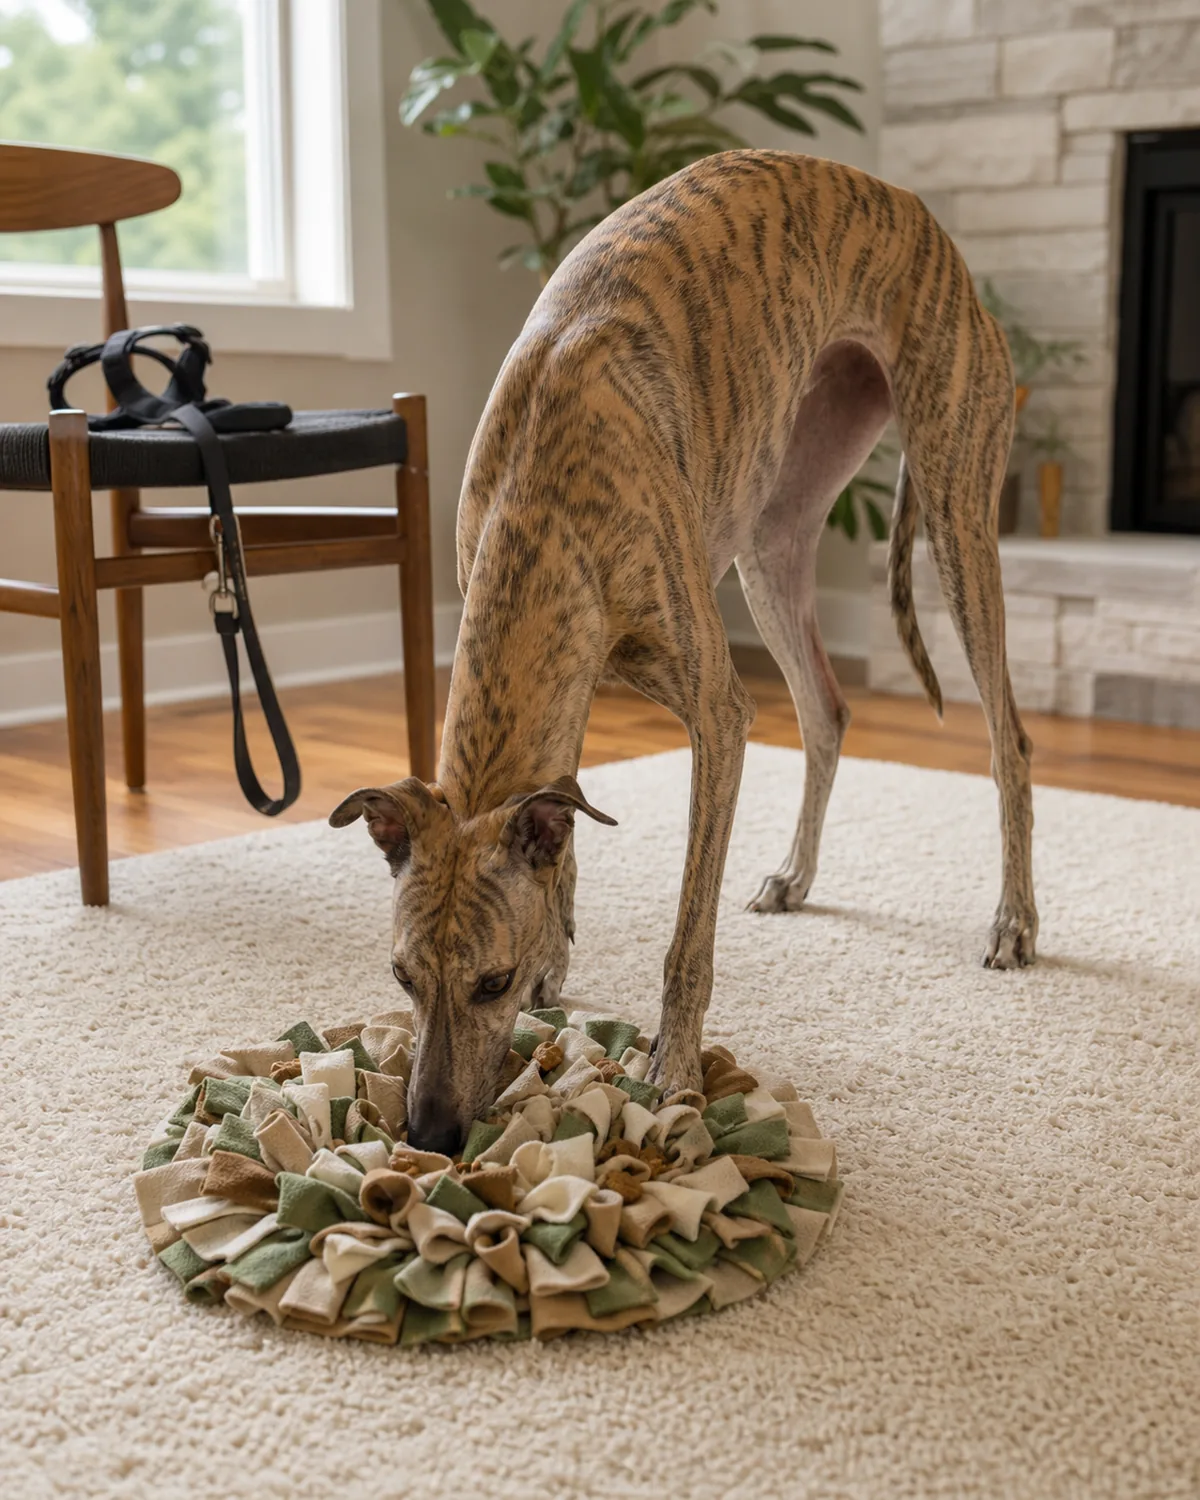
A dog who has been crated or napping for eight hours is not a dog who can practice anything. Before any leash session, spend ten minutes doing some mental and physical drain at home. A snuffle mat or a puzzle bowl for the brain, a couple of minutes of indoor fetch or tug for the body.
Most of the “my dog is impossible on walks” cases I have seen are really energy-mismatch cases. Get the lid off the kettle a little before you ask for calm. For more on how much physical movement different dogs actually need, see how much exercise does your dog need.
- Spend ten minutes on mental and physical drain at home before the leash goes on.
- A snuffle mat or puzzle bowl handles the brain side in just a few minutes.
- Match the drain to the dog’s energy level — bored is half the pulling problem.
The steps work because of four ideas underneath them. Get these right and the walk becomes a routine; ignore them and these are exactly the mistakes that keep the leash tight.
Starting Posture: How to Hold the Leash so You Don’t Set Up the Pull
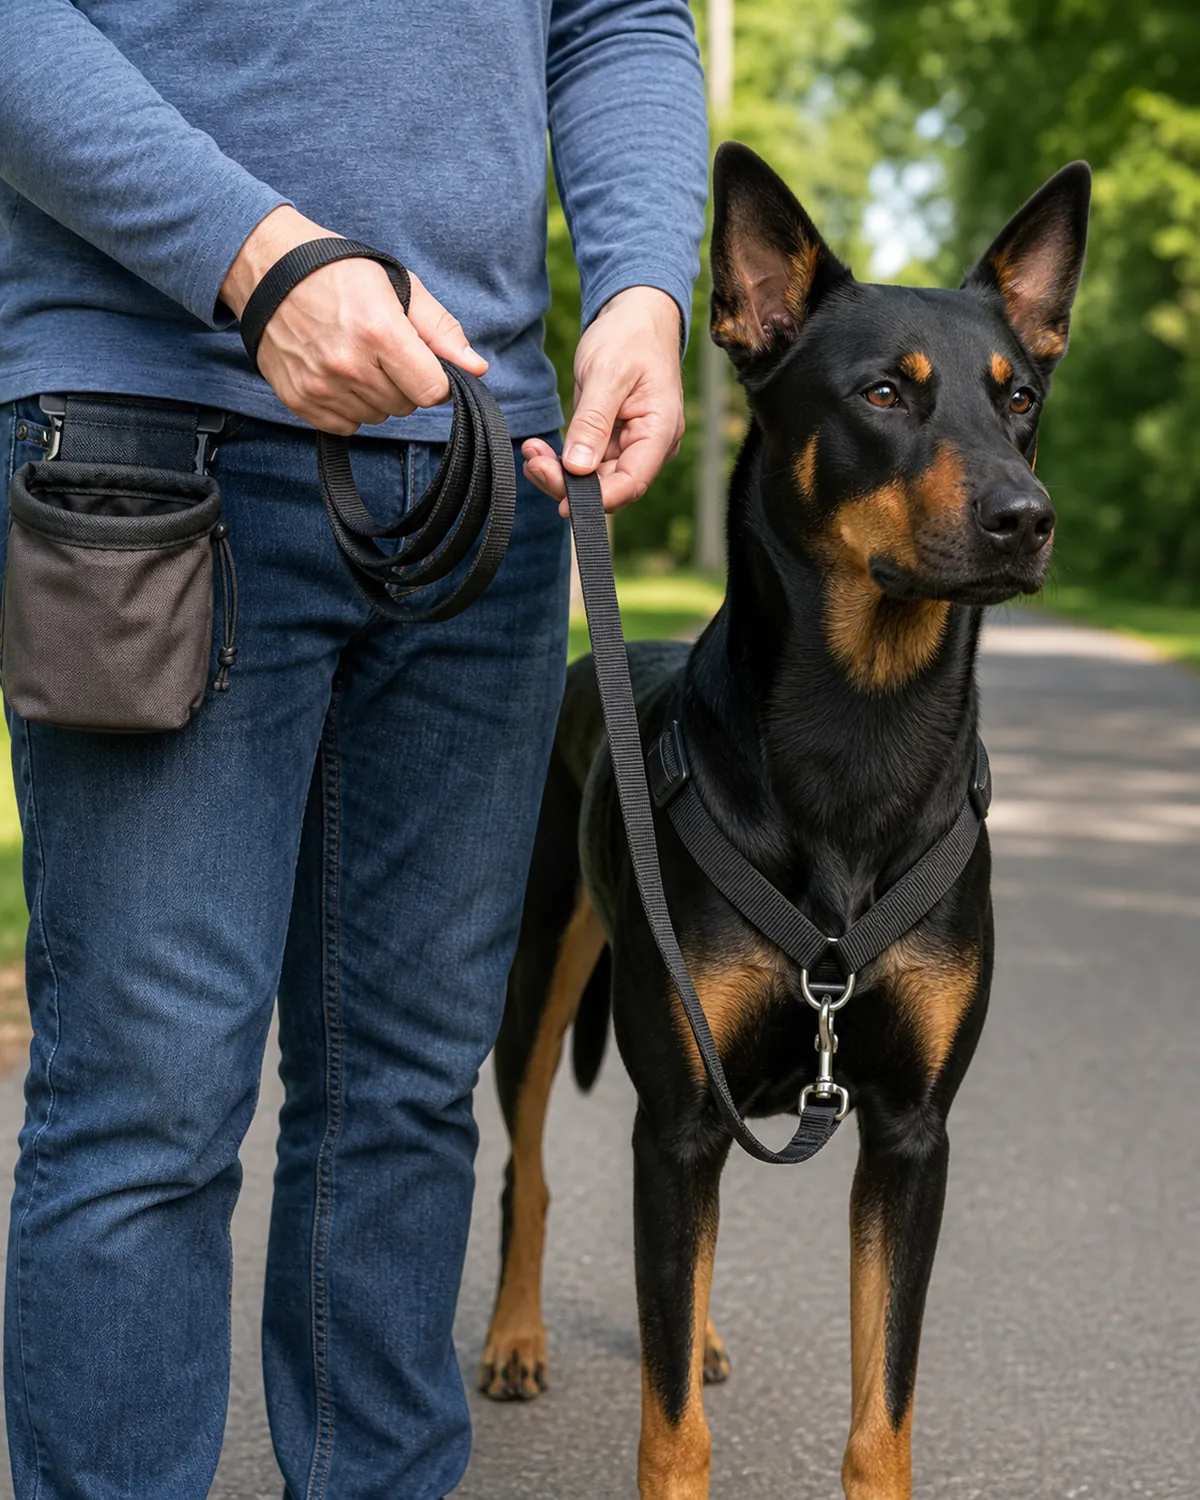
Most people set up the pull without realizing it. They hold the leash out in front of them at chest height, which gifts the dog a two-foot runway to lean into. Instead, slip the loop over your thumb, coil the slack at hip height, and let your treat hand hover at your hip on the dog’s side.
Pick one side and stay on it for the whole walk — left or right doesn’t matter, consistency does. Use a fixed-length four-to-six-foot leash, not a retractable one. Retractable leashes teach the dog that leaning forward extends the line, which is the opposite of the lesson you’re trying to teach.
- Loop the leash over your thumb and coil the slack at hip height, not chest height.
- Walk the dog on one consistent side and keep the treat hand on that hip.
- Use a fixed four-to-six-foot leash; skip retractable leashes during training.
Build Up by Environment Difficulty (Backyard → Quiet Street → Busy Park)
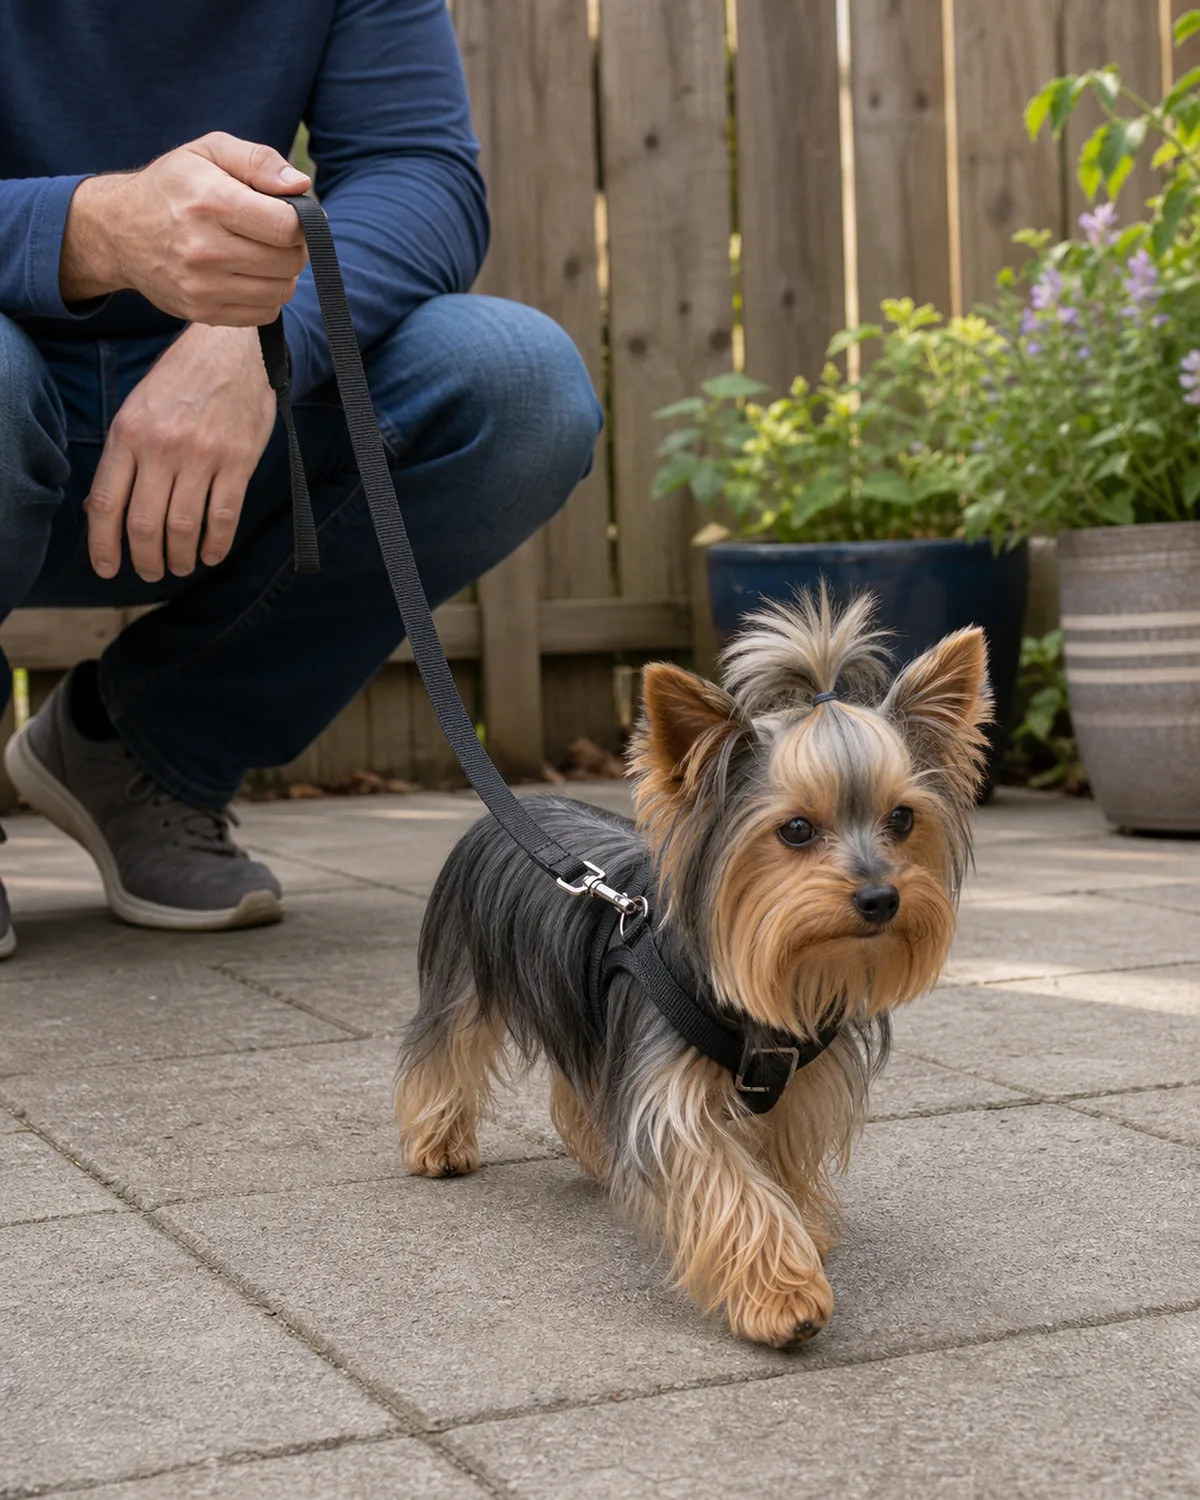
You cannot debut loose-leash walking on a busy sidewalk and expect anything but a meltdown. The skill needs to be built in the easiest possible place first — your back yard, a hallway, the front step. Week one is just there. Week two is your quiet street. Week three is anywhere with other dogs or traffic.
If the dog regresses the moment you step outside, that is not a training failure — that is the environment being too hard. Drop a level for a few days and rebuild. Backing up two steps to keep the loose-leash habit alive is much faster than pushing through a meltdown and re-teaching the whole thing.
- Start in the easiest possible environment — back yard, hallway, or front step.
- Add one level of difficulty per week — quiet street, busy street, park edge.
- When the dog regresses, drop a level for a few days rather than pushing through.
For Reactive Dogs (See Another Dog → Distance Game, Not Approach)
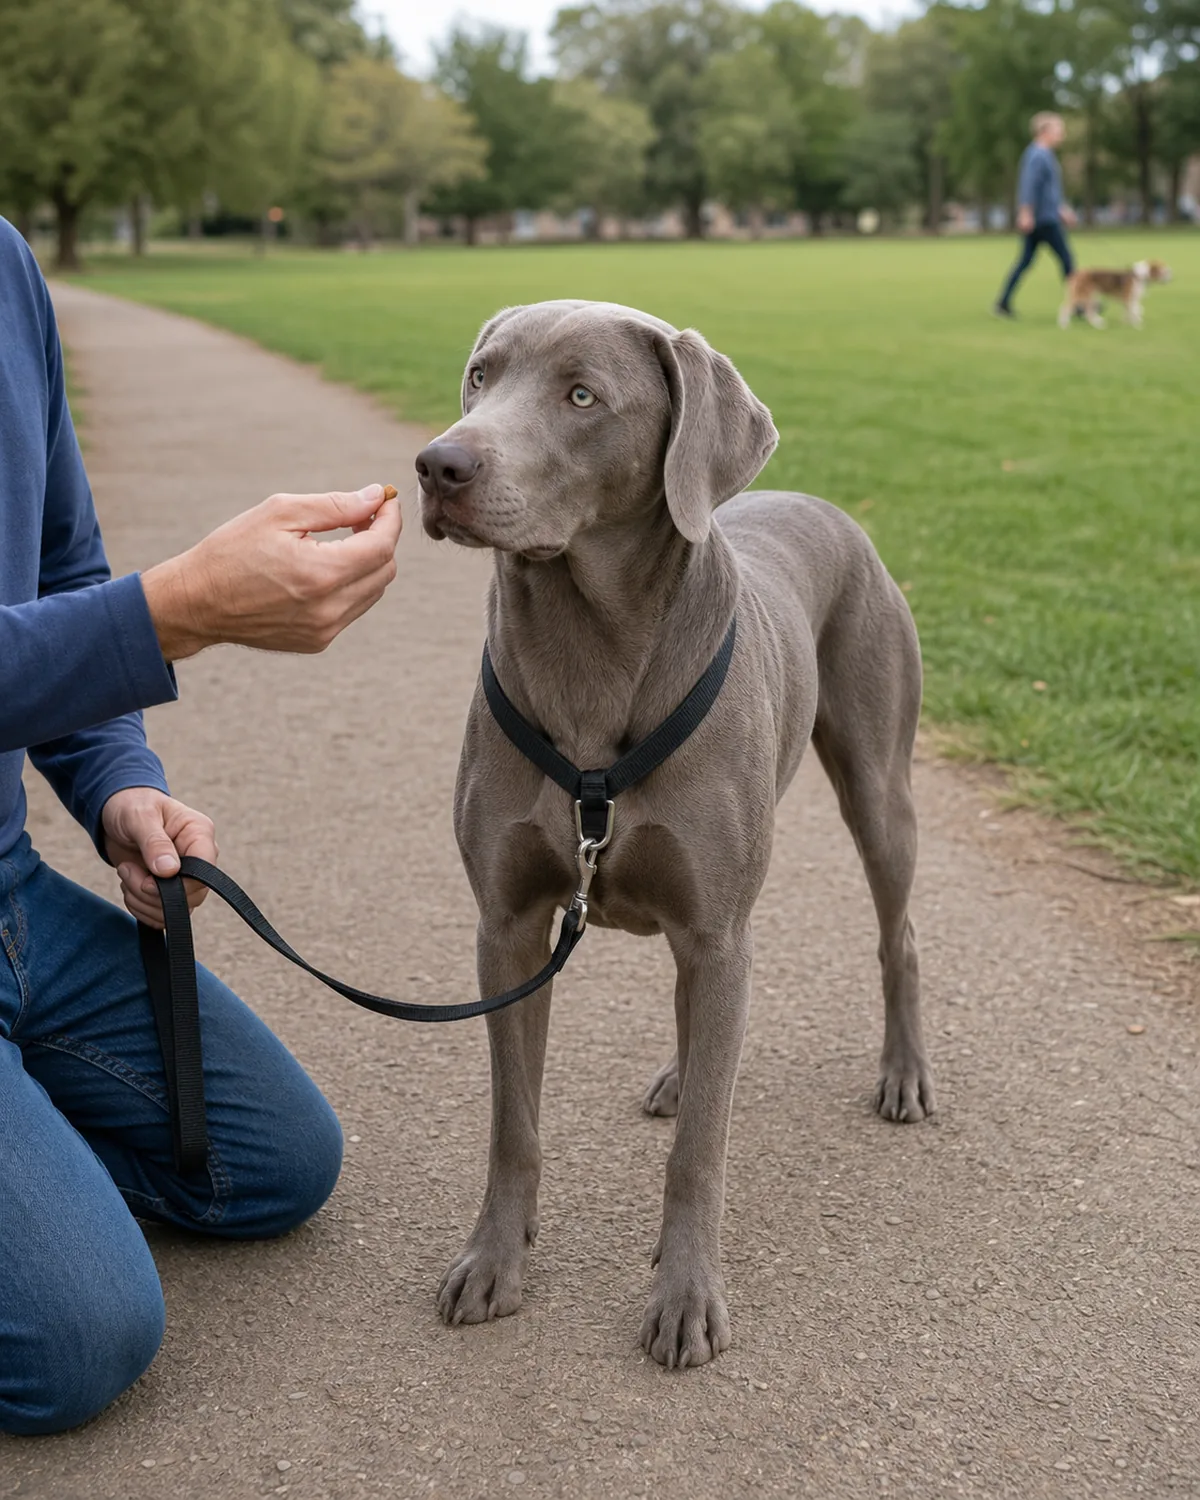
Reactive dogs — the ones who explode at the sight of another dog, a bike, or a squirrel — do not need close-up exposure. They need distance. The right working distance is the farthest one at which your dog can see the trigger and not react. That might be fifty feet, sometimes more.
At that distance, the moment your dog looks at the trigger, mark, treat, and calmly turn away. This is called “look and leave.” Repeated over weeks, the distance shrinks on its own. If your dog has ever bitten, broken skin, or hurt themselves on the leash, this is the moment to bring in a credentialed veterinary behaviorist instead of self-coaching.
- Pick the distance at which your dog can see the trigger and stay calm.
- Mark, treat, and quietly turn away the moment they look at the trigger.
- For dogs who have bitten or self-injured, call in a vet behaviorist for help.
How to Stop a Dog From Pulling on the Leash
- 1Reframe the pullPulling is excitement and learned habit, not dominance — teach the skill.
- 2Front-clip harnessChest D-ring turns the pull sideways; skip prong, choke, and e-collars.
- 3Still-tree ruleLeash tight, you freeze; leash slack, you walk — let the line teach.
- 4U-turn when stuckPivot one-eighty, walk ten steps away, return when slack comes back.
- 53-second reward windowMark the slack and treat within three seconds, every five to ten steps.
- 6Drain energy firstTen minutes of snuffle mat or indoor fetch before the leash goes on.
- 7Leash hold at the hipThumb loop, coiled slack at hip height, fixed 4-6 ft — no retractable.
- 8Easy environment firstBack yard, then quiet street, then busy street — one level a week.
- 9Reactive distance gameStay at the farthest distance the dog can see the trigger and stay calm.
- 10Big vs small physicsBig dogs: two hands + front-clip; tiny dogs: harness only, treat at nose.
- 11Puppies start indoorsHarness at home, then trailing leash, then front step — not the sidewalk.
- 1214-day planMost people quit on day four — that is the work; push through and reward.
- 13Pro help if stuckPick CCPDT-/KPA-/IAABC-certified, force-free trainers — never prong/choke.
pawliqa.com
Big Dogs vs Small Dogs: Different Physics, Same Rule
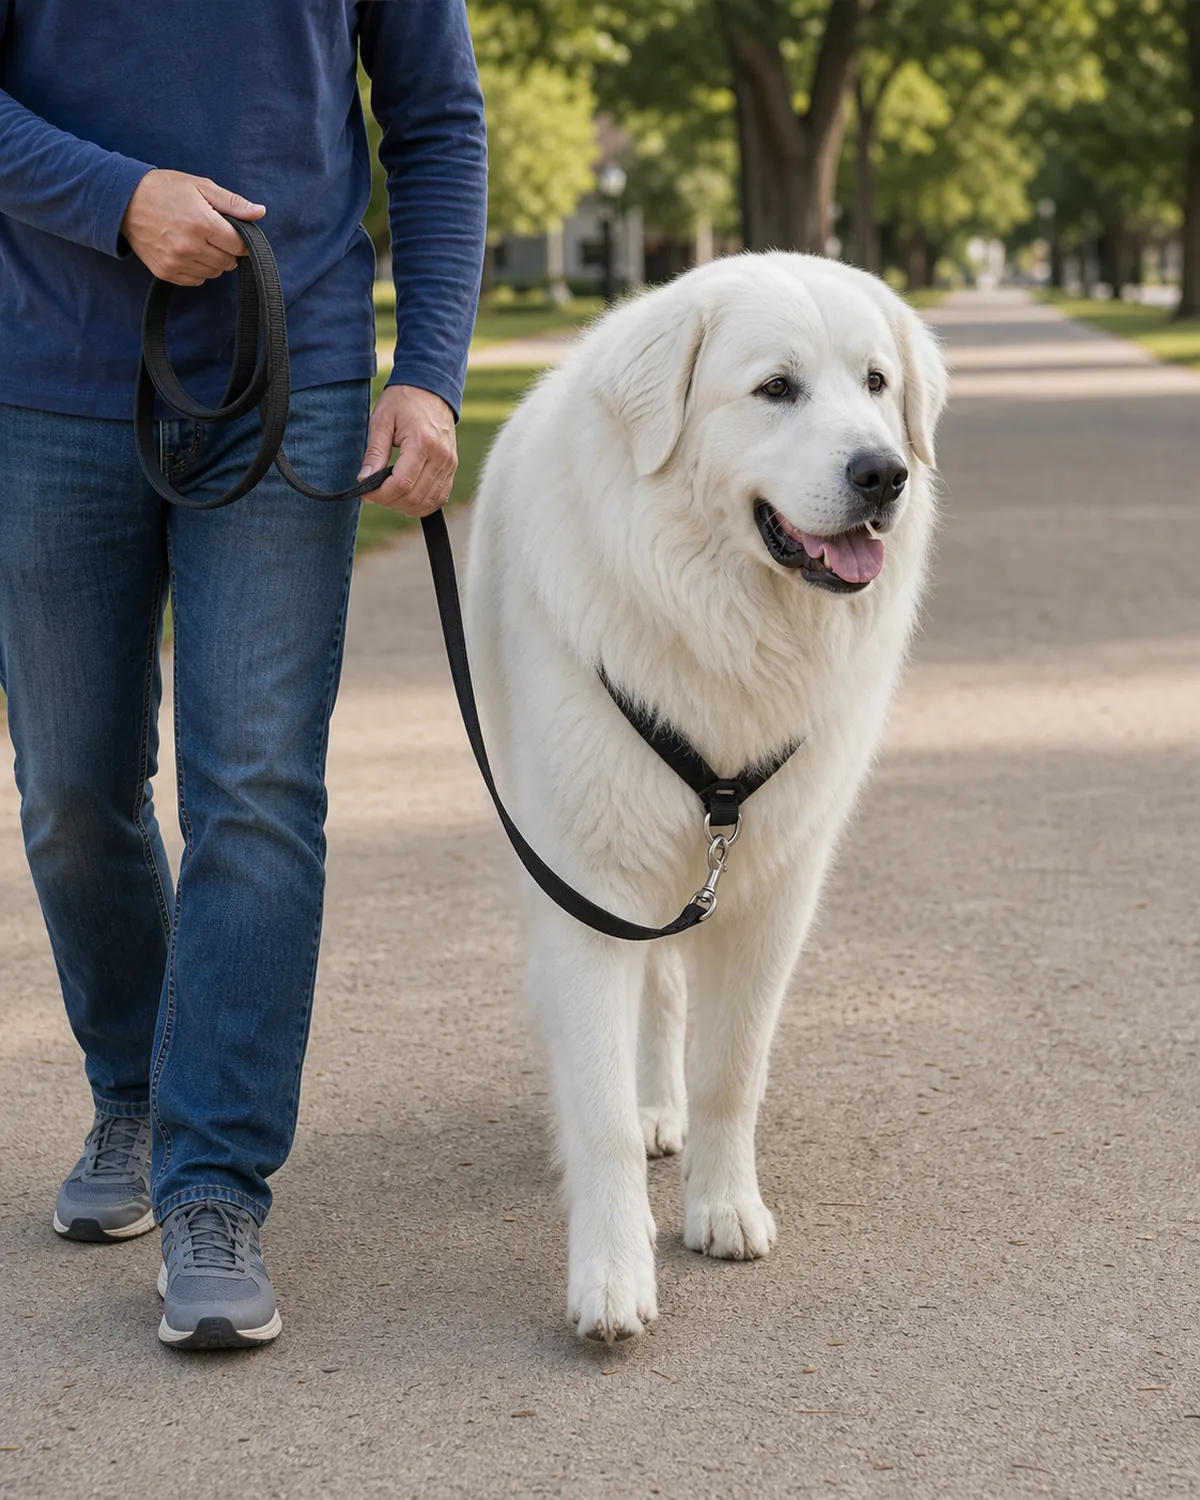
If your dog weighs more than half what you do, you need both hands on the leash for the first few weeks — main hand at the hip with the coiled slack, second hand resting lightly on the leash near the dog’s chest. A front-clip harness is non-negotiable here. The two-hand grip keeps a single lunge from putting you on the ground.
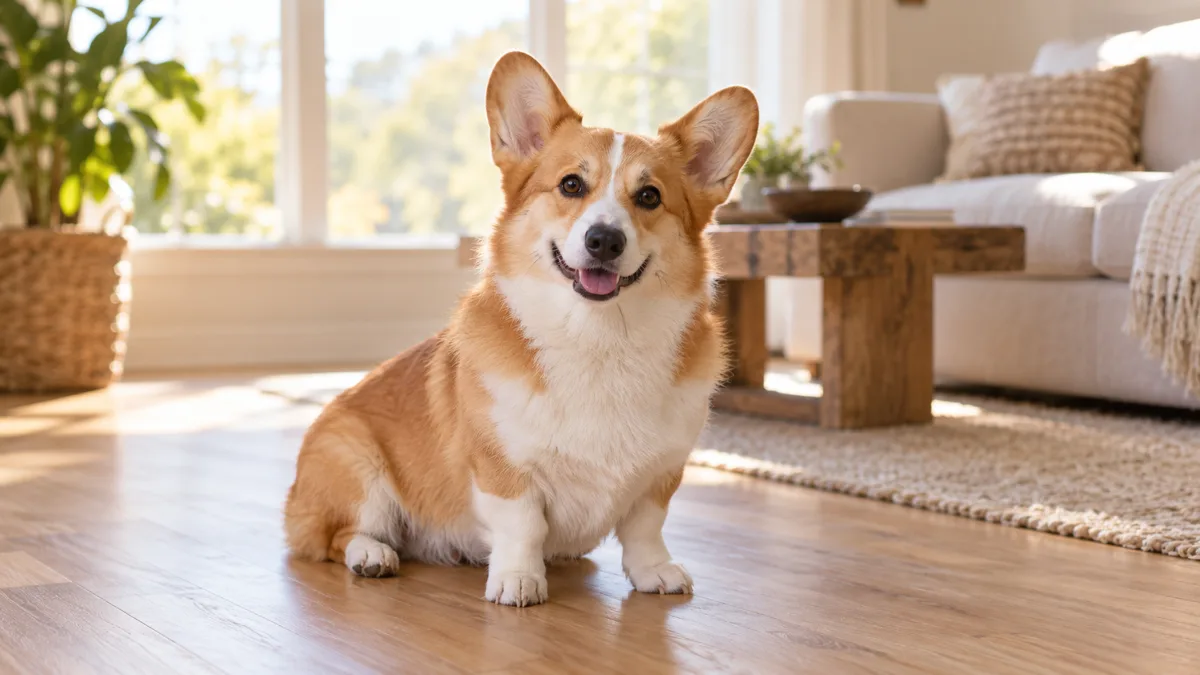
For very small dogs, the physics flip. You are not going to be dragged, but a tight leash on a collar can hurt a tiny windpipe. Use a harness, not a collar, for the leash. Drop the treat hand to the dog’s nose height, not yours, so the reward arrives where the dog actually is. The still-tree rule and the reward window are the same; the grip and treat height are not.
- Use a two-hand grip plus a front-clip harness for any dog over half your weight.
- For tiny dogs, always clip to a harness — never the collar — to protect the throat.
- Drop the treat hand to nose height so small dogs get rewarded right where they are.
Puppy Leash Conditioning Starts at Home (Not on the Sidewalk)
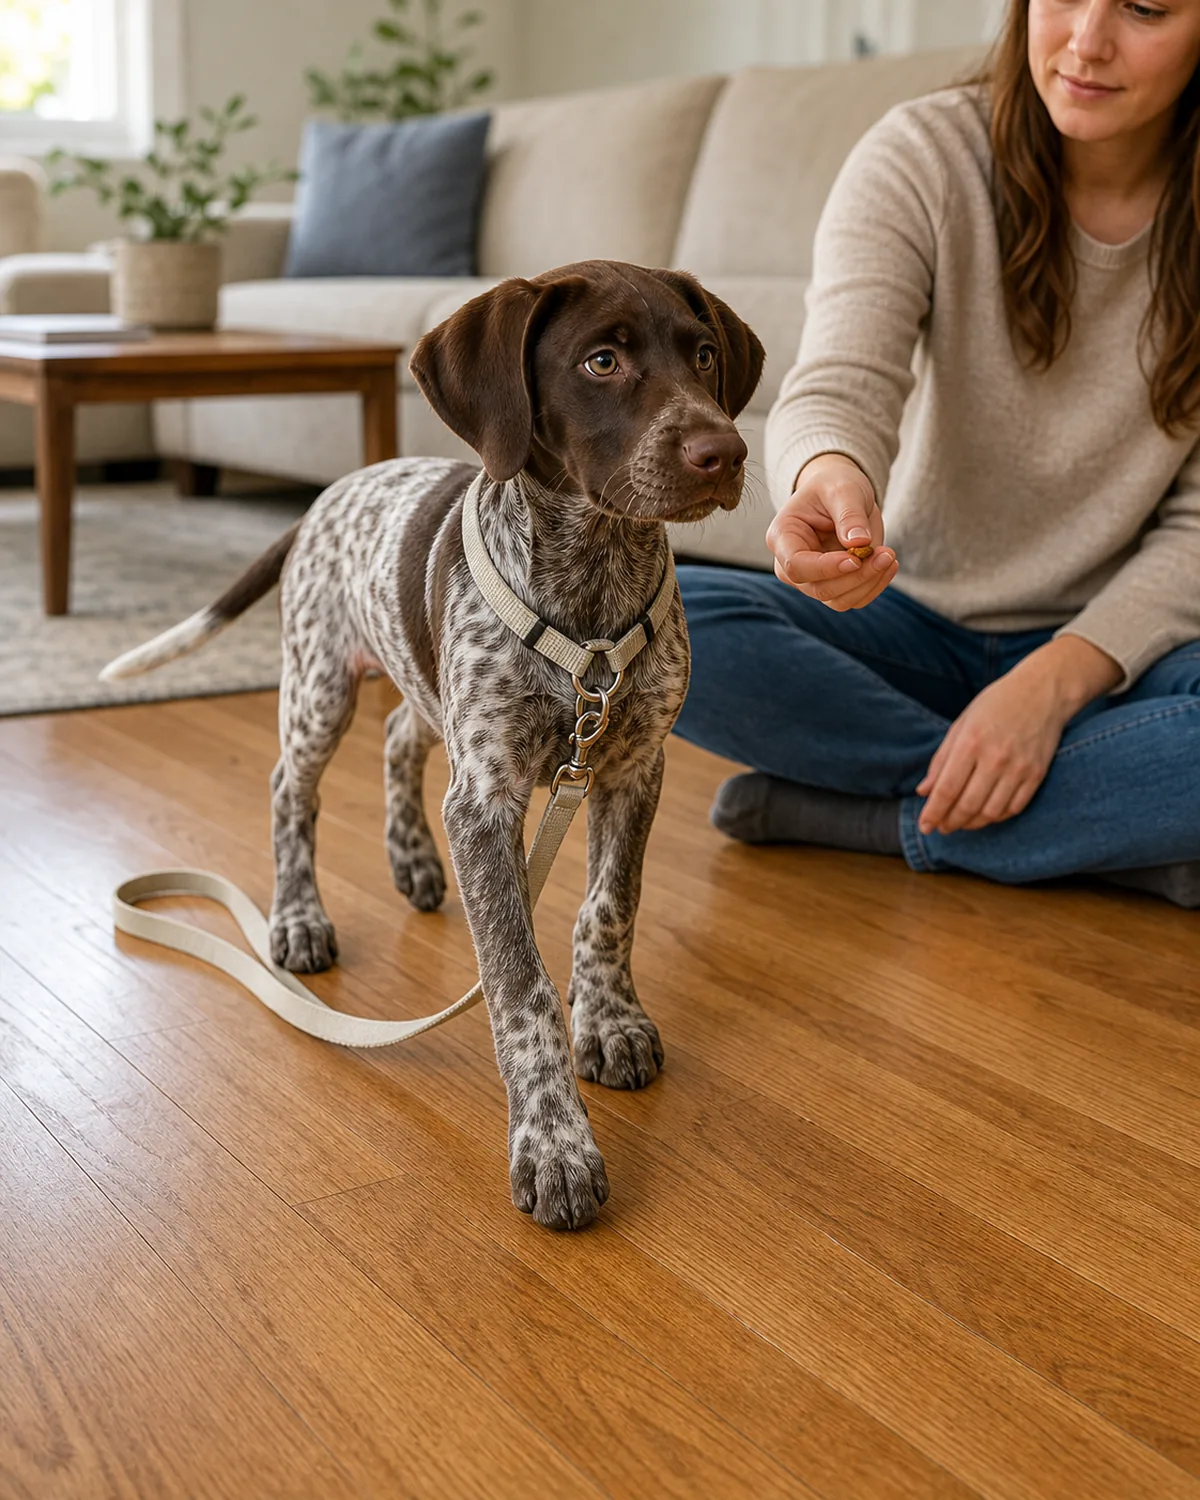
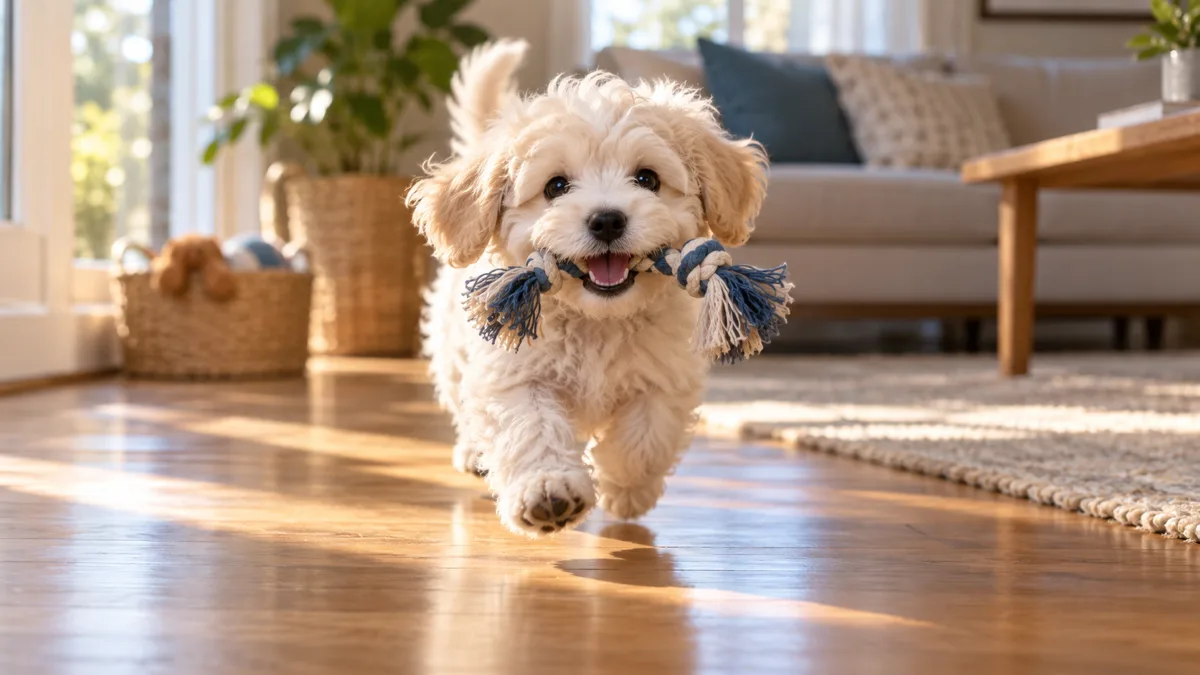
Eight-to-twelve-week puppies should not have their first leash lesson on a sidewalk. Step one is putting a flat harness on at home for five or ten minutes a day while you supervise, so they get used to the weight and the chest pressure without anything pulling on them.
Step two, a week later, is picking up a light leash and walking around the living room with them — slack leash, mark and treat, that’s it. Step three is your front step for five minutes. Three weeks of indoor and front-step work is worth a year of trying to fix a puppy who first met the leash on a chaotic street.
- Put the harness on at home for short supervised sessions first — no leash yet.
- A week later, walk together indoors with a light slack leash and frequent treats.
- Only after a calm indoor and front-step week do you try a real first walk.
The 14-Day Sticking-With-It Plan (Most People Quit Day 4)
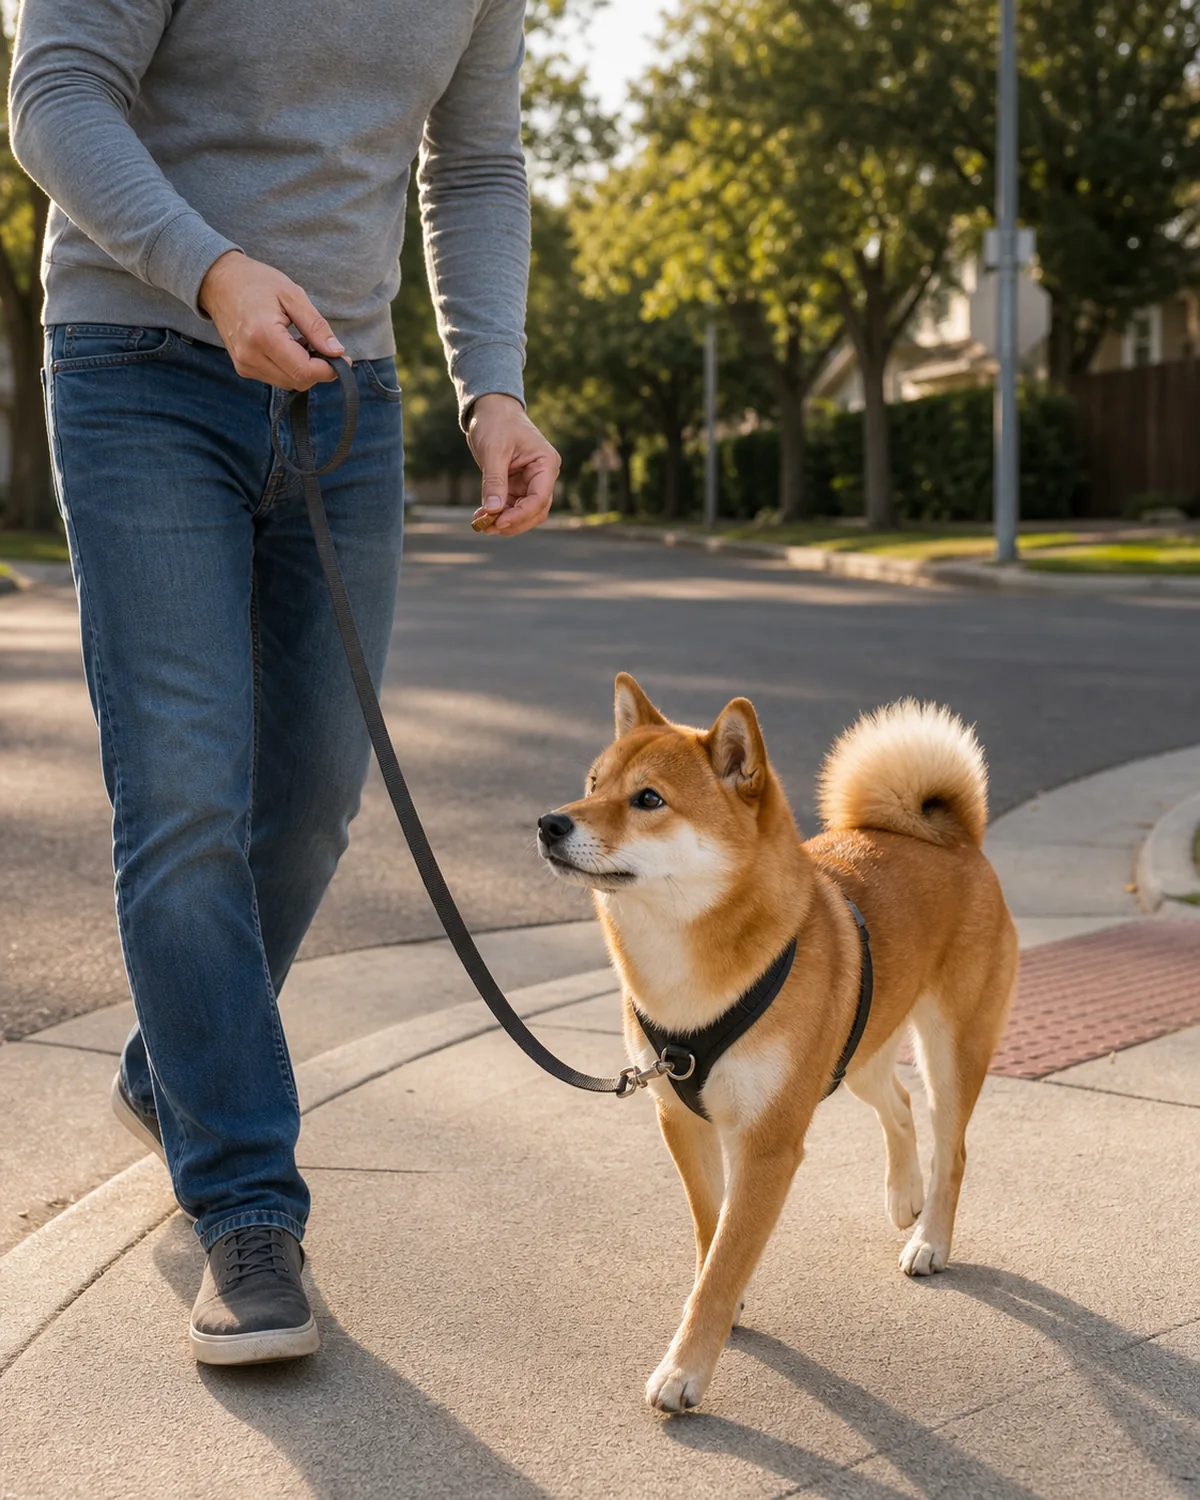
Most people quit on day four. The first three days the dog seems to be getting it, day four they backslide, and the owner decides it isn’t working. Day four is the work. Stay with the high-rate reward and the still-tree rule and push through it.
A workable plan: days one and two in the back yard, days three and four on the front step, days five and six right around the block, days seven through nine a quiet two-block loop, days ten through fourteen one new level of environment.
A familiar crate corner before and after the session gives an over-aroused dog a place to come down. Cap any active session at fifteen minutes — past that, nobody is learning.
- Days one through four are the hardest; do not quit on day four when it backslides.
- Walk the plan in five blocks of two to three days, adding difficulty step by step.
- Keep every active session under fifteen minutes, even when it is going well.
When to Get a Professional Trainer (Reactive, Big, or Stuck After 4 Weeks)
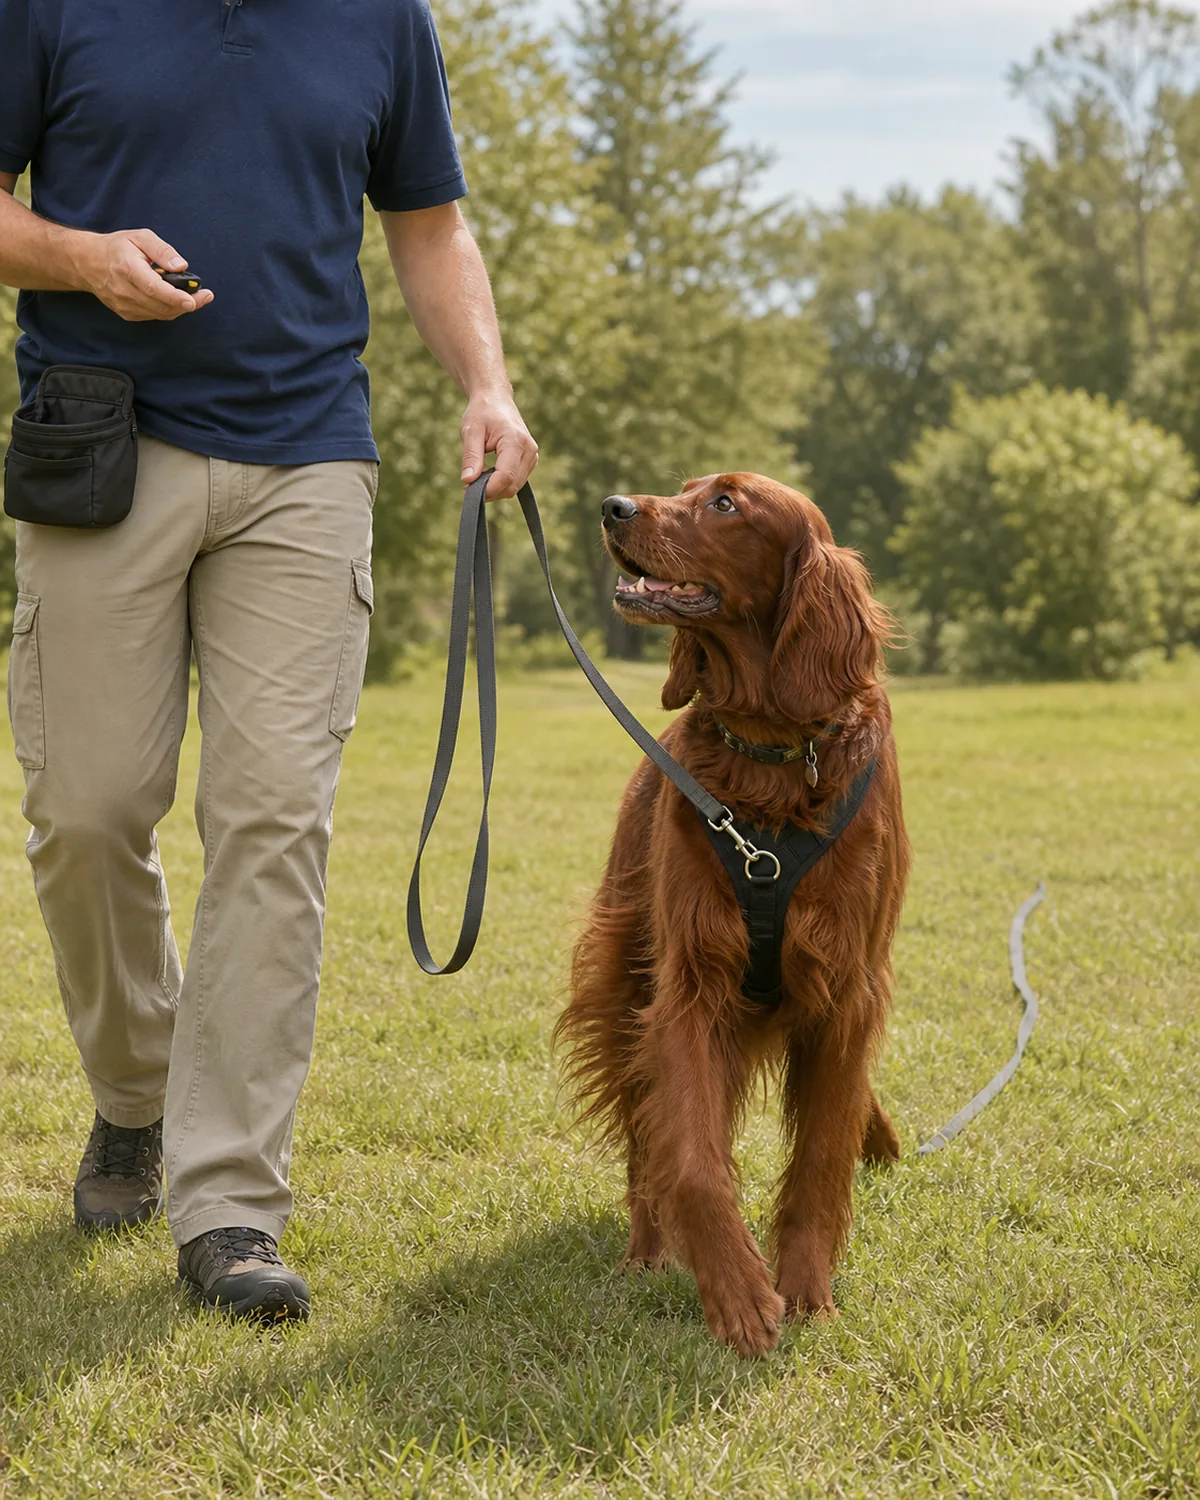
Four weeks of honest daily practice and the dog still drags you down the block, still loses it at every passing dog, or your hands are rope-burned and your shoulders ache — that is the signal to bring in a trainer. So is any dog who outweighs you by enough that physics is winning, or a reactive dog who is escalating around triggers.
Pick a force-free or fear-free certified trainer — credentials like CCPDT-KA, KPA, or IAABC are what to look for. Skip anyone who reaches for a prong, choke, or shock collar; the modern evidence is clear and you do not need to debate it. This isn’t failure; some dogs need a second pair of trained eyes to crack the loop.
- Get help after four weeks of honest practice if the dog still drags you down the block.
- Look for force-free, fear-free, or CCPDT-/KPA-/IAABC-certified trainers only.
- Walk away from anyone who reaches for a prong, choke, or shock collar.

Jess Calloway edits Pawliqa, where she shares dog care, grooming, training, and new-owner tips — plus DIY and pet-friendly home ideas — for anyone who wants a happy, well-cared-for dog. As a dog mom to three very different dogs, she writes the honest, tested version of what actually works. Every guide is image-led and reviewed for clarity, usefulness, image accuracy, and Pinterest-to-page alignment before it goes live. Visit the About page.