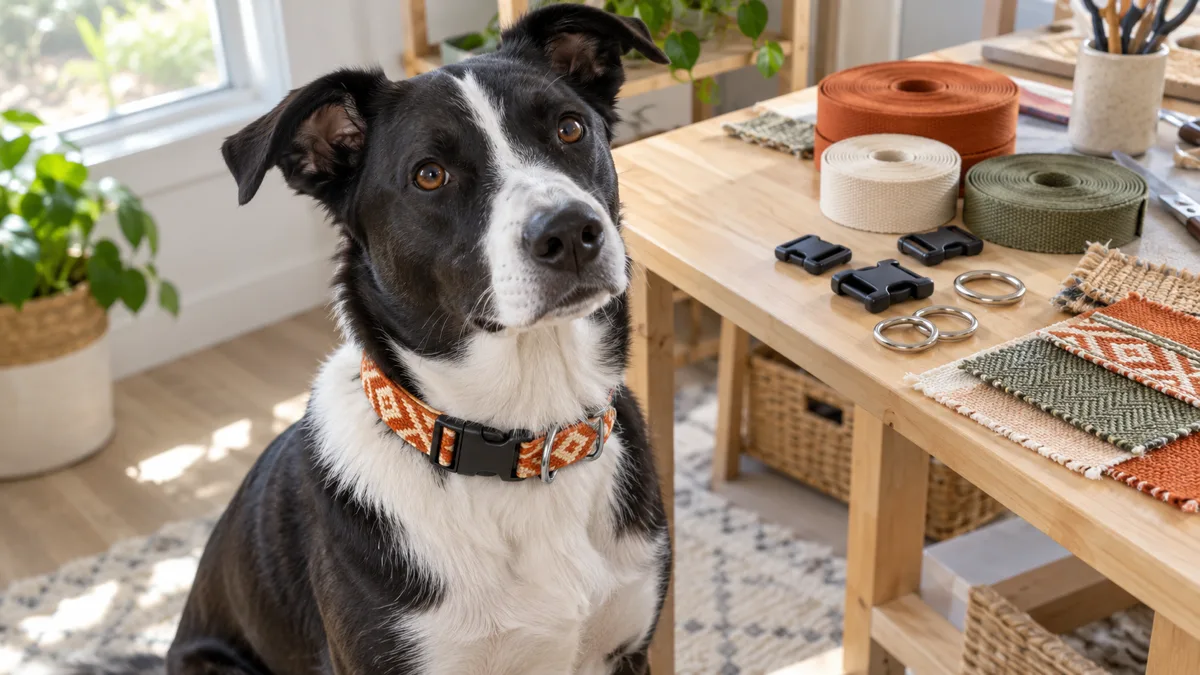
Making a dog collar yourself means you choose the exact width, material, and pattern — and you know how strong every stitch is. This guide covers the full process from picking webbing to the final safety check, no sewing machine required.
Jump to a section
Make a Dog Collar From Scratch
This guide walks from picking the right material through threading hardware, sewing, and the safety test that proves the collar is leash-ready.
You do not have to read top to bottom. Pick the situation that matches where you are right now.
You have never made a collar beforeStart at picking your material and work through each step in order. The whole project takes about an hour.
You already have webbing and hardwareJump to cutting and sealing to start the build, then follow the threading and sewing steps.
Your collar is done and you want to verify itGo straight to the safety check to confirm fit and strength before your dog wears it outside.
Pick Your Material
The base of the collar is a strip of flat material that sits against your dog's neck all day, so the choice matters more than you might expect.
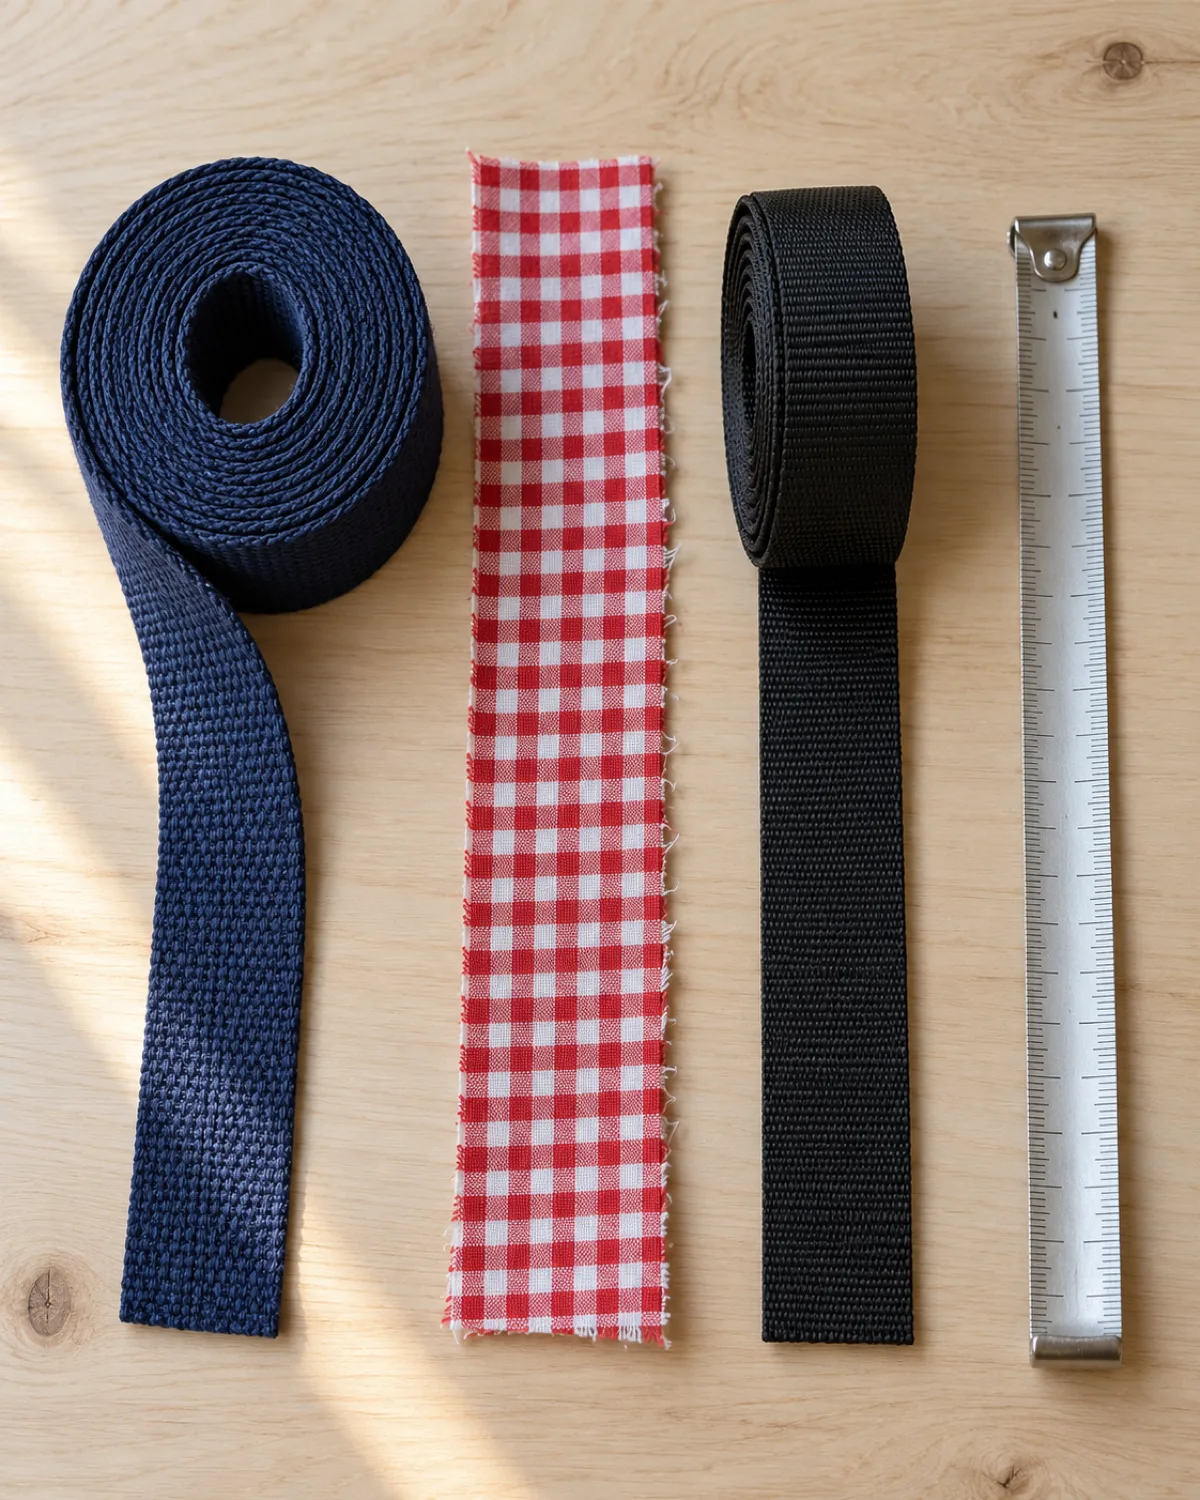
Nylon webbing is the most common starting point. It is cheap, available at any fabric store in widths from 1 cm to 5 cm, and strong enough for dogs of all sizes. The downside is that it can feel stiff against short-coated necks until it softens with wear.
Woven cotton webbing is softer from the start and comes in a wider range of colors and patterns. It absorbs water and dries more slowly than nylon, which means it can pick up odor faster if your dog swims or gets rained on regularly.
Fabric over webbing is the decorative option — you wrap a printed cotton or canvas fabric around a nylon core. This gives you unlimited pattern choices but adds a sewing step and makes the collar slightly thicker.
Factor
Nylon Webbing
Cotton Webbing
Fabric Over Webbing
Strength
Highest
Moderate
Depends on core
Comfort
Stiff at first
Soft from day one
Soft, slightly bulky
Dry time
Fast
Slow
Slow
Pattern options
Limited
Moderate
Unlimited
Width depends on your dog's size. A good starting rule:
Small dogs under 10 kg — 1.5 cm wide
Medium dogs 10–25 kg — 2 cm wide
Large dogs over 25 kg — 2.5 cm wide
Wider webbing distributes pressure better, but going too wide on a small dog makes the collar stiff and uncomfortable.
Gather the Hardware
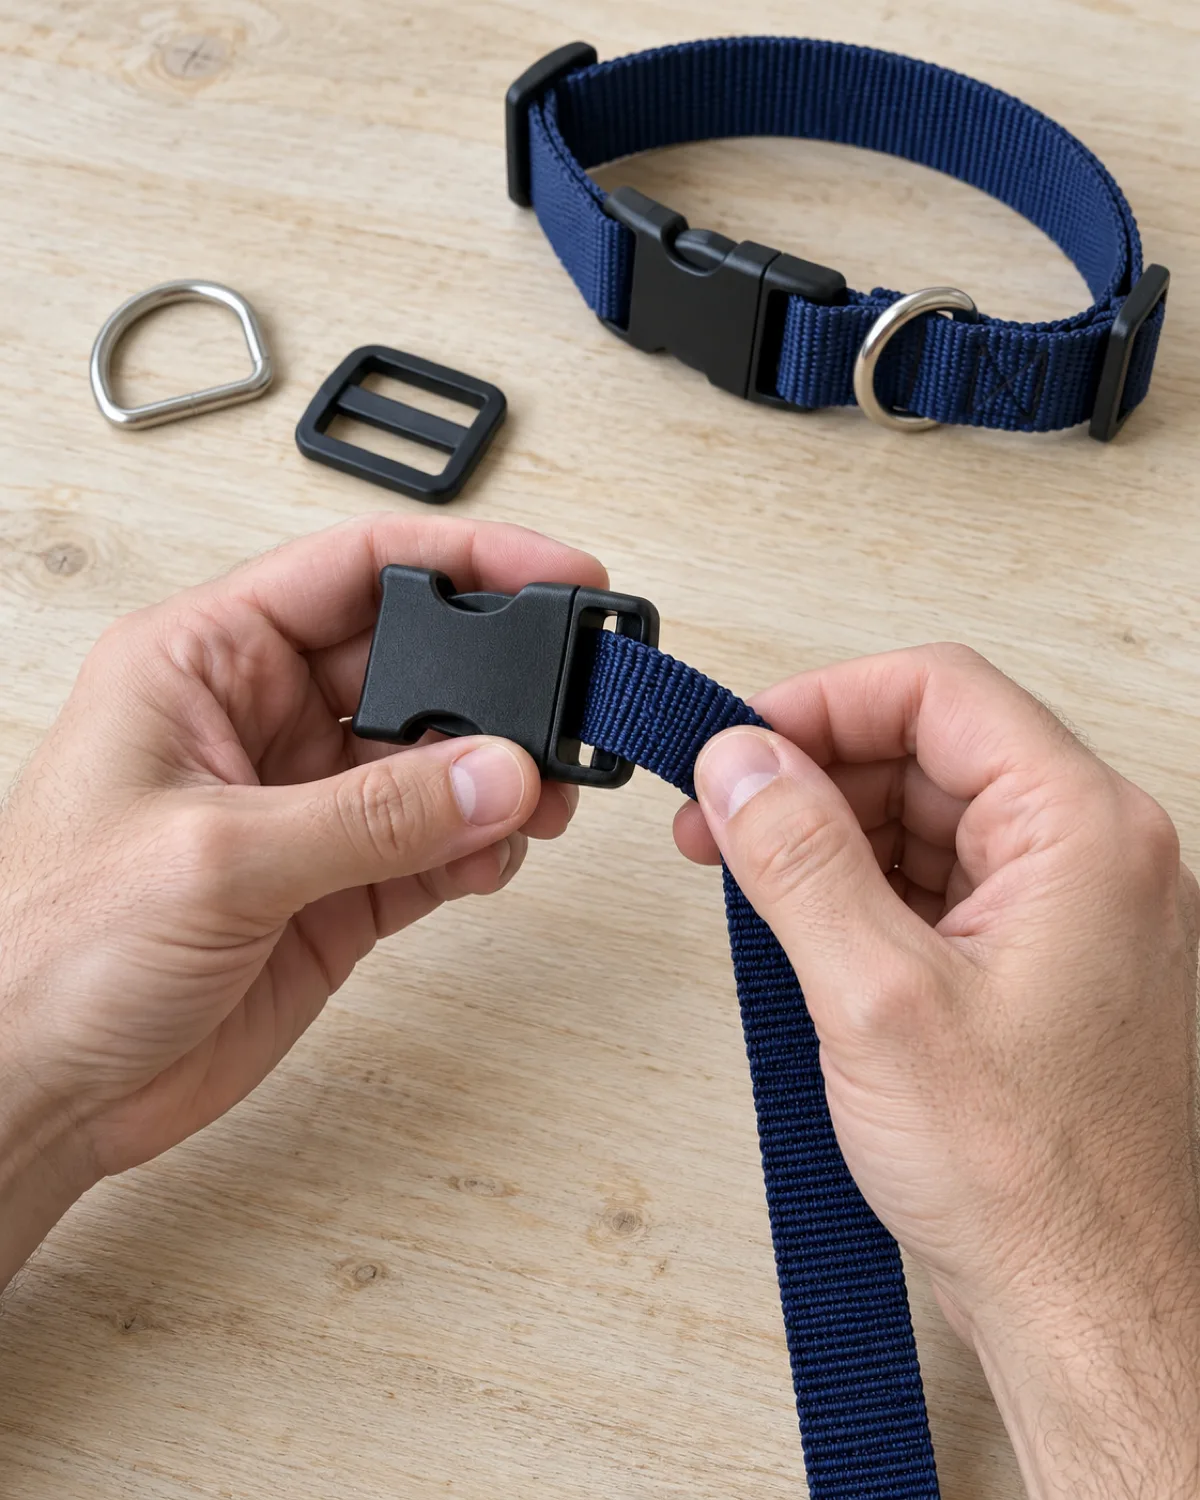
You need three pieces of hardware for a standard adjustable collar, and all of them should match the width of your webbing exactly.
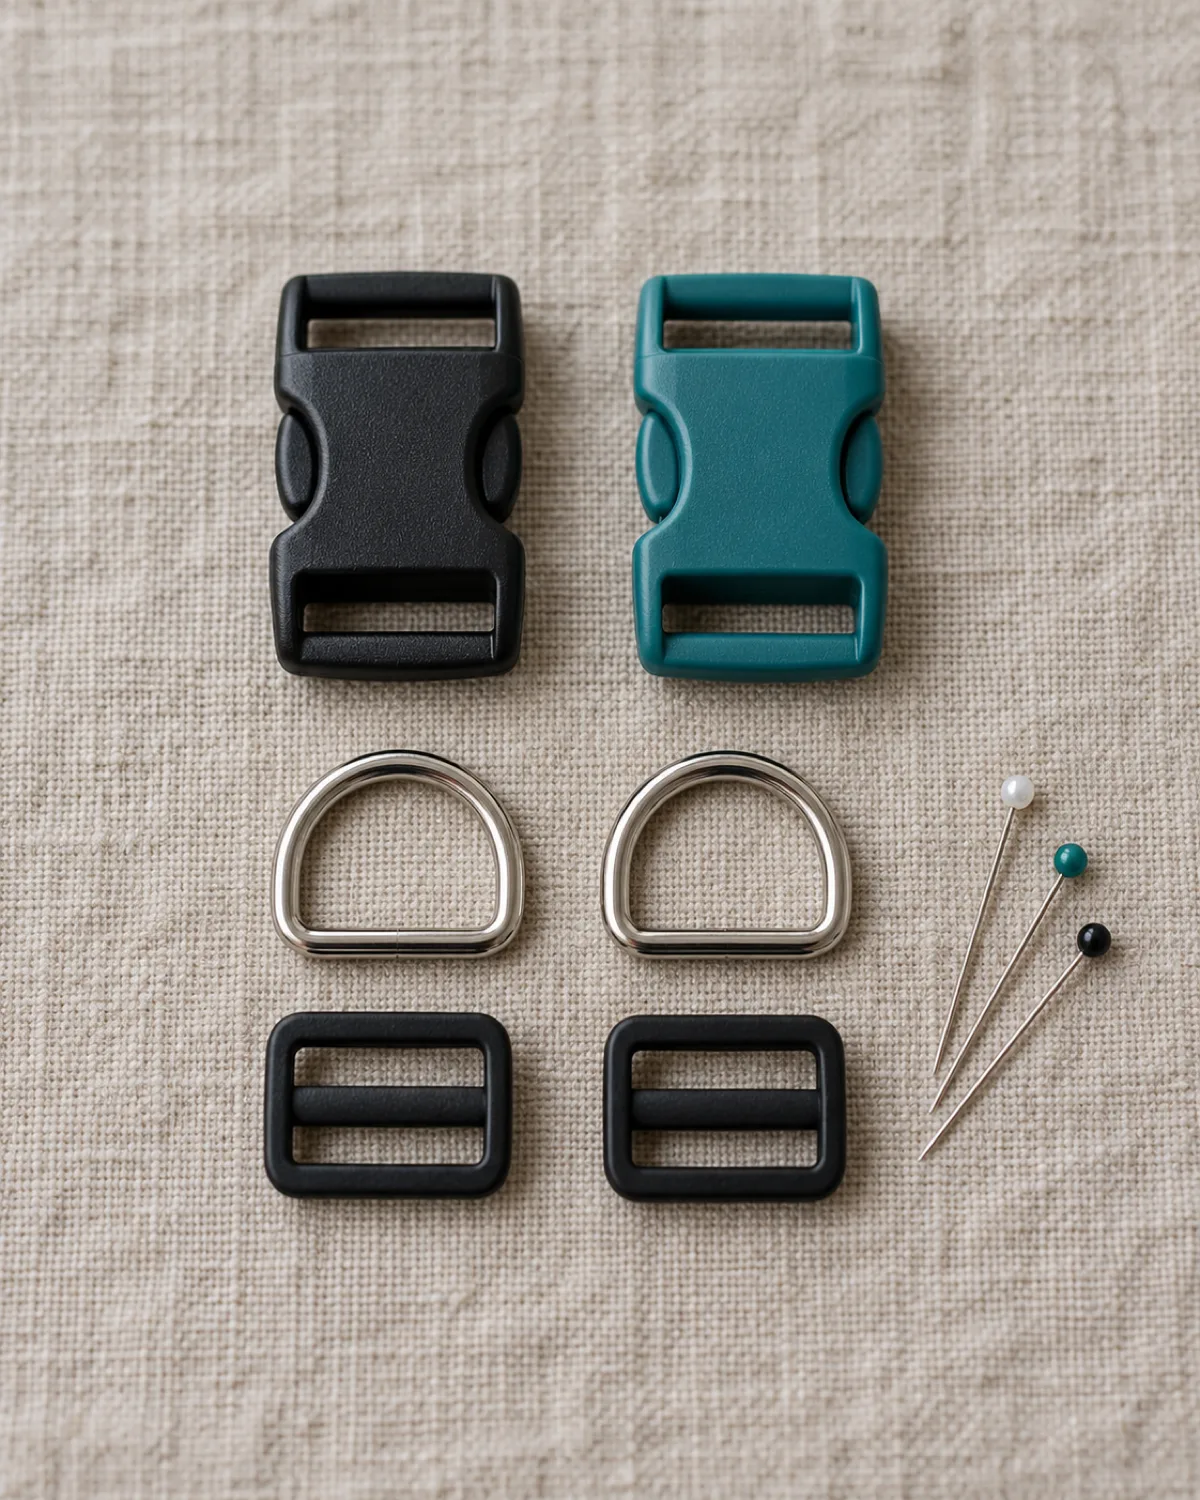
Side-release buckle — opens and closes the collar. Plastic works for dogs under 20 kg; larger dogs need metal rated for 3× body weight
D-ring — the leash clip and tag loop. Must be welded shut, not bent open
Triglide slide — adjusts collar length without moving the buckle. Match the exact webbing width
You also need:
A hand sewing needle with a large eye (a leather needle or heavy-duty sharp works best)
Strong thread — nylon bonded thread or polyester upholstery thread
Scissors or a rotary cutter
A lighter or match for sealing nylon ends
Straight pins or small binder clips to hold folds in place while you sew
Buy hardware from a pet supply notions seller rather than a general craft store. Dog collar buckles rated for pet use are tested for pull strength, which generic craft buckles are not.
Measure Your Dog
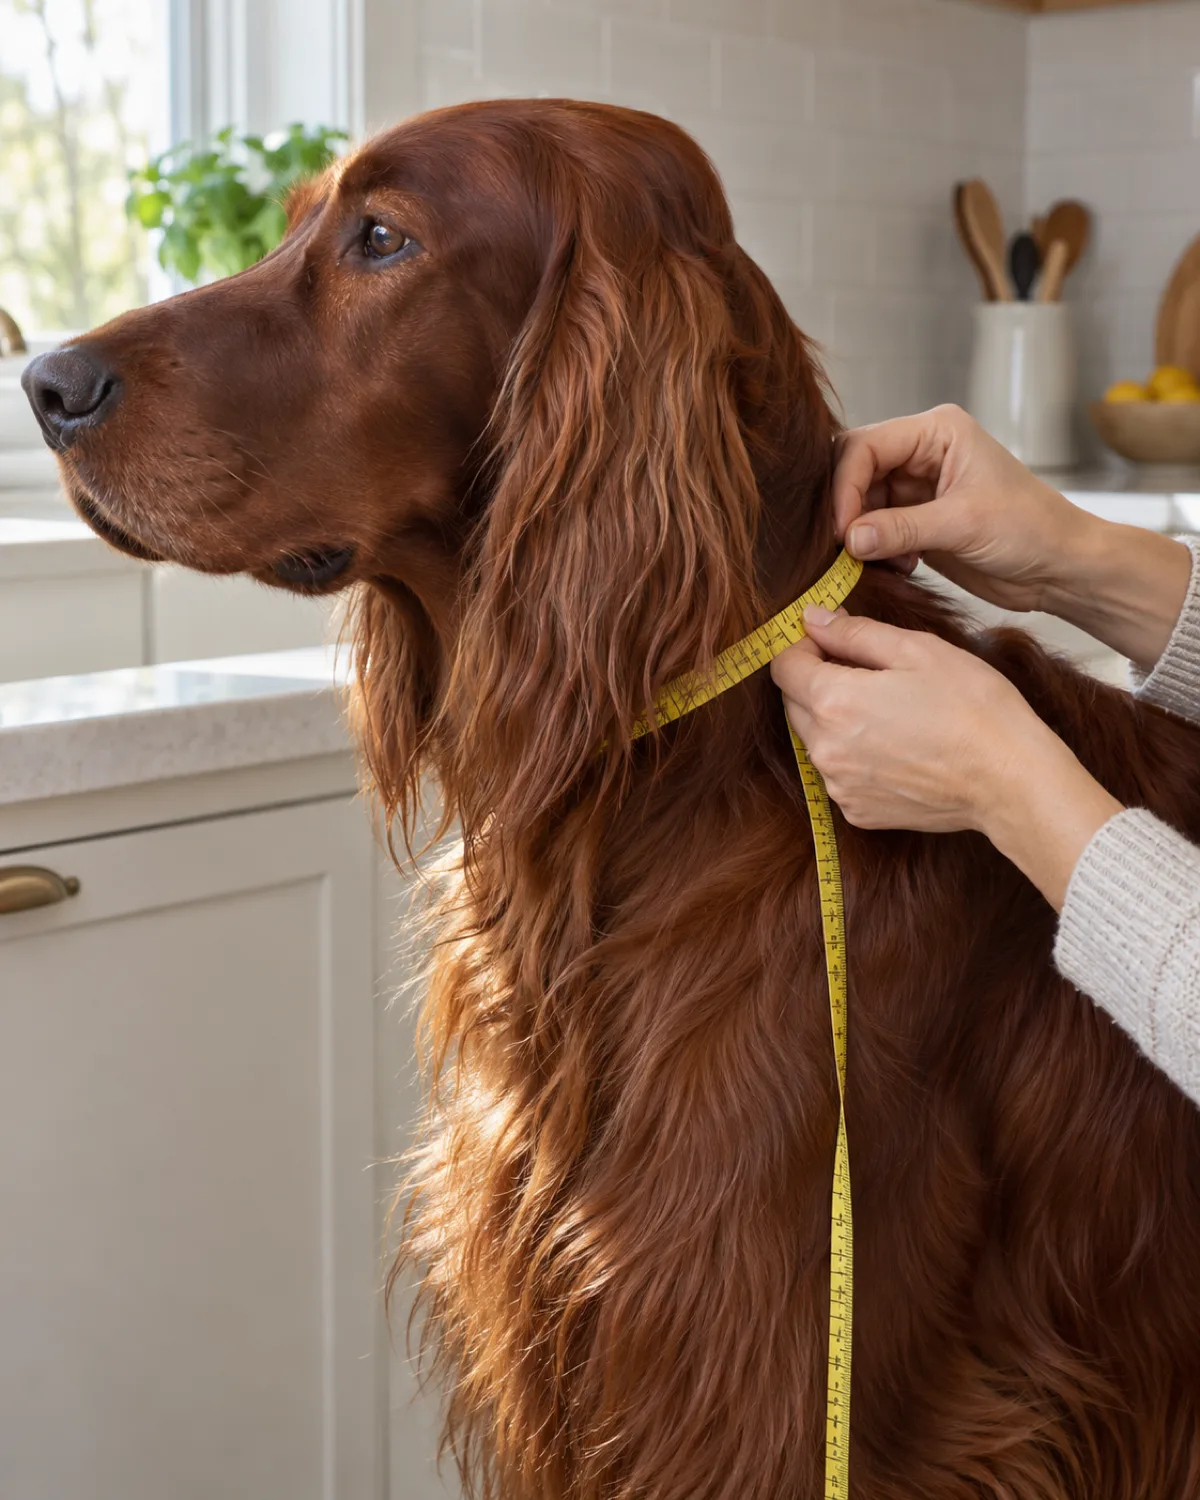
Get a soft fabric measuring tape and wrap it around your dog's neck at the spot where a collar normally sits — just below the ears and jawline, where the neck is narrowest.
Slip two fingers between the tape and your dog's skin. That gap is your comfort allowance. Write down this number as the wearing length.
Now add to get the cutting length:
Wearing length + 5 cm for the adjustment range (the overlap that runs through the triglide)
Plus 10 cm for the two fold-backs where you sew the webbing around the buckle and slide
So if your dog's wearing length is 40 cm, your cutting length is 55 cm.
If your dog is between sizes or still growing, add an extra 2–3 cm to the adjustment range. You can always trim excess webbing later, but you cannot add length back once it is cut.
The rules that keep a homemade collar safe
Three Non-Negotiables
A collar that looks good but fails under stress is worse than no collar at all. These three rules separate a safe build from a risky one.
Hardware must exceed your dog's pull forceA side-release buckle should be rated for at least three times your dog's body weight. A 25 kg dog can generate well over 50 kg of sudden force during a lunge. If the buckle is not rated, assume it is not strong enough.
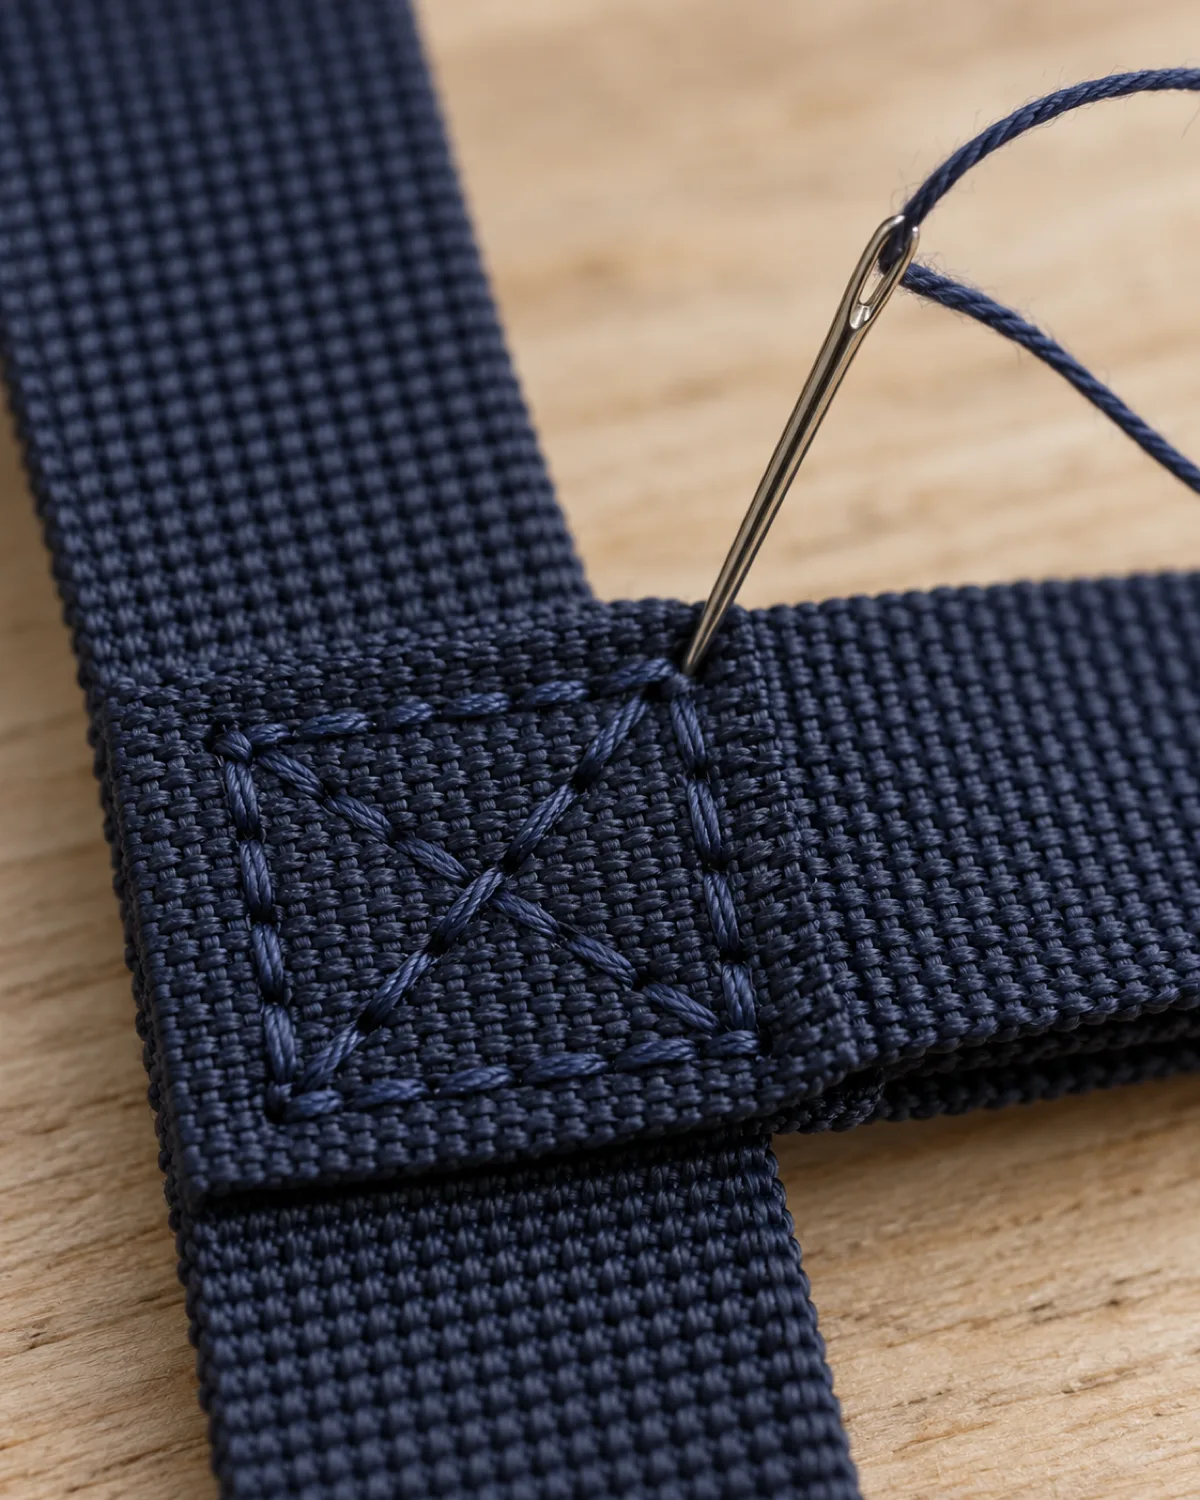
Every fold-back gets a box stitchA straight line of stitches will unzip under a sharp pull. A box stitch — a square with an X through the center — distributes force in four directions and is the standard for load-bearing webbing joins in harnesses and seatbelts.
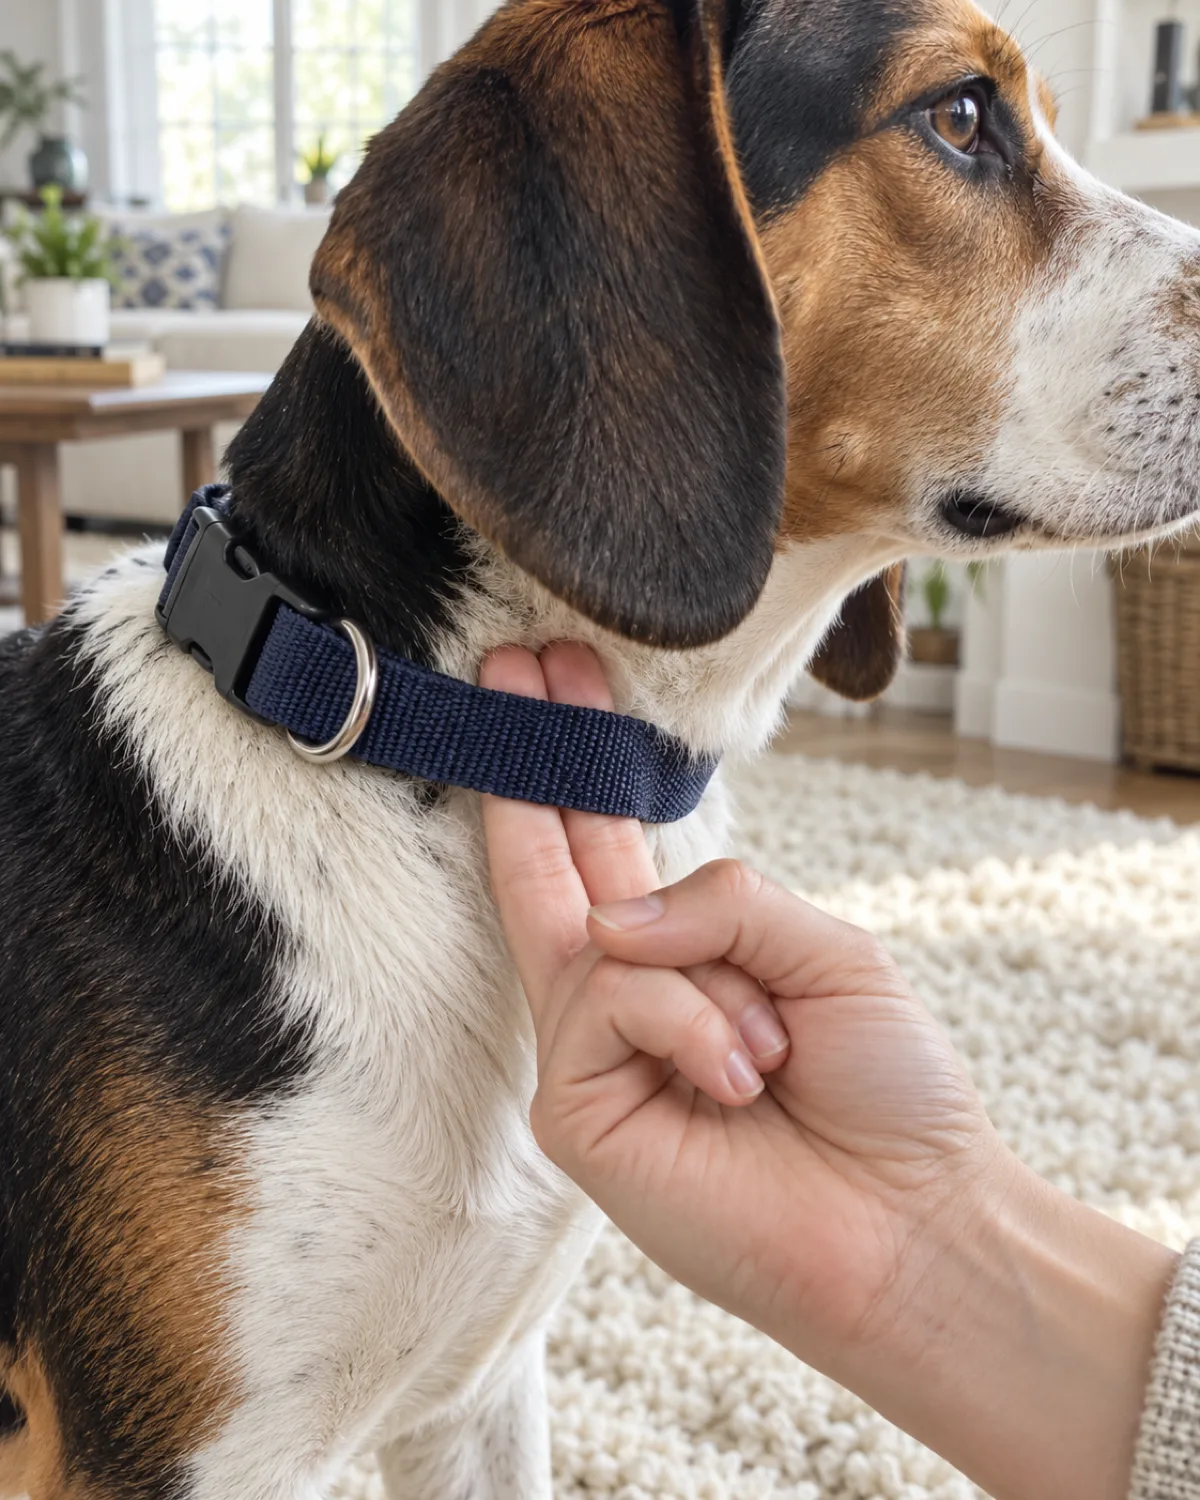
The two-finger test must pass every timeSlip two fingers flat between the collar and your dog's neck. If you cannot fit two, it is too tight and risks choking. If you can fit three or more, it is too loose and the dog can back out of it.
Cut and Seal the Ends
Lay the webbing flat on a cutting surface and mark your cutting length with a pen or chalk. Cut straight across with sharp scissors or a rotary cutter — a clean edge is easier to seal.
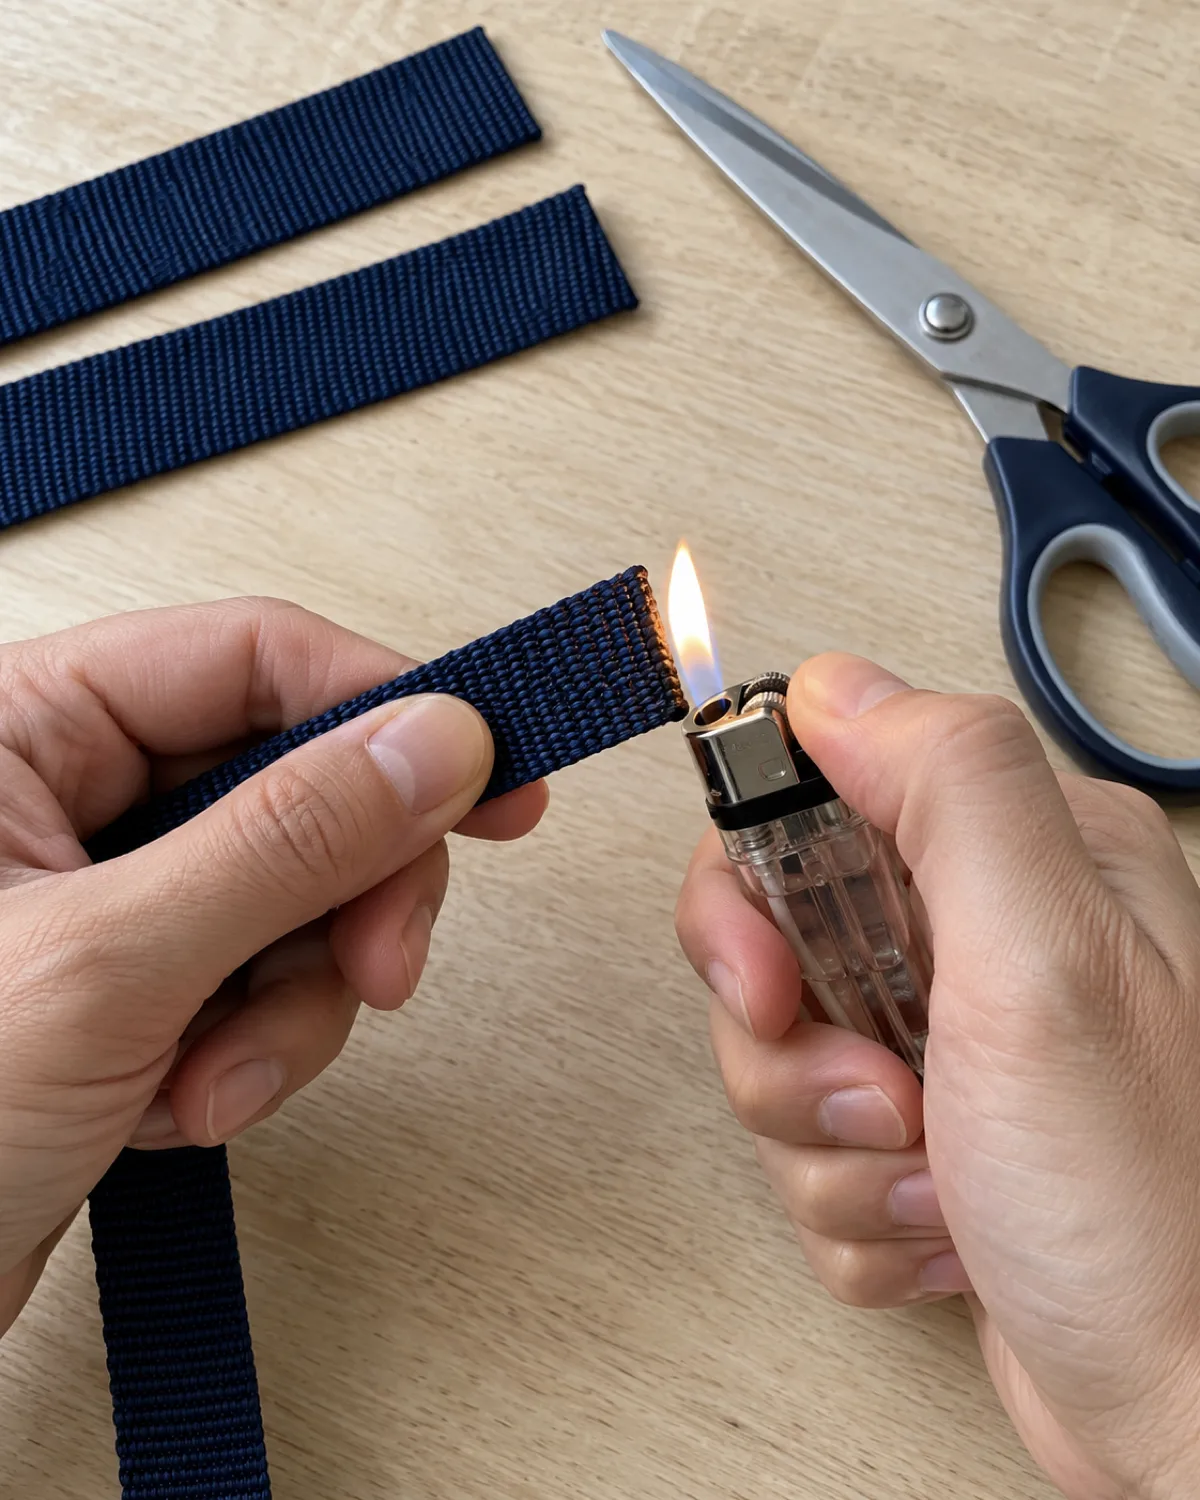
For nylon or polyester webbing, hold a lighter flame about 1 cm from the cut end and slowly move it across. The heat melts the fibers and fuses them into a smooth bead that prevents fraying. Work on a fireproof surface, keep the flame moving, and do not touch the melted end until it cools completely.
For cotton webbing or fabric, fold the raw edge under about 5 mm and press it flat. You will sew through this fold when you attach the hardware, so a crease helps keep it neat.
A few things to watch:
Nylon drips when it melts — hold the webbing horizontally so the drip falls onto your work surface, not your hand
Seal both ends even if you plan to trim later, because frayed ends are harder to thread through small buckle slots
If you are using fabric wrapped over a nylon core, seal the nylon core ends separately before wrapping
Thread the Buckle and Slide
This is the step where the order matters. Get it wrong and you have to un-thread everything and start over. Follow this exact sequence:
Female buckle end — Thread one end of webbing through the bottom slot of the female piece (the part with two prongs), pull about 4 cm through, fold it back on itself, and pin the fold
Triglide slide — Thread the long free end through the center bar from underneath, over the top, and back down through the bar again to create a loop. Do not sew yet
D-ring — Slide the D-ring onto the webbing between the triglide and the next piece
Male buckle end — Thread the free end through the male piece (the part with the center tongue), pull through, fold back about 4 cm, and pin
Before you sew, clip the buckle together and wrap the collar around something roughly the size of your dog's neck — a rolled towel works. Check that:
The collar adjusts smoothly through the triglide
The D-ring slides freely between the triglide and the male buckle
Both fold-backs have enough webbing to sew through (at least 3 cm of overlap)
If anything is tight or the ring is trapped, un-pin and re-thread before you commit to stitching.
Sew It Together
Thread your needle with about 60 cm of bonded nylon or upholstery thread and tie a knot at the end. You will sew a box stitch at every fold-back point — that means two stitching locations on a standard collar.
Here is how to sew one box stitch:
Start at the bottom-left corner of the overlap area
Sew straight across to the bottom-right corner, keeping your stitch length at 3–4 mm
Turn and sew up the right side to the top-right corner
Sew across the top to the top-left corner
Sew down the left side to where you started — you now have a complete rectangle
Sew diagonally from the bottom-left to the top-right corner
Sew straight across to the top-left corner
Sew diagonally from the top-left to the bottom-right corner
The finished stitch looks like a rectangle with an X inside it. That X is what prevents the stitch from unzipping if one thread breaks.
A few sewing tips that make the work easier:
Use a thimble — pushing a needle through doubled webbing takes real pressure
Pull each stitch tight before starting the next one so the thread sits flat against the webbing
If the needle will not push through, use small pliers to grip and pull it
Backstitch three or four stitches at the end and trim the thread close
Repeat the box stitch at the second fold-back point. Both points carry the same load, so both need the same stitch quality.
The Safety Check
Before your dog wears this collar outside, run these three tests in order.
The pull test — hold the collar in both hands near one of the stitched points and pull as hard as you can for a full five seconds. Repeat at the other stitched point. If any stitch shifts or loosens, reinforce it with a second pass of box stitching over the original
The buckle test — clip the buckle closed and pull the two ends of the collar in opposite directions. The buckle should hold firmly with no creaking or flexing. If you hear a crack or feel the plastic give, replace the buckle with a higher-rated one
The fit test — put the collar on your dog, adjust the triglide until it sits at the right length, and run the two-finger check. Two fingers should slide flat between the collar and your dog's neck with light resistance
Also check that:
The D-ring hangs at the top of the neck when the collar is on (not buried under a fold)
The adjustment range through the triglide moves smoothly in both directions
The tag end of webbing beyond the triglide is long enough that it will not slip back through if your dog rolls
If anything in a DIY dog project feels questionable, redo it. A collar failure on a walk is not a minor inconvenience — it is a safety emergency.
Keep It Clean
A handmade collar needs the same maintenance as a store-bought one — maybe a little more, because you want to keep an eye on your stitching.
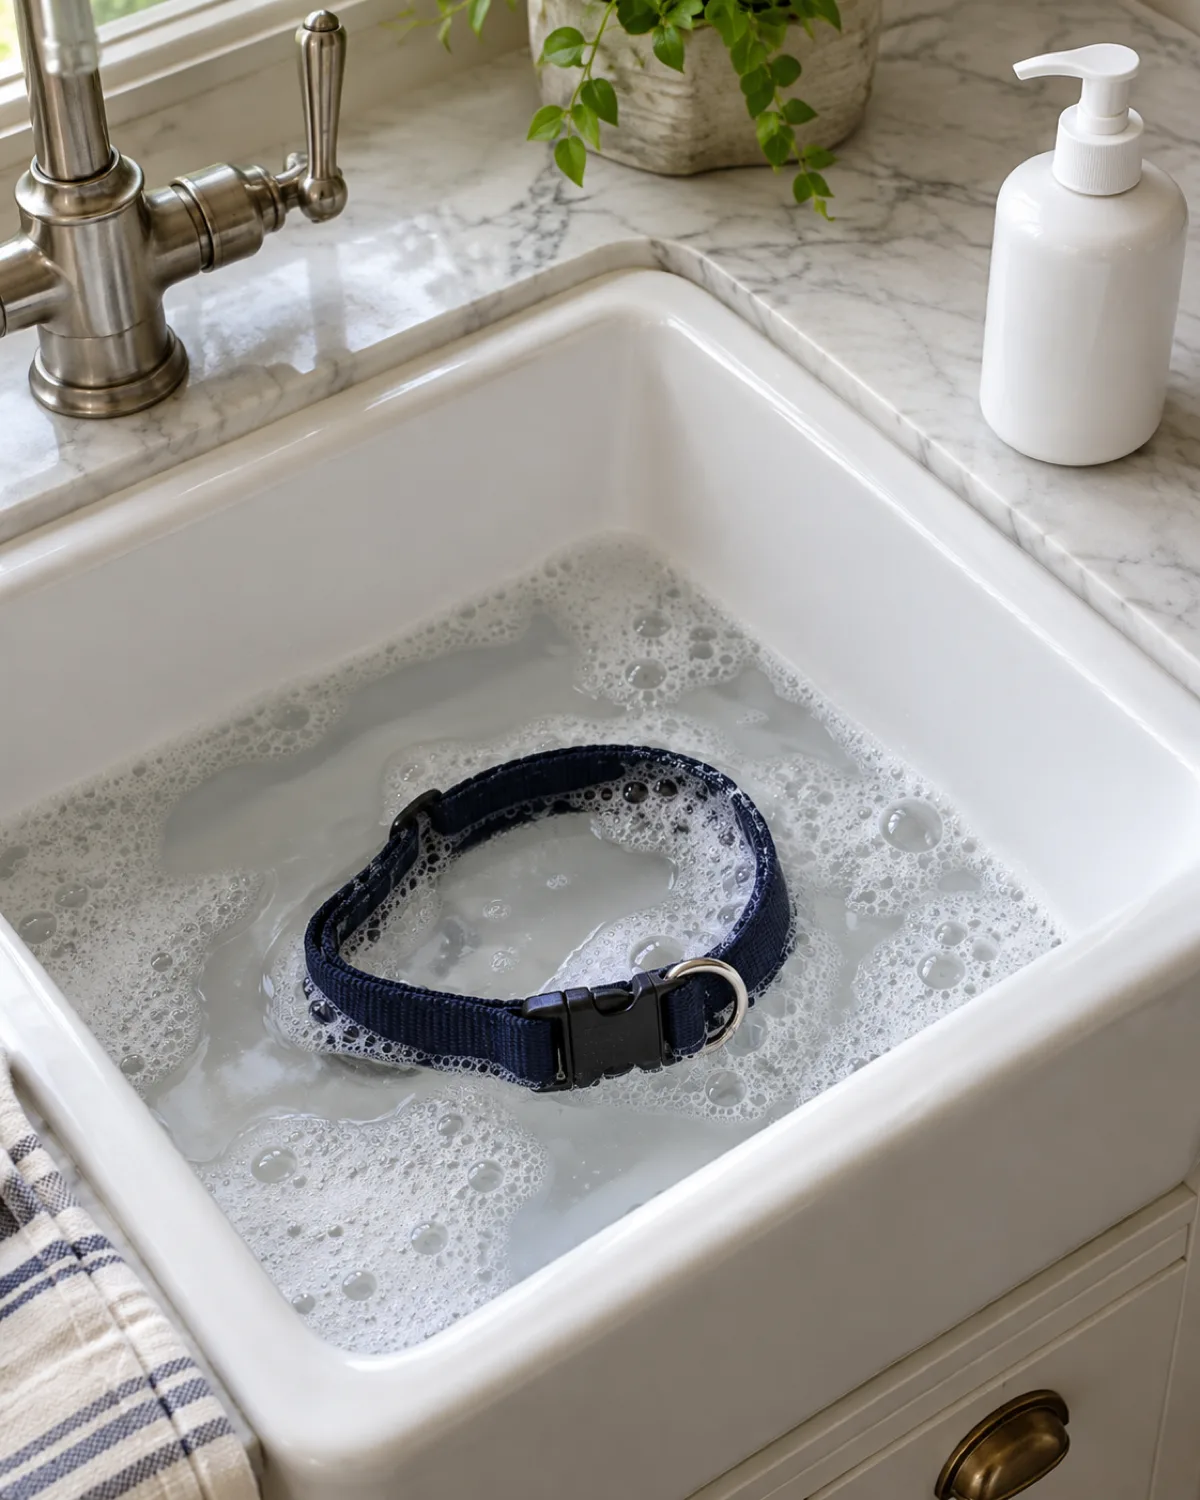
Nylon or polyester webbing — toss it in a mesh laundry bag and machine wash on a gentle cycle with cold water and a mild detergent. Do not use bleach or fabric softener. Air dry only. A dryer can warp plastic buckles and weaken thread.
Cotton webbing or fabric-wrapped collars — hand wash in lukewarm water with a small amount of gentle soap. Squeeze out the water without wringing, reshape it flat, and let it air dry completely before putting it back on your dog. A damp collar against skin can cause irritation.
Run a monthly check:
Look at both box stitch points for loose or frayed thread
Check the fold-back edges for any webbing pulling away from the stitching
Test the buckle clip — it should still snap closed with a firm click
Inspect the D-ring for any bending or gap at the weld
If you spot wear at a stitch point, reinforce it with a new layer of box stitching before using the collar again. If the webbing itself is fraying, thinning, or faded to the point where you cannot see the weave pattern clearly, retire the collar and make a new one.
A well-made collar on a dog that does not pull hard should last six months to a year of daily wear. Heavy pullers, dogs that swim often, or puppies that are still growing through sizes may need a replacement sooner. The beauty of making your own is that the second one takes half the time — you already know the hardware, the stitch, and the fit your dog needs.
For more hands-on projects, check out the guide on how to make a dog bandana or ideas for building a DIY dog gate to keep your dog safely contained at home.
Save this for later
Dog Collar DIY in 8 Takeaways
1Pick Webbing by Dog SizeUse 1.5 cm width for small dogs, 2 cm for medium, and 2.5 cm for large dogs.
2Match Hardware to Webbing WidthSide-release buckle, D-ring, and triglide must all match the exact width of your webbing.
3Measure Neck Plus AllowanceAdd 5 cm for adjustment range and 10 cm for fold-backs to your dog's wearing length.
4Seal Cut Ends ImmediatelyMelt nylon ends with a lighter or fold cotton edges under to prevent fraying.
5Thread in the Right OrderFemale buckle first, then triglide, then D-ring, then male buckle — reversing any step means starting over.
6Box Stitch Every Fold-BackA rectangle plus an X distributes force in four directions and prevents unzipping.
7Pass All Three Safety TestsPull test at each stitch, buckle test under tension, and two-finger fit test on the dog.
8Check Stitches MonthlyA monthly inspection catches thread wear before it becomes a safety issue.
pawliqa.com
P
About the author
Jess Calloway
Jess Calloway edits Pawliqa, where she shares dog care, grooming, training, and new-owner tips — plus DIY and pet-friendly home ideas — for anyone who wants a happy, well-cared-for dog. As a dog mom to three very different dogs, she writes the honest, tested version of what actually works. Every guide is image-led and reviewed for clarity, usefulness, image accuracy, and Pinterest-to-page alignment before it goes live. Visit the About page.
Dog Collar DIY FAQ
What width webbing should I use for a large dog?
For dogs over 25 kg, start with 2.5 cm (1 inch) webbing. Giant breeds or heavy pullers may benefit from 3.8 cm (1.5 inch) webbing, which distributes pulling force across a wider area of the neck. Always match your buckle and triglide width to the webbing.
Can I use a sewing machine instead of hand sewing?
Yes, if your machine can handle doubled webbing. Use a heavy-duty needle (size 16 or 18) and a walking foot if you have one. Sew the same box stitch pattern — a rectangle with an X — at each fold-back. A sewing machine produces more consistent stitch tension than hand sewing, which is an advantage for pull strength.
How do I know if the collar is too tight?
Slide two fingers flat between the collar and your dog's neck. If your fingers go in with light resistance, the fit is correct. If you have to force them in or they will not fit at all, loosen the triglide. Signs your dog is wearing a too-tight collar include rubbing marks, scratching at the neck, or reluctance to walk normally.
How often should I replace a homemade dog collar?
Inspect the collar monthly for frayed thread, worn webbing, or buckle fatigue. Most well-made collars last six months to a year of daily wear. Replace it sooner if your dog is a heavy puller, swims frequently, or if any part of the stitching feels loose when you tug it.
Fifteen DIY dog gate ideas covering pallet wood slat gates, tension-rod fabric panels, PVC pipe frames, barn door sliders, dowel rod gates, baby gate extension hacks, plywood cutouts, driftwood-and-rope gates, repurposed shutters, chicken wire frames, accordion screens, banister-mount gates, picket fences, industrial pipe builds, and woven panel gates for every doorway, staircase, and open floor plan in your home.