Most home ear cleaning is either skipped for years until an infection arrives, or done weekly with the wrong tools until an infection arrives anyway. The work itself is small. The judgment around it is what most owners are missing.
This is the calm, vet-friendly version: a 60-second weekly check that decides whether you clean at all, a 4-step method when you do, and a short list of common moves that quietly cause the next vet visit.
My oldest dog has long heavy floppy ears and grew up on weekly peroxide flushes because that was the family habit. After three infections in a year, our vet asked us to stop everything for a month. We switched to a plain pH-balanced cleaner used about once a month, and the infections stopped.
Healthy ears need less cleaning than the internet implies, and a suspect ear needs a vet, not a wet wash. This guide walks both ends — the weekly check that tells you which is which, and the four-step method when a clean is actually called for.
- 1Why some dog ears need more cleaning than others
- 2The 60-second weekly ear check
- 3Three signs it’s infection, not just dirt
- 4An honest short supply list
- 5Cotton ball, not Q-tip — why swabs damage
- 6The 4-step clean (flood, massage, shake, wipe)
- 7How often is right (and how often is too much)
- 8The calm-hold setup, no fight required
- 9The drying habit after swims and baths
- 10Hair in the canal: pluck or leave alone?
- 11The routine plug-in (when to do ears)
- 12Common mistakes that look like cleaning
- 13When to stop DIY and see the vet
Why Some Dog Ears Need More Cleaning Than Others
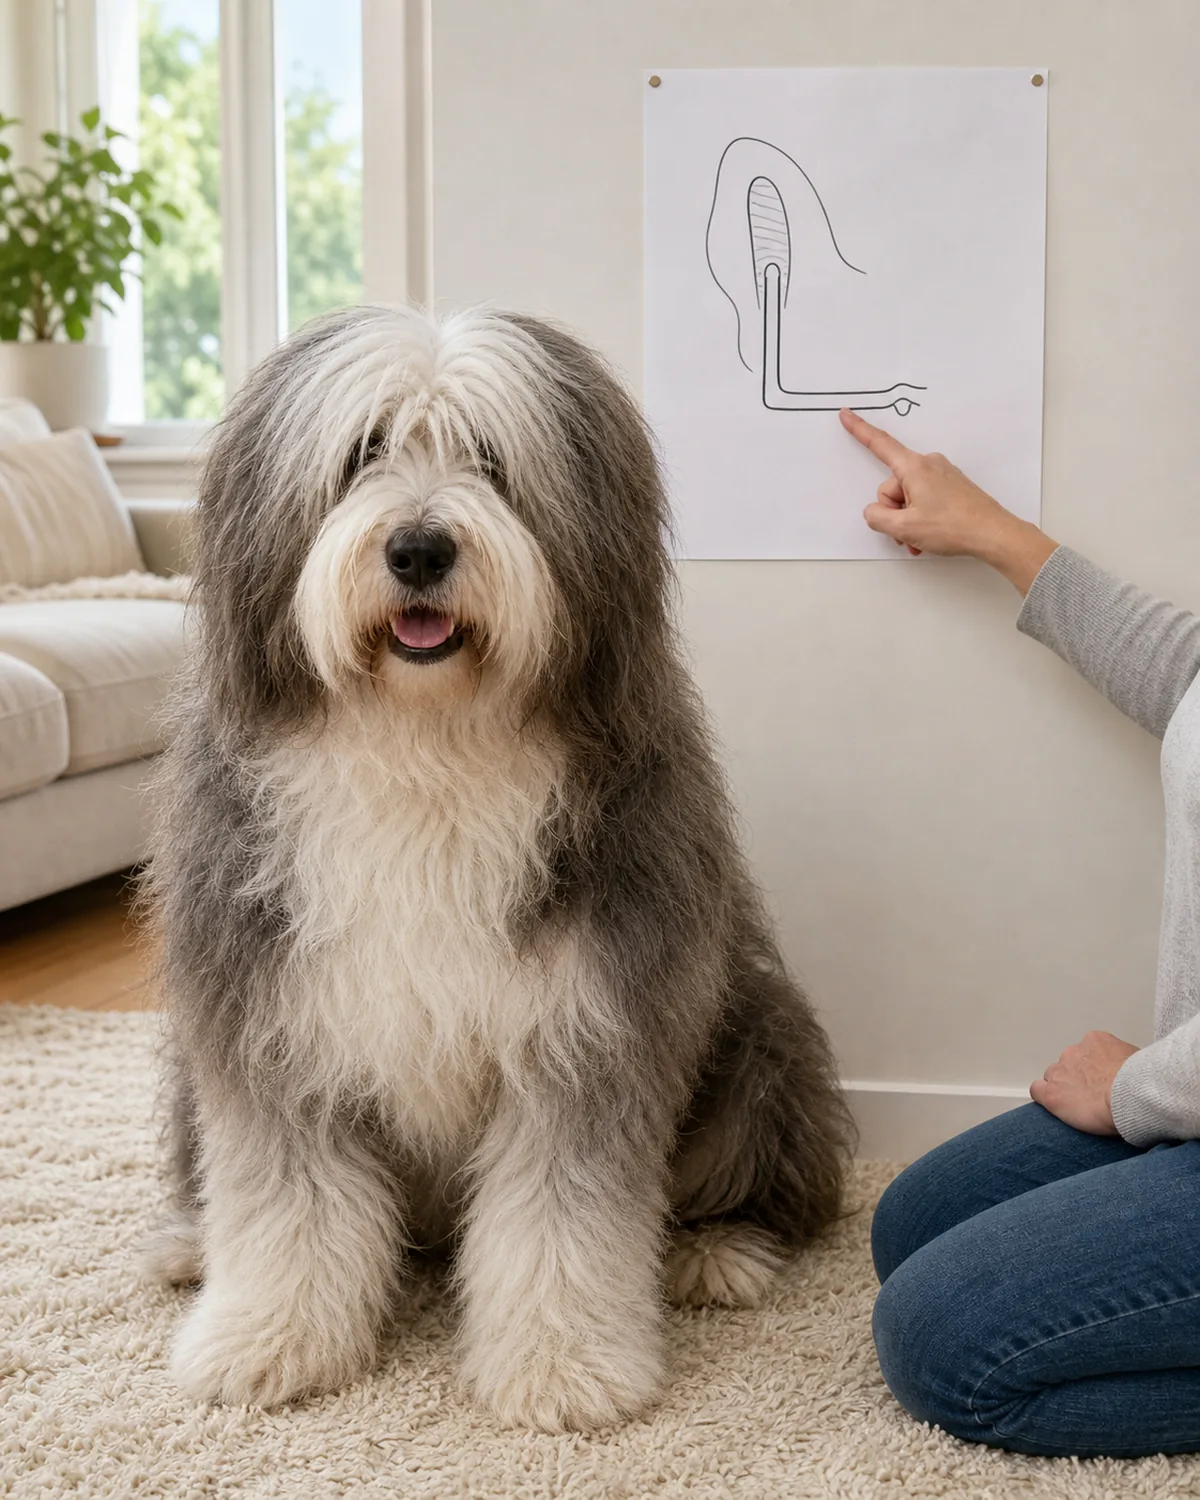
The dog ear canal is L-shaped: it drops down vertically from the opening then bends inward horizontally toward the eardrum. That bend is the whole reason home ear care is its own topic. Wax, moisture, hair and debris all collect at the corner of the L, and gravity does not help you reach it.
How often that canal needs help depends almost entirely on the dog. A short-eared upright spitz with a dry coat and a desk-bound life may go a year between cleans. A long-floppy-eared spaniel who swims twice a week lives in a different ear-care reality, and a curly-coated dog with hair growing inside the canal is in a third one. The schedule that fits one will harm another.
- Upright-eared short-coated dogs usually need monthly visual checks and almost no active cleaning unless something is visibly off.
- Floppy long-eared dogs need a weekly visual check and a real clean every two to four weeks, more after swims.
- Hair-in-canal breeds plus humid climates or regular swimming each push the cleaning rate up by one tier.
The 60-Second Weekly Ear Check (Look, Smell, Touch)
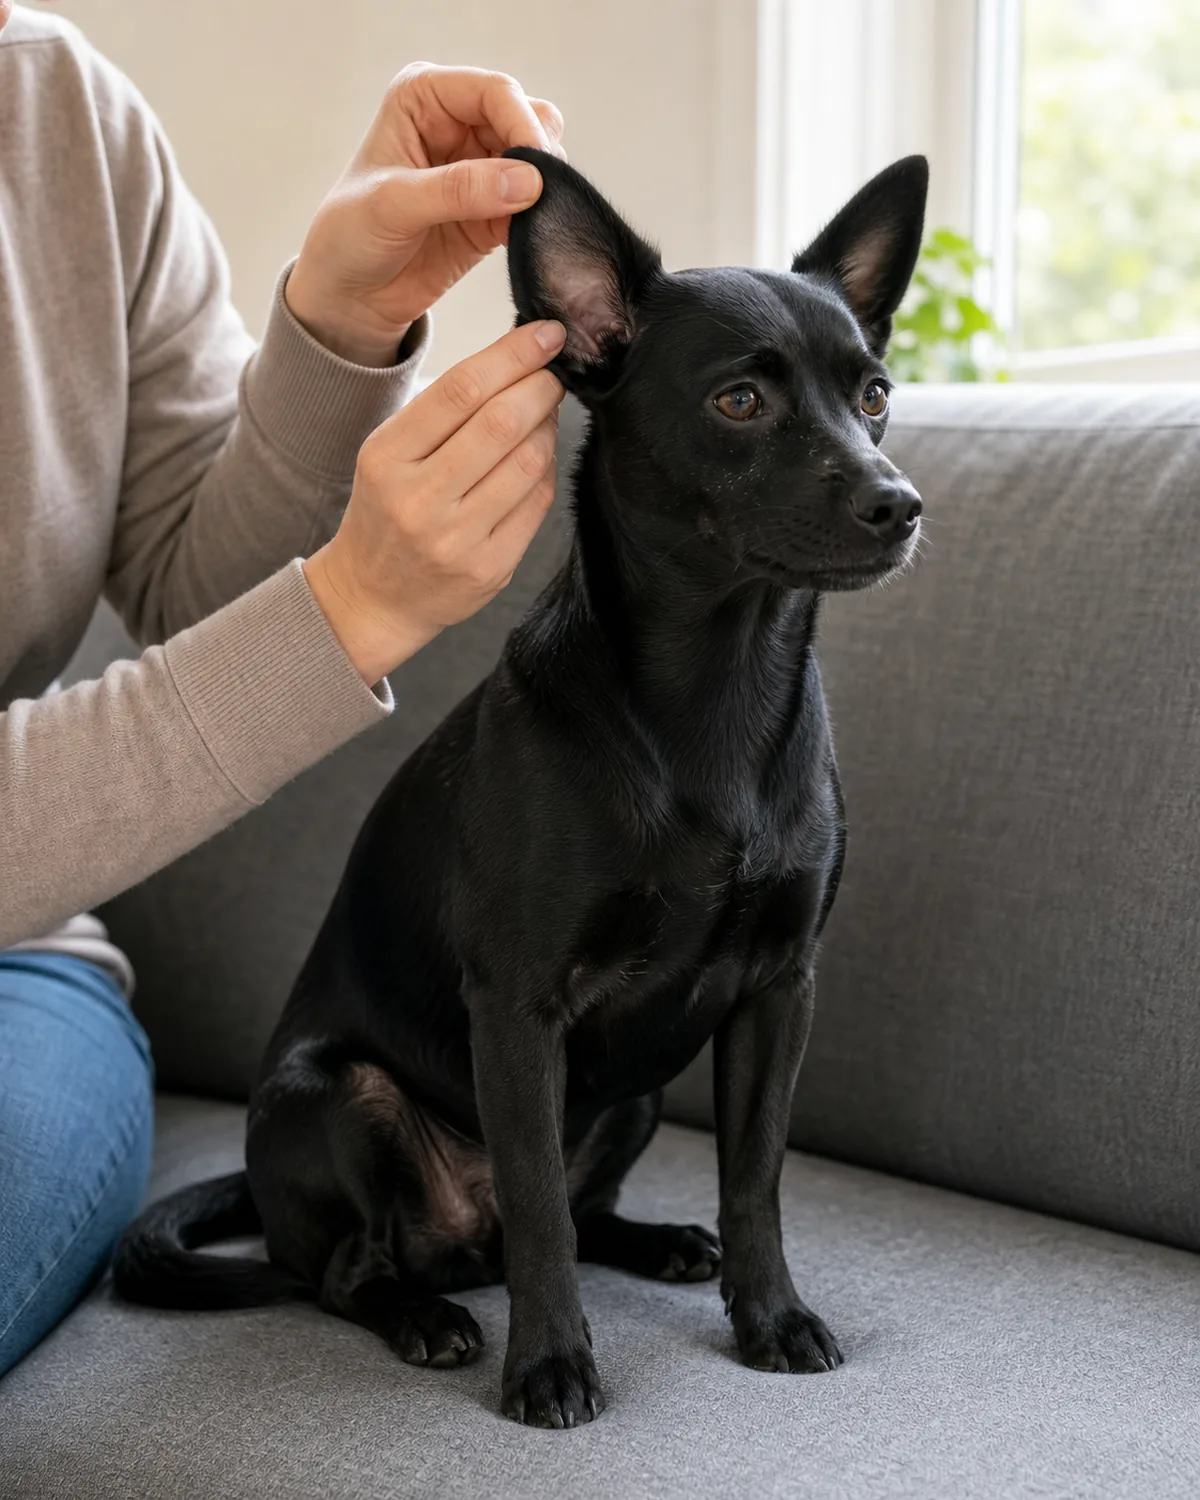
The trap most owners fall into is waiting for a head shake or a smell-from-across-the-room before checking. By then the inside of the ear has been wrong for a week. A weekly look that takes less time than brushing teeth pre-empts almost everything that comes after.
The check has three parts. Look at the pinna interior in good light: it should be pale pink with maybe a faint glossy coat of clear or pale tan wax, never red, never coated in clumps. Smell from about five centimeters away: neutral, faintly warm dog, never sweet, never yeasty, never sour. Touch the pinna with the back of a finger: cool, not hot, not swollen, no flinch from the dog.
- A weekly check on every dog catches problems while they are still a one-cleaner fix.
- All three signals normal means continue the routine and do not actively clean this week.
- Any one signal off moves you to the next step to rule out infection before any home cleaning.
Three Signs It’s Infection, Not Just Dirt (Stop and Call the Vet)
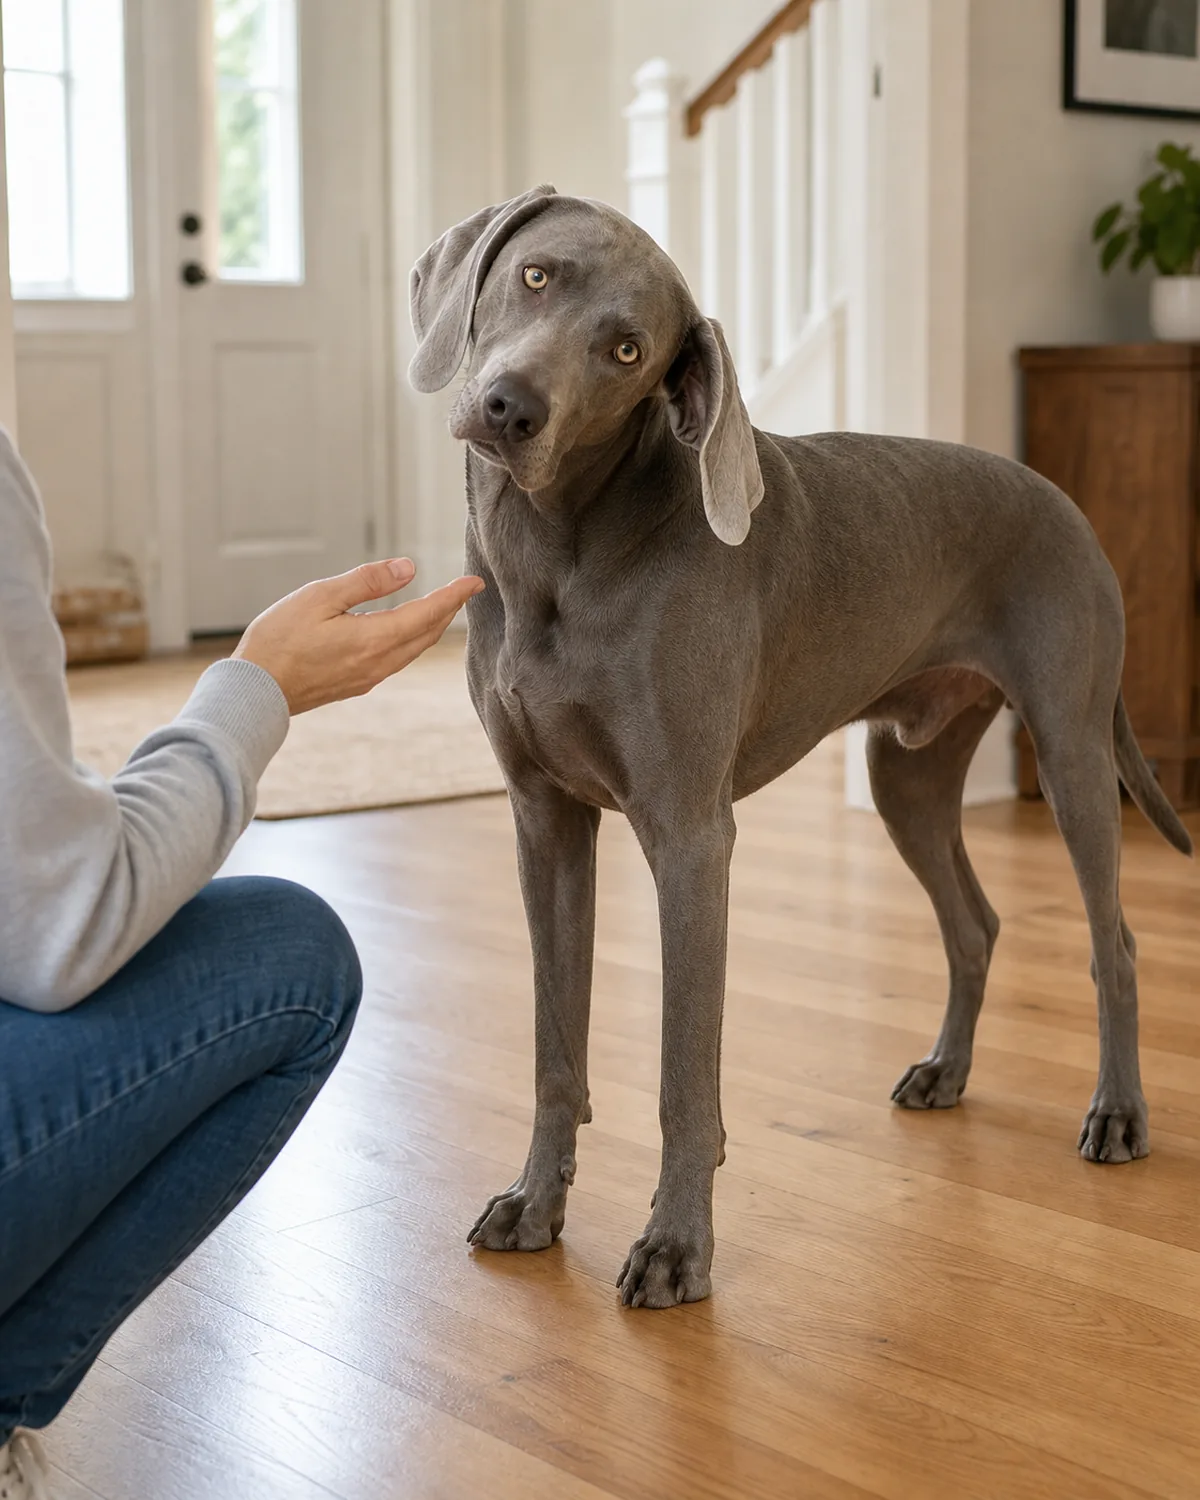
This is the section that decides whether the rest of the article applies to your dog this week. Home ear cleaning is for healthy ears. Suspect ears need a vet because the cleaner you have at home is not antimicrobial, and a wet wash on inflamed tissue can make a yeast or bacterial bloom worse within a day.
Three signals say stop. The first is thick brown or black gunky discharge with a strong yeast or foul smell, not a faint waxy tan. The second is visible redness, swelling, or heat on the pinna, or the dog flinching, vocalizing, or pulling away when you barely touch the ear base.
The third is a persistent head tilt, constant head shaking, scratching at one ear, or any change in hearing that lasts more than a day.
- Any one signal present means book a force-free or fear-free vet visit before any home cleaning.
- Do not pre-treat with peroxide, alcohol, vinegar, coconut oil, or human ear drops while you wait.
- Note which ear and which signal so the vet can match it to what they see on the otoscope.
You do not need every step at once. Find the version of “your dog” below and begin there.
What You Actually Need (An Honest Short Supply List)
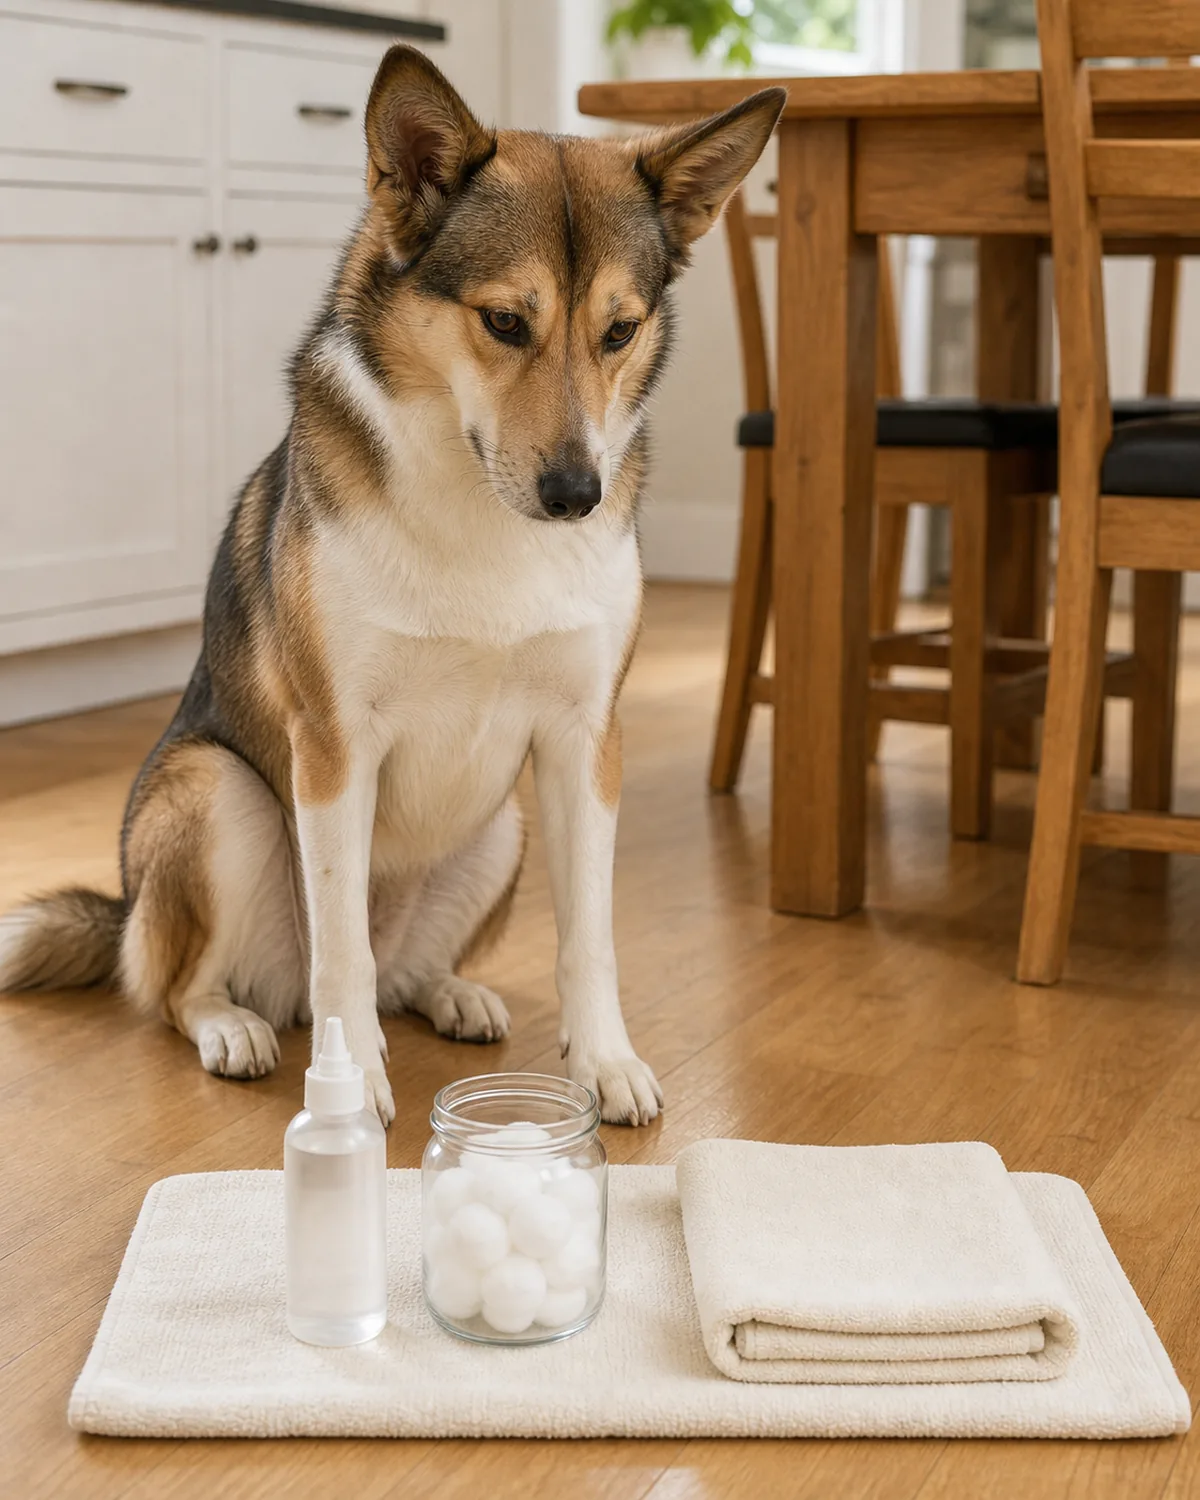
The pet aisle has a wall of products promising to fix every ear problem ever named. For routine home cleaning of healthy ears, you do not need most of it. The honest list is short enough to live in one drawer, and a friendly vet will help you pick the cleaner if you ask at the next annual visit.
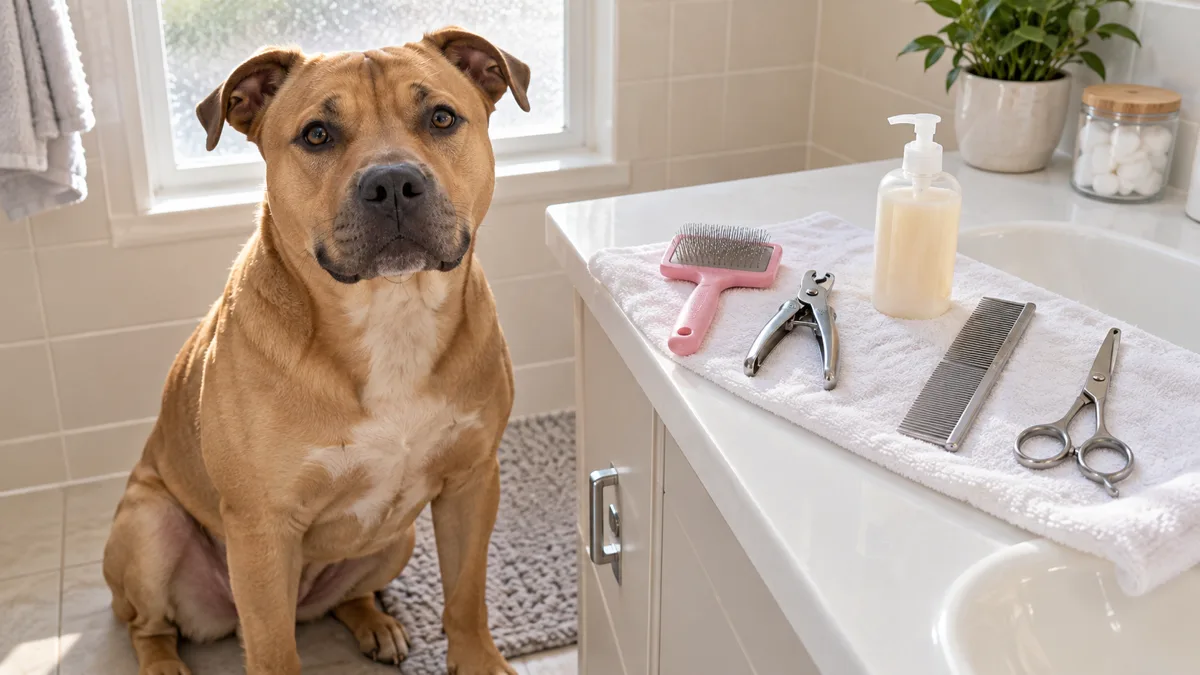
You need a vet-formulated pH-balanced dog ear cleaner without alcohol, gentle enough to use as a maintenance product on a healthy canal. You need plain white cotton balls or gauze pads to wrap around a finger. You need a soft cotton towel dedicated to ear sessions so the post-shake-off mess does not end up on the kitchen towel.
- Skip Q-tips entirely; the next step explains why a swab is the most common cause of preventable canal damage.
- Skip hydrogen peroxide, rubbing alcohol, diluted vinegar, coconut oil, and any human ear drop product.
- Disposable nitrile gloves are optional if you dislike the smell or want to keep ear cleaner off a manicure.
The Cotton-Ball-Not-Q-Tip Rule (Why Swabs Damage)
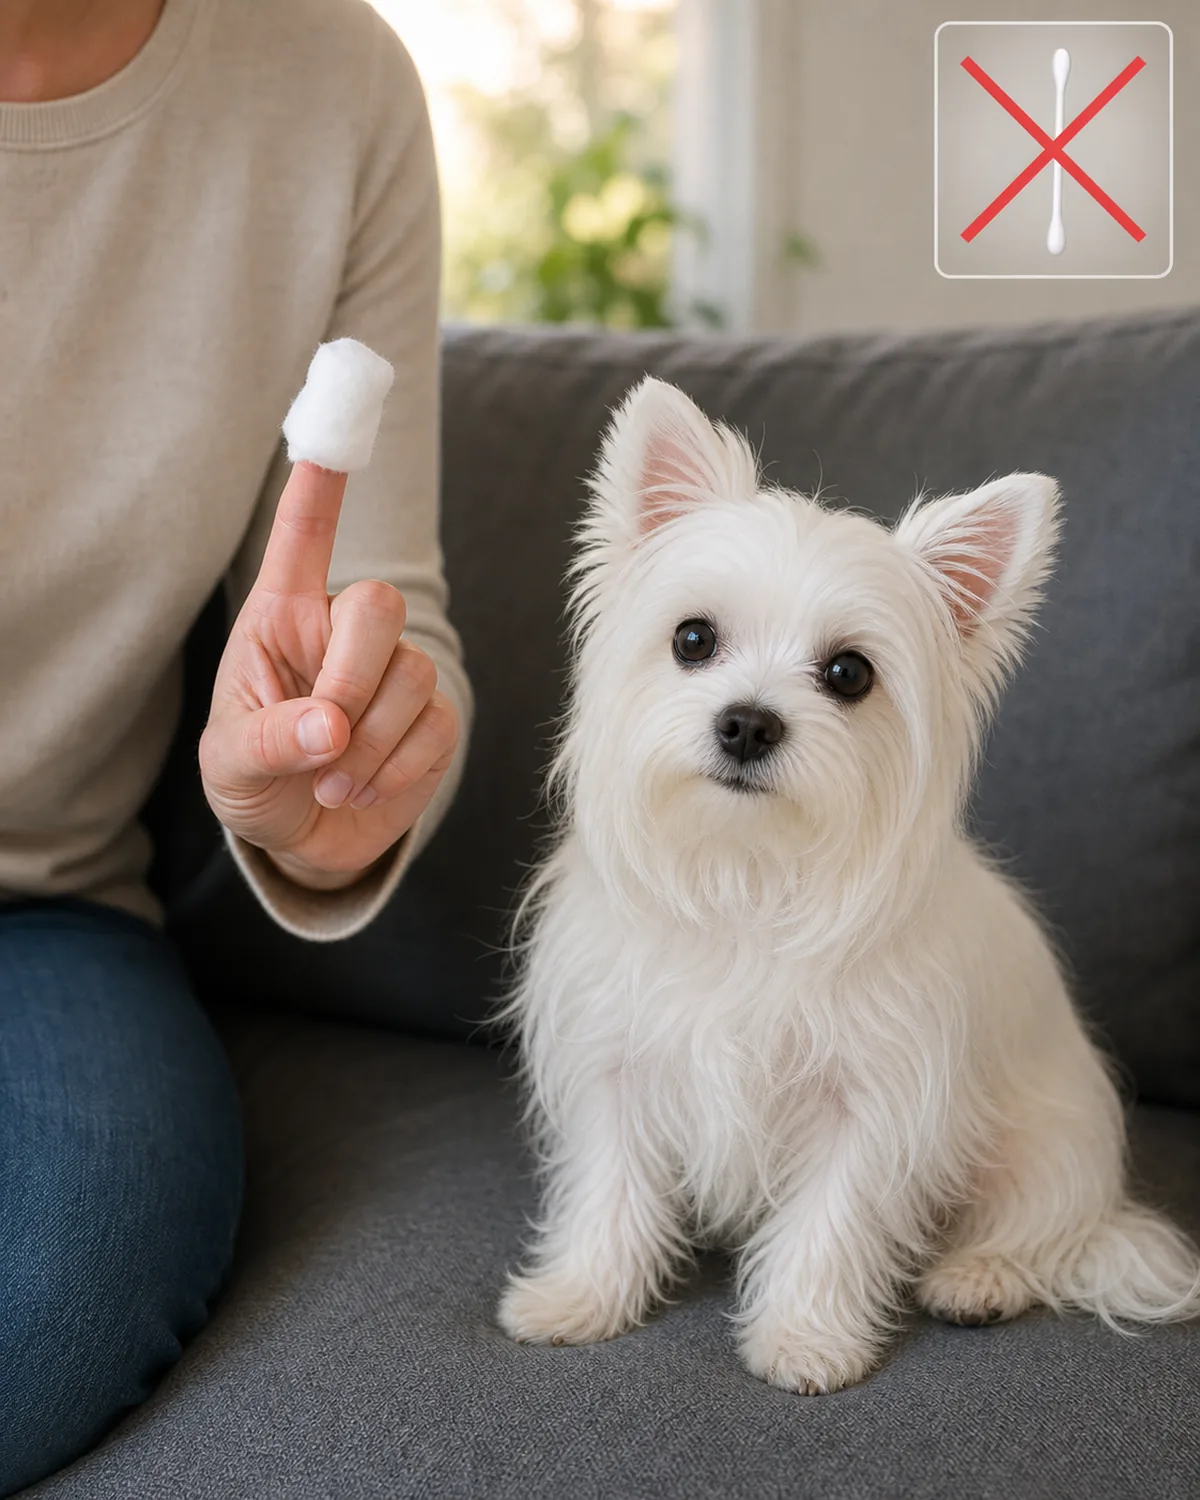
There is no version of the cotton swab in the dog ear canal that ends well. The shape of a swab is good for the human outer ear, which has a much shorter and almost straight canal. In a dog the swab head can reach past the visible angle of the L, and three different bad outcomes start from there.
A swab pushes wax and debris deeper rather than pulling them out. A swab head pressed too far can tear or rupture the eardrum, and that damage is often permanent. A swab head can also detach inside the canal, and the only way it comes out is under sedation at the vet.
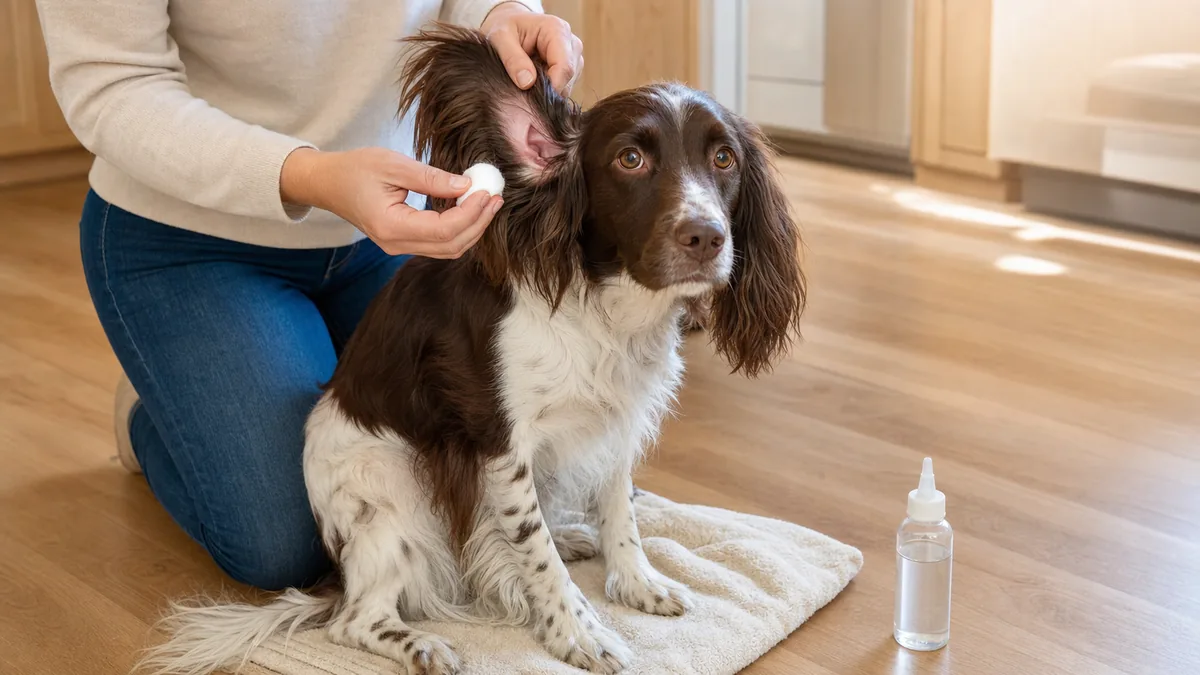
A plain cotton ball wrapped around your index finger does the job of everything you actually need to wipe, and stops where your finger stops.
- Wrap a fluffy cotton ball or folded gauze pad around your index finger before any wipe.
- Wipe only the pinna and the visible canal entrance; never push past what your finger can already reach.
- Anything you cannot see is for the cleaner plus a vigorous head shake to lift out, not for a swab.
The 4-Step Clean (Flood, Massage, Let Shake, Wipe)
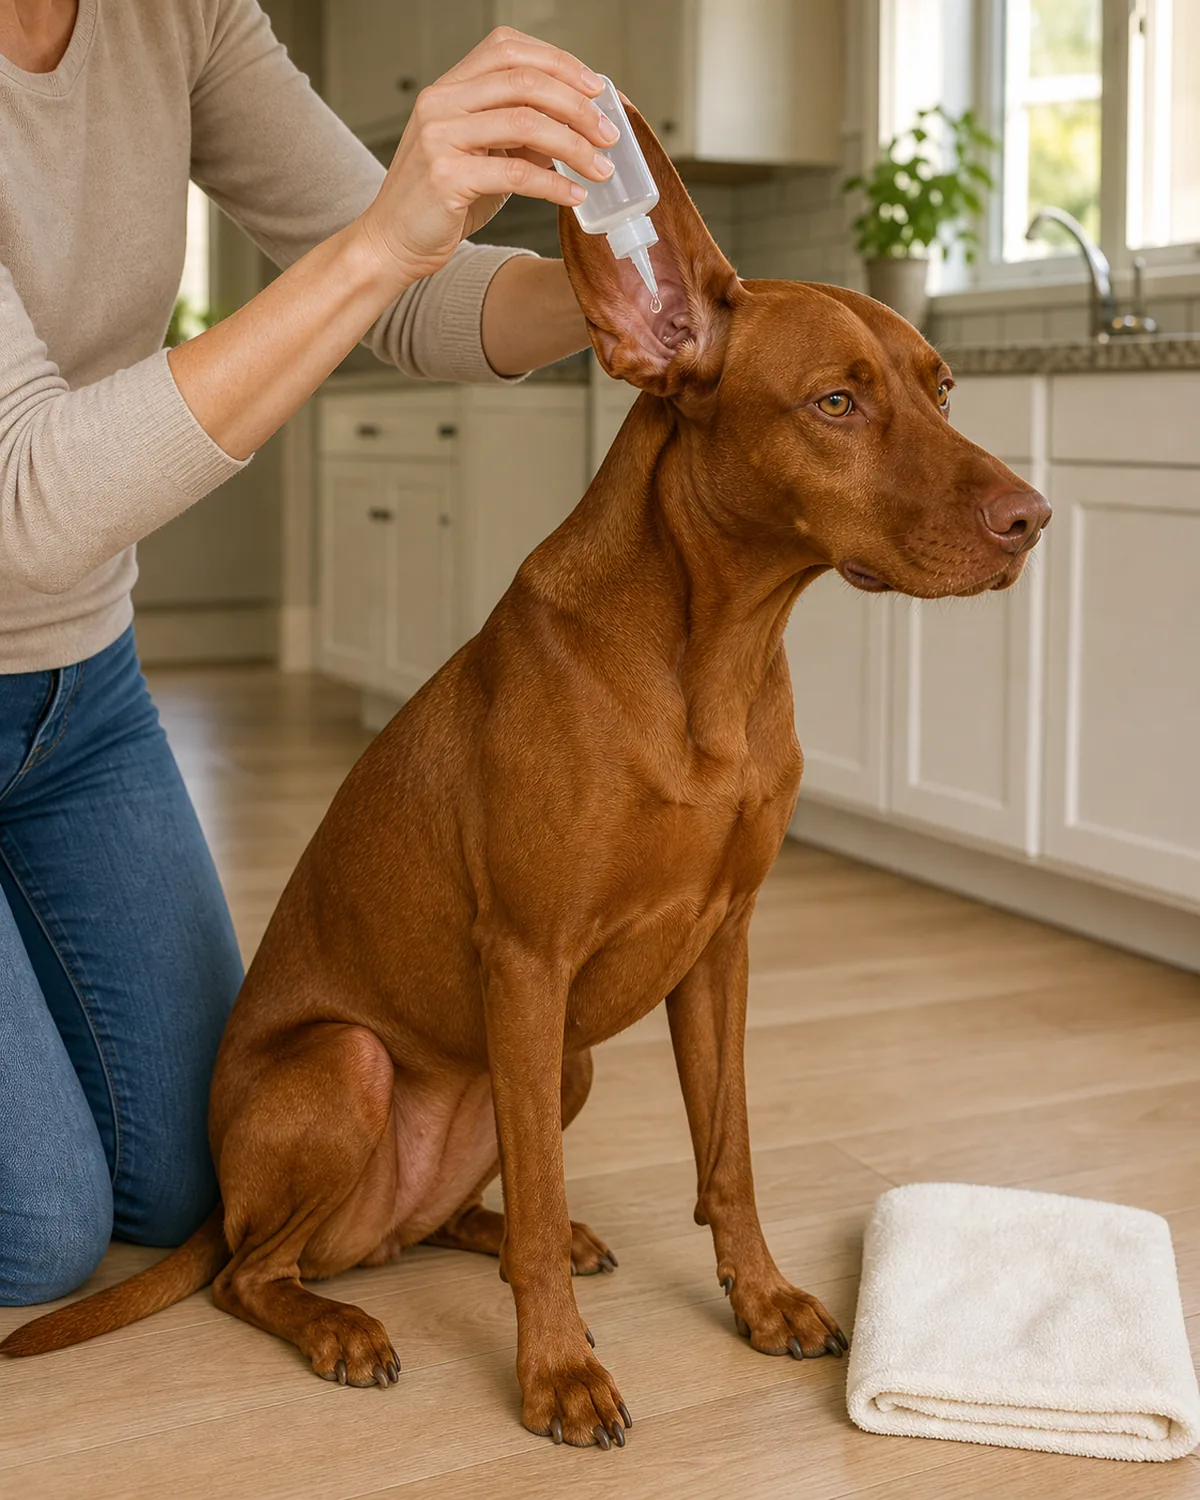
For a healthy ear that the weekly check flagged as ready for a clean, the work itself is fast — about ninety seconds an ear once you have the rhythm. Underdoing it is the single most common mistake people make on first attempt: a tiny amount of cleaner just stirs wax around without lifting it.
The method has four parts. Step one is flood: hold the pinna firm but gentle pointing up to open the canal, then squeeze the cleaner generously until you see liquid pool at the entrance.
Step two is massage: pinch the thumb and finger at the cartilage base just below the ear and massage for about thirty seconds, and you will hear a squishy sound that means the wax is breaking up.
Step three is let shake: step back, hold the towel, let the dog shake hard, and you will see brown or pale tan liquid spray out, which is the goal. Step four is wipe: wrap a cotton ball on your finger and wipe only the pinna and the visible canal entrance.
- Use generous cleaner, not a stingy squeeze; underflooding leaves wax suspended instead of suspended-and-out.
- Let the dog shake on its own schedule; do not skip that step or wipe with the towel before the shake.
- Wipe outward only and stop at the visible canal angle, then reward and release.
The steps work because of four ideas underneath them. Get these right and ear care stays quiet and routine; ignore them and these are the mistakes that quietly cause the next infection.
How Often Is Right (and How Often Is Too Much)
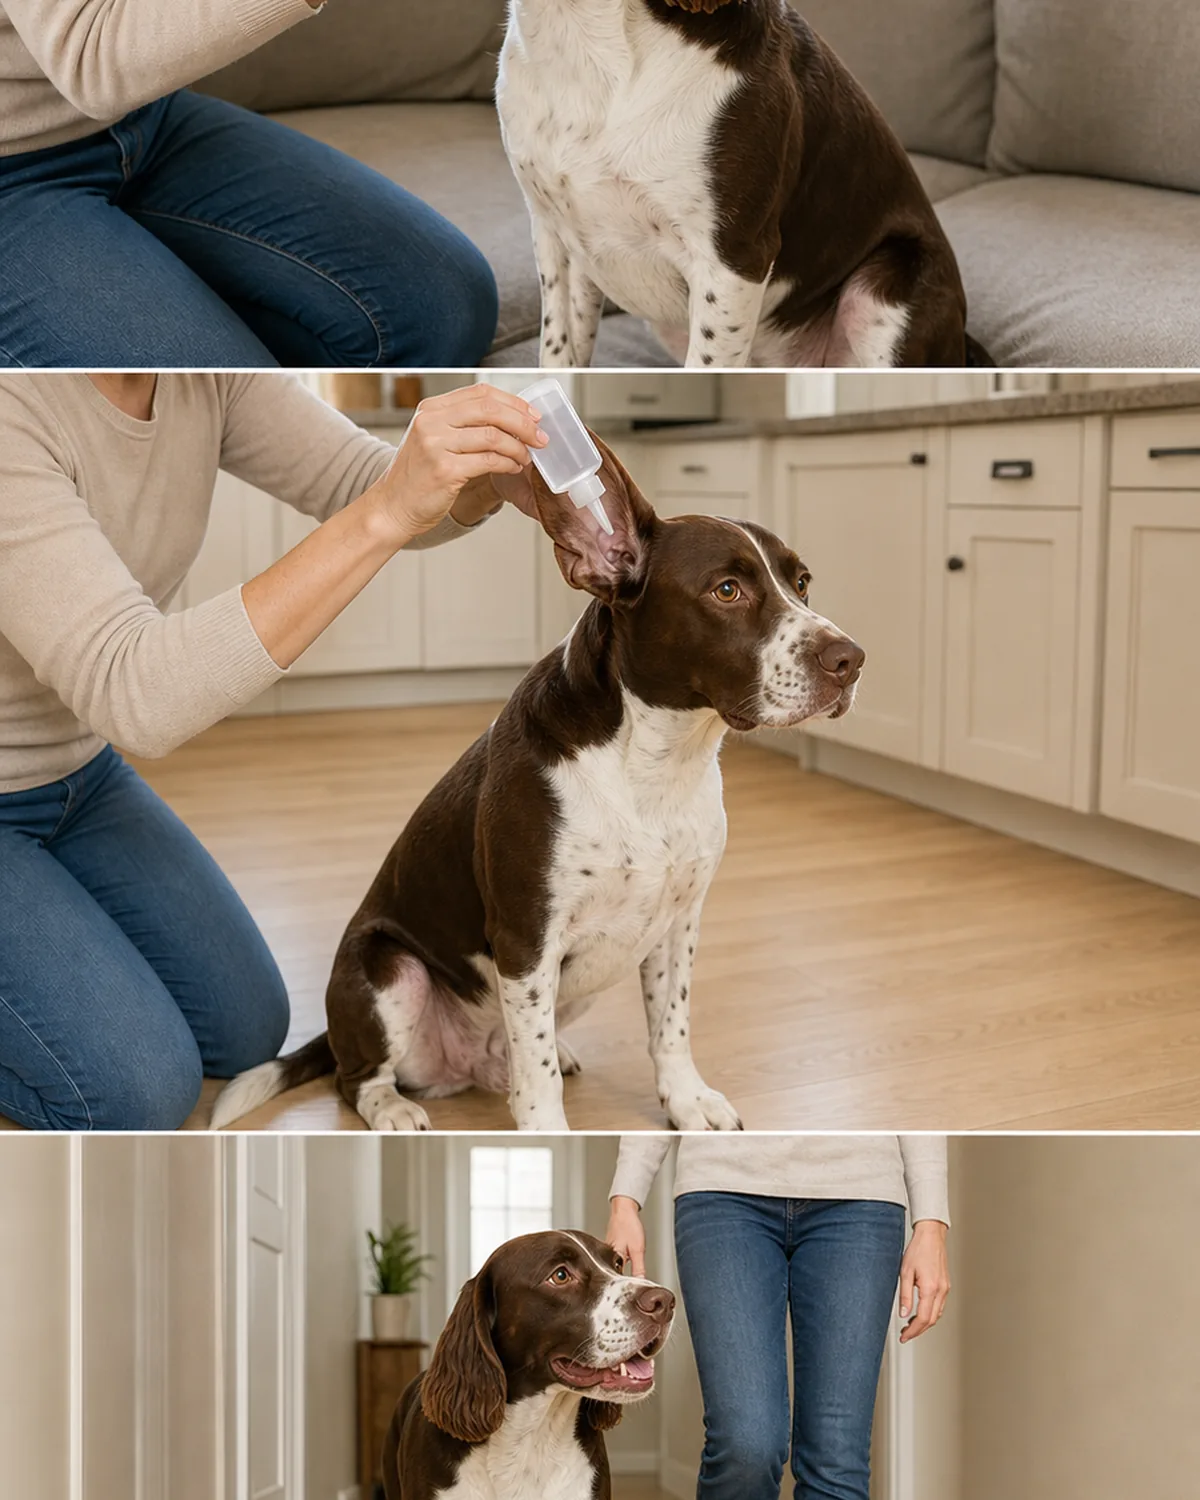
The right cleaning frequency comes from the dog and the weekly check, not the calendar and not internet anxiety. Over-cleaning is genuinely a problem, and many home routines that owners assume are helpful are actually the thing creating the recurring irritation that drives the next vet visit.
A healthy upright short-eared dog might go six to eight weeks without ever needing more than a visual check, and that is fine. A floppy-eared dog who swims will clear two to four weeks between cleans, sometimes more often in summer.
A hair-in-canal breed in a humid climate may run on a two-week cycle plus a groomer evaluation every six. In every case the trigger is the weekly check showing something off, not a number on a chart.
- Frequency tiers stack: ear type plus lifestyle plus climate each shift the rate by about one step.
- Clean only when the 60-second check is off; weekly strong cleaning of healthy canals does measurable harm.
- A healthy ear has a mildly acidic wax barrier that needs to be left alone to do its protective job.
The Calm-Hold Setup That Lets You Clean Without a Fight
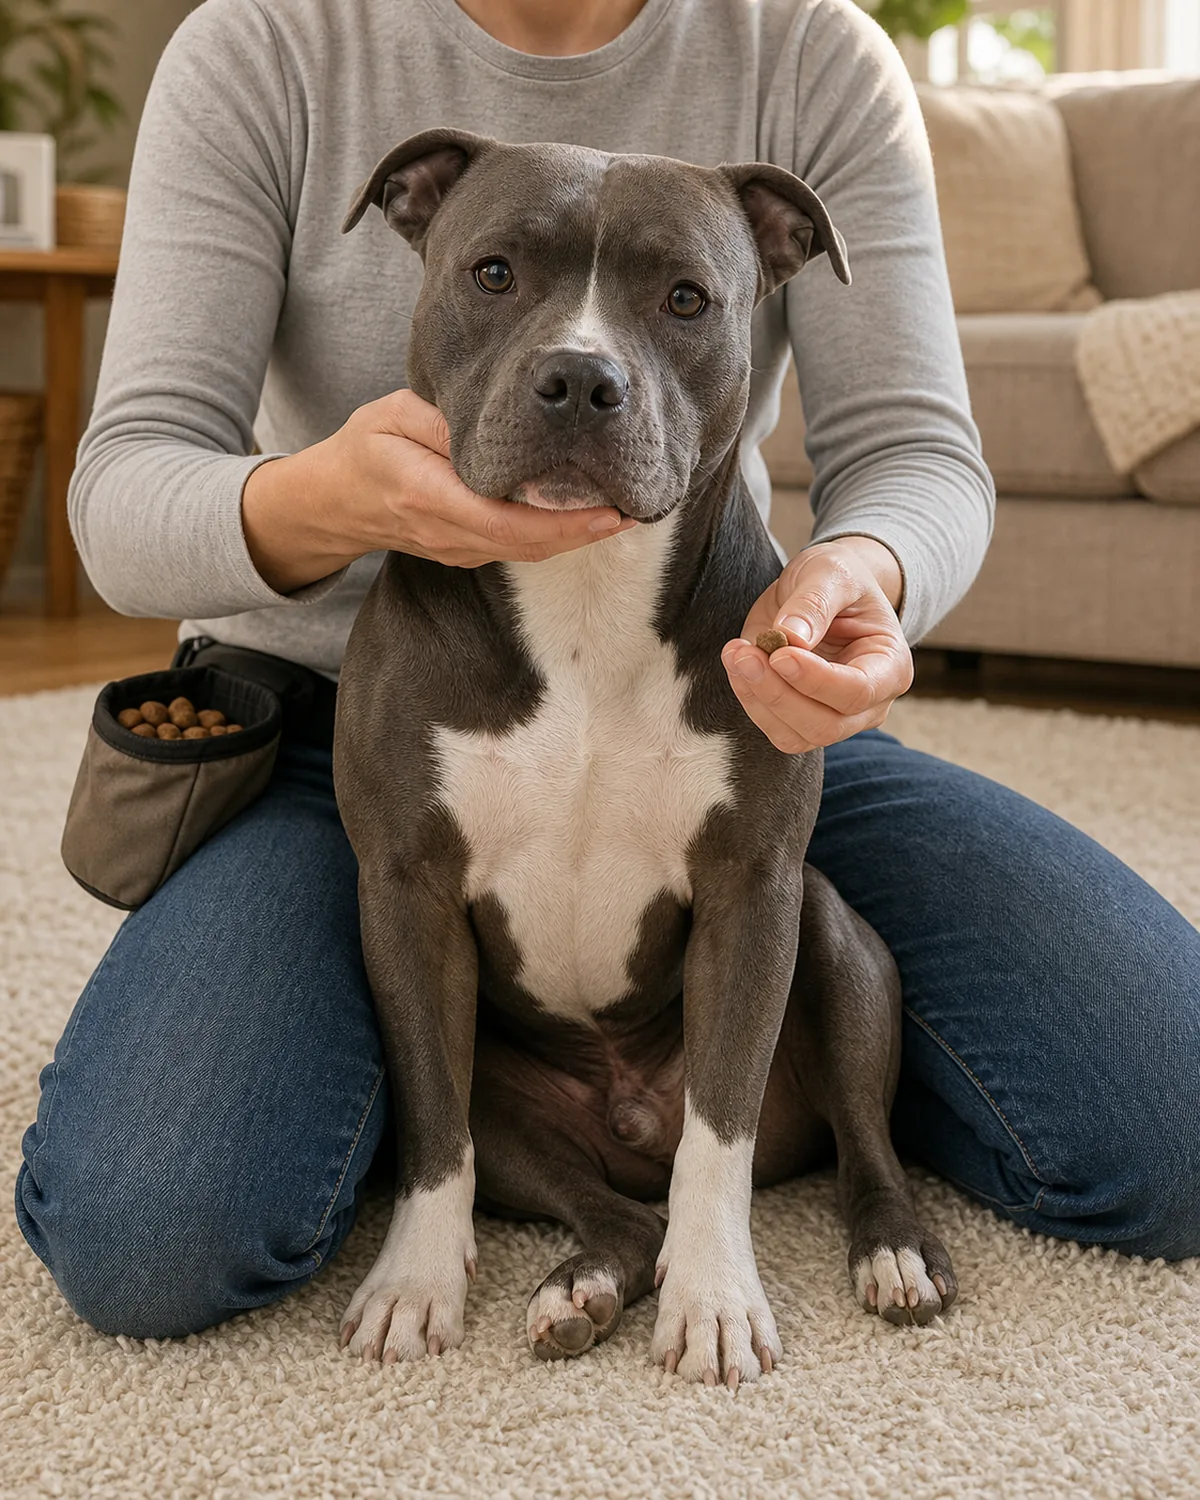
Most ear-cleaning meltdowns are about the hold, not the cleaner. The dog feels the head being wrestled, the body being pinned, the smell of an unfamiliar bottle, and one panic memory becomes the entire association. That memory then loads automatically the next time, and the routine stays a fight for years.
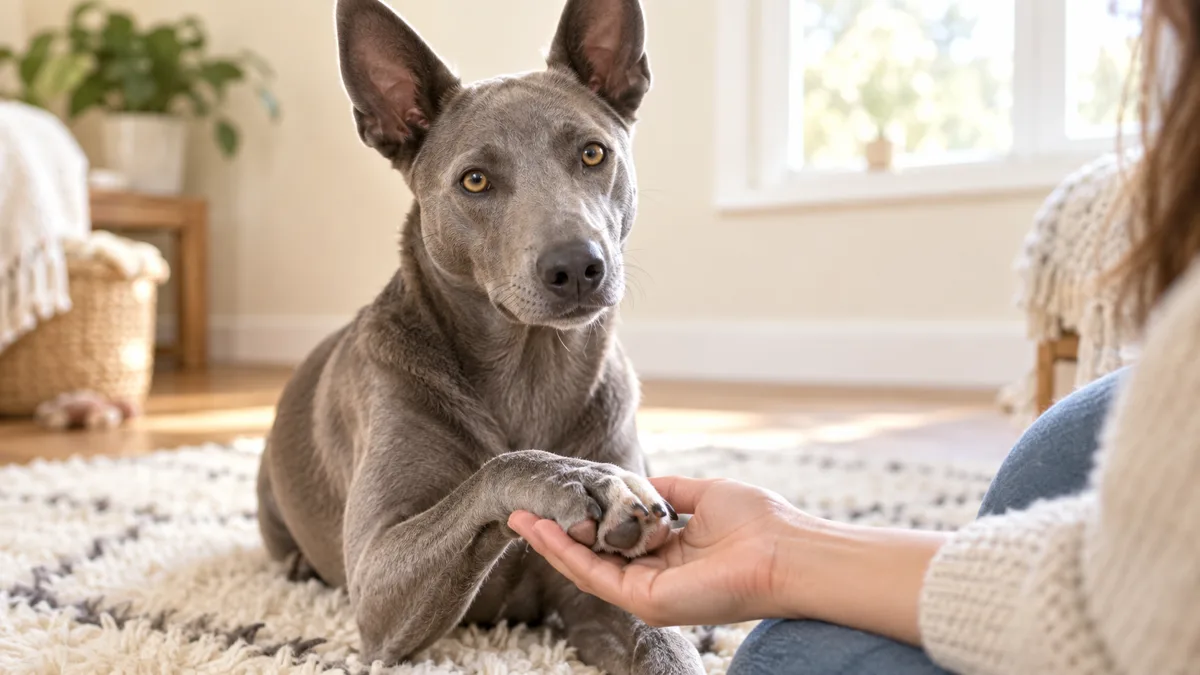
The setup that works treats this like the calm baseline you build in crate work rather than a wrestling match. Sit cross-legged on a soft rug, dog sitting between your knees facing away from you so the body is gently bracketed but the dog can stand up and walk away.
One hand softly cups the jaw to lift, the other does the work, and the dog gets a small high-value treat every five seconds of tolerance, not at the end, but continuously during the work.
- The first one or two sessions are not real cleans; they are paid practice of being touched on the ear.
- Reward continuously during the work, not as a single reward at the end after the meltdown.
- If the dog leaves, let the dog leave; ear care that the dog can walk away from is the kind they stop dreading.
The Water-After-Swim and Water-After-Bath Drying Habit
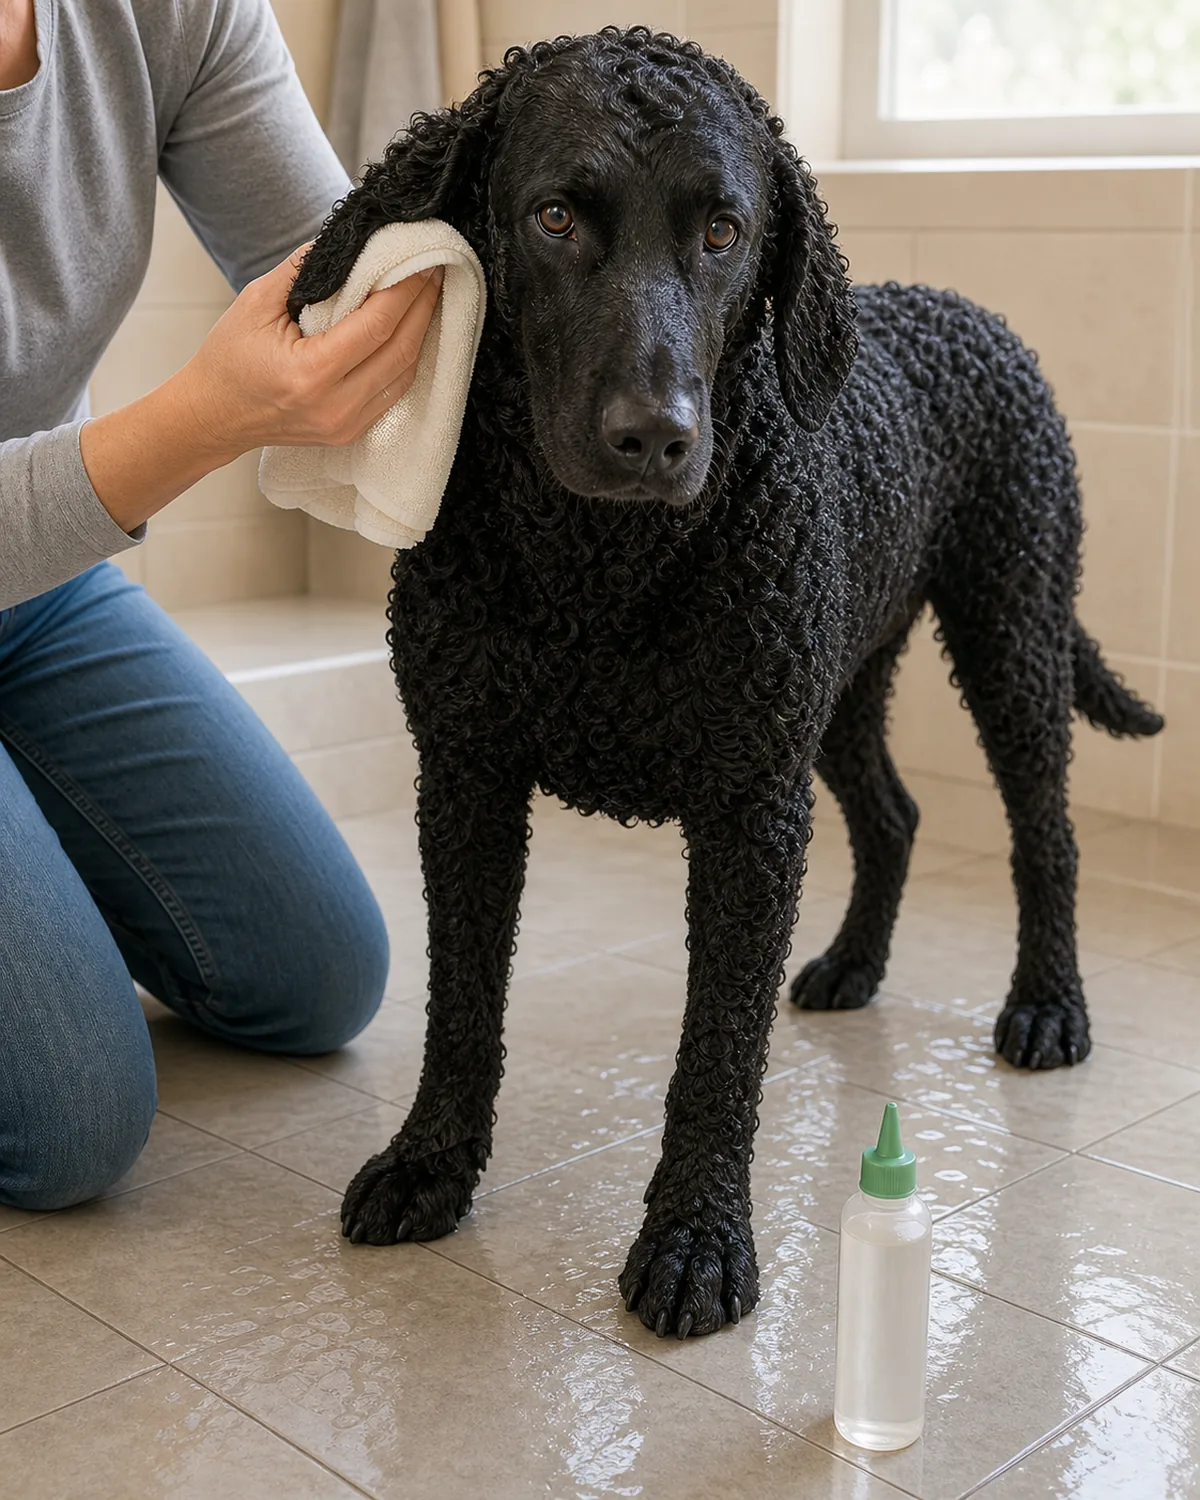
Water in the canal is the silent driver of most floppy-ear and hair-canal infections, and the window for prevention is the two or three hours right after a swim or bath. Skip that window and the same canal that was healthy in the morning can be quietly setting up an infection by the next day.
For floppy-eared or hair-canal dogs the habit is simple: towel the pinna inside and out gently, never push a cotton ball or anything else into the canal to try to absorb water. Then one squirt of a vet-recommended acidic drying ear solution per ear, a ten-second base-of-ear massage, and let the dog shake.
Short-eared upright dogs in normal climates after a casual swim usually need only the towel-dry step, no drying solution.
- Build the drying step into the end of every bath so it never becomes a separate event the dog dreads.
- The drying bottle is visibly distinct from the cleaner bottle so you do not flood when you meant to dry.
- After natural-water swims, towel-dry at home that same evening — do not wait for the next bath day.
How to Clean Dog Ears at Home: 13-Step Card
- 1Match cleaning to the earUpright short ears clean almost never; floppy or hair-canal ears need a real cycle.
- 260-second weekly checkLook pink not red, smell neutral not yeasty, touch cool not hot — only clean if a signal is off.
- 3Three vet-now signalsBrown-black gunk and strong smell, redness or pain, persistent head tilt — stop DIY, call the vet.
- 4Three-item supply listVet-formulated ear cleaner, plain cotton balls, soft cotton towel — that’s it.
- 5Cotton ball, not Q-tipWrap a cotton ball around your finger; never push a swab past the visible canal angle.
- 6Flood, massage, shake, wipeSqueeze generously, massage thirty seconds, towel the shake-off, wipe only the visible pinna.
- 7Less is moreOver-cleaning healthy ears strips the natural waxy barrier — let the check decide, not the calendar.
- 8Calm hold firstCross-legged on the floor, dog bracketed not pinned, treat every five-second tolerance window.
- 9Dry after waterTowel the pinna, one squirt of drying solution per ear, never stuff cotton into the canal.
- 10Pluck rarelyDefault is leave canal hair alone — only pluck on groomer or vet recommendation.
- 11Plug into the routinePiggy-back ear care on bath day or weekly walks — not a separate “ear day” the dog dreads.
- 12Never use theseNo Q-tips, no peroxide, no alcohol, no vinegar, no human ear drops, no strong weekly cleaning.
- 13Vet when DIY failsTwo infections in a year, persistent tilt, blood or pus, or post-cleaning discomfort means vet.
pawliqa.com
Hair in the Ear Canal: Pluck or Leave Alone?
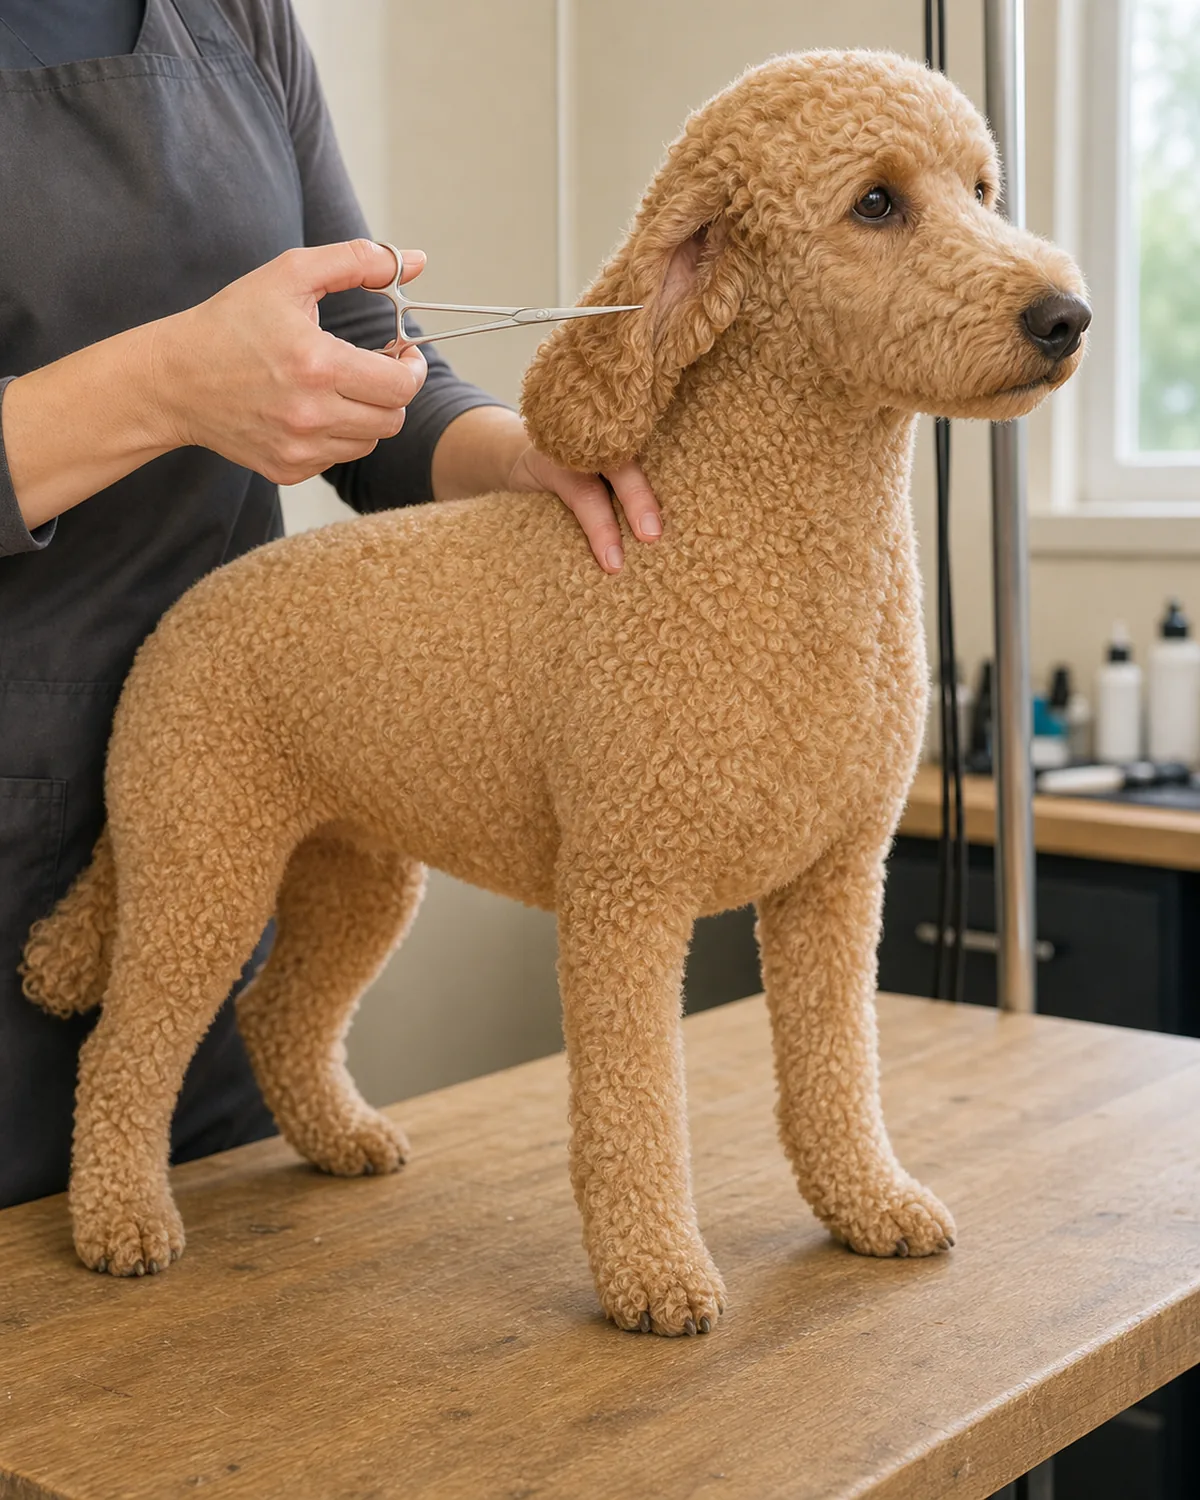
The old advice for curly and hair-canal breeds was to pluck every visible hair out of the canal on a regular schedule. The current consensus from most modern vets is more cautious: routine plucking causes micro-tears in the canal skin, and those tears are themselves an entry point for the very infections plucking was supposed to prevent.
The new default is to leave canal hair alone unless there is a real reason to remove it. Real reasons are a documented history of recurring infection in that ear, a clearly excessive mat of hair that is blocking airflow, or a direct recommendation from a groomer or vet who has just evaluated this dog’s canal.
Even then, the work is done by a groomer with the right hemostat technique and ear powder. At-home plucking with bare fingers tends to break hair off and leave a stub that irritates worse than the original.
- Default plan is leave canal hair alone and watch how the ears do over a few months.
- If plucking is recommended, have a groomer or vet do it once and watch the technique.
- After any plucking session, expect mild irritation for a day or two and watch for a worsening signal.
The Routine Plug-In (When to Do Ears in the Week)
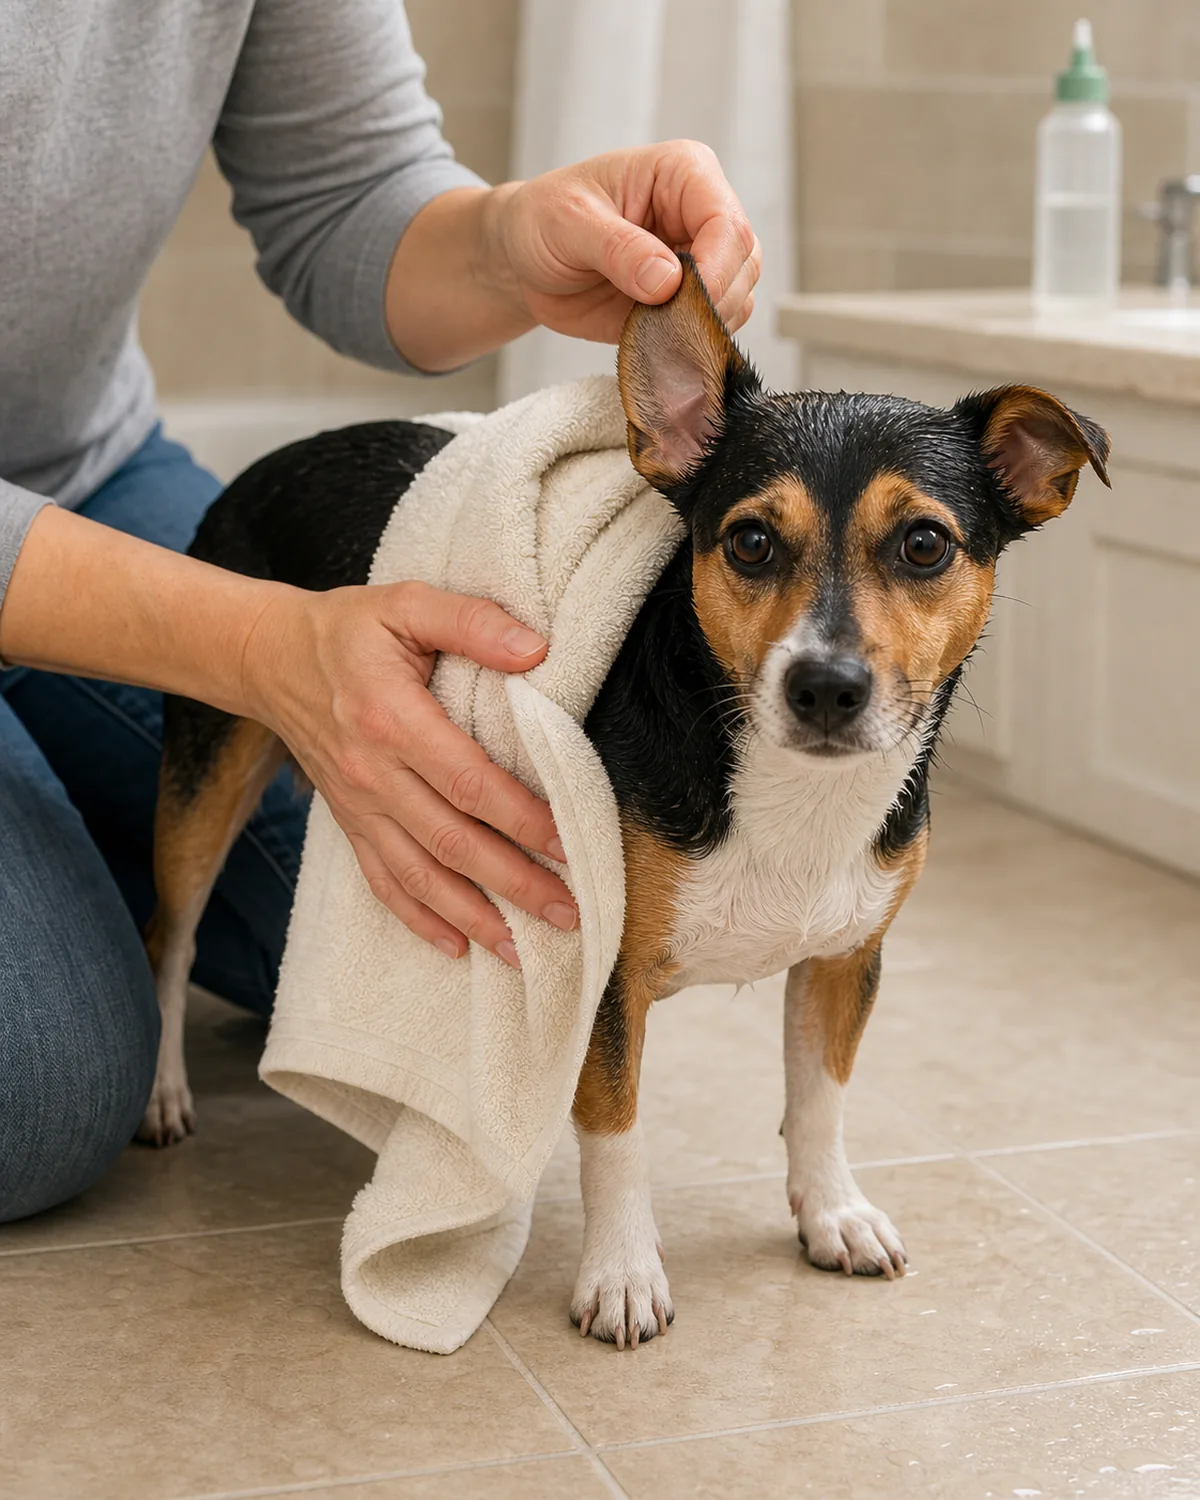
Ear care does not need its own scary day on the calendar. The fastest way to get a dog who tolerates ear handling is to fold it into something they already accept calmly — the wind-down of bath day, the moment after a long walk on the weekend, the daily settle after dinner — so it stops feeling like a separate ambush.
For floppy-ear dogs the natural home is the bath cycle: as you towel-dry, do the visual check, and on cleaning weeks do the 4-step method right there before the dog has fully shaken off. For short-eared upright dogs, the natural home is the post-walk settle on the weekend.
For swim-prone dogs the drying step is part of every “we just got home from the water” routine, not negotiable. In all three patterns the work is paired with calm petting and a treat at the end.
- Pair ear care with the bath day routine for floppy-ear dogs and the bath becomes one shorter event.
- Pair the weekly check with the post-walk grooming brush-down for short-coat dogs.
- A consistent pairing plus a release-to-treat at the end is what makes dogs offer the head next time.
Common Mistakes That Look Like Cleaning (Actually Damage)
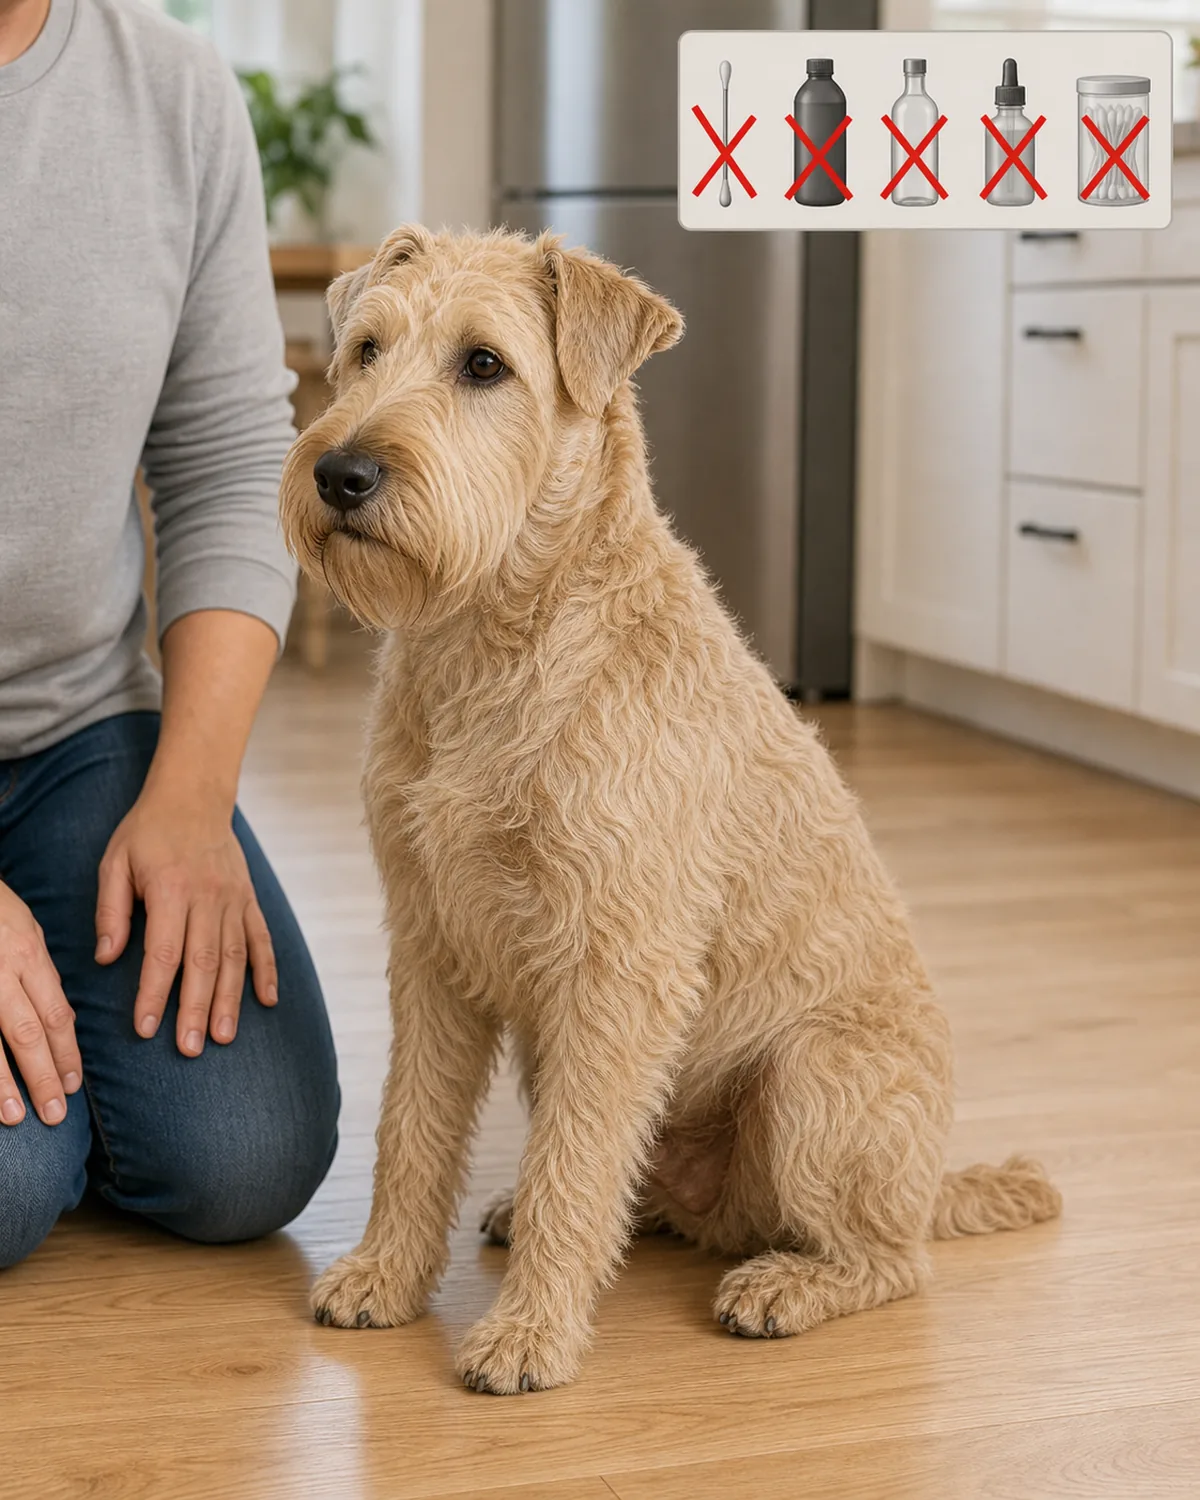
Five home moves get sold as ear care and are actually doing damage. They survive because they look like “doing something,” and the damage they cause is invisible from outside the canal until an infection or a flinch shows up weeks later. Naming them in one place is the fastest way to take them out of the rotation.
Q-tips into the canal push wax deeper and risk the eardrum and a stuck head. Hydrogen peroxide, rubbing alcohol, and diluted apple cider vinegar all sting raw mucosa, kill the natural mildly acidic flora, and irritate the canal lining.
Cleaning at home when the weekly check is signaling infection turns a wet wash into an infection accelerator. Strong weekly cleaning of healthy ears strips the protective wax barrier. Human ear drops have the wrong pH for dogs and often contain ingredients meant for human-only conditions.
- If any of these five are in your current routine, stop them today and switch to the 60-second check.
- A short pause of two weeks with no cleaning at all on healthy ears is fine; the canal self-regulates.
- Suspect infection means vet, not a stronger product; healthy ears mean minimal intervention plus the 4-step.
When to Stop DIY and See the Vet (And What “Recurring” Means)
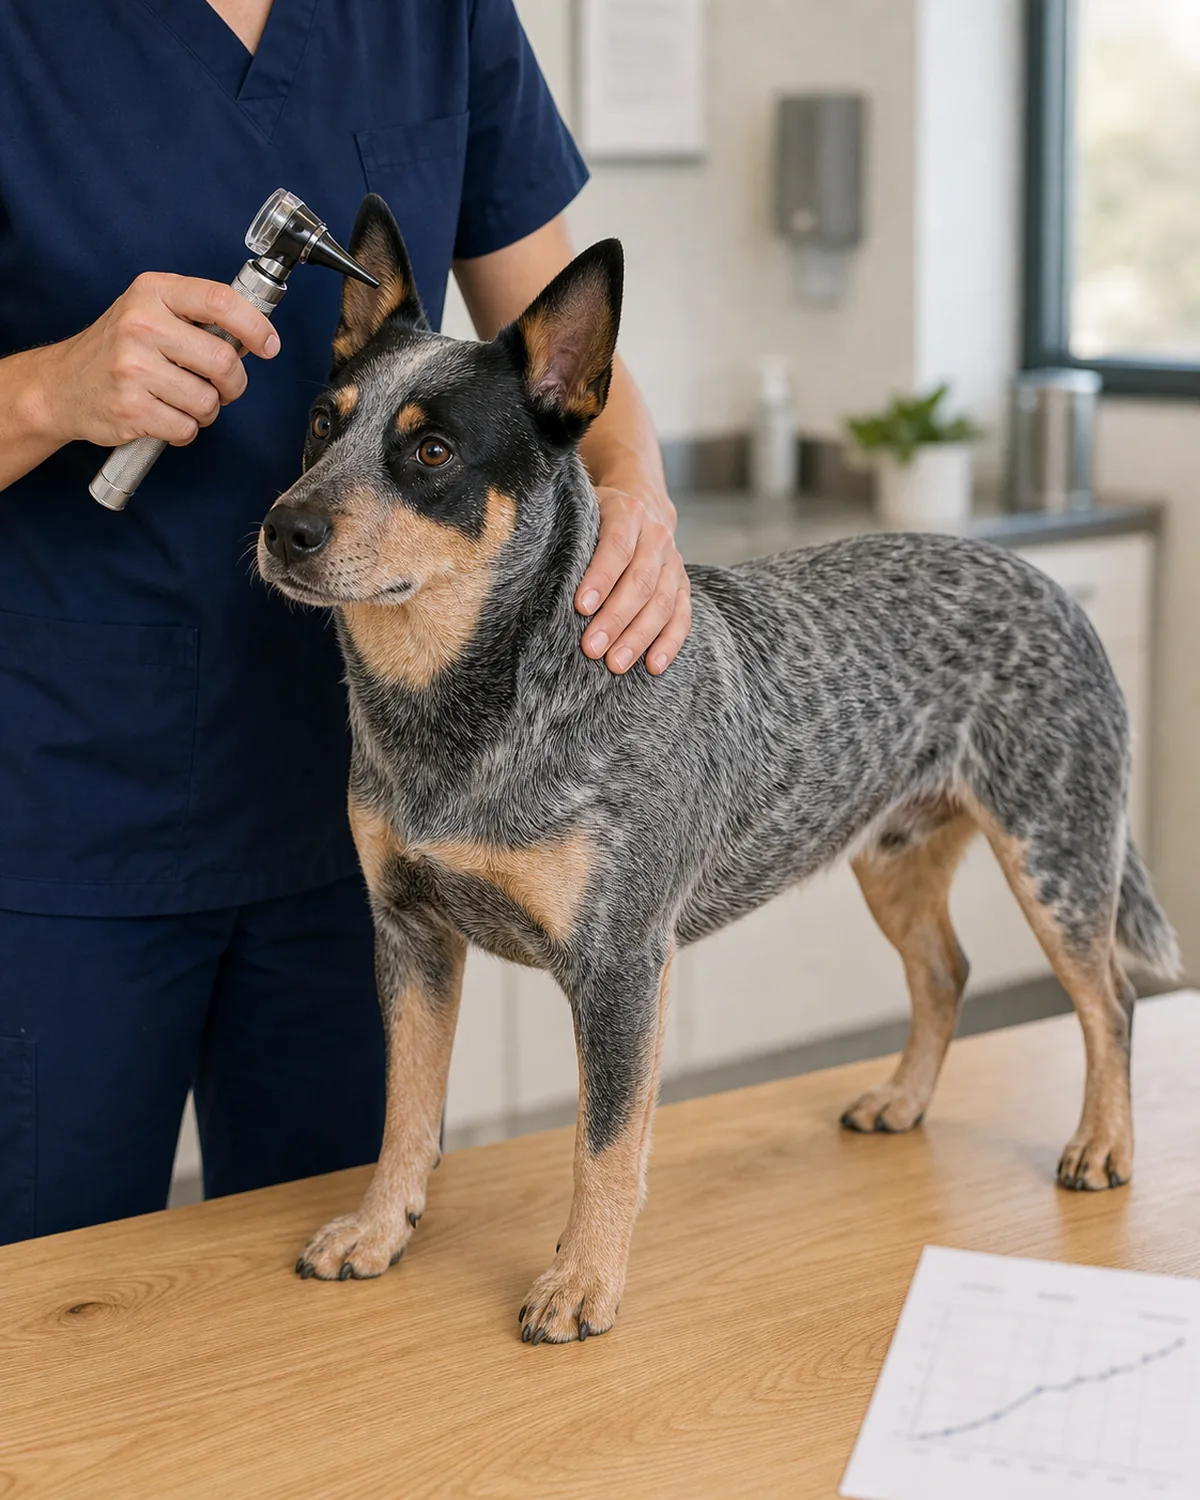
Even when the home routine is right, some situations are still vet-only. The point of doing maintenance well at home is not to avoid the vet entirely, but to make vet visits about the things that actually need a vet, instead of the recurring infections that better home judgment would have prevented.
Two infections in the same ear within a year suggests an underlying driver, such as an allergy, an anatomy issue, a yeast strain, or a thyroid problem, that no amount of home cleaner will fix. Persistent head tilt, sudden hearing changes, or constant head shaking on canals that look clean from outside point to inner-ear or eardrum problems.
Visible blood, pus, thick black discharge, or a strong foul smell are immediate vet calls. A dog who is clearly more uncomfortable after a home clean than before it is telling you there was already a pre-existing micro-infection that the wet wash made worse.
- Match the home routine to the dog and the weekly check; bring everything else to a force-free or fear-free vet.
- Note the ear, the signal, the date, and any change in routine so the vet has a clean history to work from.
- The maintenance role done well usually means fewer vet visits, not more — that is the entire point of this guide.

Jess Calloway edits Pawliqa, where she shares dog care, grooming, training, and new-owner tips — plus DIY and pet-friendly home ideas — for anyone who wants a happy, well-cared-for dog. As a dog mom to three very different dogs, she writes the honest, tested version of what actually works. Every guide is image-led and reviewed for clarity, usefulness, image accuracy, and Pinterest-to-page alignment before it goes live. Visit the About page.