If your dog bolts, squirms, or mouths the brush the second it appears, you are not doing it wrong. A dog that hates being brushed has usually decided the brush means something unpleasant, and no amount of holding still fixes that.
The plan below rebuilds the whole association over about two weeks. You go slow on purpose, pay for calm with treats, and let your dog set the pace. One of my three dogs used to hide under the bed at the sight of a brush, so this is the version that actually worked.
This is a gradual, treat-paid plan that rebuilds how your dog feels about the brush over about two weeks. Jump to wherever you are right now.
- 1Understand why your dog hates the brush
- 2Rule out pain before you train
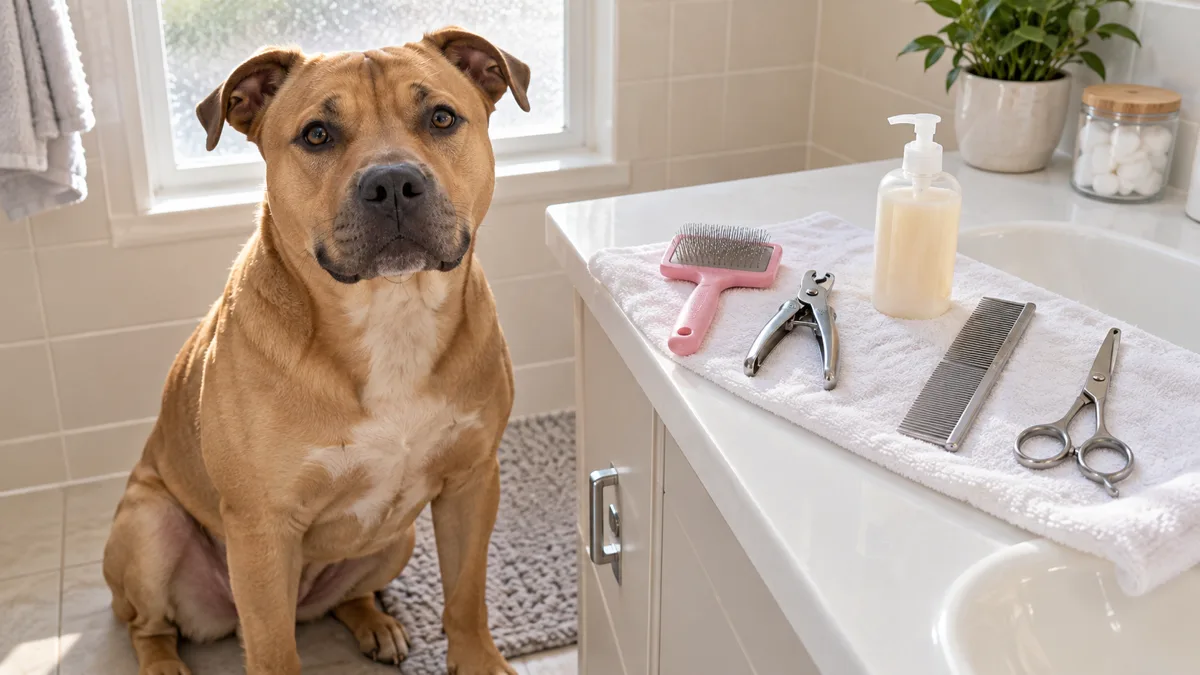
- 3Match the brush to the coat
- 4Set up a calm brushing spot
- 5Days 1 to 3: let the brush be boring
- 6Days 4 to 6: touch without brushing
- 7Days 7 to 9: one stroke, then a treat
- 8Days 10 to 12: short real sessions
- 9Days 13 to 14: a full gentle groom
- 10Use the lick mat trick
- 11Work through mats without hurting
- 12Go slow on the sensitive spots
- 13What to do if your dog panics
- 14Make brushing a habit they enjoy
Understand why your dog hates the brush
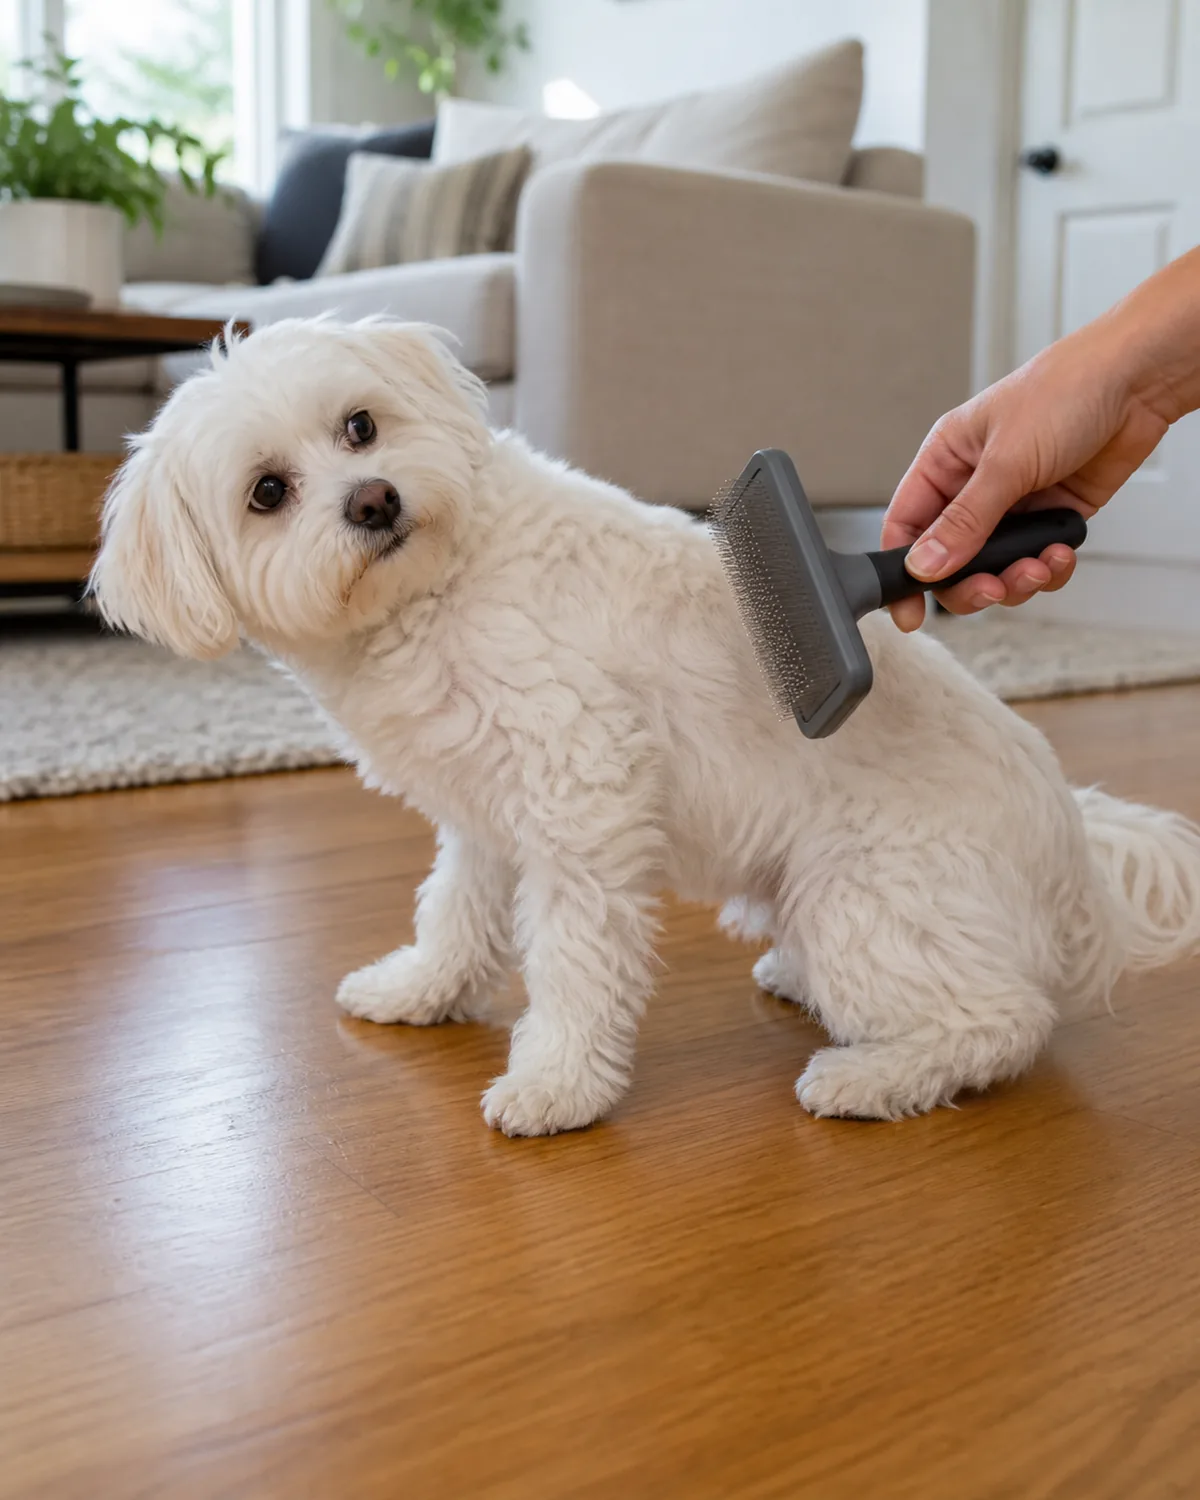
Brush-hating is almost never stubbornness. It is usually a learned response to something that pinched, pulled, or felt scary once, and dogs generalize fast. The good news is that a learned fear can be unlearned with patience and a better association.
- Think back to whether a mat got yanked, a nail-quick got hit, or a session went too long.
- Watch the body language: a tucked tail, lip licks, and turning away mean “I need this slower.”
- Drop any plan that relies on holding your dog down. Restraint teaches the brush is a fight.
Rule out pain before you train
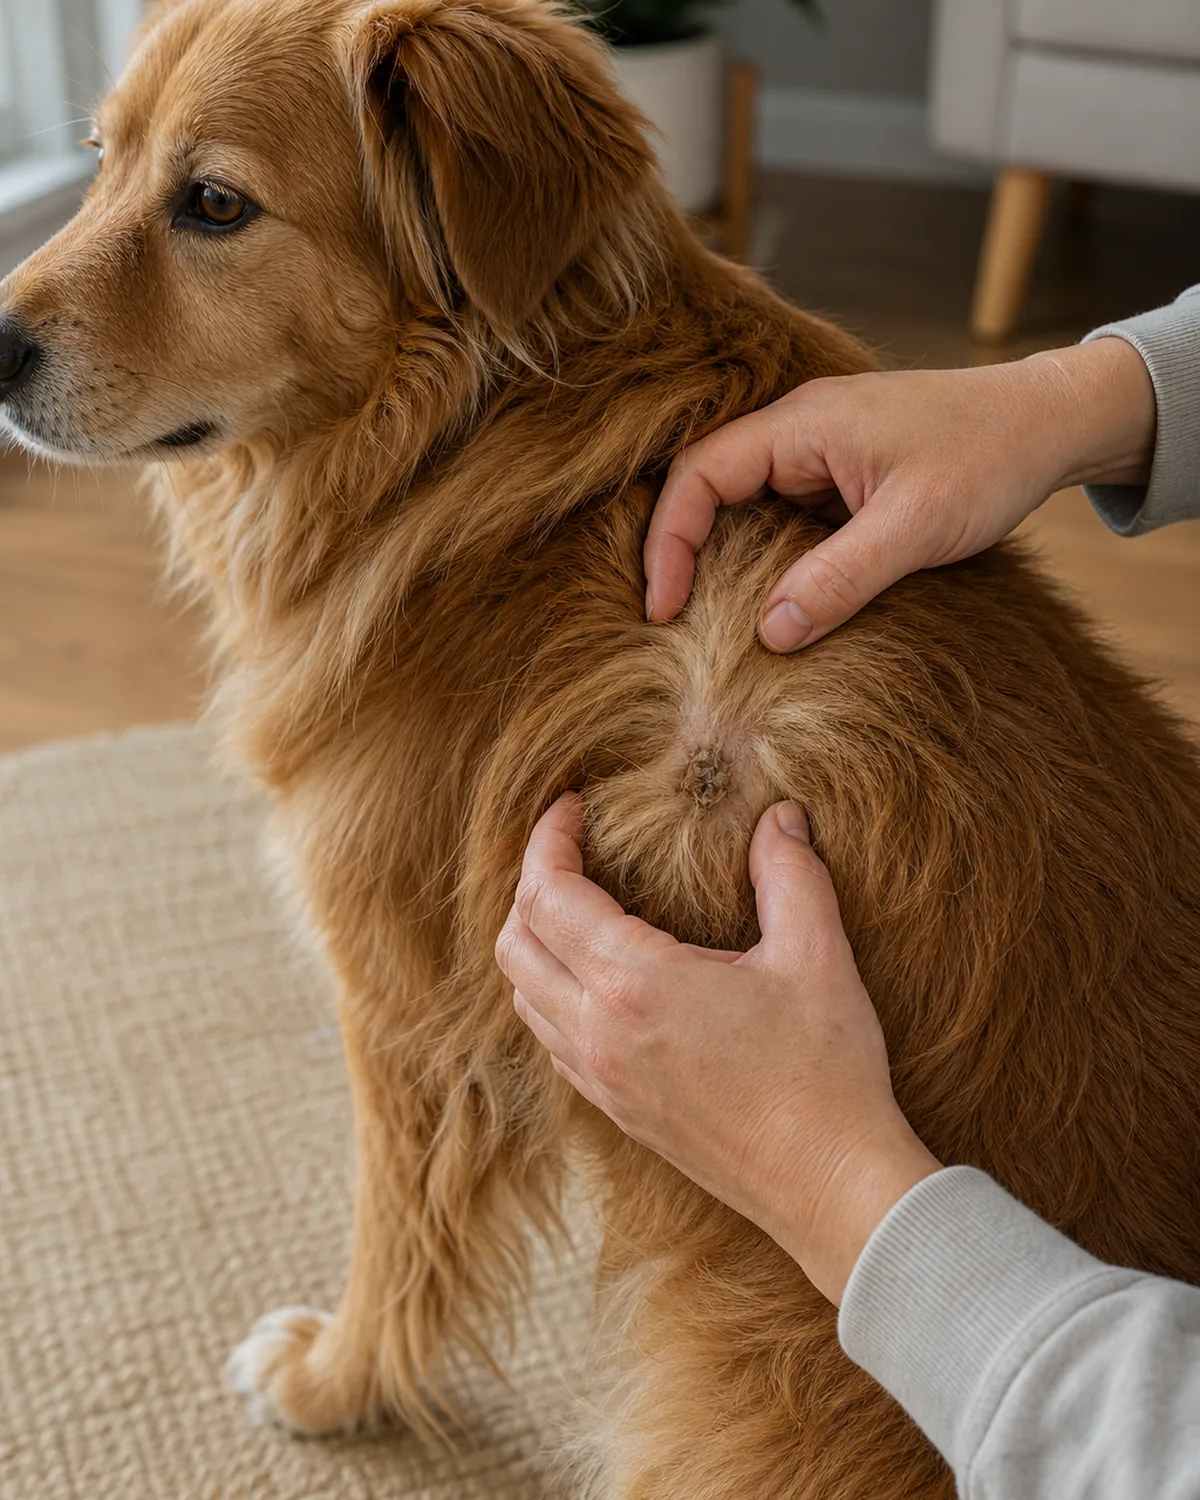
Before you assume this is behavioral, make sure brushing does not physically hurt. Mats pull on skin, hot spots sting, and sore joints make certain positions miserable, and any of those will undo your training.
- Part the coat in good light and look for matting, redness, scabs, fleas, or tender spots.
- Notice if your dog flinches only in one area, which points to a sore patch rather than the brush.
- If you find irritated skin, a painful spot, or heavy matting, talk to your vet or a groomer first. This guide is general care, not a diagnosis.
Match the brush to your dog’s coat
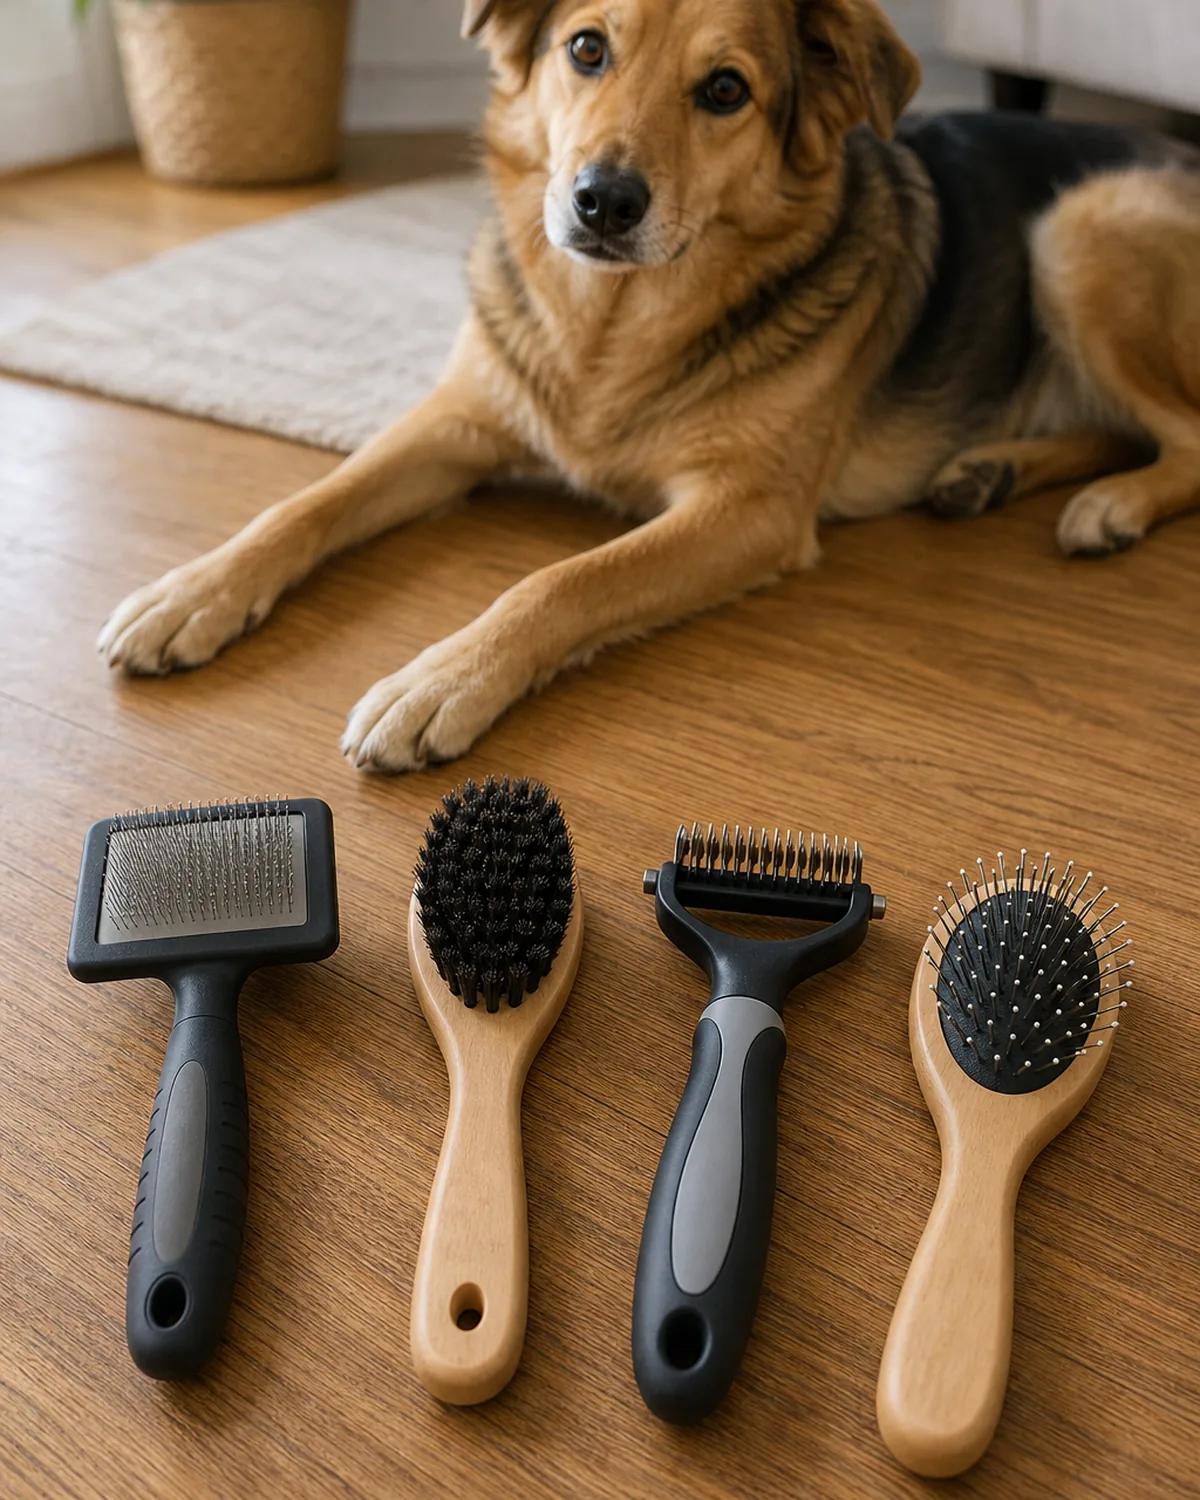
The wrong tool turns normal brushing into a tug of war. A slicker dragged through a thick double coat pulls; a fine pin brush does nothing on a matted curly coat. Matching the brush to the coat removes a lot of the discomfort your dog is reacting to.
- Short, smooth coats: a soft bristle brush or rubber curry, which most dogs actually enjoy.
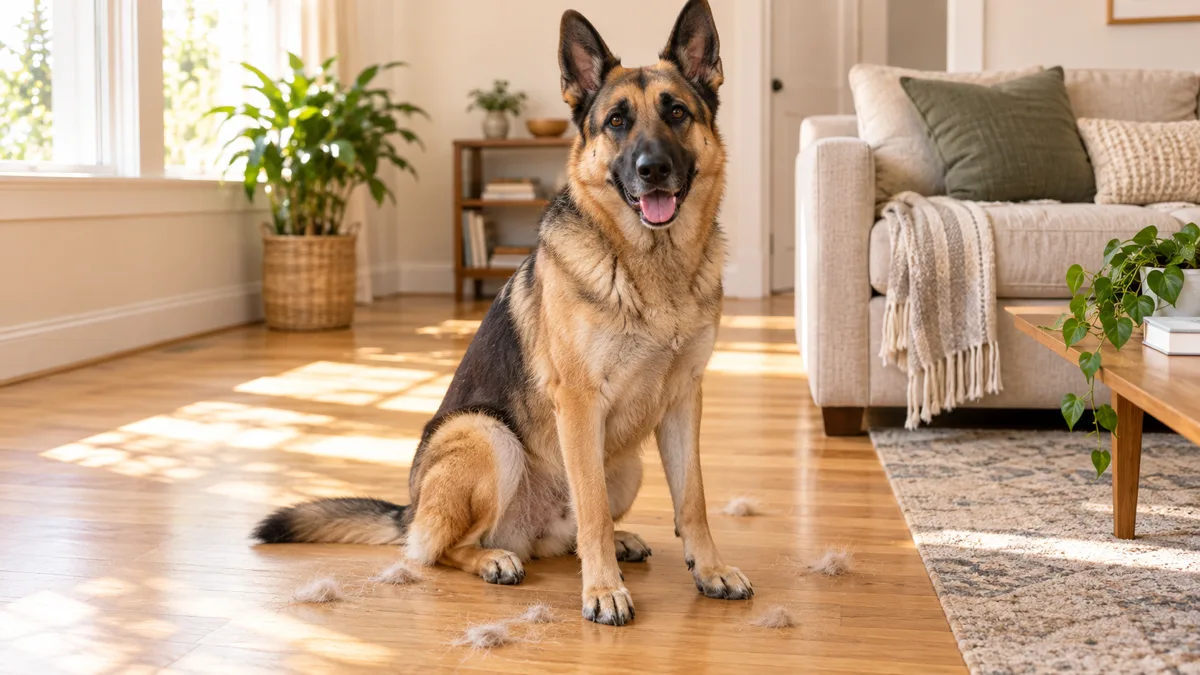
- Double or thick coats: an undercoat rake or deshedding tool to lift the loose underlayer.
- Long or curly coats: a slicker plus a wide metal comb to find tangles before they set.
You will not need every step today. Pick the situation that sounds most like your dog, and begin there.
Set up a calm brushing spot
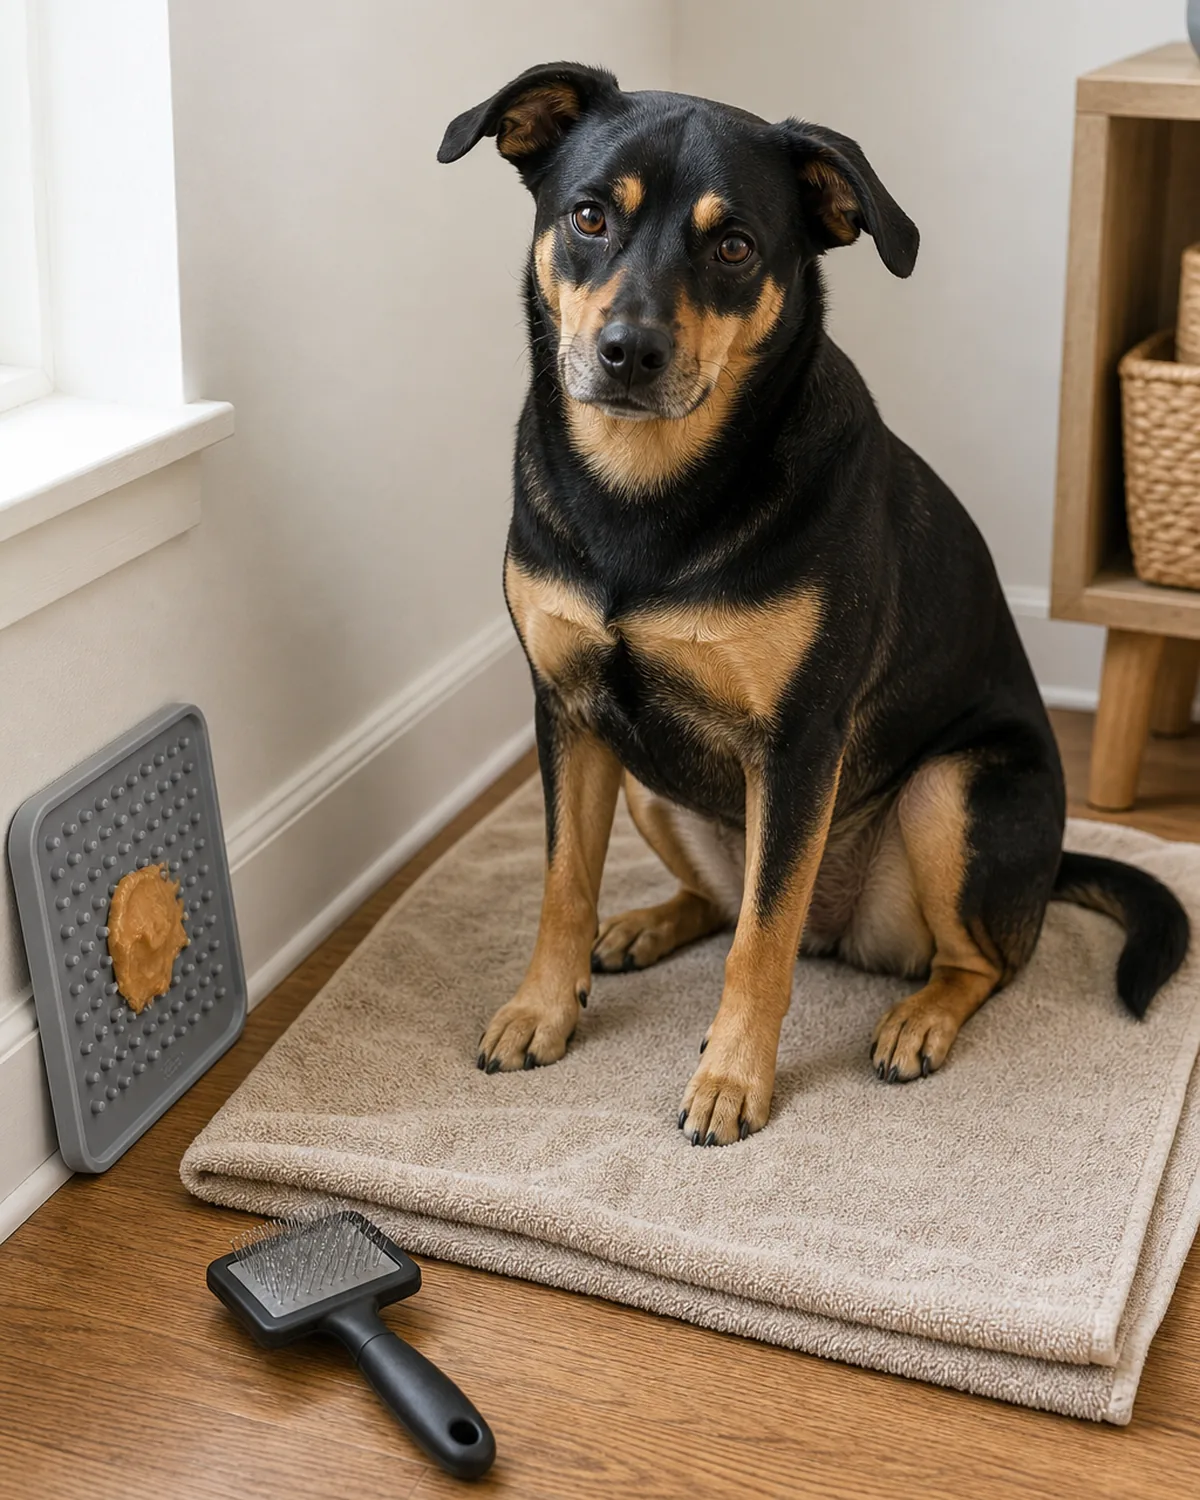
Where you brush changes how your dog feels about it. A slippery floor, a busy room, or being loomed over from above all add stress before the brush even touches fur. A consistent, secure spot tells your dog what to expect.
- Pick a quiet corner with a non-slip mat or towel so your dog feels stable.
- Get down to your dog’s level instead of leaning over the top of them.
- Keep sessions to the same calm spot so the place itself becomes a cue for “this is fine.”
Days 1 to 3: let the brush become boring
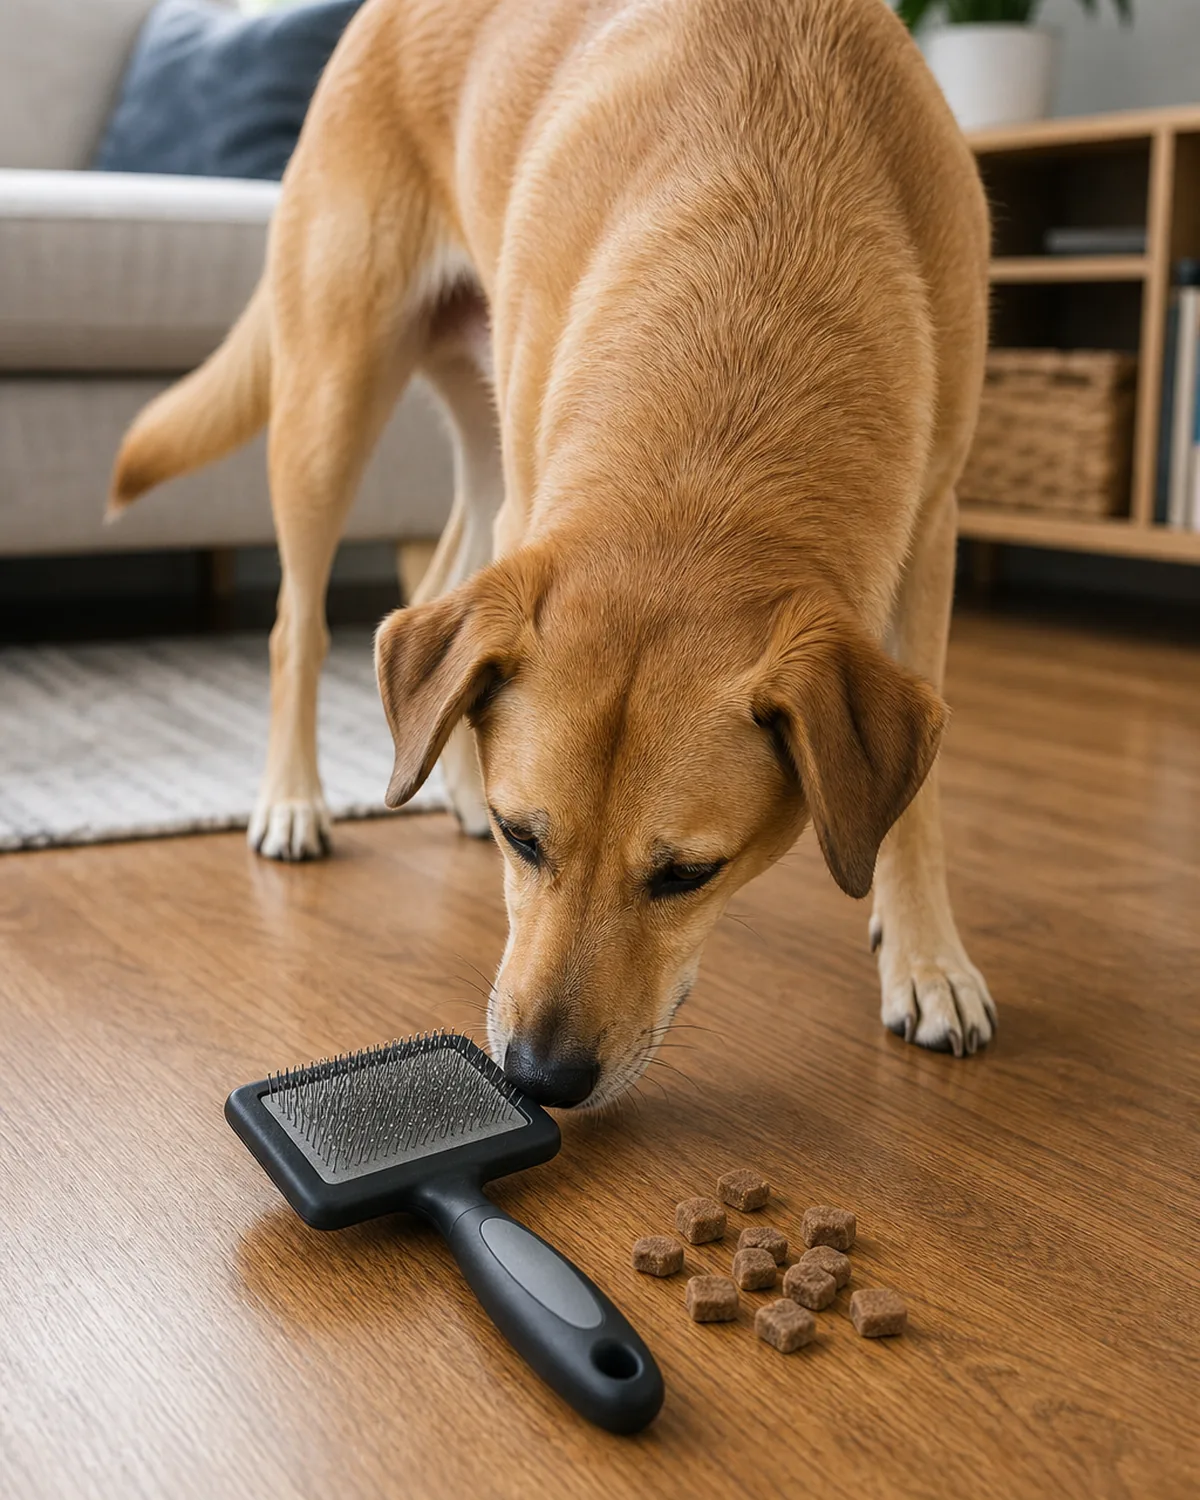
For the first three days you do not brush at all. The only goal is to make the brush predict good things instead of a struggle, so your dog stops bracing the moment it appears.
- Set the brush on the floor, let your dog sniff it, and drop a treat next to it.
- Pick the brush up, give a treat, and put it down again, a few short reps a day.
- End every mini-session while your dog is still relaxed, never after a flinch.
Days 4 to 6: touch without brushing
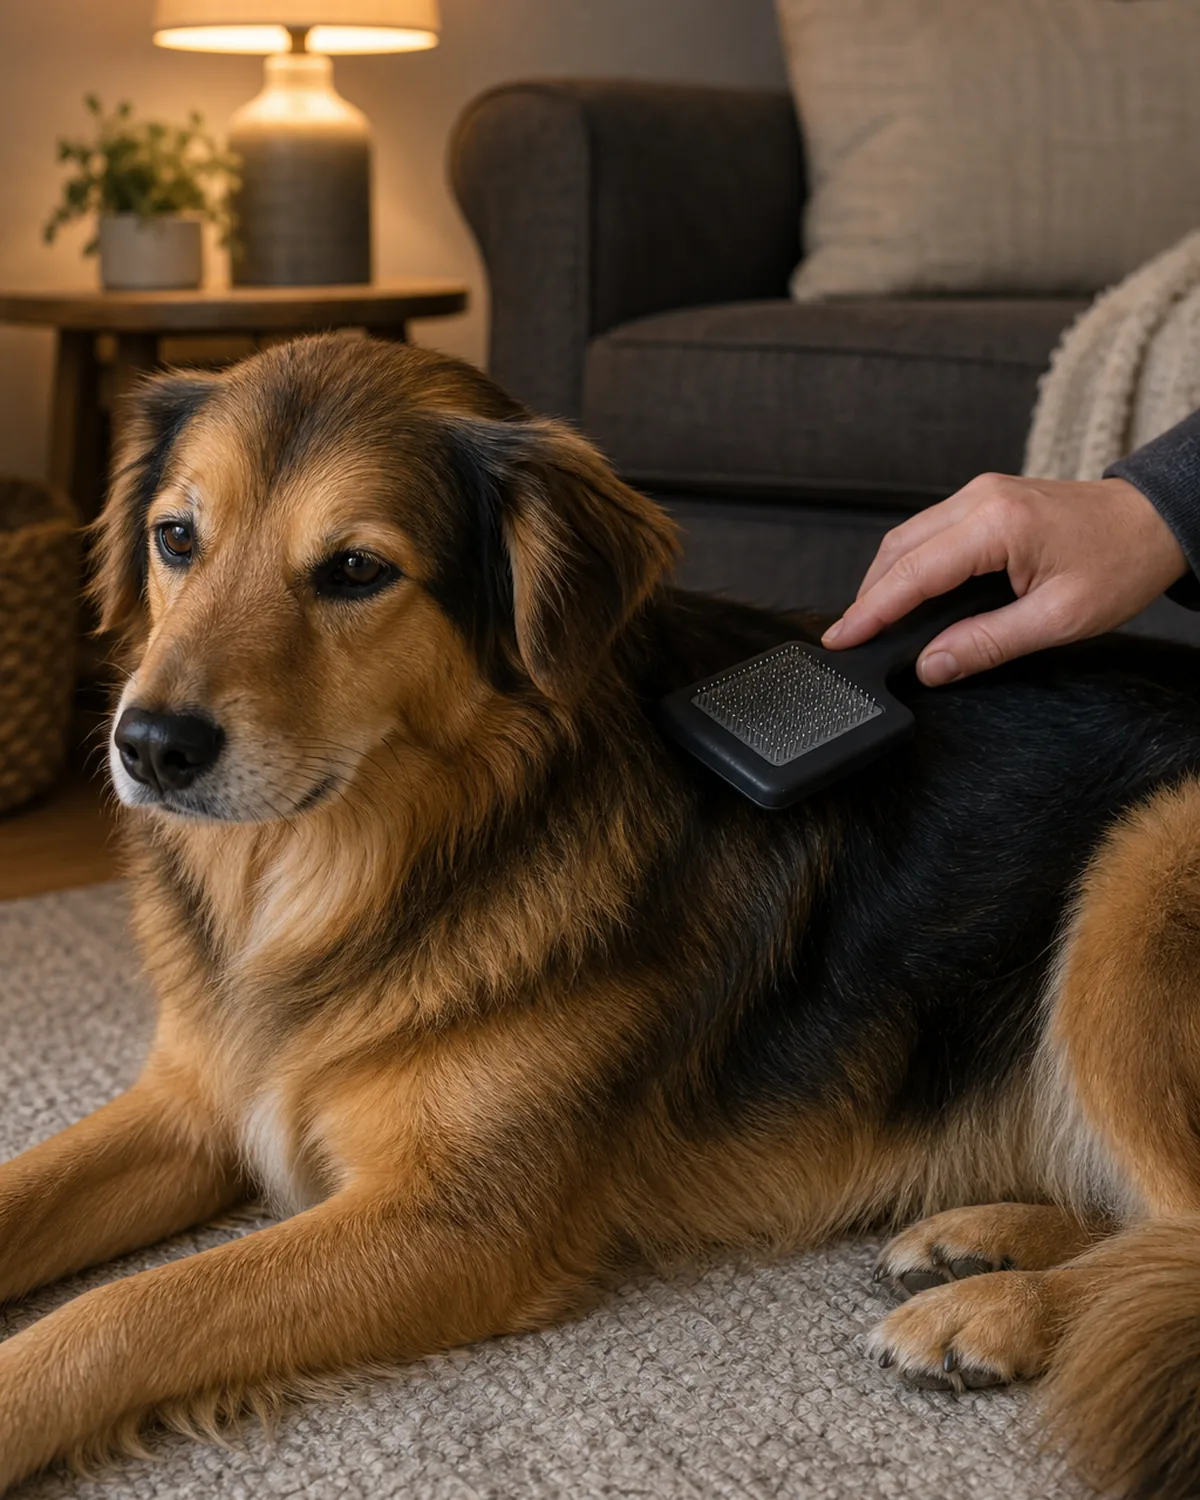
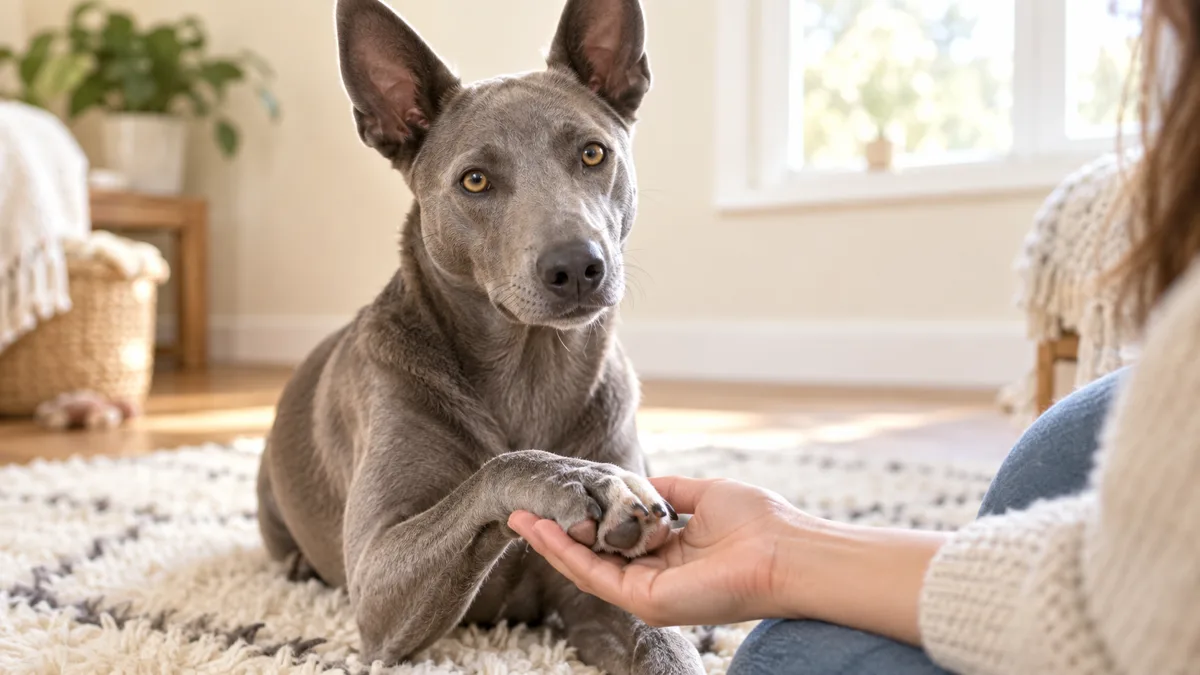
Now the brush makes contact, but you still do not stroke. You are teaching your dog that the brush can touch their body and nothing bad happens, which is the step most people skip.
- Rest the back of the brush against a shoulder or hip for a second, then treat.
- Build up to laying it flat on the coat for a few seconds at a time.
- Keep your hand relaxed. If your dog leans away, you moved too fast, so shorten the next rep.
Days 7 to 9: one stroke, then a treat
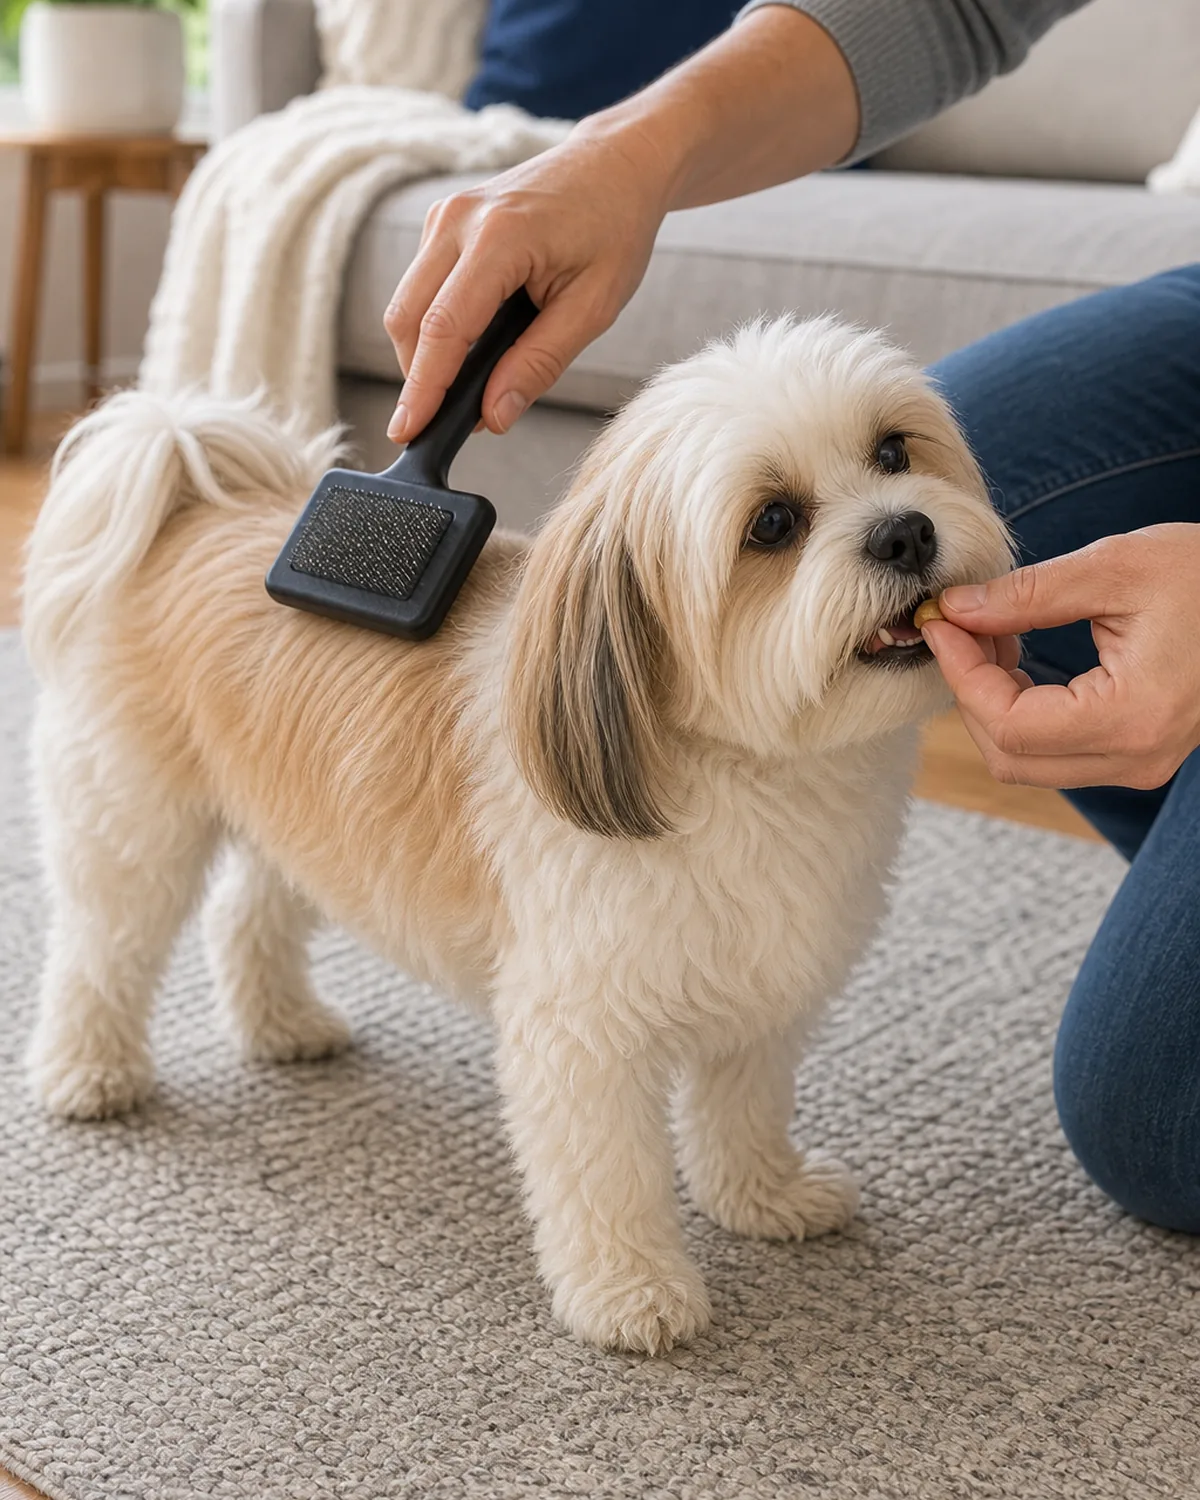
This is where real brushing starts, one stroke at a time. Pairing each stroke with a treat keeps the association positive and stops your dog from anticipating a long, uncomfortable session.
- Take one slow stroke in the direction the fur grows, then immediately treat.
- Start on the easy zones like the shoulders and back, not the legs or belly.
- Add strokes only when your dog stays loose, working up to three or four in a row.
The 14-day plan works because of four ideas underneath it. Get these right and the steps fall into place; ignore them and even a gentle brush turns into a wrestling match.
Days 10 to 12: build to short real sessions
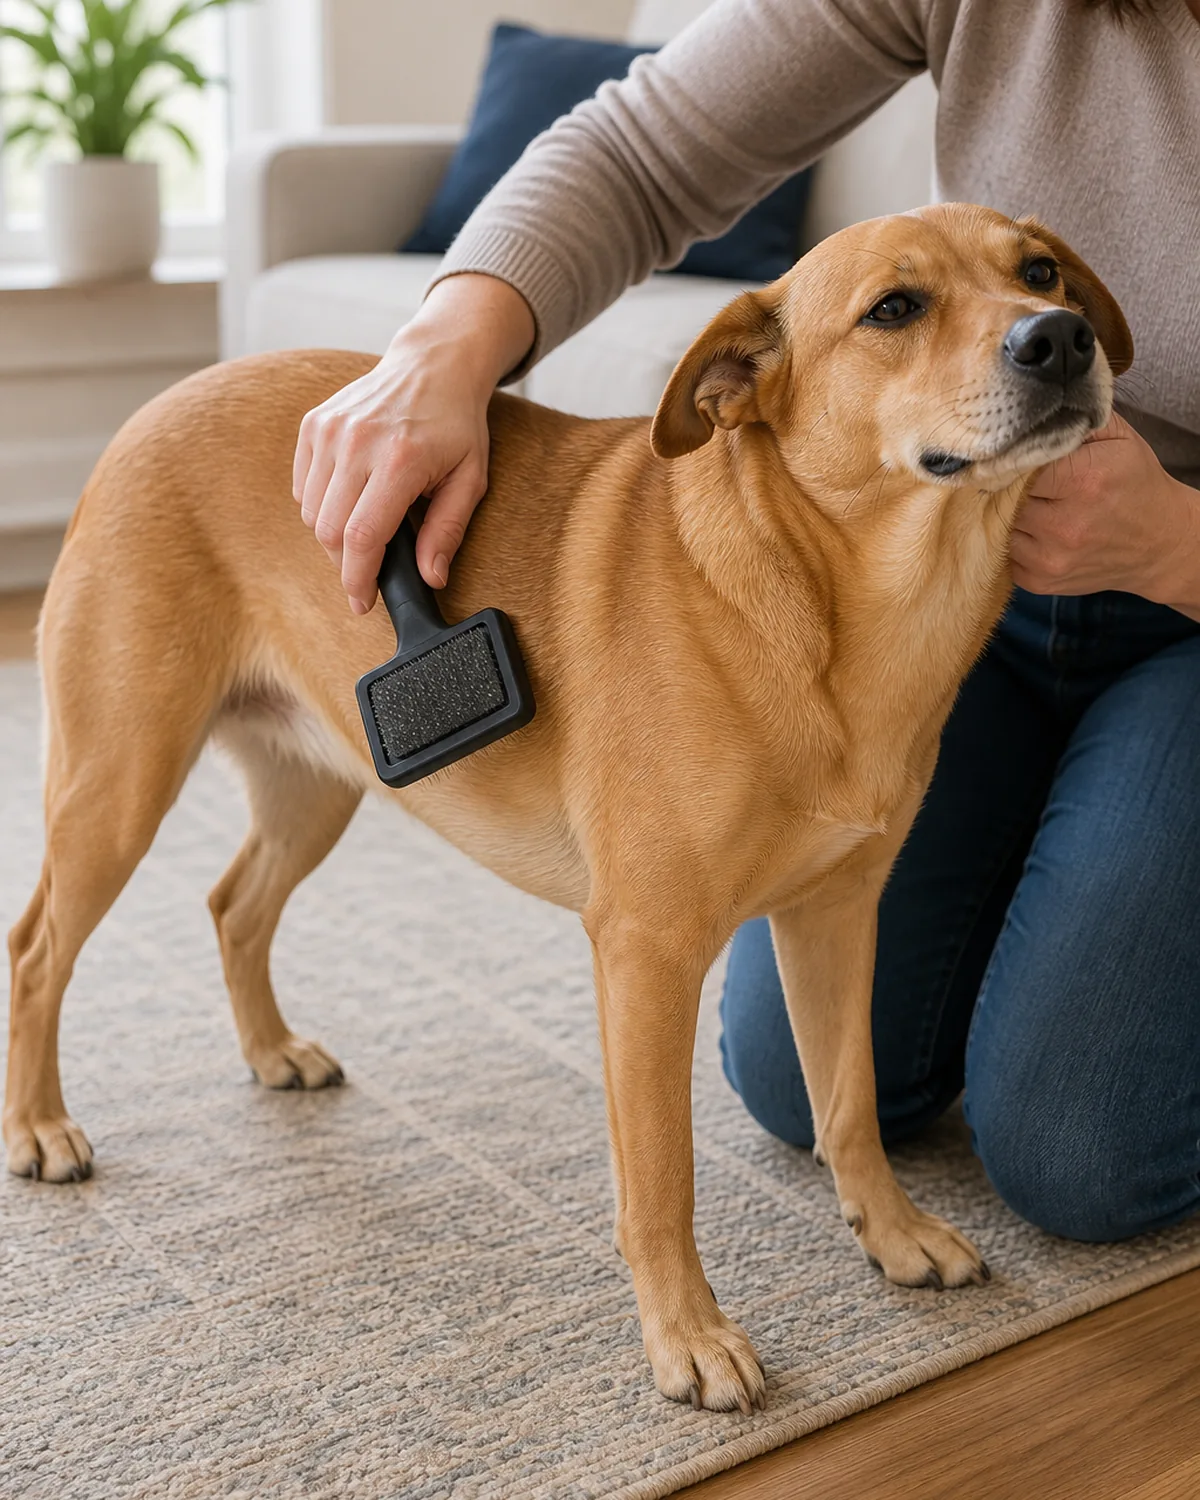
By now your dog tolerates a handful of strokes, so you stretch sessions to a couple of comfortable minutes. Short and positive beats long and tense every time, especially while the habit is still forming.
- Aim for two to three minutes, then stop while it is still going well.
- Cover one area properly rather than rushing the whole dog.
- If attention fades, end on an easy stroke and a treat instead of pushing through.
Days 13 to 14: a full, gentle groom
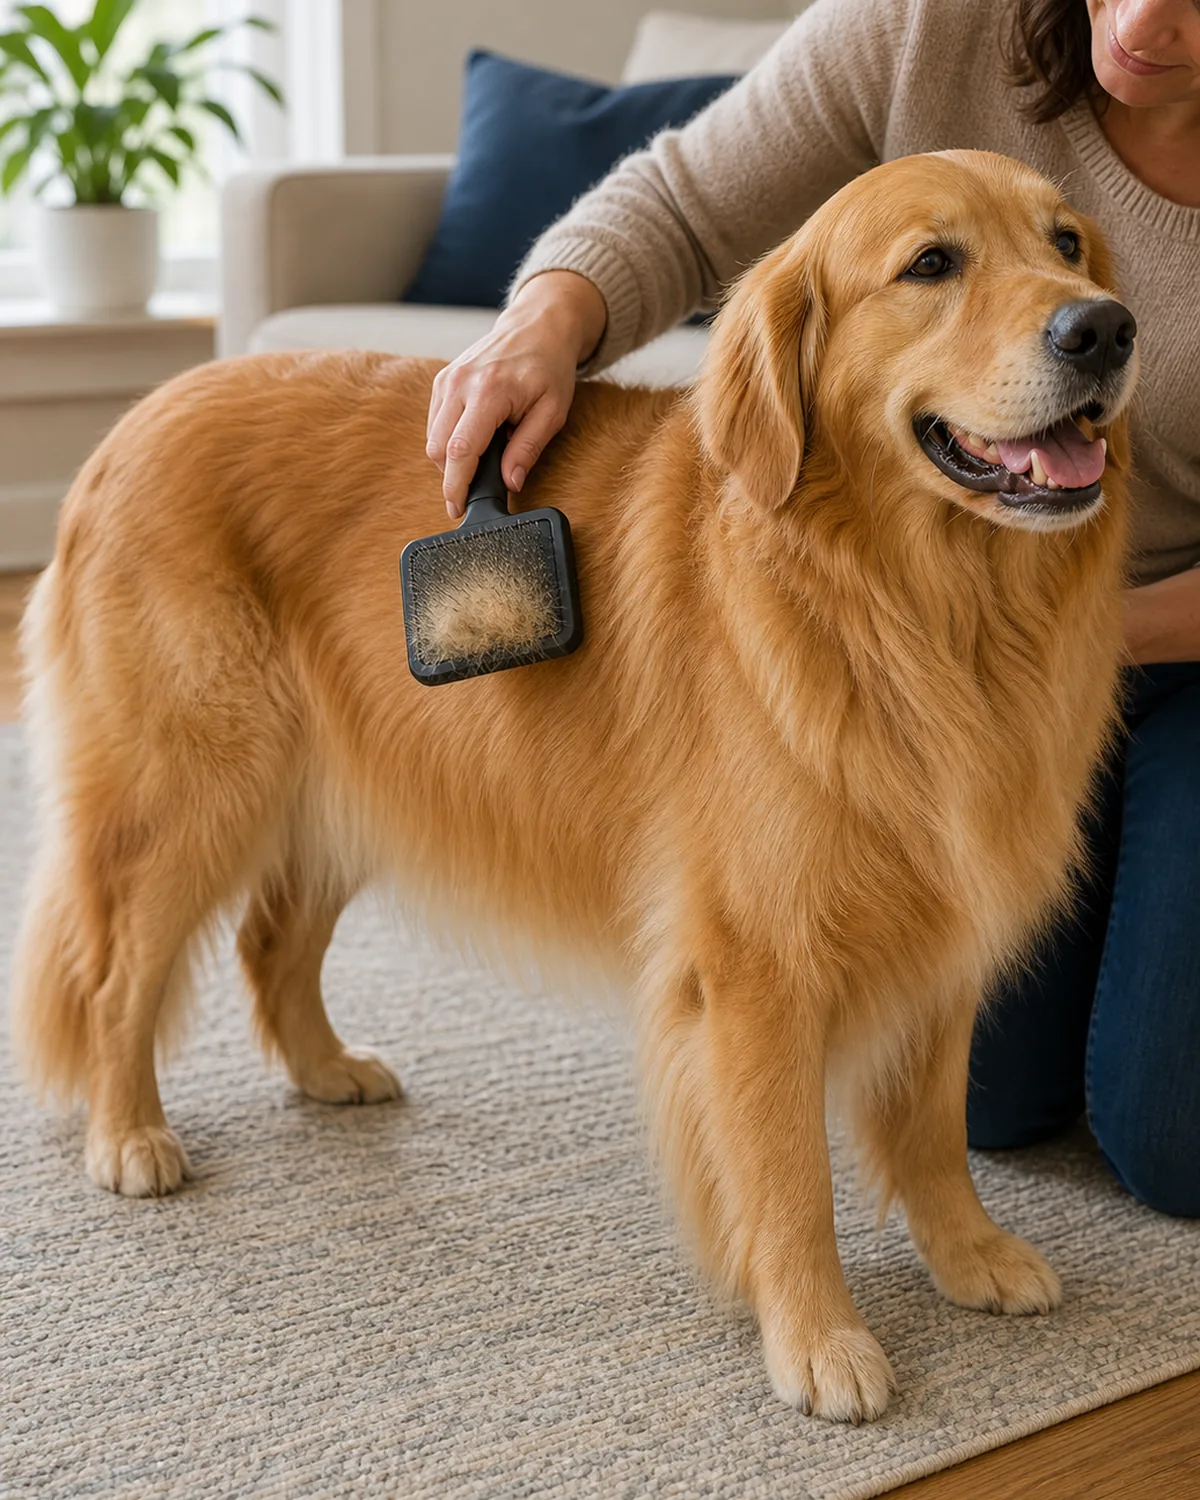
The payoff is a complete, calm groom that your dog sits through without a fight. It will not be perfect, and that is fine. A relaxed dog and a mostly-brushed coat beats a stressed dog and a flawless one.
- Work section by section, checking in with your dog between areas.
- Keep treats coming for the harder spots so they stay paid for cooperation.
- Stop at the first sign of “I’m done” so the last memory of the session stays good.
Use the lick mat trick
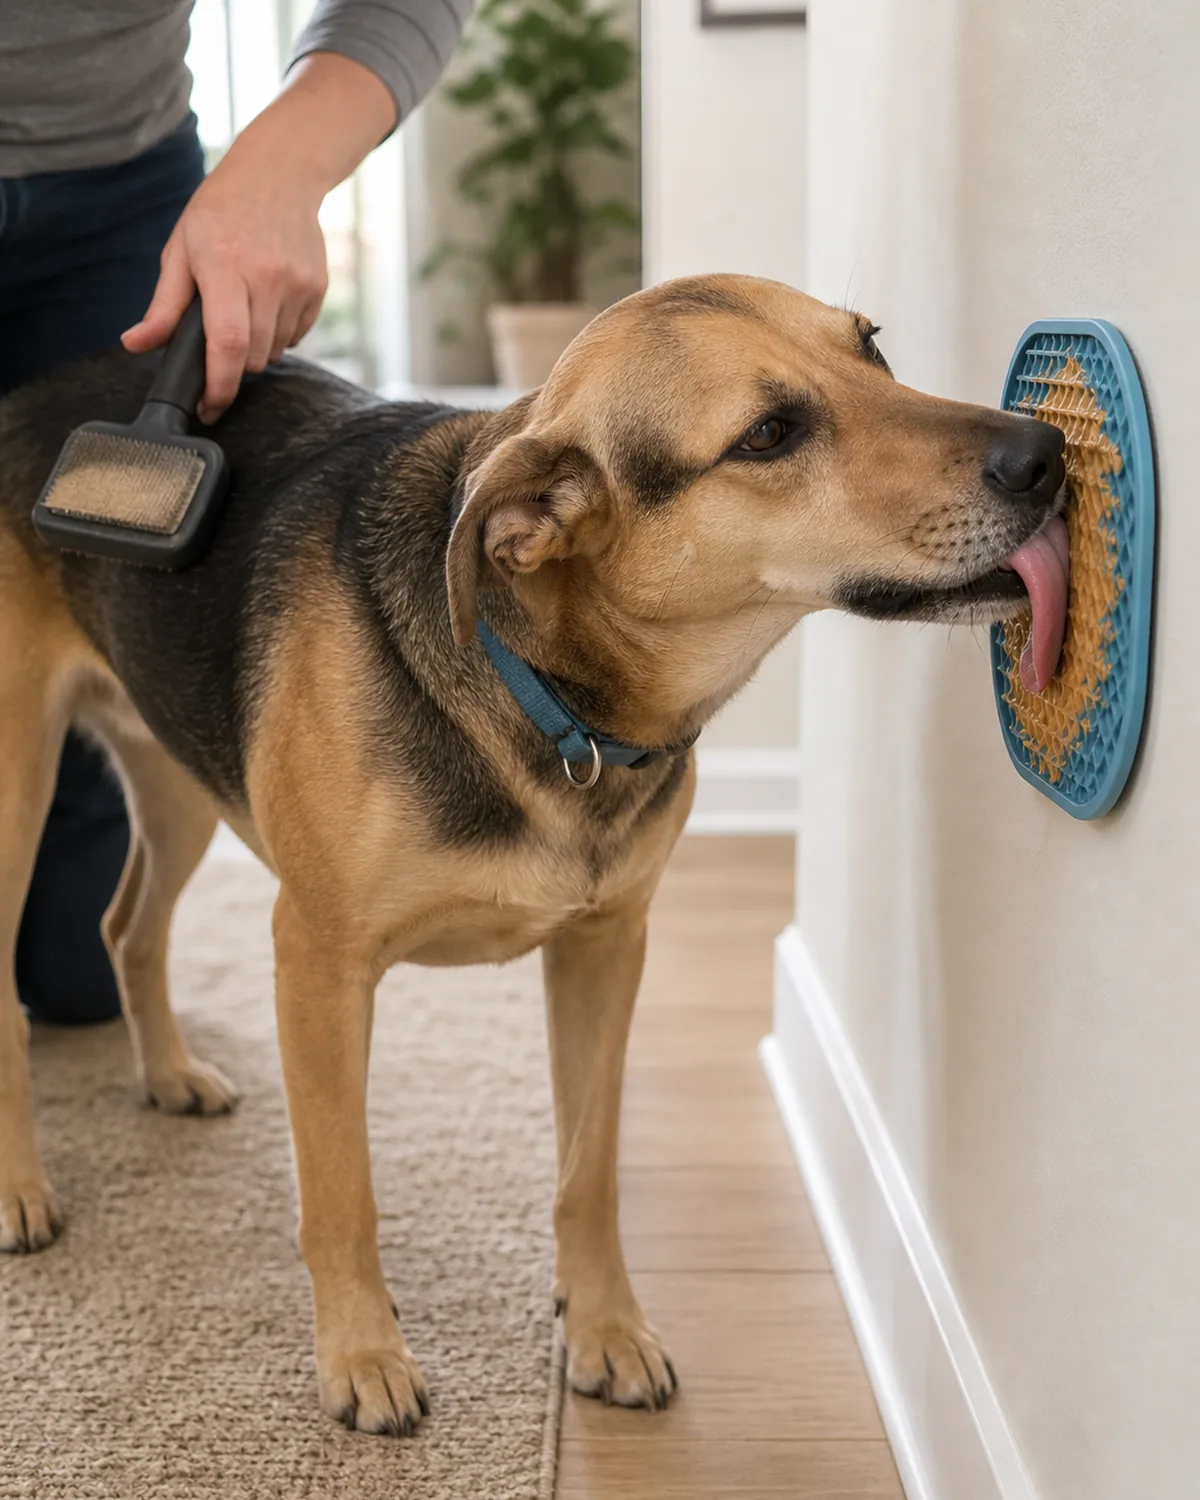
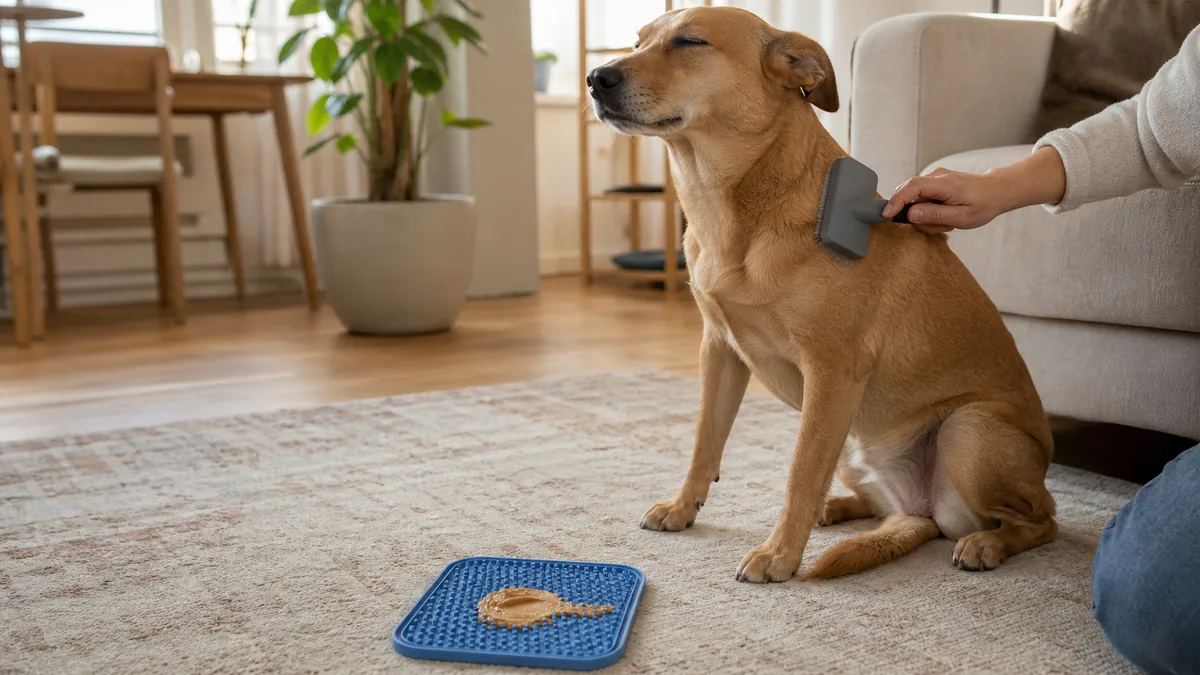
A lick mat is the single best tool for a wiggly dog. Spreading something tasty on a mat gives your dog a calm, absorbing job to do while you brush, and licking itself helps dogs settle.
- Smear a little peanut butter (xylitol-free) or wet food on a lick mat at nose height.
- Brush the easy areas while your dog is busy licking.
- Let the mat run out as the session ends, so finishing brushing predicts the treat finishing too.
How to Brush a Dog That Hates Being Brushed: the 14-day plan
- 1Understand why your dog hates the brushIt is learned fear, not stubbornness, and learned fear can be unlearned with patience.
- 2Rule out pain before you trainCheck for mats, sore spots, and skin trouble; see a vet or groomer if you find any.
- 3Match the brush to the coatThe wrong tool pulls; the right one for the coat removes most of the discomfort.
- 4Set up a calm brushing spotA quiet corner, a non-slip mat, and your dog’s level make the brush feel safer.
- 5Days 1 to 3: let the brush be boringNo brushing yet. Sniff it, treat near it, so it predicts good things.
- 6Days 4 to 6: touch without brushingRest the brush on the coat and treat, teaching contact is nothing to fear.
- 7Days 7 to 9: one stroke, then a treatReal brushing starts one paid stroke at a time, on the easy areas first.
- 8Days 10 to 12: short real sessionsStretch to a comfortable couple of minutes, then stop while it is going well.
- 9Days 13 to 14: a full gentle groomA calm, complete groom your dog sits through, section by section, well paid.
- 10Use the lick mat trickA tasty lick mat gives a wiggly dog a calming job while you brush.
- 11Work through mats without hurtingHold the fur base and pick the tangle from the tip in, never one hard pull.
- 12Go slow on the sensitive spotsLegs, belly, tail, and face come last, with lighter strokes and a softer touch.
- 13What to do if your dog panicsStop, give space, drop back a step, and call a pro if panic keeps happening.
- 14Make brushing a habit they enjoyShort, regular, positive sessions keep the brush no big deal for years.
pawliqa.com
Work through mats without hurting
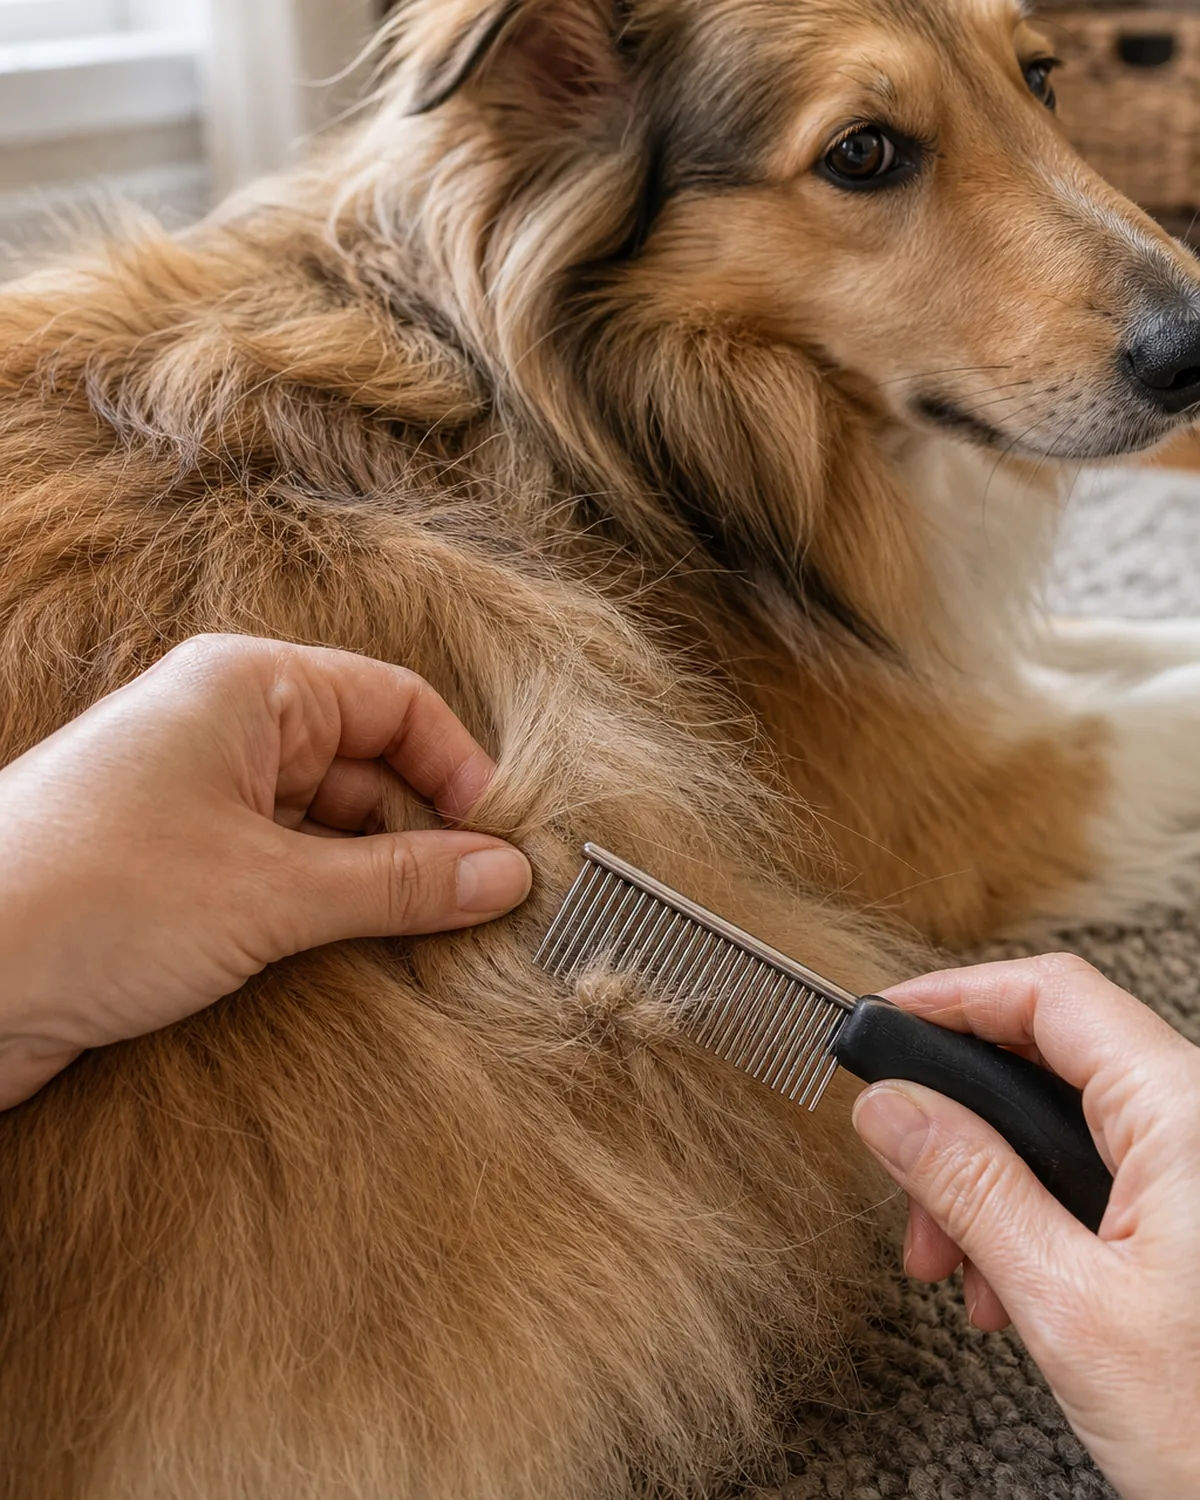
Mats are the fastest way to teach a dog that brushing hurts, so they need a gentle approach. Yanking a knot pulls the skin underneath, which is exactly the pain that started the problem.
- Hold the fur at the base, near the skin, so the comb cannot tug the skin itself.
- Work the tangle from the outer tip inward in small picks, not one hard pull.
- For a tight mat that will not loosen, stop and book a groomer rather than fighting it.
Go slow on the sensitive spots
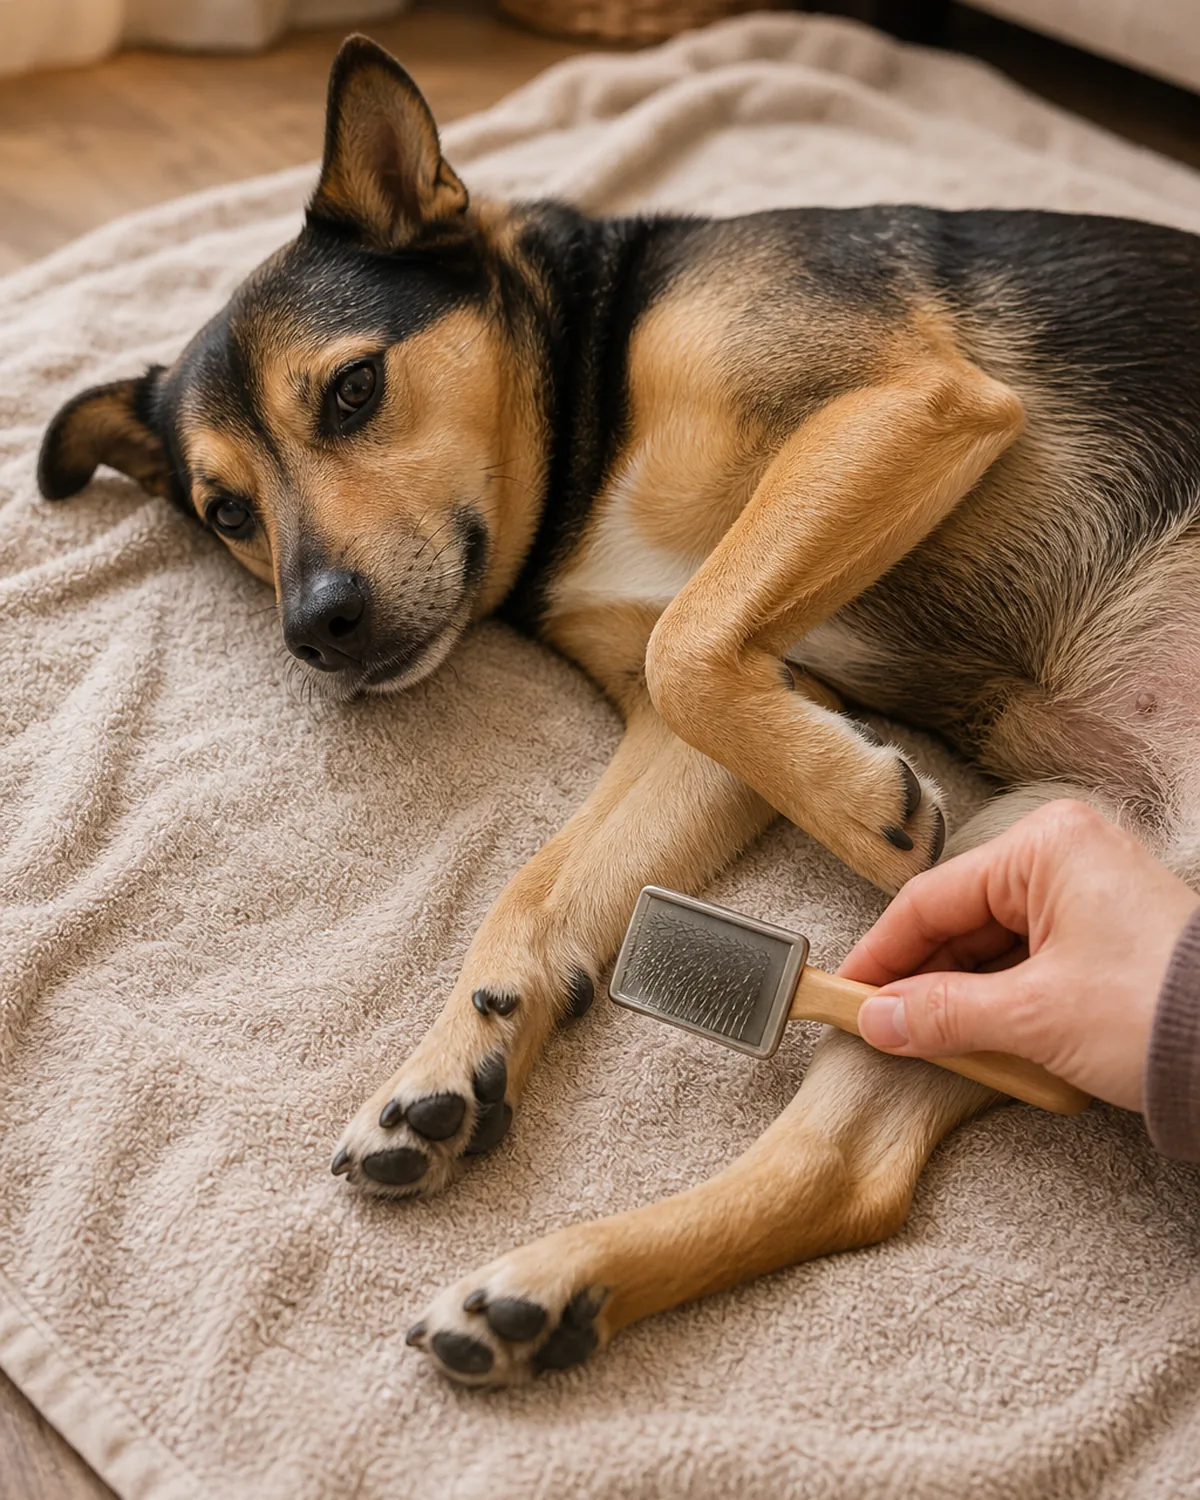
Legs, belly, tail, and face are where most dogs lose patience, because the skin is thinner and they feel exposed. Save these zones for last, once your dog is already relaxed from the easy areas.
- Use lighter, slower strokes and a softer brush on thin-skinned spots.
- Support a leg gently in your hand rather than chasing it with the brush.
- Skip the face with a brush. Use a damp cloth or a soft comb around the eyes instead.
Know what to do if your dog still panics
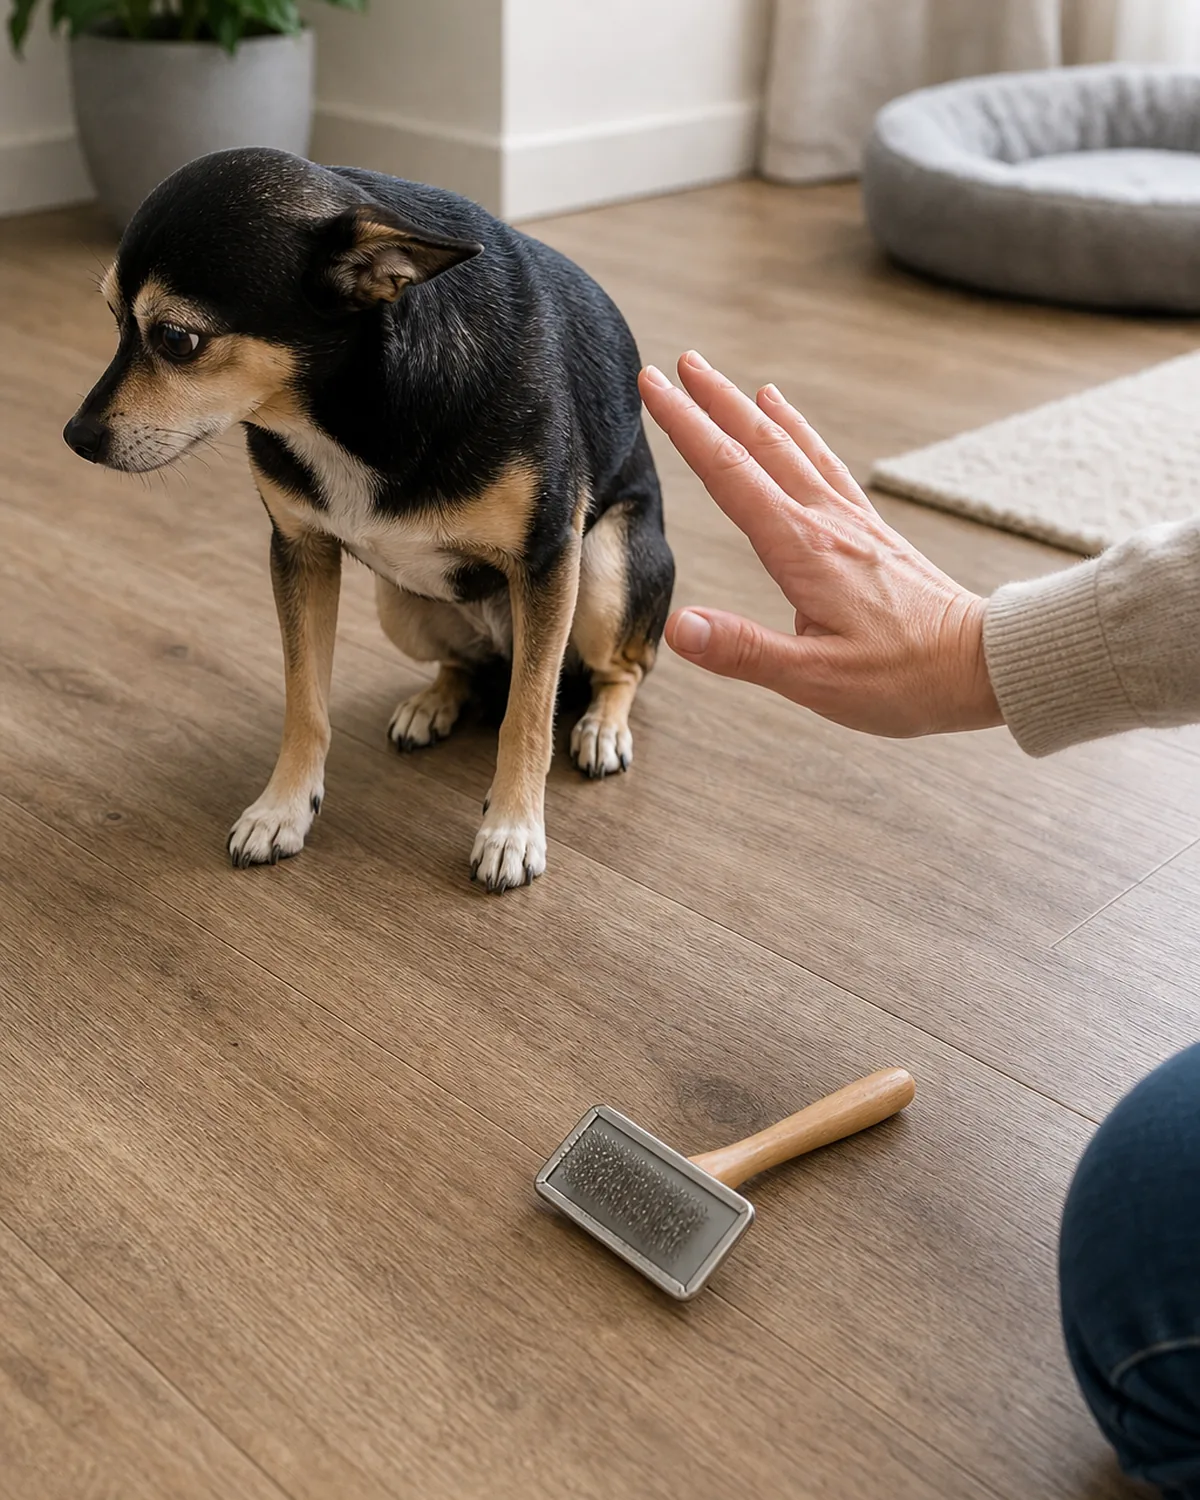
If your dog hits real panic, the session is over, and that is information, not failure. Pushing through a panic just reteaches the fear you are trying to erase. Back up and make the next step smaller.
- Put the brush down, give space, and let your dog reset before trying again.
- Drop back to the last step your dog was comfortable with and rebuild from there.
- If panic keeps happening or your dog snaps, loop in a fear-free groomer or a trainer.
Make brushing a habit your dog enjoys
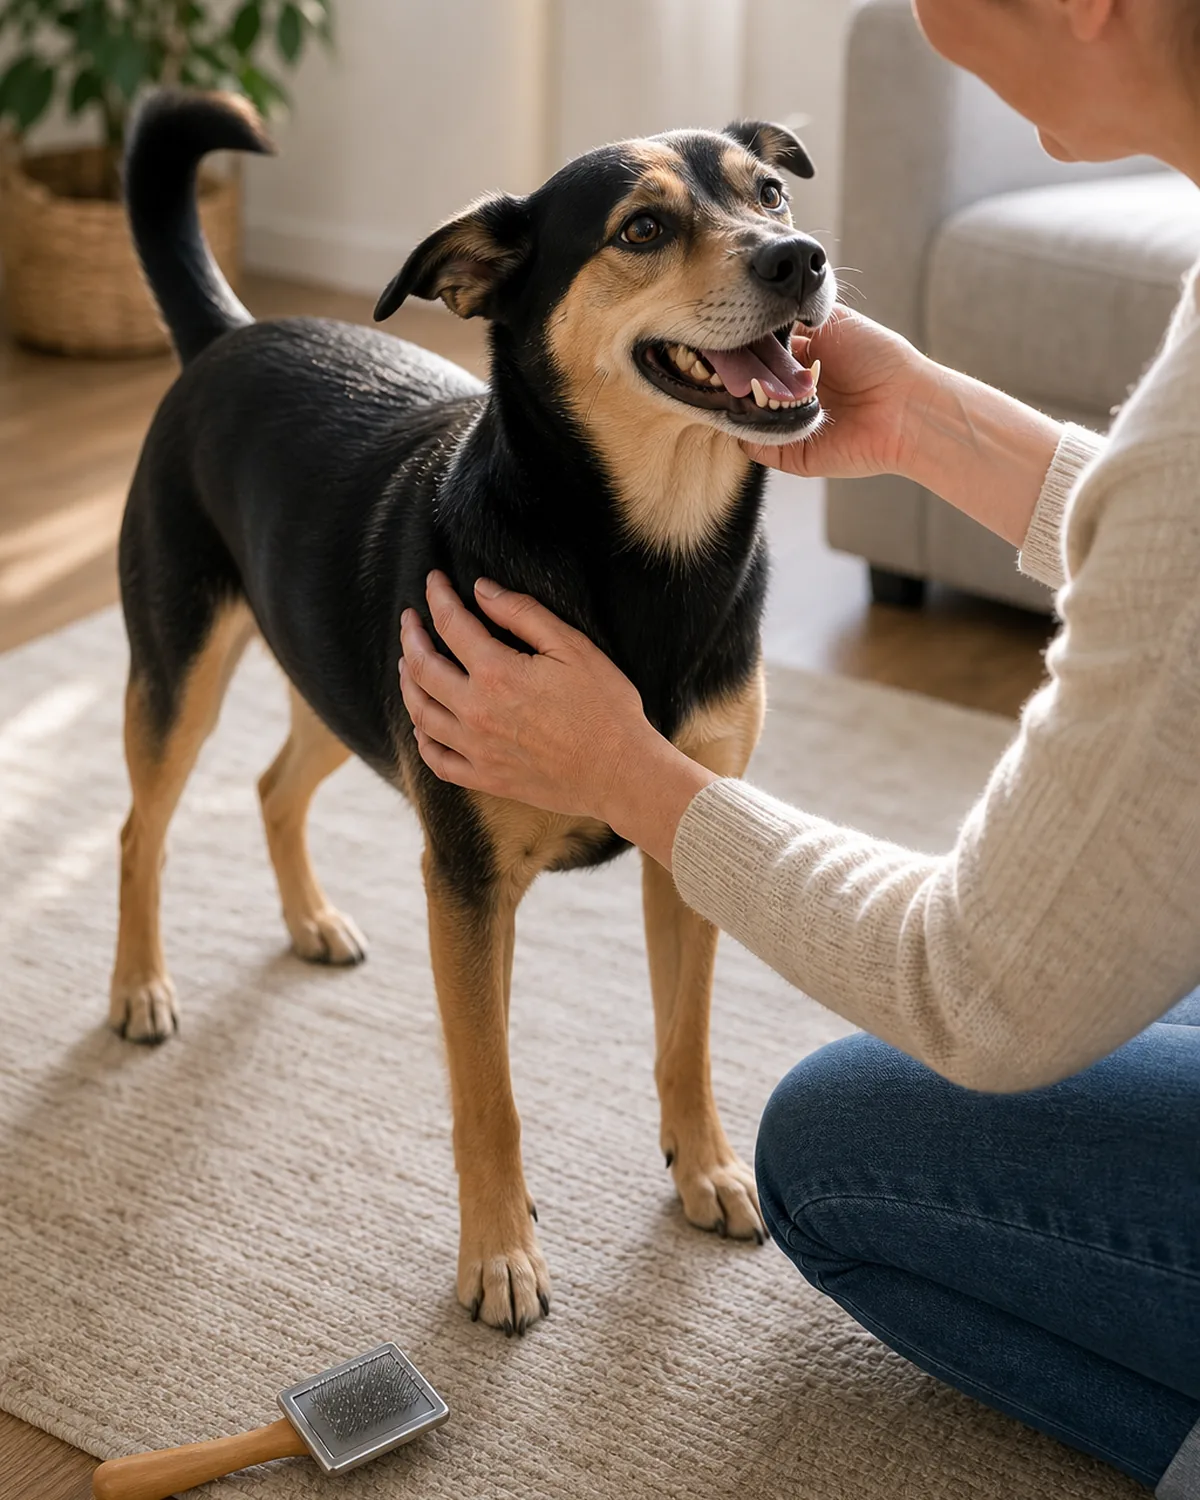
Keeping brushing easy is mostly about not undoing your two weeks of work. Short, regular, positive sessions keep the coat healthy and keep your dog believing the brush is no big deal.
- Brush little and often, a few minutes a few times a week, instead of one long ordeal.
- Always end on a calm note with praise or a treat, even on rushed days.
- Keep the same spot, brush, and routine so the whole thing stays familiar and low-stress.
Two weeks sounds slow when your dog needs brushing now, but the dog that learns the brush is safe is the dog you can groom for the next decade without a struggle. Go at their pace, pay for calm, and the brush stops being the enemy.

Jess Calloway edits Pawliqa, where she shares dog care, grooming, training, and new-owner tips — plus DIY and pet-friendly home ideas — for anyone who wants a happy, well-cared-for dog. As a dog mom to three very different dogs, she writes the honest, tested version of what actually works. Every guide is image-led and reviewed for clarity, usefulness, image accuracy, and Pinterest-to-page alignment before it goes live. Visit the About page.