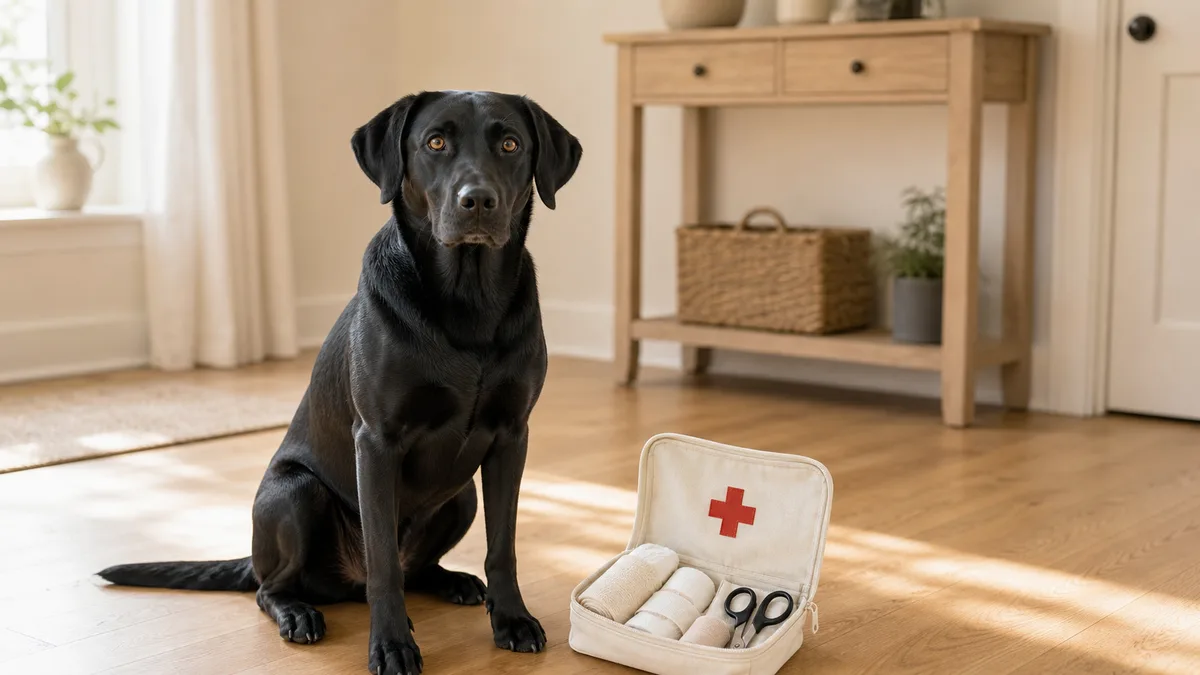
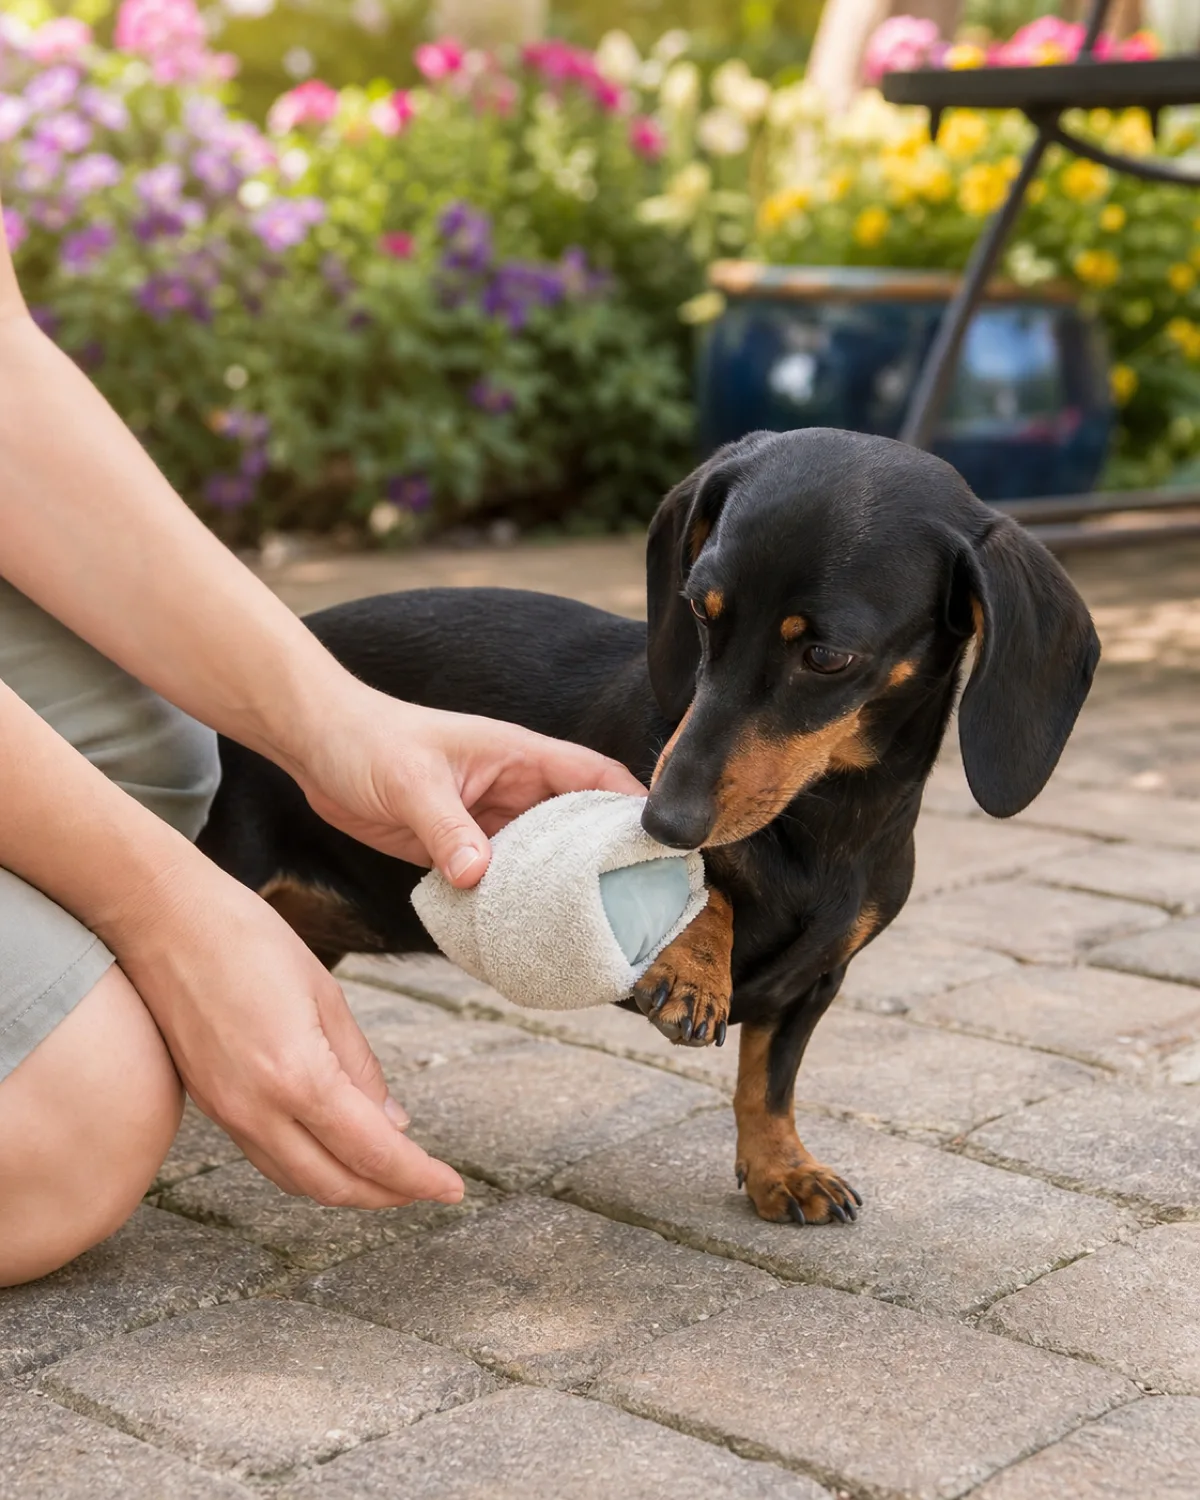
Your dog just cut a paw on a sharp rock during a hike. You are forty minutes from the nearest vet and your car has nothing useful in it.
That moment is exactly why a dog first aid kit matters — not as a replacement for veterinary care, but as the bridge that keeps your dog stable while you get there.
Building one takes twenty minutes and costs less than a single emergency vet visit.
Why Every Dog Owner Needs a First Aid Kit Ready
Emergencies do not send calendar invites. A thorn in the paw pad, a bee sting on the lip, an encounter with something toxic in the garage — these things happen on ordinary afternoons.
Most dog owners have zero emergency supplies organized. When something goes wrong, they dig through kitchen drawers for paper towels, grab human medications that may be toxic to dogs, or drive in a panic without knowing what to do during the ride.
A prepared kit changes the math entirely. You reach into one bag and have the correct supplies within thirty seconds. No searching, no improvising, no wasted minutes.
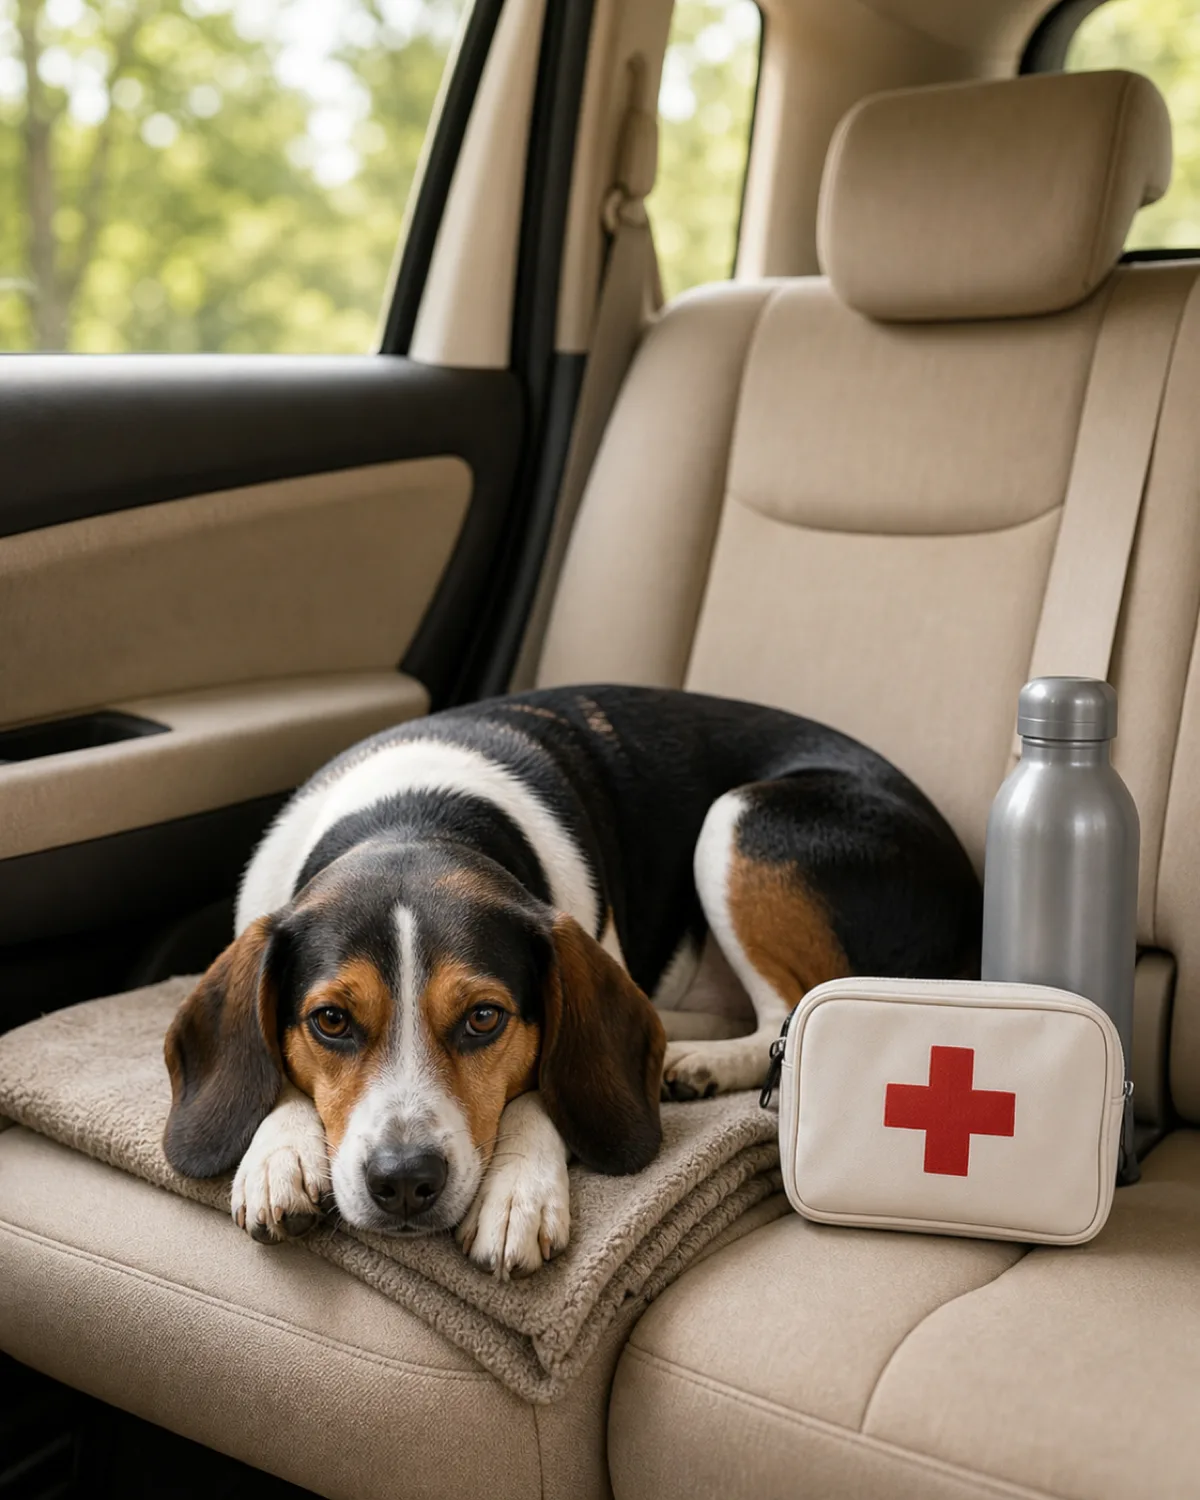
The kit should not live only at home. Your car needs one. Your hiking pack needs a compact version. Outdoor activities like trail runs, camping trips, and visits to off-leash parks put your dog in exactly the situations where injuries happen most — often far from the nearest clinic. This kit is cheap insurance that sits quietly until the moment it becomes the most important thing you own.
What to Put Inside (The Complete Checklist)
Think in three layers so you can build a full home kit and a slimmed-down travel version without starting over.
The Foundation Layer
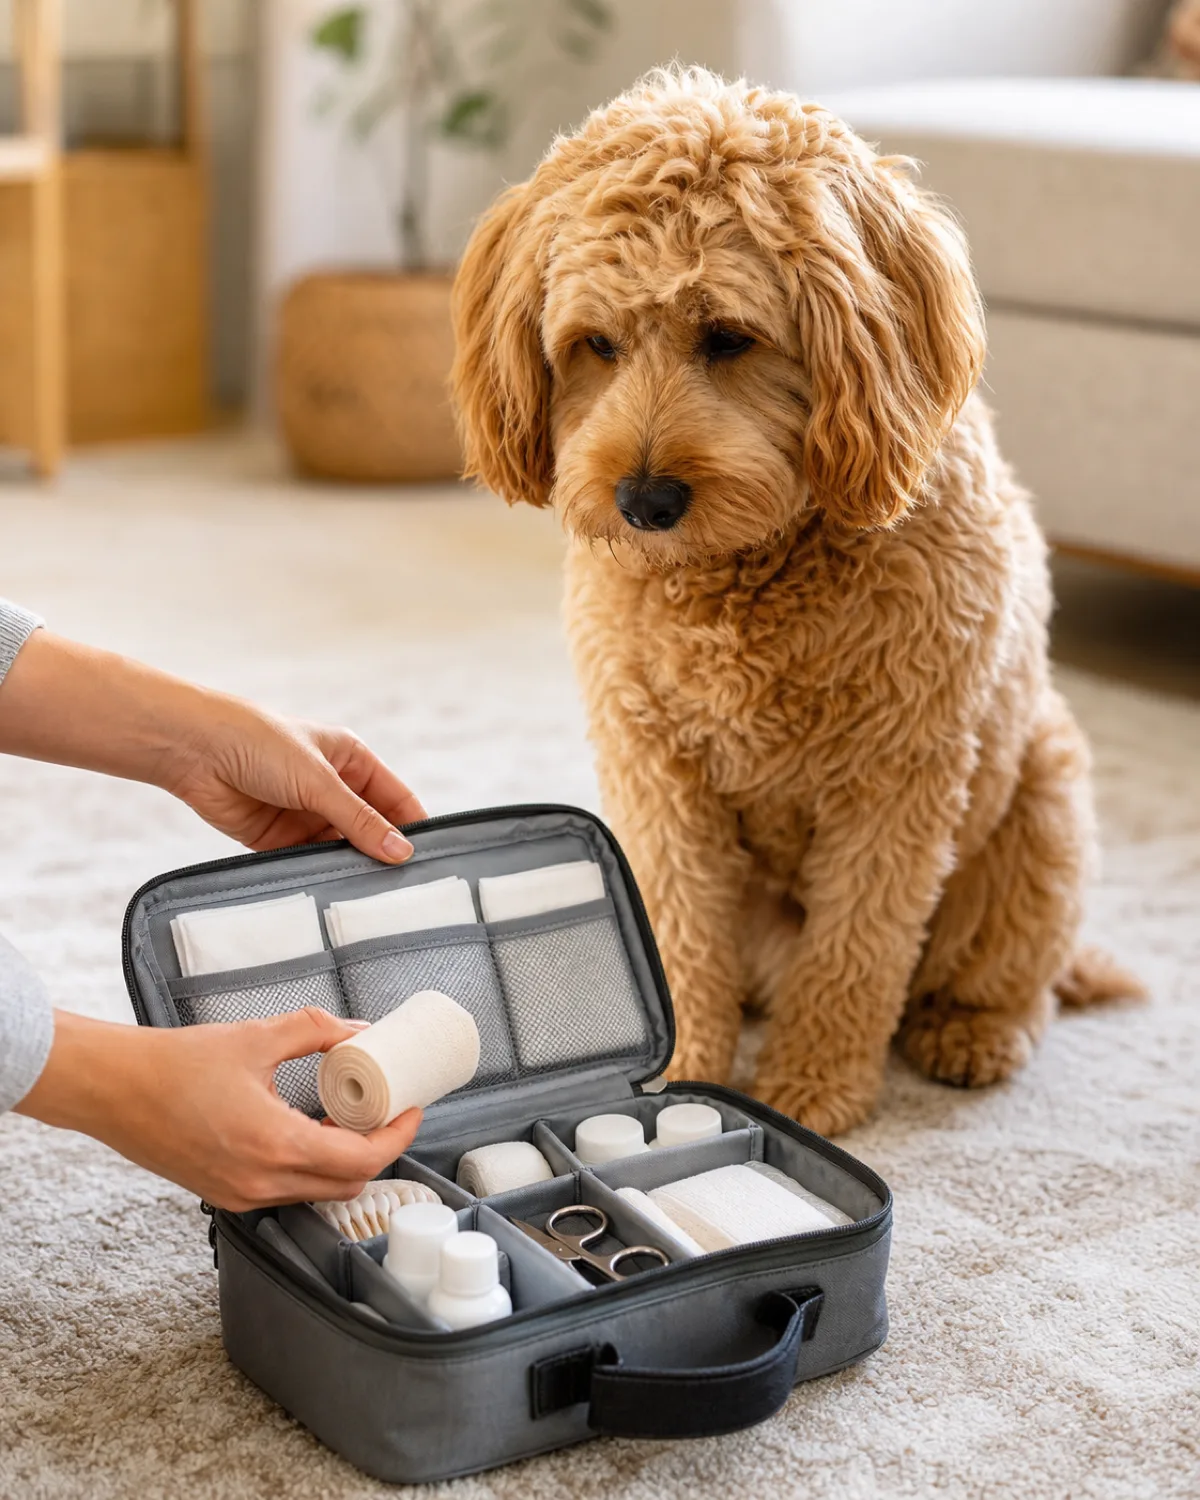
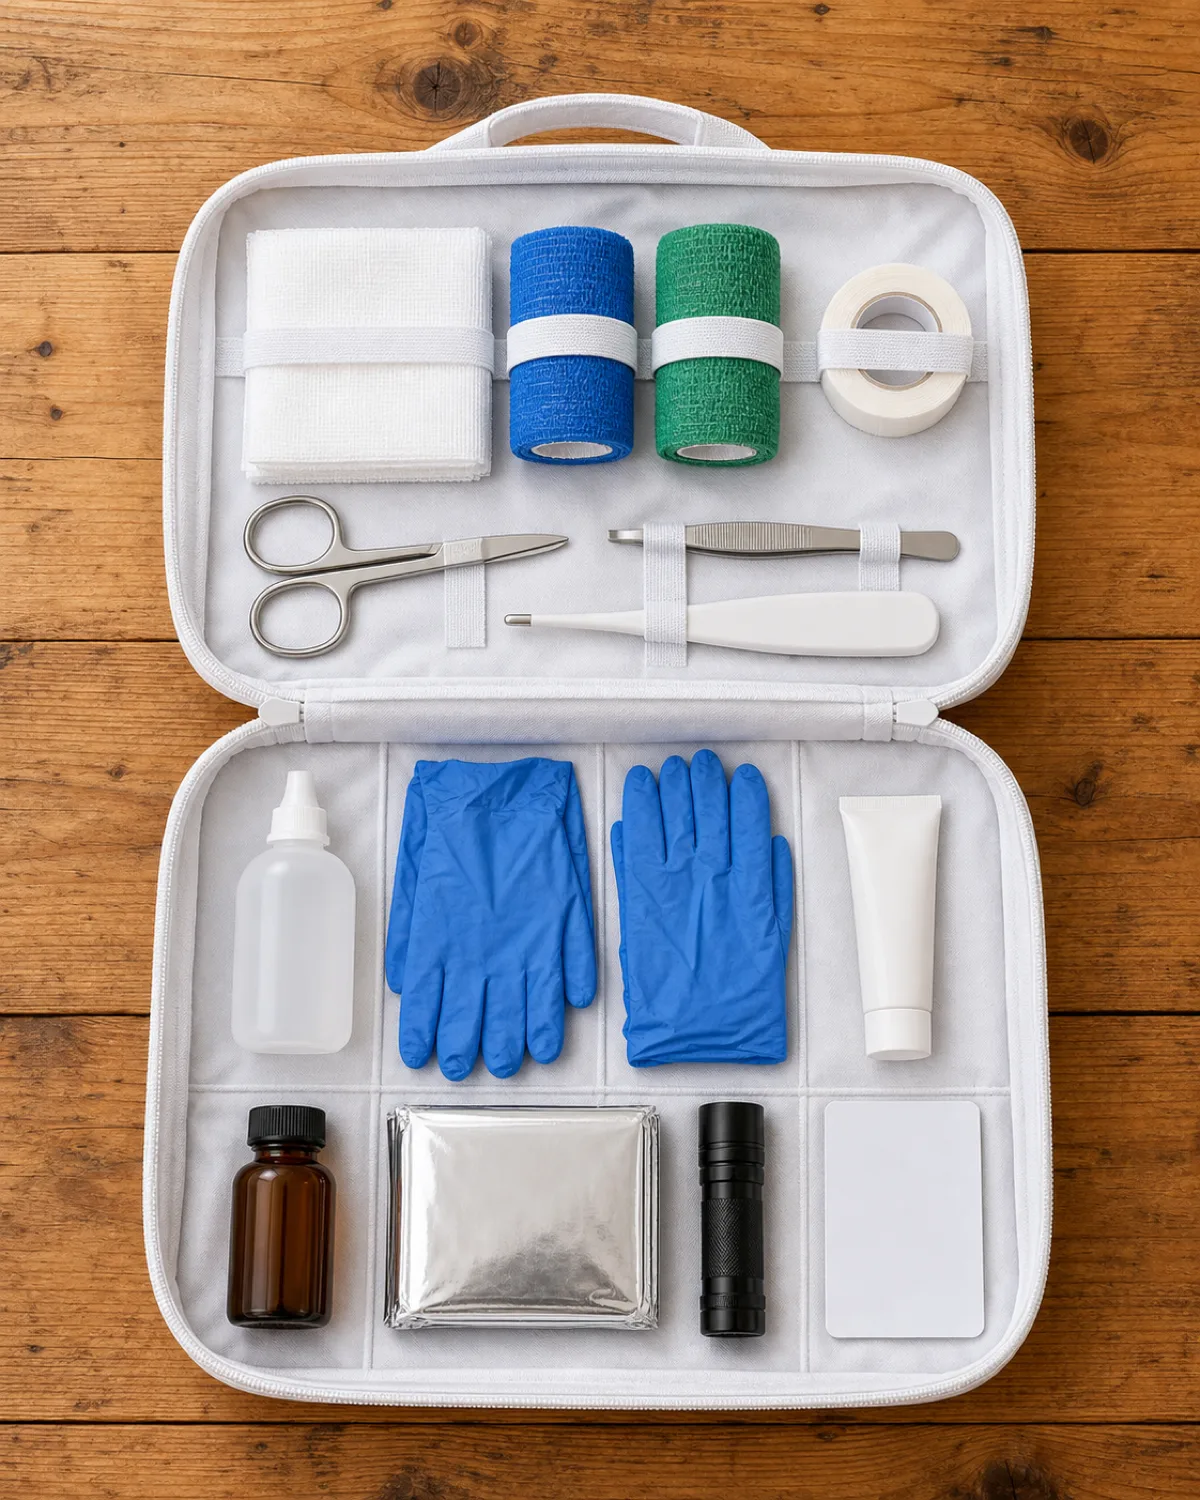
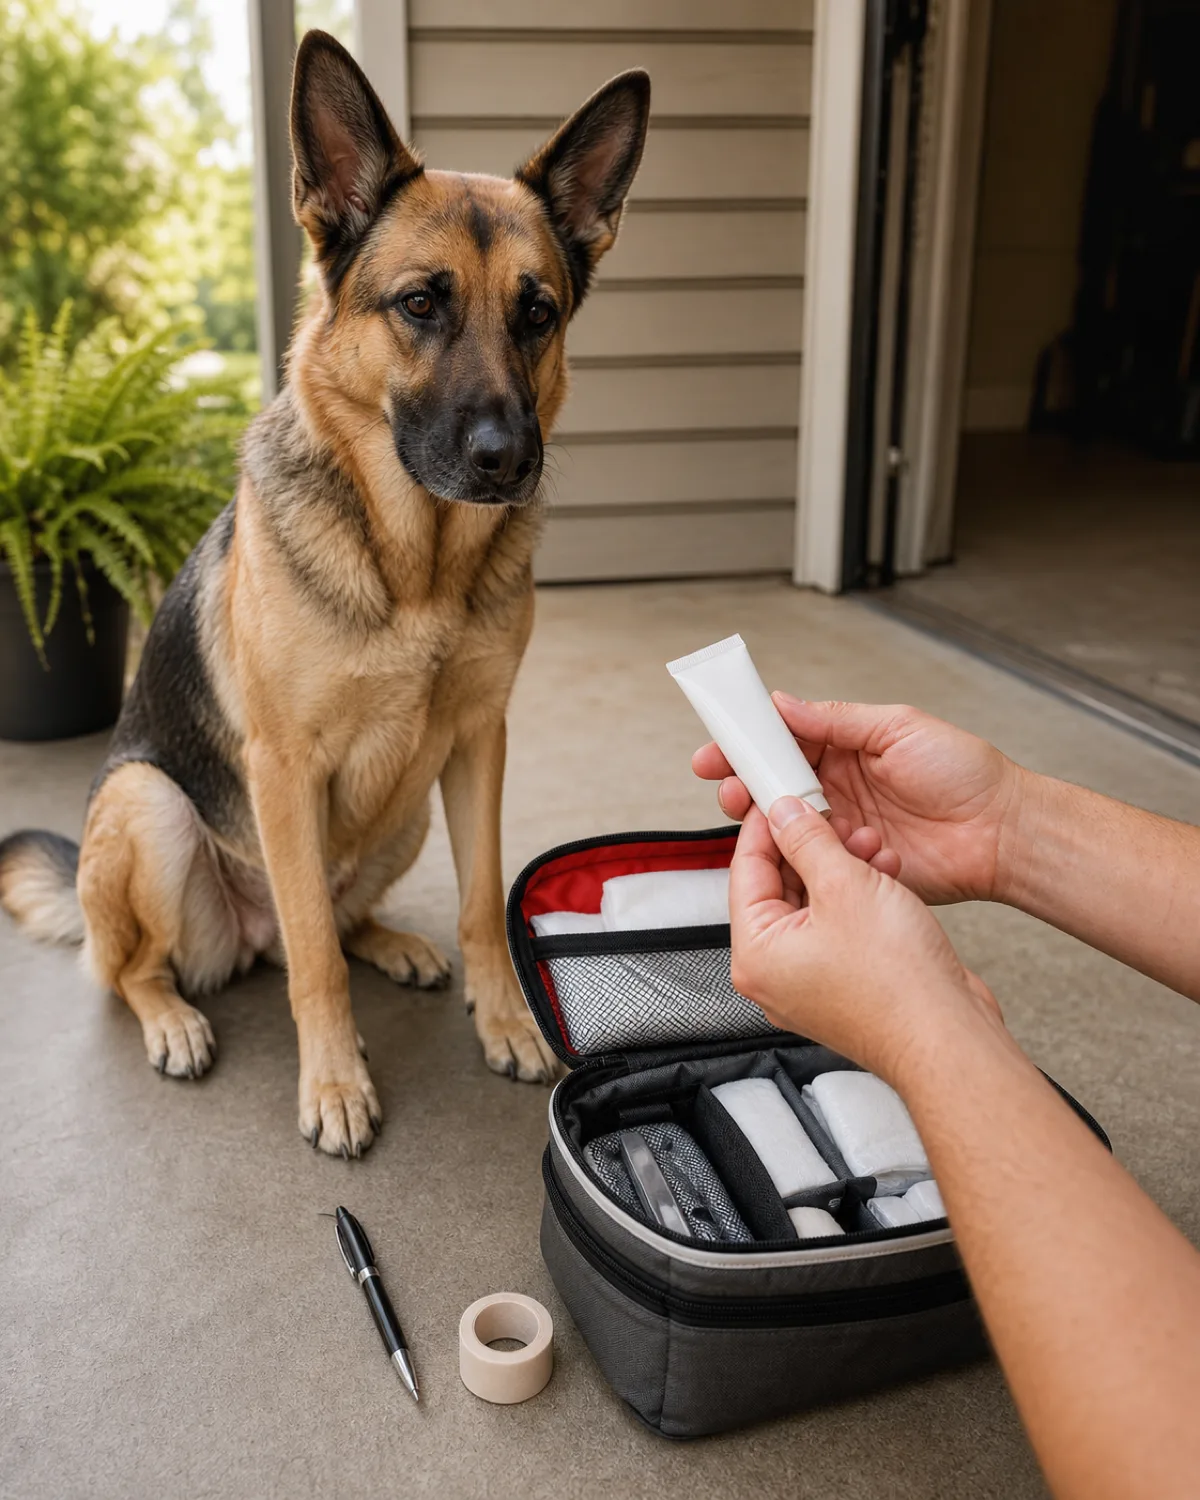
This is non-negotiable for every kit. Square gauze pads in two sizes (4x4 inch and 2x2 inch, one pack of each) cover wound dressing. A roll of self-adhesive bandage wraps without sticking to fur. Medical tape secures gauze when the self-adhesive roll is not enough. Blunt-tip scissors cut bandages and clip away matted fur around a wound. Tweezers pull splinters and thorns.
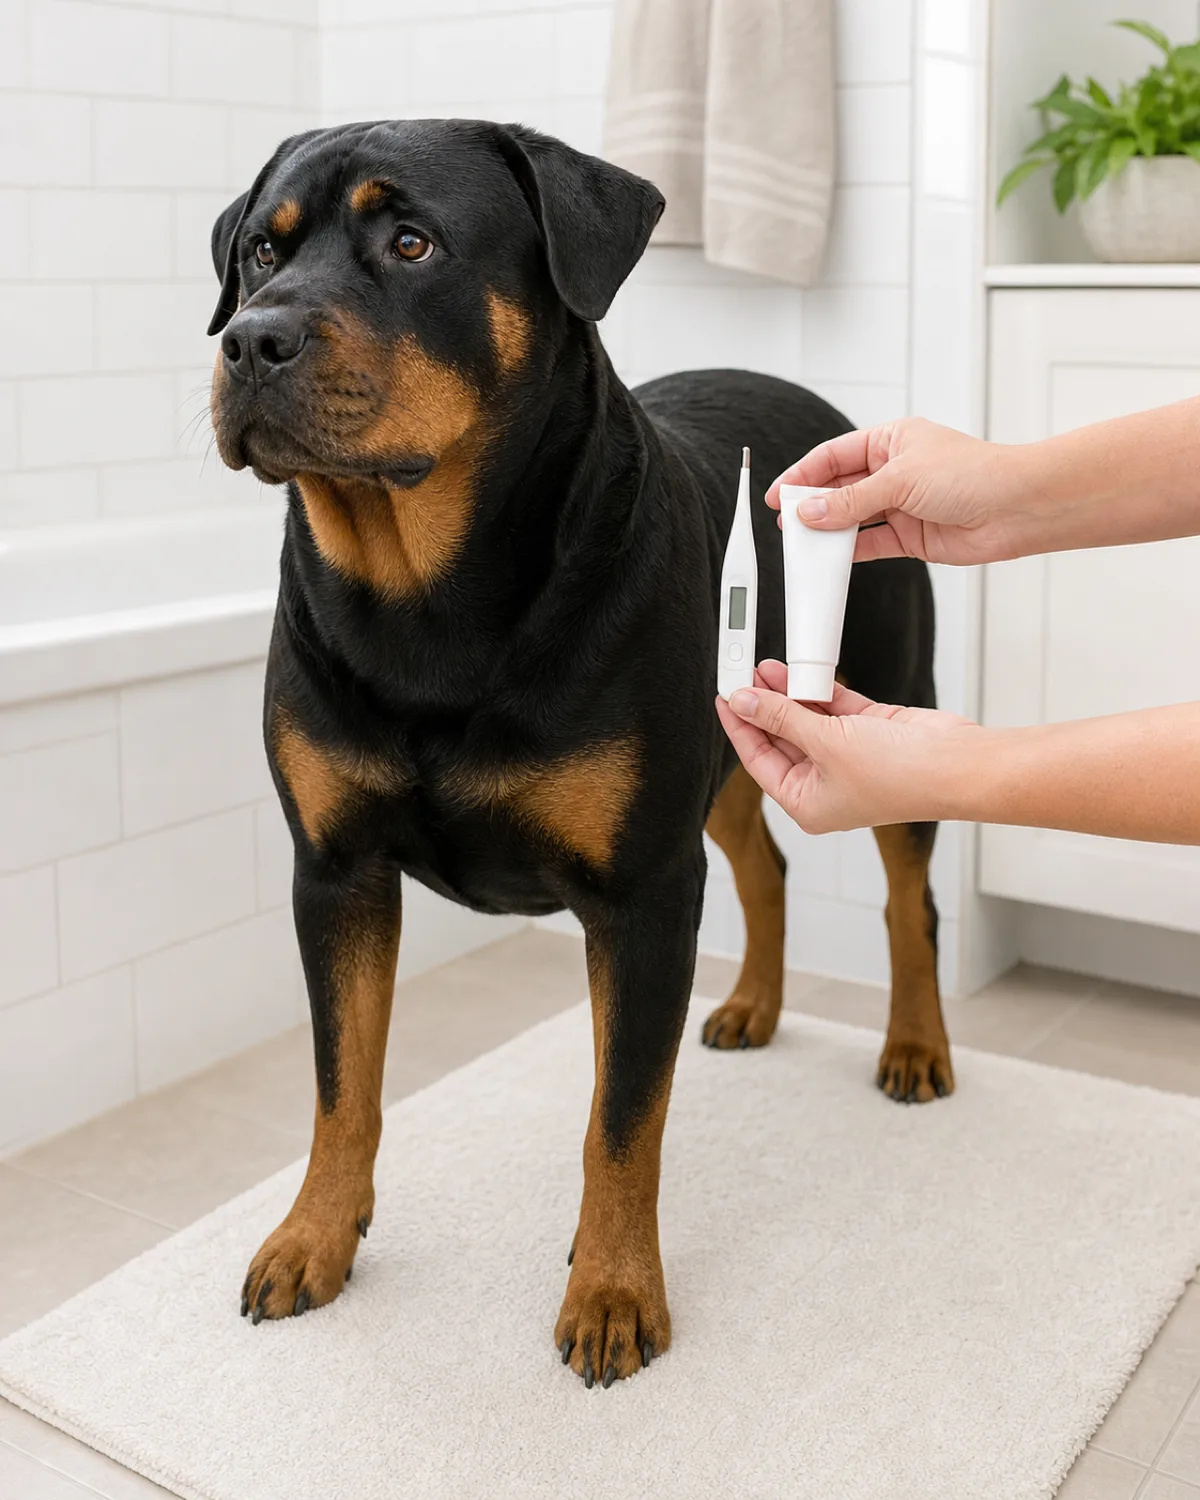
A digital rectal thermometer paired with water-based lubricant gives you an accurate temperature reading when your dog seems off. Sterile saline solution flushes debris from cuts and rinses irritated eyes. Disposable gloves keep the wound clean and protect your hands.
A laminated card with your vet's phone number, the nearest emergency clinic, and the ASPCA Animal Poison Control number (888-426-4435) sits on top of everything else — because you will not remember those numbers under stress.
The Second Layer
These additions handle more specific situations. Styptic powder stops bleeding from a torn nail instantly (the same product recommended in how to trim dog nails at home). An antiseptic rinse with a chlorhexidine base cleans wounds more thoroughly than saline alone. A tick removal hook gets under the mouthparts more cleanly than tweezers.
An emergency mylar blanket retains body heat if your dog goes into shock. A small flashlight helps you inspect ears, mouths, and wounds in dim conditions.
The Travel Layer
This is a compressed version of the foundation for your car or backpack. Fewer gauze pads, one bandage roll instead of two, a few zip-lock bags for contaminated items, and a bottle of clean water for flushing wounds when no tap is nearby.
Jump to a section
How to build a dog first aid kit
From choosing what goes inside to handling the most common emergencies and keeping your kit ready.
Cuts and scrapes are the most common reason you will open your first aid kit. A paw pad sliced on glass, a scrape from rough terrain, a small gash from brushing against a fence — these everyday injuries look alarming but respond well to calm, basic care.
Start by steadying yourself. Your dog reads your energy. If you rush and grab, they tense up and pull away, making everything harder.
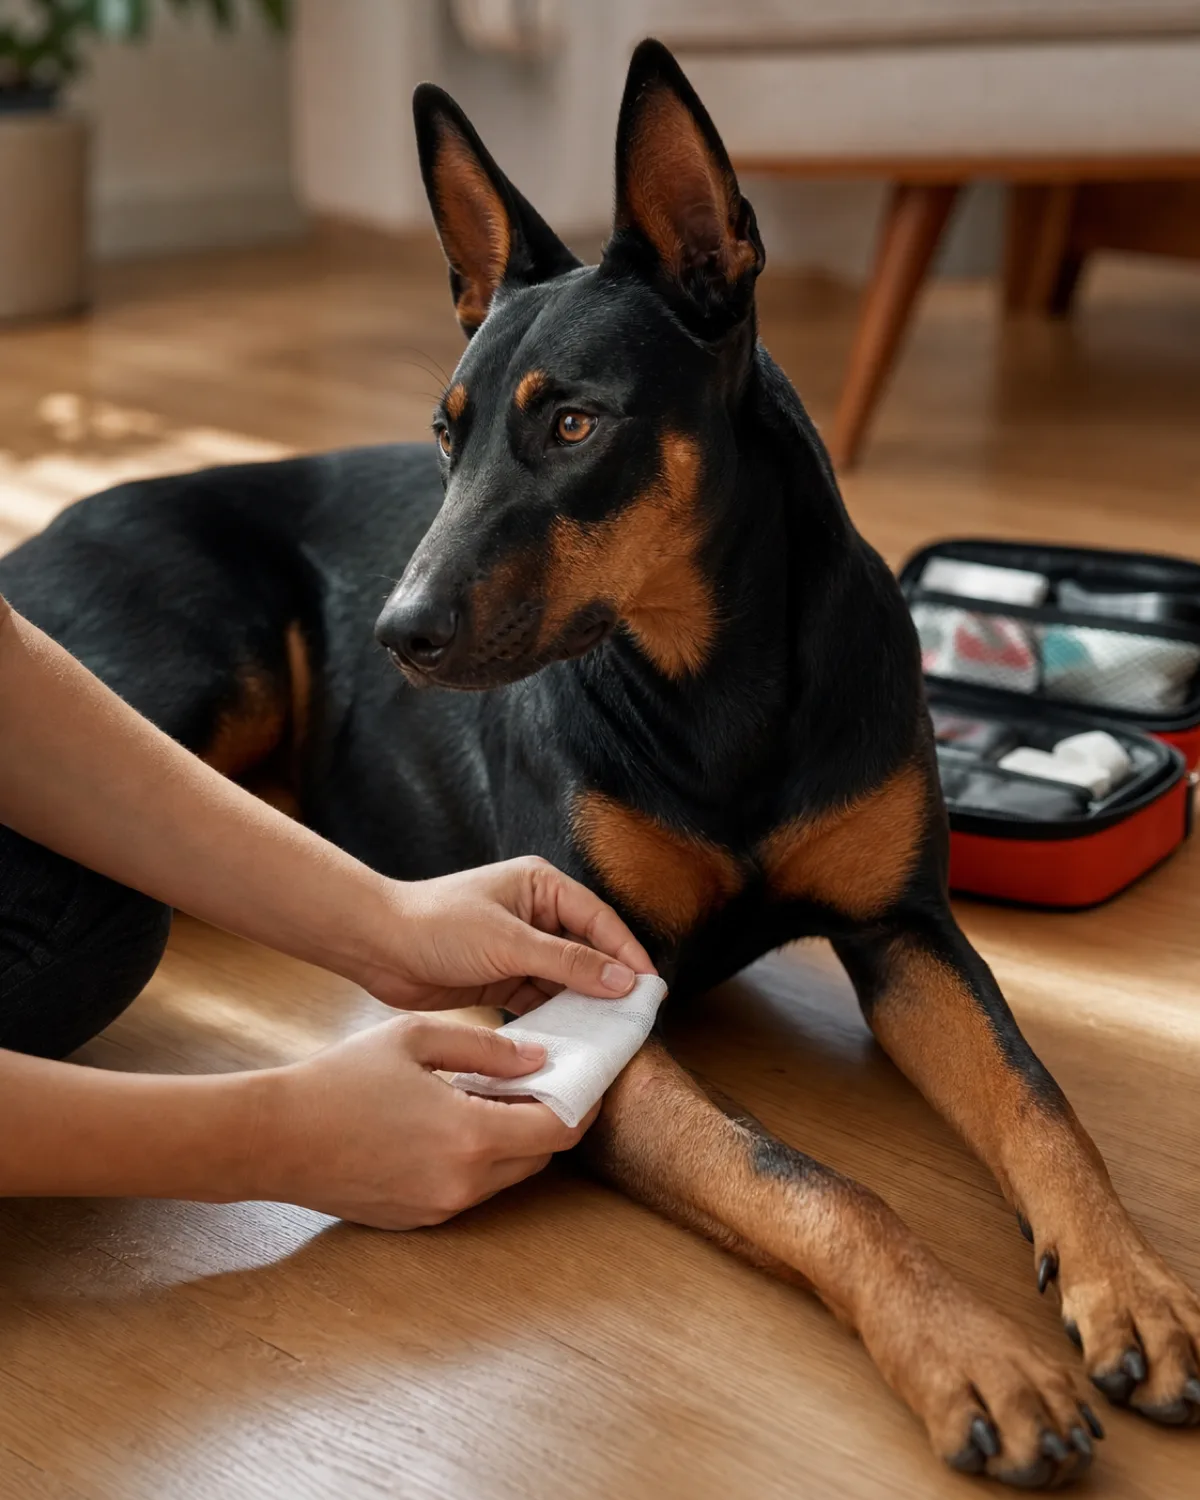
If the wound is bleeding, press a folded gauze pad directly against it and hold with steady pressure for three to five minutes. Do not lift the gauze to peek — every time you pull it away, you break the clot that is forming and restart the clock.
After bleeding stops, flush the area with sterile saline to wash out dirt and debris. Apply a thin layer of pet-safe antiseptic. Cover with a fresh gauze pad and wrap with self-adhesive bandage. The wrap should be snug enough to stay put but loose enough that you can slide one finger underneath.
Go straight to the vet if the cut is deep enough to see fat or muscle tissue, if bleeding does not stop after five minutes of steady pressure, if the wound was caused by another animal, or if your dog refuses to bear weight on the affected limb.
How to Remove a Tick Safely
Ticks are a predictable part of outdoor life in most of the country, and knowing how to remove one correctly matters more than most owners realize. The wrong technique can squeeze the contents of the tick back into your dog's bloodstream.
Skip every folk remedy you have heard. Coating the tick in petroleum jelly, nail polish, or rubbing alcohol does not make it back out. It agitates the tick, which responds by secreting more saliva and potentially more pathogens. Grabbing the tick with your bare fingers squeezes the body and forces internal fluids into the bite site.
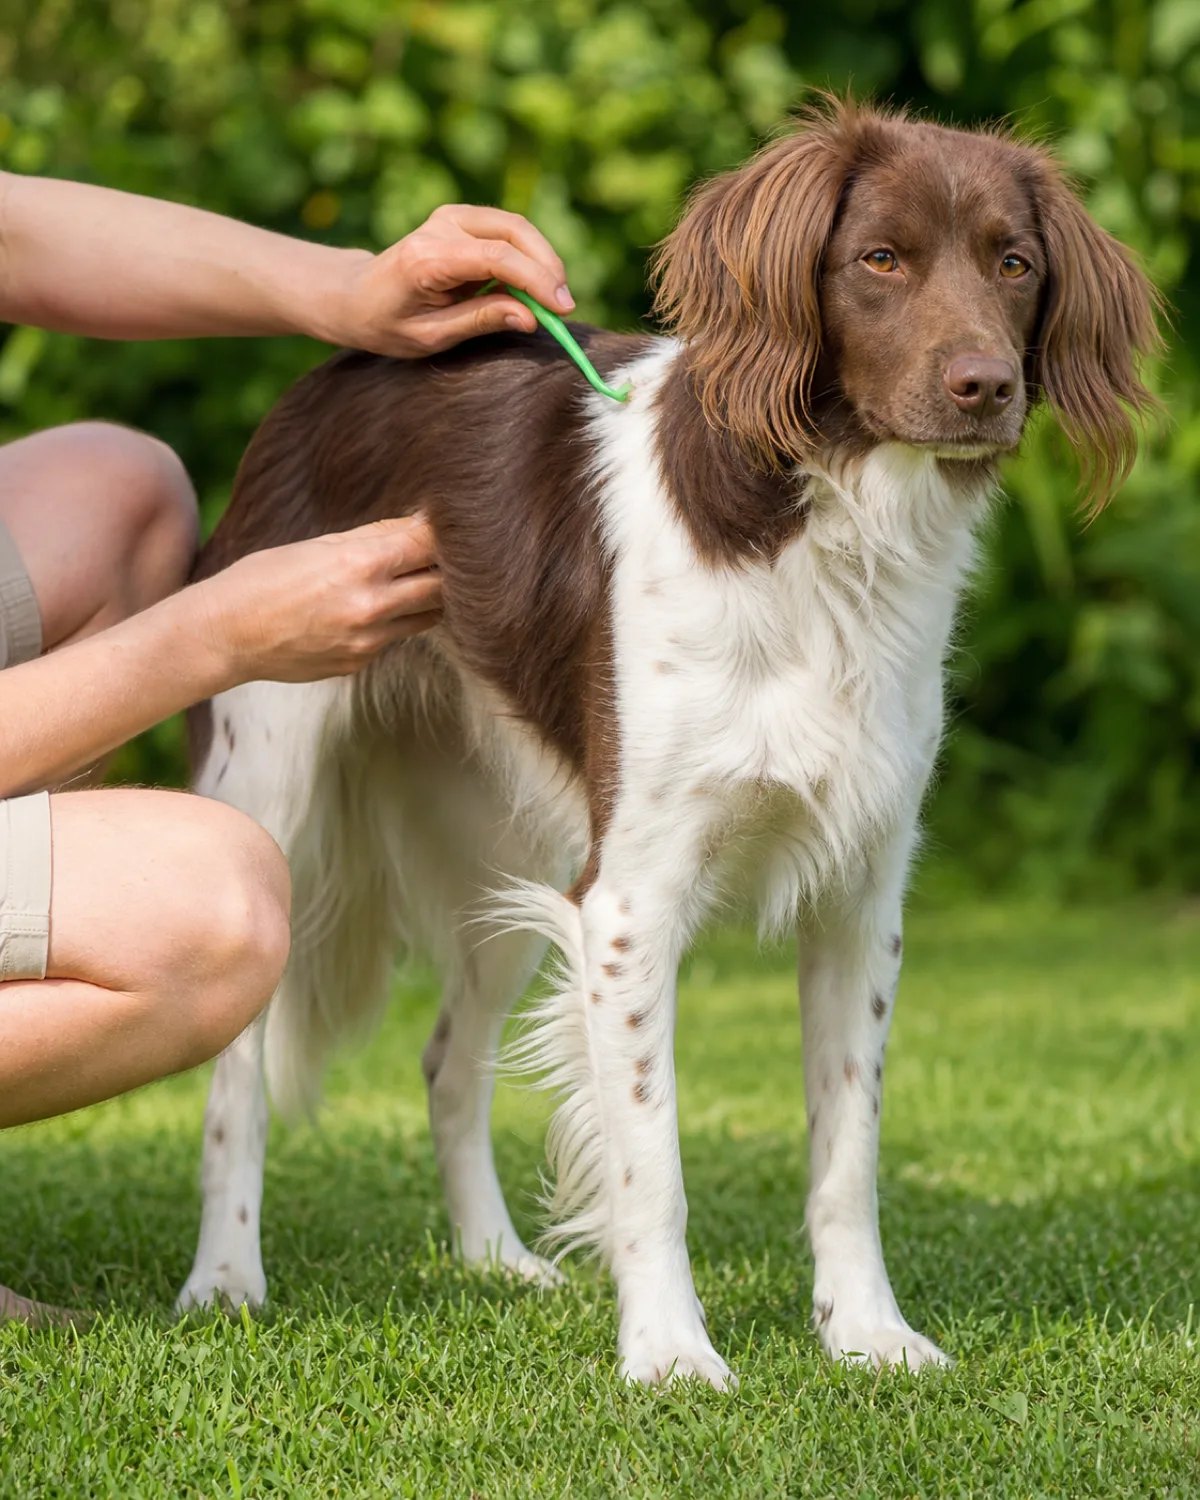
The correct method is straightforward. Use a tick removal hook or fine-pointed tweezers. Get the tool as close to your dog's skin surface as possible, gripping by the head — not the swollen body. Pull straight upward with steady, even pressure. No twisting, no jerking.
Once the tick is out, clean the bite site with an alcohol wipe or antiseptic. Seal the tick in a small zip-lock bag and write the date on it. If your dog develops symptoms in the following weeks, your vet can identify the species and test accordingly.
Watch the bite site for two to four weeks after removal. Expanding redness, fever, joint stiffness, appetite loss, or lethargy warrant a vet visit.
What to Do If Your Dog Eats Something Toxic
The single most important thing to know here: do not induce vomiting unless a veterinarian or poison control specialist tells you to do so on the phone. Some substances cause more damage coming back up than they do sitting in the stomach. Caustic chemicals burn the esophagus twice. Sharp objects can perforate tissue on the way out.
Your first action is always to call. The ASPCA Animal Poison Control Center (888-426-4435) operates around the clock. Have four pieces of information ready before you dial: what your dog ate, approximately how much, how long ago, and what your dog is doing right now.
The most common household toxins for dogs include chocolate (darker is more dangerous), grapes and raisins (even small amounts can cause kidney failure), xylitol found in sugar-free gum and some peanut butters, onions and garlic, and human pain medications like ibuprofen and acetaminophen (both are extremely toxic to dogs even in small doses).
Keeping these items stored where your dog cannot reach them is the best first aid of all — but when prevention fails, calling before acting is the rule.
Which situation are you in?
How serious is this?
Deciding whether to treat at home or head to the vet.
Monitor at home
Small scrape that stops bleeding quickly. A single tick removed cleanly. Mild limping that improves within an hour. One episode of vomiting followed by normal behavior. Treat with your kit, then watch for 24 to 48 hours. If nothing improves, call your vet.
Go to the vet now
Bleeding that does not stop after five minutes of pressure. Difficulty breathing or rapid shallow panting. Loss of consciousness or unresponsiveness. Suspected poisoning. Seizures. Severe limping with inability to stand. Stabilize with your kit on the way, but do not delay the drive.
How to Take Your Dog's Temperature
Most owners have never checked their dog's temperature at home, and many do not know what normal looks like. A healthy dog's resting temperature falls between 101 and 102.5 degrees Fahrenheit (38.3 to 39.2 degrees Celsius).
Above 104 degrees Fahrenheit signals a fever that needs veterinary attention. Below 99 degrees Fahrenheit suggests hypothermia, which can be even more urgent.
The only accurate method at home is rectal measurement. Ear and forehead thermometers designed for humans are unreliable on dogs.
Apply a small amount of water-based lubricant to the thermometer tip. With your dog standing or lying on their side, gently insert about one inch. Wait for the beep. Read the number. Clean and disinfect immediately after.
This goes much more smoothly with two people — one to keep your dog calm and still, one to handle the thermometer. If you often care for your dog alone, practice a few times while your dog is healthy and relaxed so the process is familiar before you ever need it during an actual emergency.
How to Handle a Bee Sting or Insect Bite
Summer months bring increased risk of bee stings and insect bites, especially for dogs who investigate everything nose-first.
If you can see the stinger still embedded in the skin, scrape it out with the edge of a credit card or a flat stiff surface. Do not use tweezers to pull it — pinching the venom sac attached to the stinger squeezes more venom into the wound.
Apply a cold compress for ten minutes to reduce swelling. Then watch your dog closely for the next thirty minutes.
Allergic reactions are the real concern. Signs that require immediate veterinary attention include swelling of the face, muzzle, or throat, difficulty breathing, widespread hives across the body, vomiting, and sudden weakness or inability to stand. These symptoms can escalate quickly, so do not wait to see if they improve on their own.
Most dogs, though, yelp once, lick the affected spot for a minute, and carry on with their day after the initial sting fades. A cold compress and a few minutes of your calm attention is all they need.
The ground rules
Dog first aid: always and never
These apply every time you open your kit.
Always
Keep a kit at home, in the car, and in your hiking pack
Check and restock your kit every six months
Calm yourself before touching your dog
Apply direct pressure to bleeding for a full three to five minutes
Pull ticks straight up with a removal tool close to the skin
Call poison control or your vet before attempting any treatment for ingestion
Replace items immediately after each use
Never
Give your dog human medications (ibuprofen and acetaminophen are toxic)
Induce vomiting without veterinary instruction
Grab a tick with your fingers or coat it in petroleum jelly
Wrap a bandage so tight you cannot slide one finger underneath
Use human shampoo, soap, or wound products without checking pet safety
Ignore signs of allergic reaction after a sting
Skip the vet when you are unsure what happened
How to Keep Your Kit Ready (And When to Replace Things)
A first aid kit that sits untouched for two years is not a first aid kit. It is a box of expired supplies that will fail you at the worst possible moment.
Set a reminder to inspect your kit every six months. Check that the thermometer battery still works. Confirm that gauze pads and bandage rolls are still in their sealed packaging — once opened, they are no longer sterile. Look at expiration dates on antiseptic rinse, saline solution, and any ointments. Verify that your vet's phone number is still current.
After every use, restock the items you consumed immediately. Not next week. Not on your next pet store trip. Right away. The most dangerous version of a first aid kit is one that was used once and never refilled.
Write the date of your last inspection on a piece of tape on the outside of the kit. Place one kit in a consistent spot at home where every family member knows to find it. Keep a second in your car. If you hike, camp, or travel with your dog regularly, a compact third version should live in your pack.
A dog first aid kit also pairs well with knowing your dog's baseline activity needs — understanding how much exercise your dog needs helps you prepare the right kit for the right outing.
Save this checklist
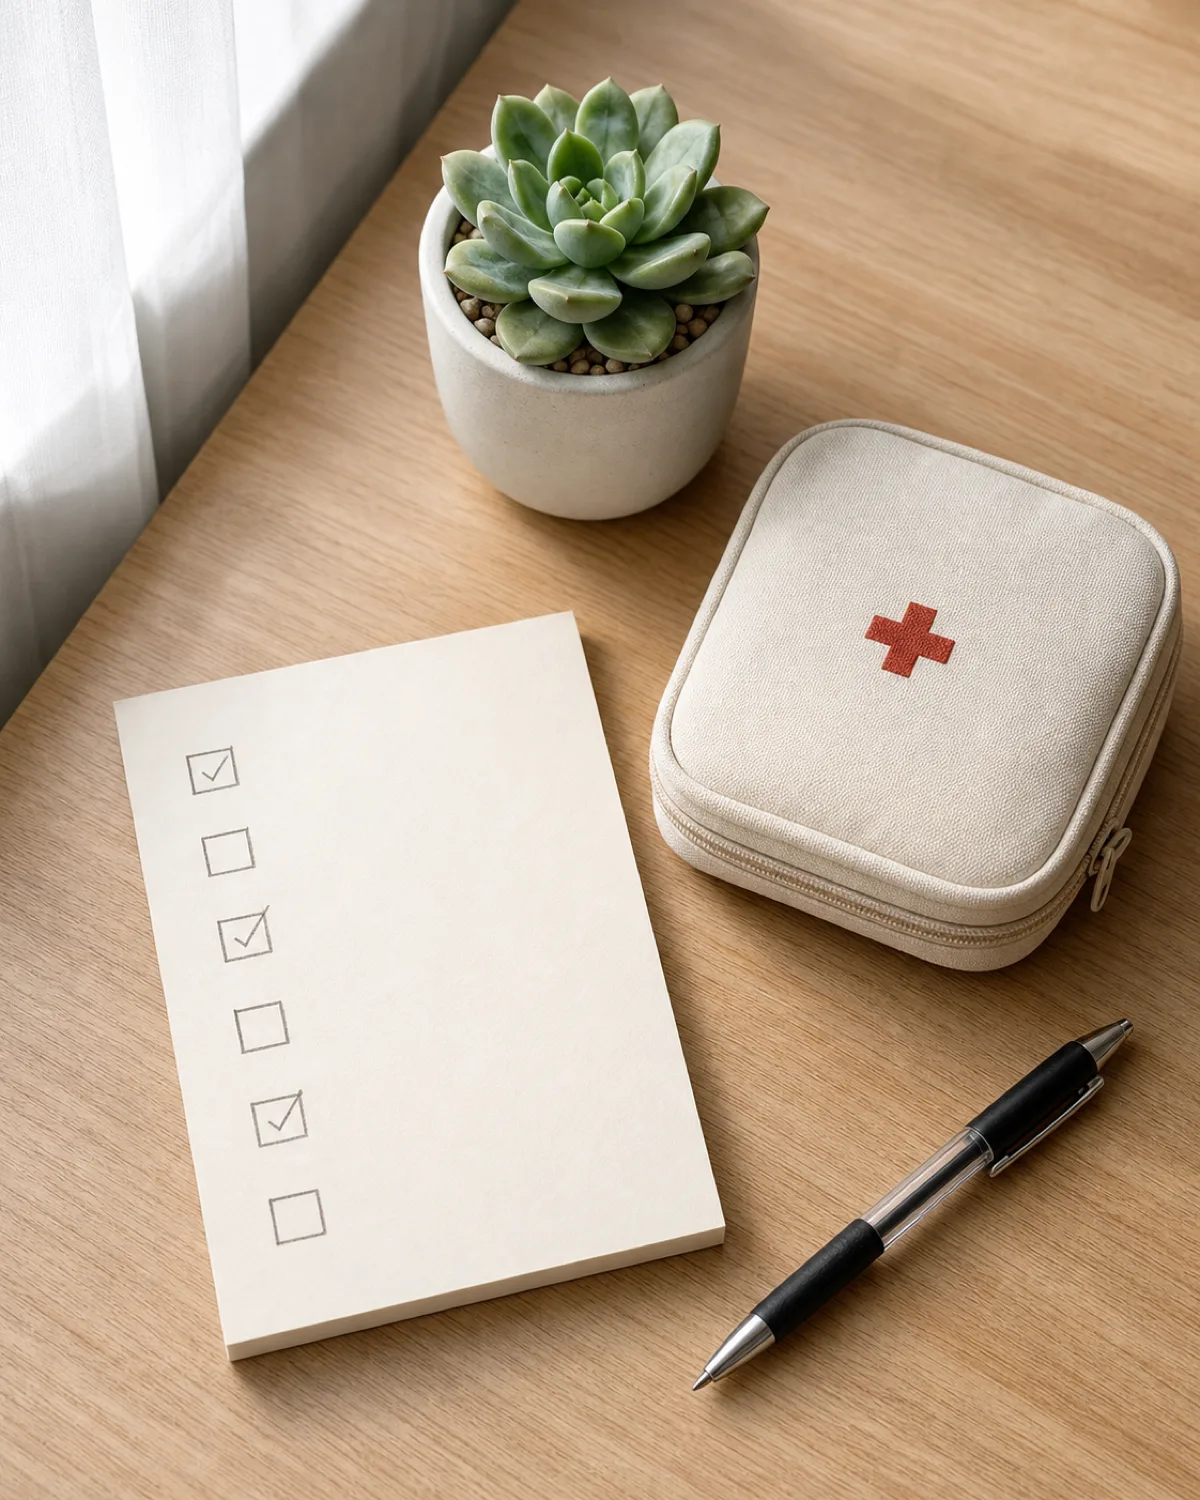
Your Dog First Aid Kit Checklist
1
Gauze pads4x4 inch and 2x2 inch, one pack of each
2
Self-adhesive bandage rollWraps without sticking to fur
3
Medical tape and blunt-tip scissorsSecure gauze and cut bandages safely
4
Tweezers or tick removal hookFor splinters, thorns, and ticks
5
Digital thermometer and lubricantNormal range is 101 to 102.5 degrees Fahrenheit
6
Sterile saline solutionFlushes wounds and rinses irritated eyes
7
Styptic powder and antiseptic rinseStops nail bleeding and cleans wounds
8
Emergency mylar blanketRetains body heat if your dog goes into shock
9
Disposable gloves and small flashlightKeep it clean and see what you are treating
10
Emergency phone numbers cardVet, emergency clinic, ASPCA Poison Control (888-426-4435)
Check and restock every 6 months
What Your First Aid Kit Cannot Replace
A first aid kit lets you stabilize, reduce discomfort, and buy time. It does not let you diagnose, perform surgery, treat internal injuries, or administer prescription medications. Understanding this boundary keeps you from attempting things that could make a situation worse.
Three scenarios where you skip the kit and drive straight to the vet: bleeding that does not stop after five minutes of direct pressure, a dog that loses consciousness or becomes unresponsive, and any situation where you genuinely do not know what happened.
In the car on the way, the kit still helps. You can apply pressure to a wound, keep your dog warm with the emergency blanket, and have the vet's number ready to call ahead.
The most common mistake dog owners make is not going to the vet too often. It is going too late. If you are still building your relationship with a veterinary clinic, our guide to choosing the right vet walks through what to look for.
And if you are bringing a puppy home for the first time, adding a first aid kit to your new puppy checklist means you are covered from day one.
The first aid kit exists so that the time between the injury and the exam room is as safe and comfortable as possible for your dog.
Jess Calloway
Dog mom to three very different dogs and the voice behind Pawliqa. Every guide here comes from real experience — the messy, the exhausting, and the unexpectedly sweet. I am not a veterinarian; when in doubt, your vet is the call to make.
Dog beds collect more than fur. This guide covers machine-washable beds, hand washing, memory foam inserts, proper drying, and the quick spot-clean tricks that keep a bed fresh between full washes.