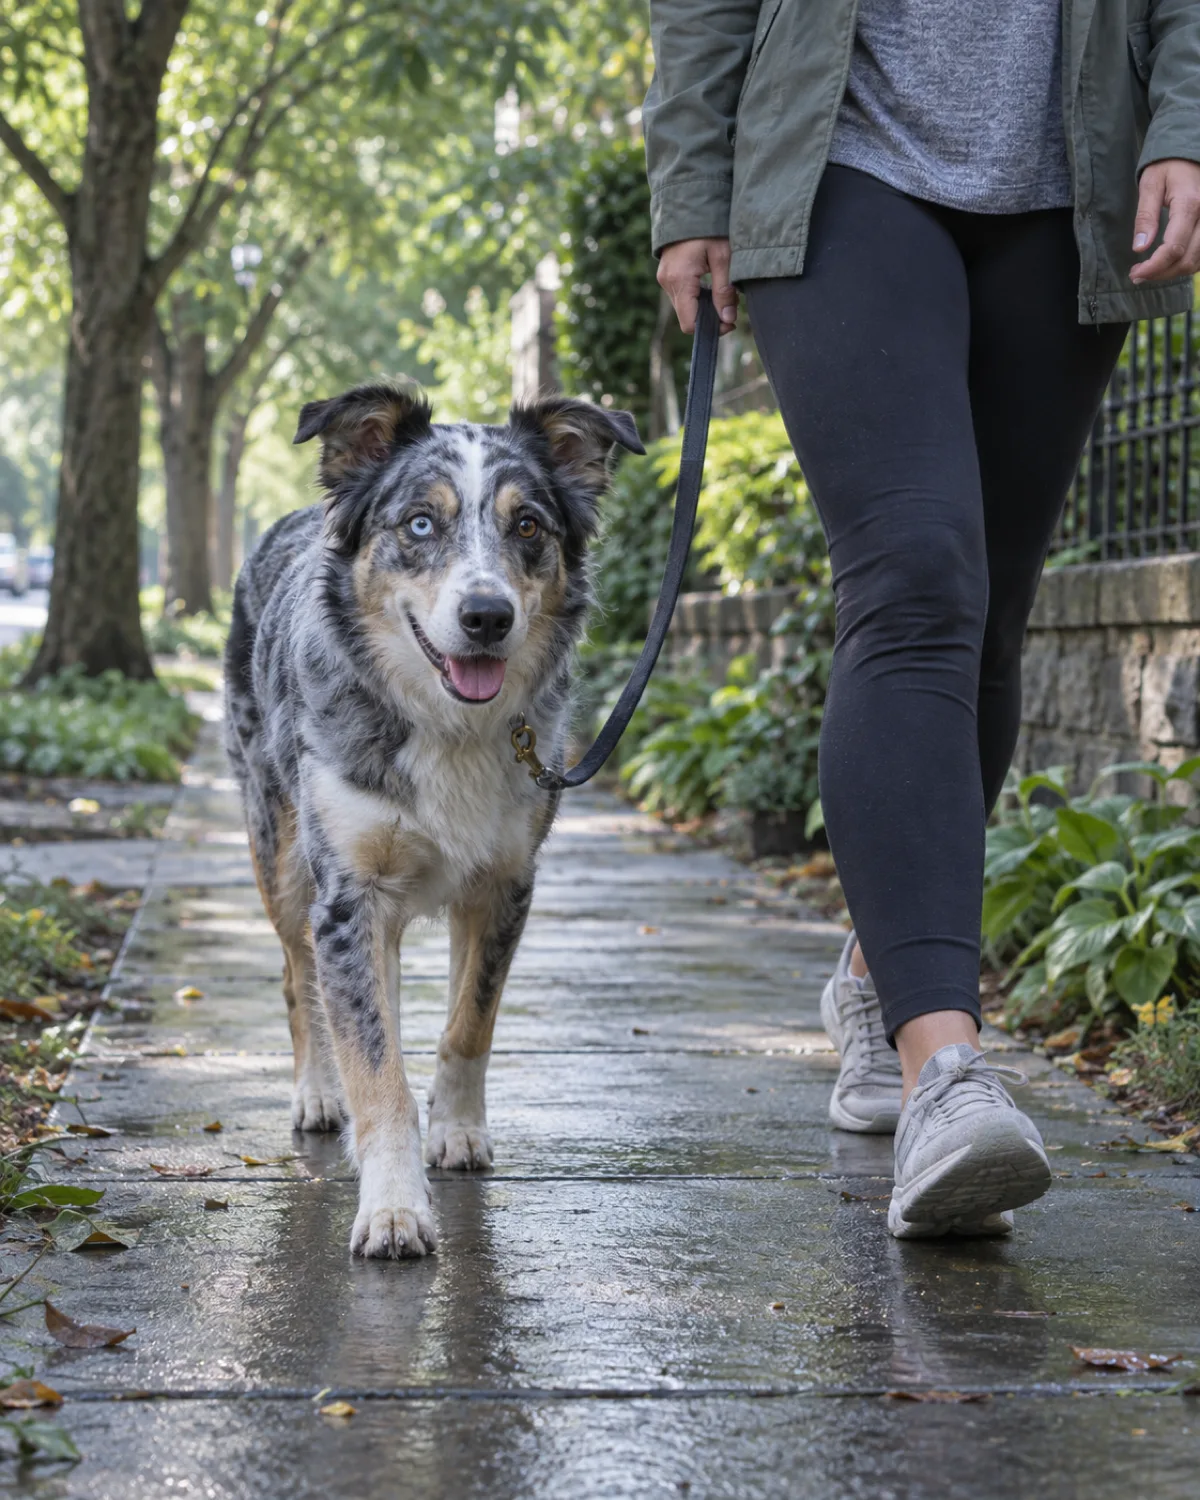
Your dog\u2019s paws hit every surface \u2014 hot asphalt, frozen sidewalks, gravel, wet grass, chemically treated floors. Most owners never check the pads until the dog limps. By then the damage is done.
Paw care is not a seasonal chore reserved for winter salt or summer pavement. It is a year-round habit that takes less than two minutes after a walk and prevents the kind of pain your dog will hide until it gets serious.
Here are fifteen ways to keep your dog\u2019s paws healthy through every season, surface, and weather shift.
In this article
15 Dog Paw Care Tips
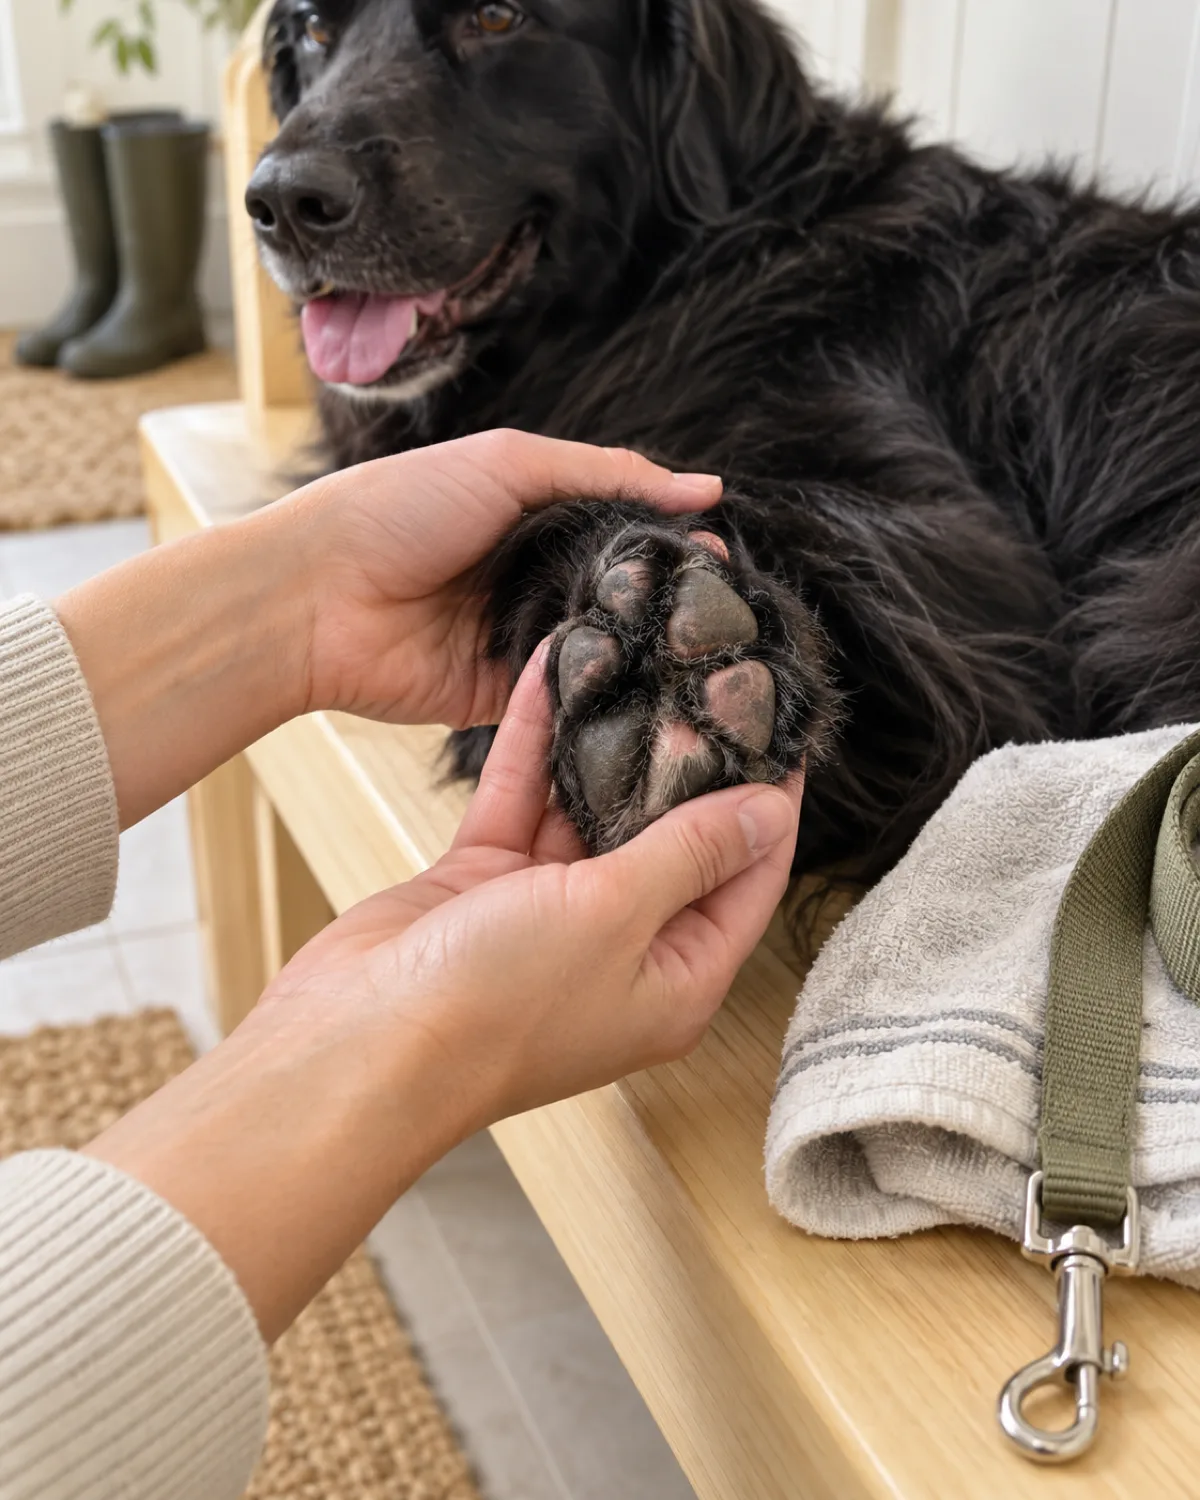
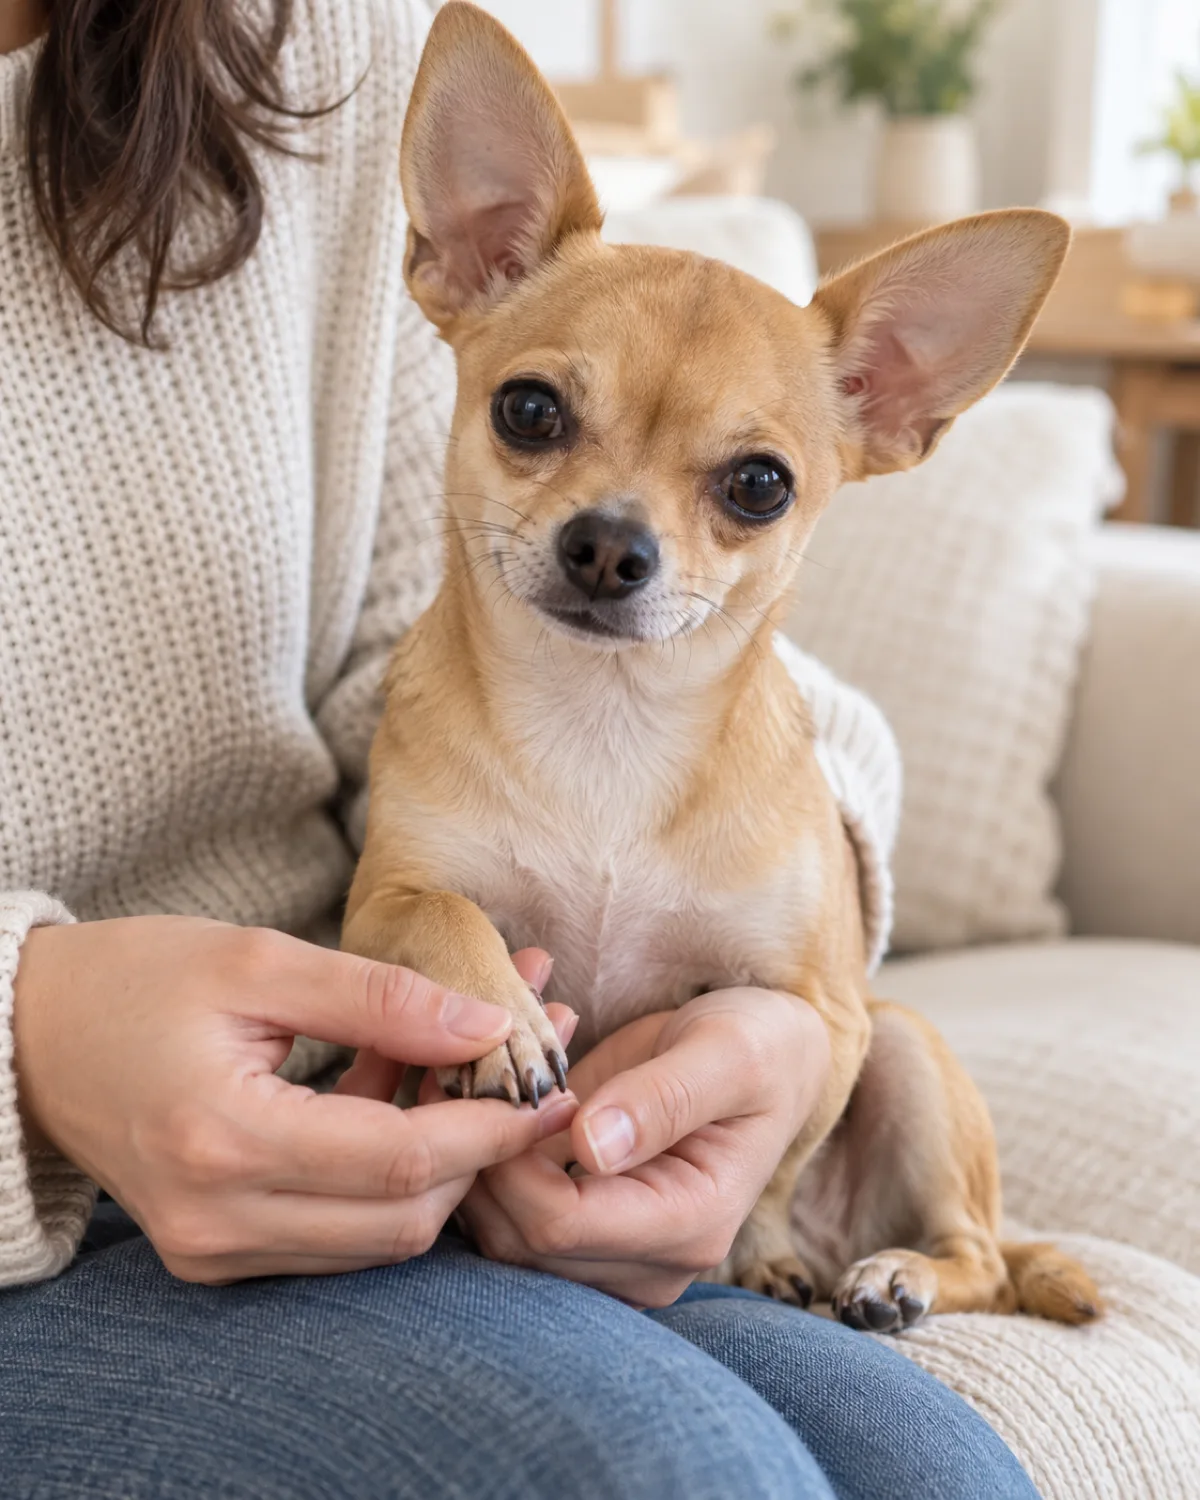
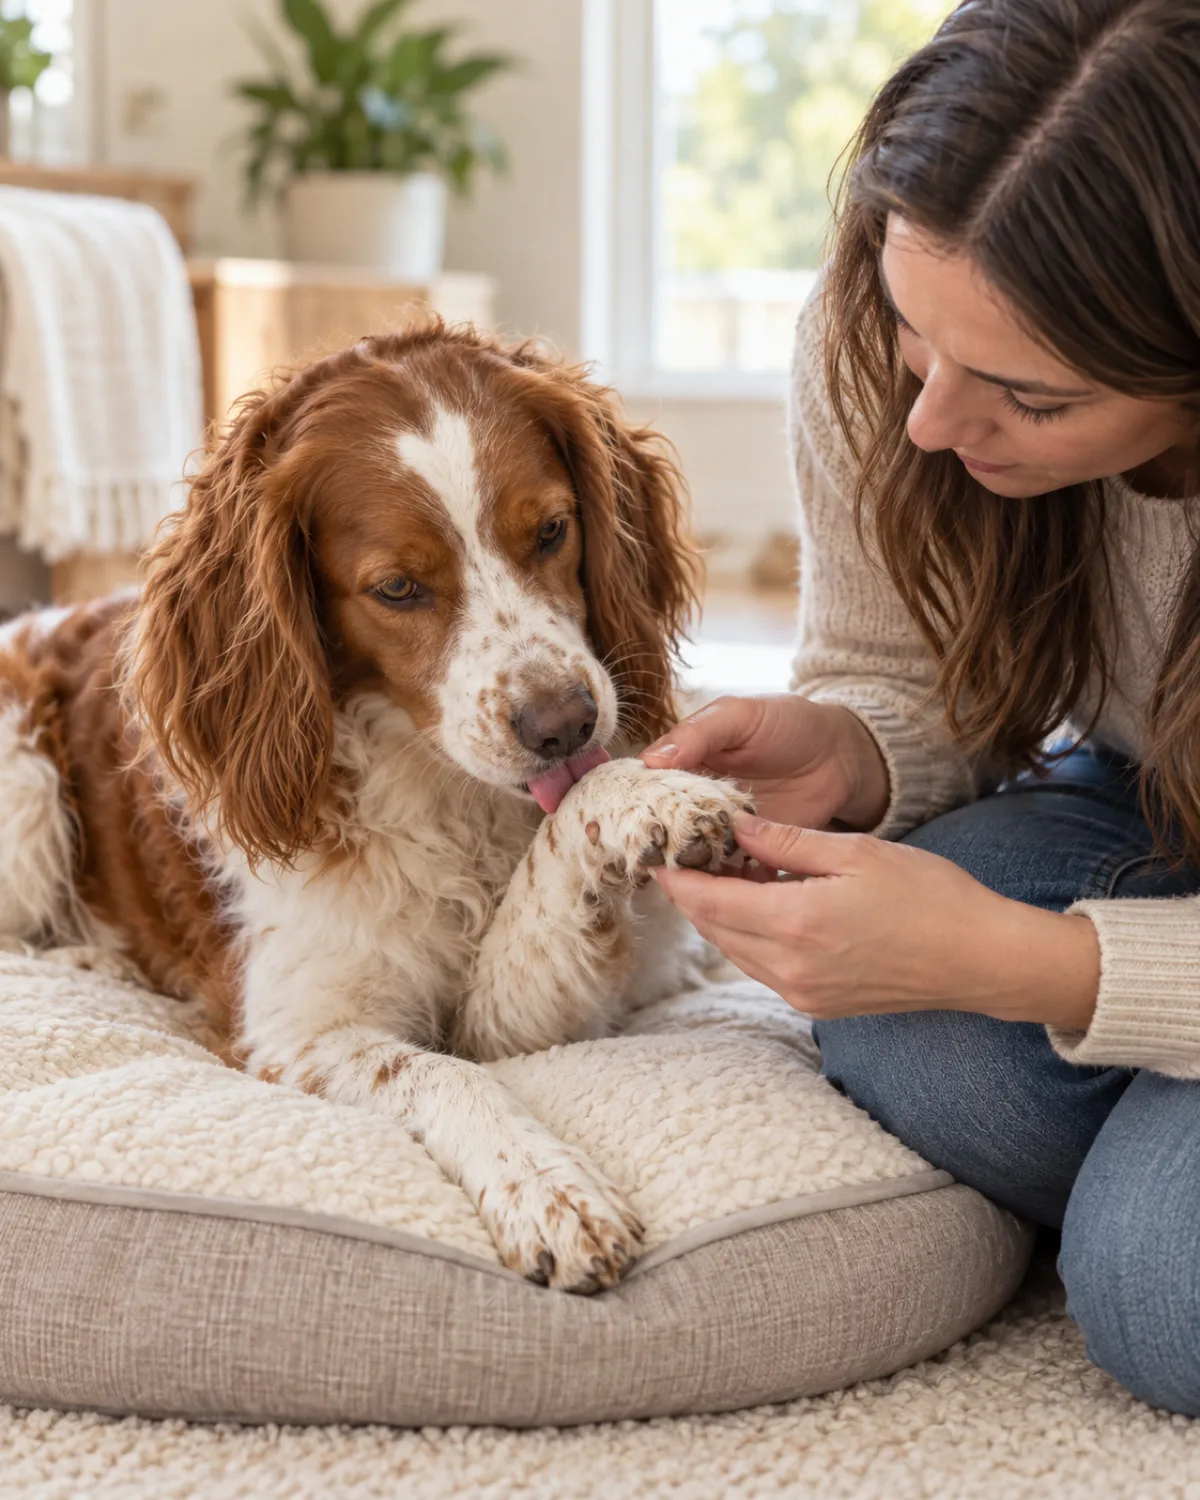
Check Your Dog\u2019s Paw Pads After Every Walk
A two-second paw check after every walk catches problems before they become veterinary bills. Most pad injuries \u2014 small cuts, embedded gravel, hot-surface burns \u2014 start as something you can feel with your thumb but the dog will not show you until the pain is serious.
Hold each paw gently and run your thumb across the main pad and between the toes. You are feeling for:
Cuts or abrasions on the pad surface, especially along the edges where the pad meets the fur
Embedded debris like tiny pebbles, glass shards, or thorns wedged between toes
Texture changes such as unusual roughness, peeling, or sponginess that was not there yesterday
Temperature \u2014 pads that feel noticeably hotter than usual after a walk may indicate a mild burn
The entire check takes less than fifteen seconds per paw. Make it part of the leash-off routine at the door: leash off, paws checked, then the dog goes inside.
Keep the Fur Between the Toes Trimmed Short
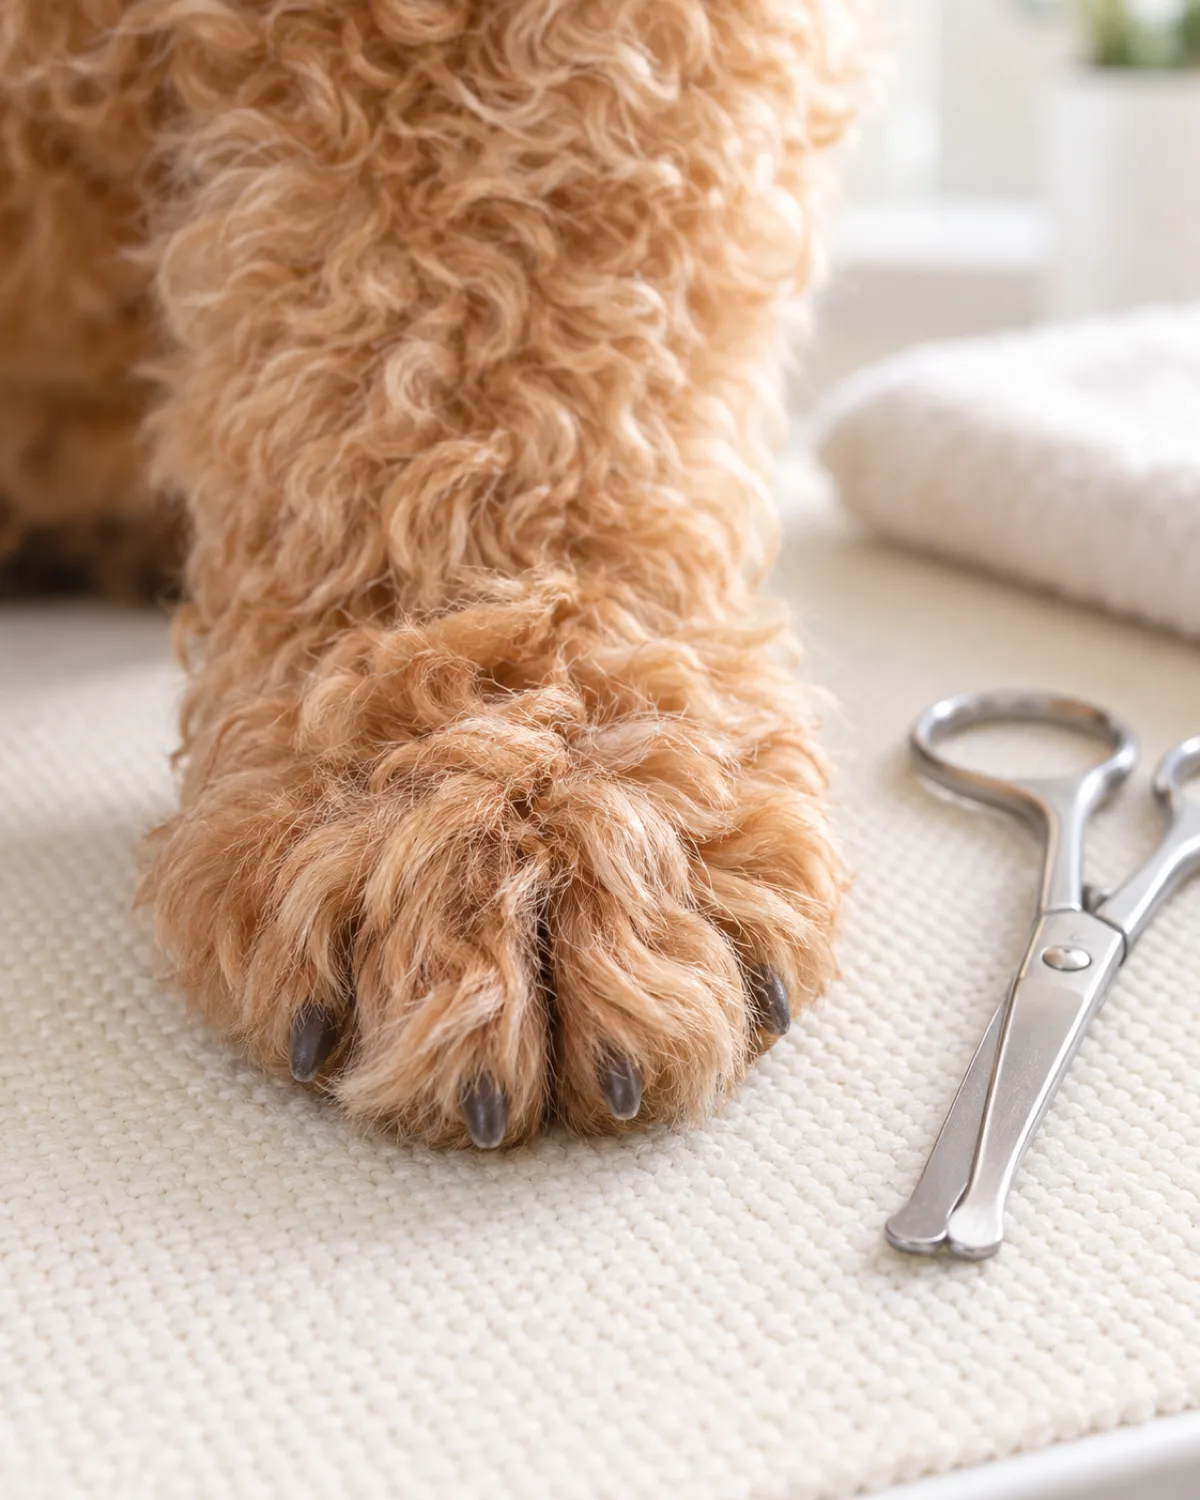
Long fur between the toes is a trap. It collects mud, ice balls, salt crystals, small stones, and burrs \u2014 all of which press into the soft skin between the pads and cause irritation, infection, or limping that looks like a joint problem but is actually just matted fur pulling on skin.
Breeds with feathered or curly coats are the worst offenders, but even short-coated dogs grow enough interdigital fur to mat after a few wet walks.
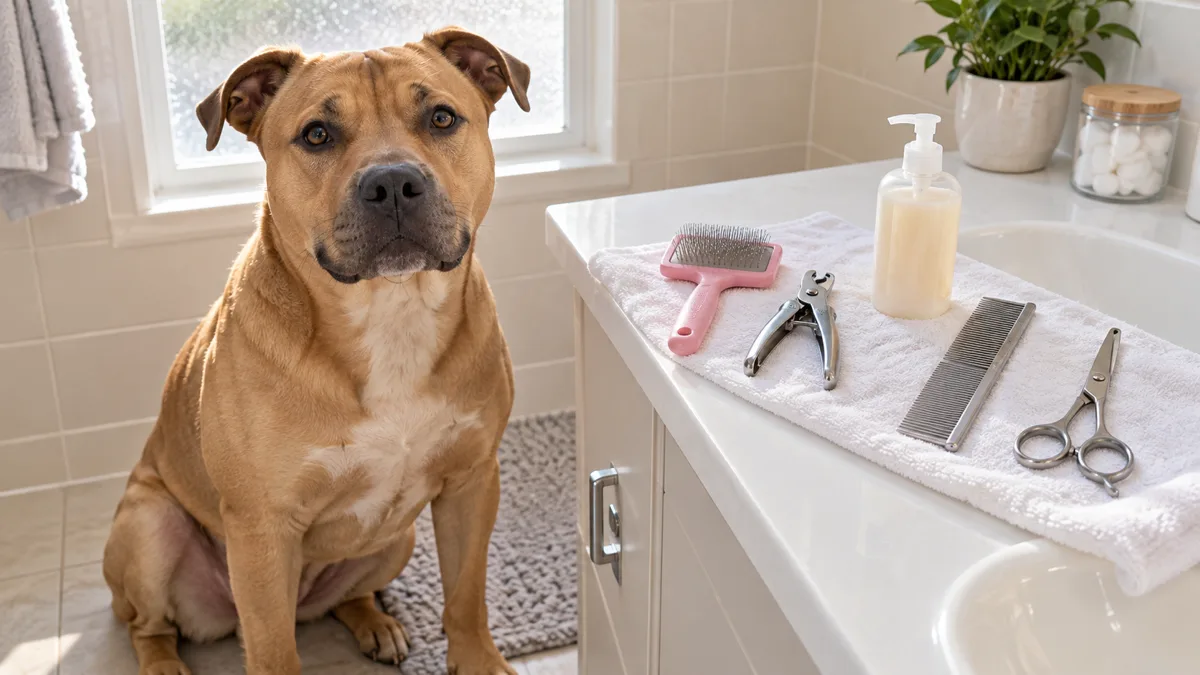
Use blunt-tipped grooming scissors or a small cordless trimmer with a guard. Trim the fur flush with the pad surface \u2014 not skin-tight, just short enough that nothing catches. Spread the toes gently to reach the webbing area.
How often depends on growth rate:
Curly and long-coated dogs: every two to three weeks
Double-coated dogs: once a month
Short-coated dogs: check monthly, trim if fur extends past the pad
If the dog pulls away during toe trimming, slow down. Touch one paw, treat, and stop. Build tolerance before you bring out the scissors. For a full post-walk cleaning routine that pairs well with toe fur maintenance, see our paw cleaning guide.
Save this
15 Dog Paw Care Essentials
1Pad CheckRun your thumb across every pad and between toes after each walk. Fifteen seconds per paw.
2Toe Fur TrimKeep interdigital fur flush with the pad surface. Blunt-tip scissors or guarded trimmer.
3Nail LengthNails should not click on hard floors. Trim every two to three weeks or grind weekly.
4Pavement TestPress the back of your hand to the surface for seven seconds. Too hot for you means too hot for paws.
5Post-Walk WipeDamp cloth on all four paws after walks on salted, treated, or chemically cleaned surfaces.
6Paw BalmApply dog-safe balm before extreme cold and after extreme heat. Thin layer, rub in fully.
7Foreign Object CheckSpread toes and inspect between pads for thorns, glass, burrs, and small stones.
8Dog BootsUse boots for sustained salt, ice, or chemical exposure. Fit snug but not tight.
9Moisturize PadsVet-approved paw balm on rough or dry pads. Never use human lotion.
10Treat Cracks EarlyHairline cracks get balm and rest. Deep cracks get a vet visit.
11Paw-Friendly FloorsRunner rugs on slippery halls. No sharp gravel in dog zones. Smooth indoor paths.
12Walk TimingBefore 9 a.m. or after 7 p.m. in summer. Midday in winter for warmer pavement.
13Paw HandlingStart touching paws early. One paw, one treat, done. Build tolerance over weeks.
14Warning SignsLicking, limping, favoring one paw, or red skin between toes. Any of these means inspect now.
15Seasonal RoutineBalm and boots in winter. Pavement tests in summer. Pad checks year-round.
pawliqa.com
Maintain Nail Length So They Don\u2019t Click on Hard Floors
Long nails change the way your dog walks. When nails hit the ground before the pad does, the toes splay outward and the weight shifts to the back of the foot. Over months, this altered gait strains the joints, weakens the toe muscles, and makes the dog more likely to slip on smooth surfaces.
The simplest test: if you hear clicking on tile or hardwood, the nails are too long.
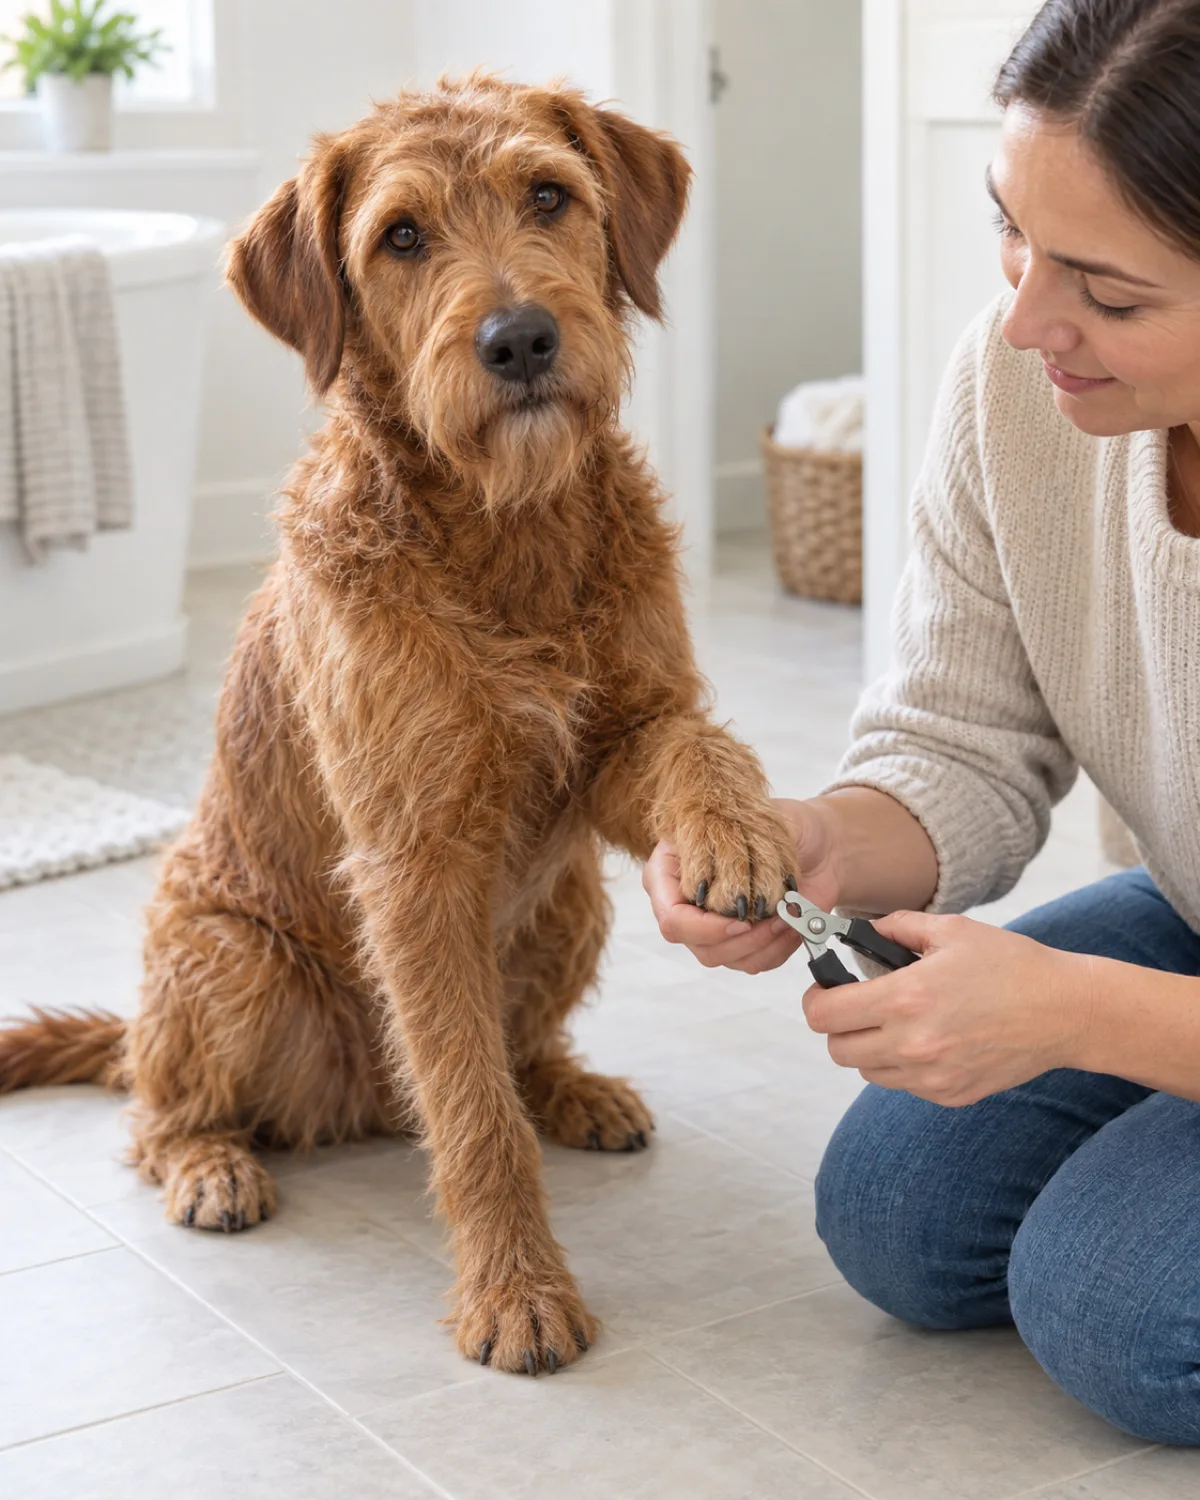
Trim every two to three weeks with dog-specific clippers, or use a nail grinder weekly for a more gradual approach. For dogs with dark nails where the quick is hard to see, a grinder is safer because it removes thin layers at a time. For a deeper walkthrough on trimming technique and tool selection, see our nail trimming guide.
Key nail care points:
Front nails grow faster than rear nails and need more frequent attention
Dewclaws never touch the ground, so they never wear down naturally \u2014 check them monthly
The quick recedes with regular trimming, so nails that have been long for months need gradual shortening over several sessions
Styptic powder within arm\u2019s reach before every trim session in case you nick the quick
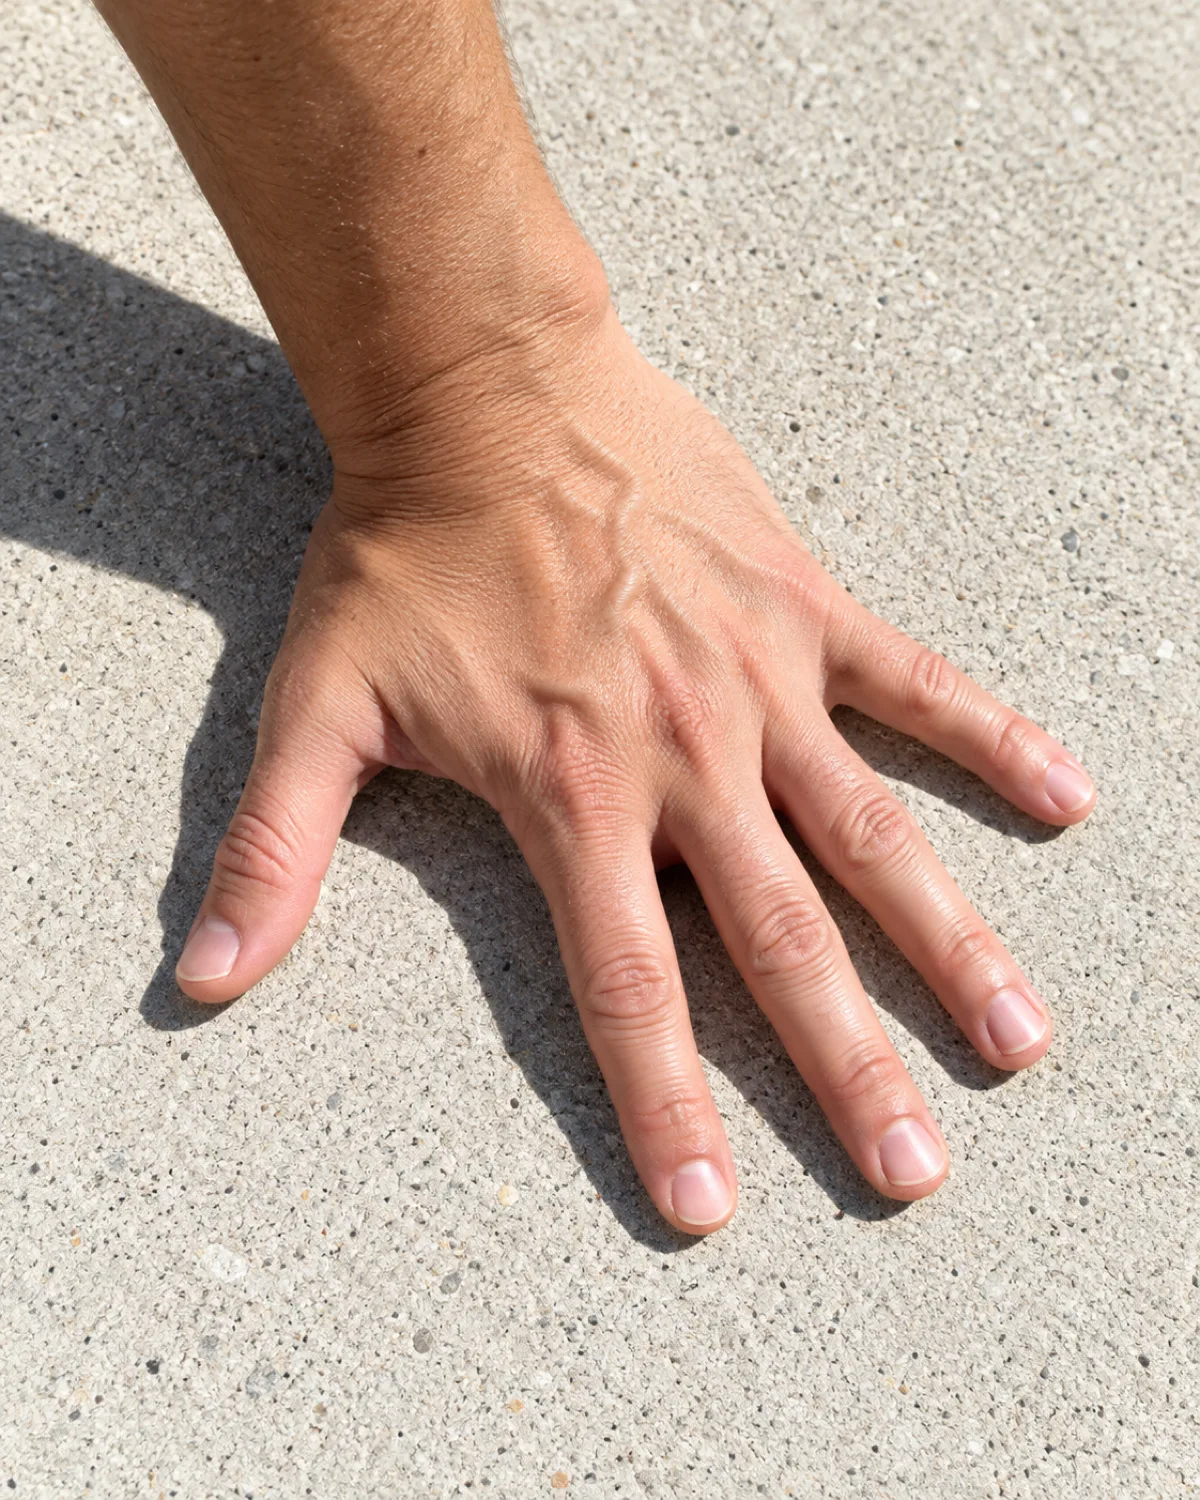
Test Hot Pavement With the Back of Your Hand Before Every Walk
Asphalt in direct sunlight can reach 150\u00b0F when the air temperature is only 77\u00b0F. At that surface temperature, a dog\u2019s paw pads can burn in under sixty seconds.
The test is simple: press the back of your hand flat against the pavement and hold it for seven seconds. If you cannot keep it there comfortably, the surface is too hot for your dog.
This applies to more surfaces than most owners realize:
Asphalt and blacktop absorb the most heat and stay hot longest
Concrete sidewalks get hot but cool faster than asphalt
Metal surfaces like manhole covers, grates, and truck beds can be dangerously hot even on mild days
Sand at the beach heats unevenly \u2014 the dry band above the waterline can burn while wet sand near the water is fine
If the pavement fails the hand test, walk on grass, walk in shade, use dog boots, or wait until the surface cools. There is no safe exposure time on a surface that burns your hand.
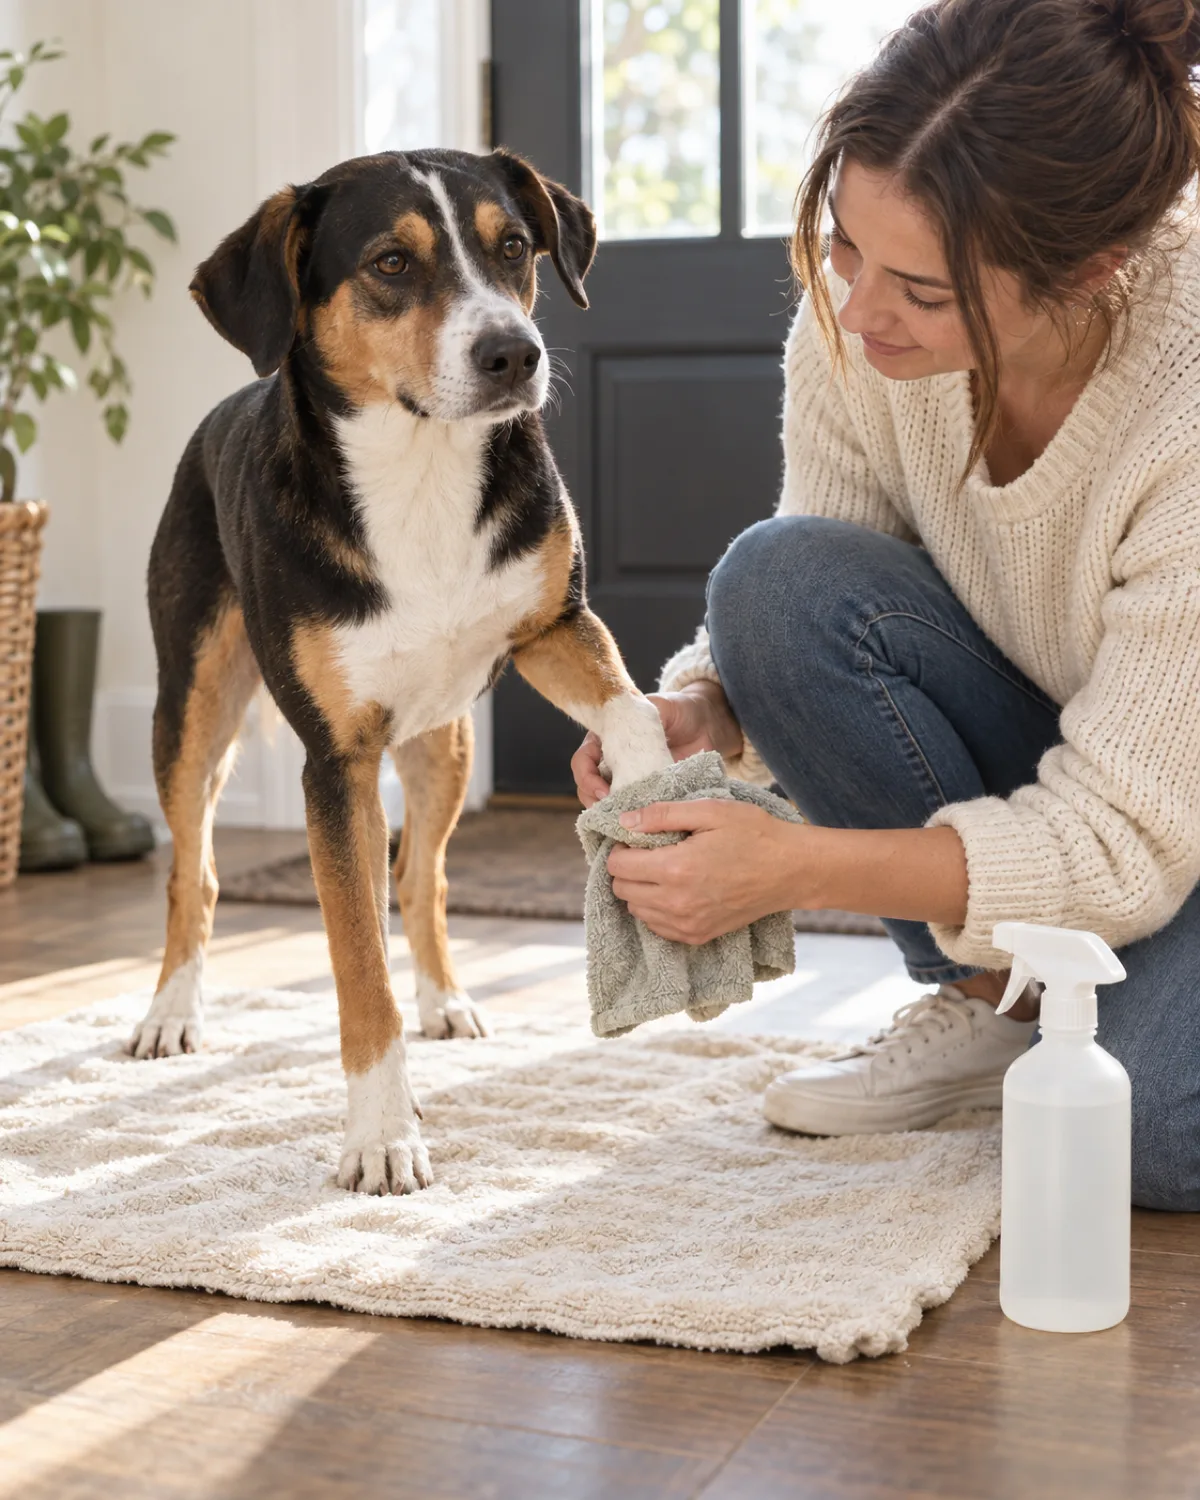
Wipe Paws Down After Walks on Treated Surfaces
Road salt, de-icing chemicals, lawn fertilizers, herbicides, and floor cleaning products all leave residue that your dog walks through and then licks off. The chemicals that irritate paw pads are the same ones that cause stomach upset when ingested.
A simple damp-cloth wipe after every walk on treated surfaces removes the residue before it dries and before the dog has a chance to lick it.
What to wipe with:
A damp microfiber cloth is the easiest everyday option \u2014 rinse and reuse
Dog-safe paw wipes work well for travel but cost more over time
A shallow paw-rinse cup with warm water for heavy mud or visible chemical residue
Wipe each pad surface and between the toes. Pay extra attention to the webbing area where residue collects. Dry the paws with a towel after rinsing to prevent moisture from sitting between the toes, which can lead to yeast infections in dogs prone to them.
Quick reference
Surface Wipe Guide
Salted RoadsWipe all four paws and between toes with warm damp cloth immediately after entering.
Treated LawnRinse in paw cup with warm water. Dry thoroughly. Avoid freshly treated grass for 48 hours.
Wet MudLet dry five minutes, brush off loose dirt, then wipe with a damp cloth. Less mess than instant wiping.
Beach SandRinse all four paws plus belly and chest. Sand between toes causes abrasion if left overnight.
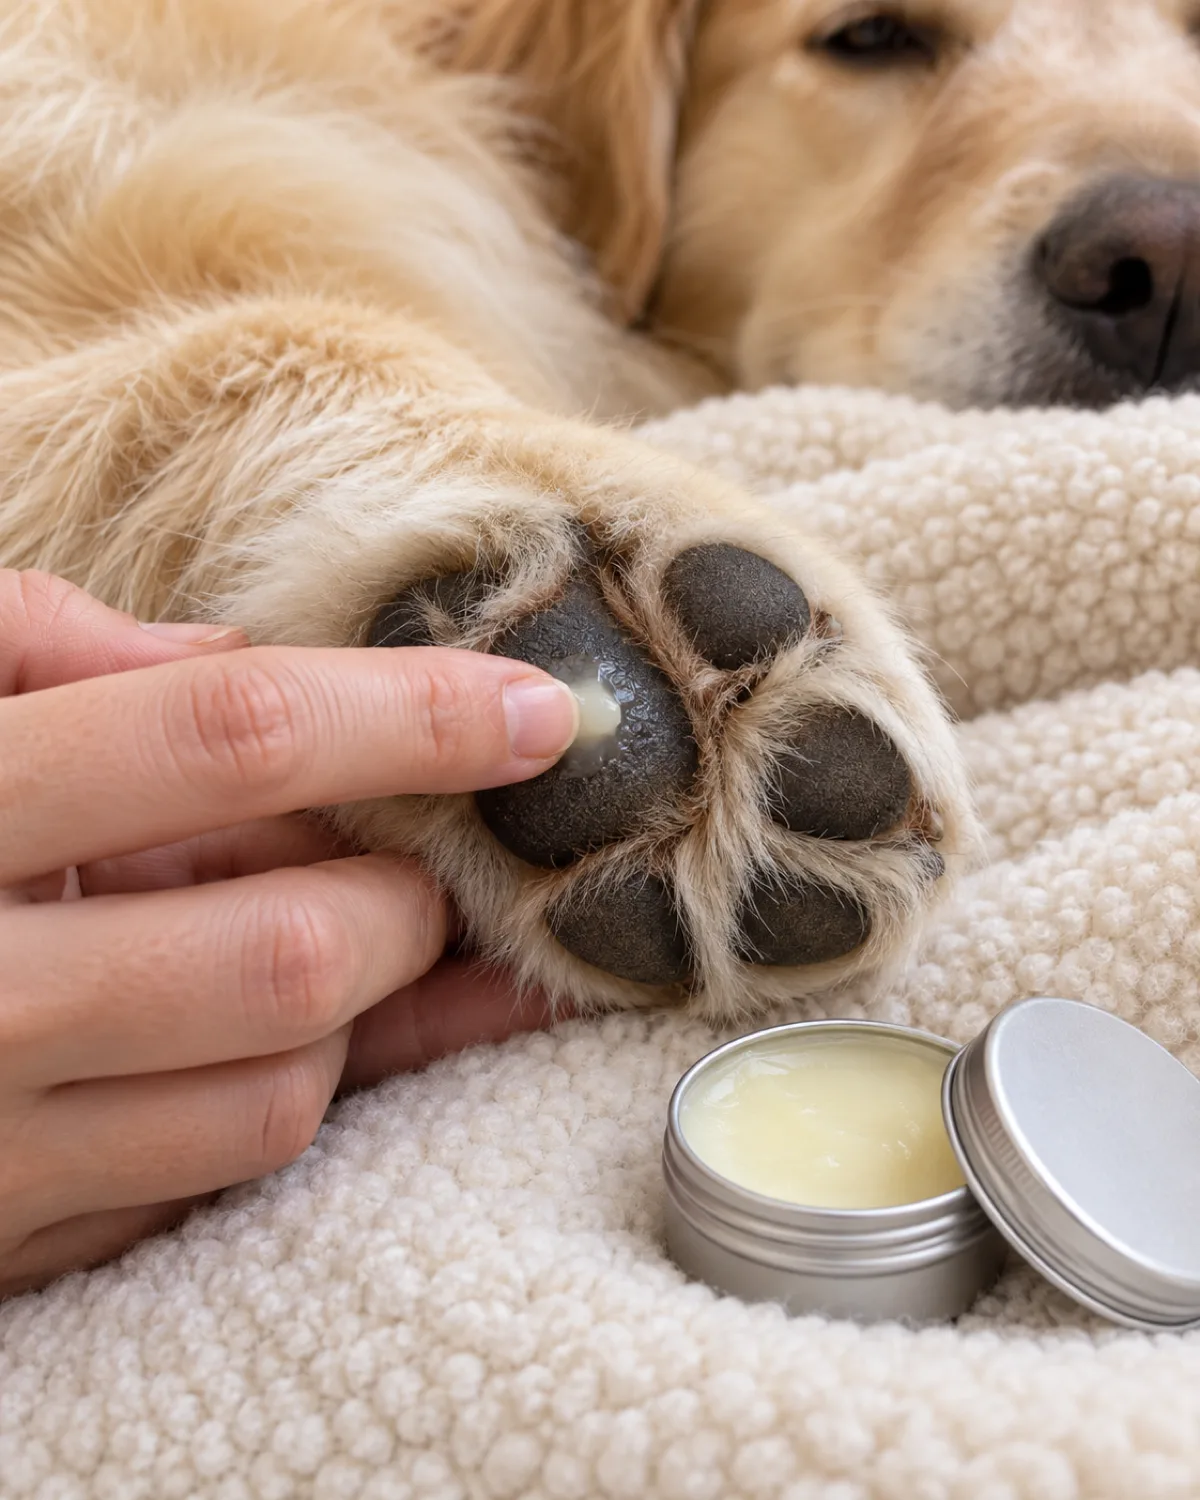
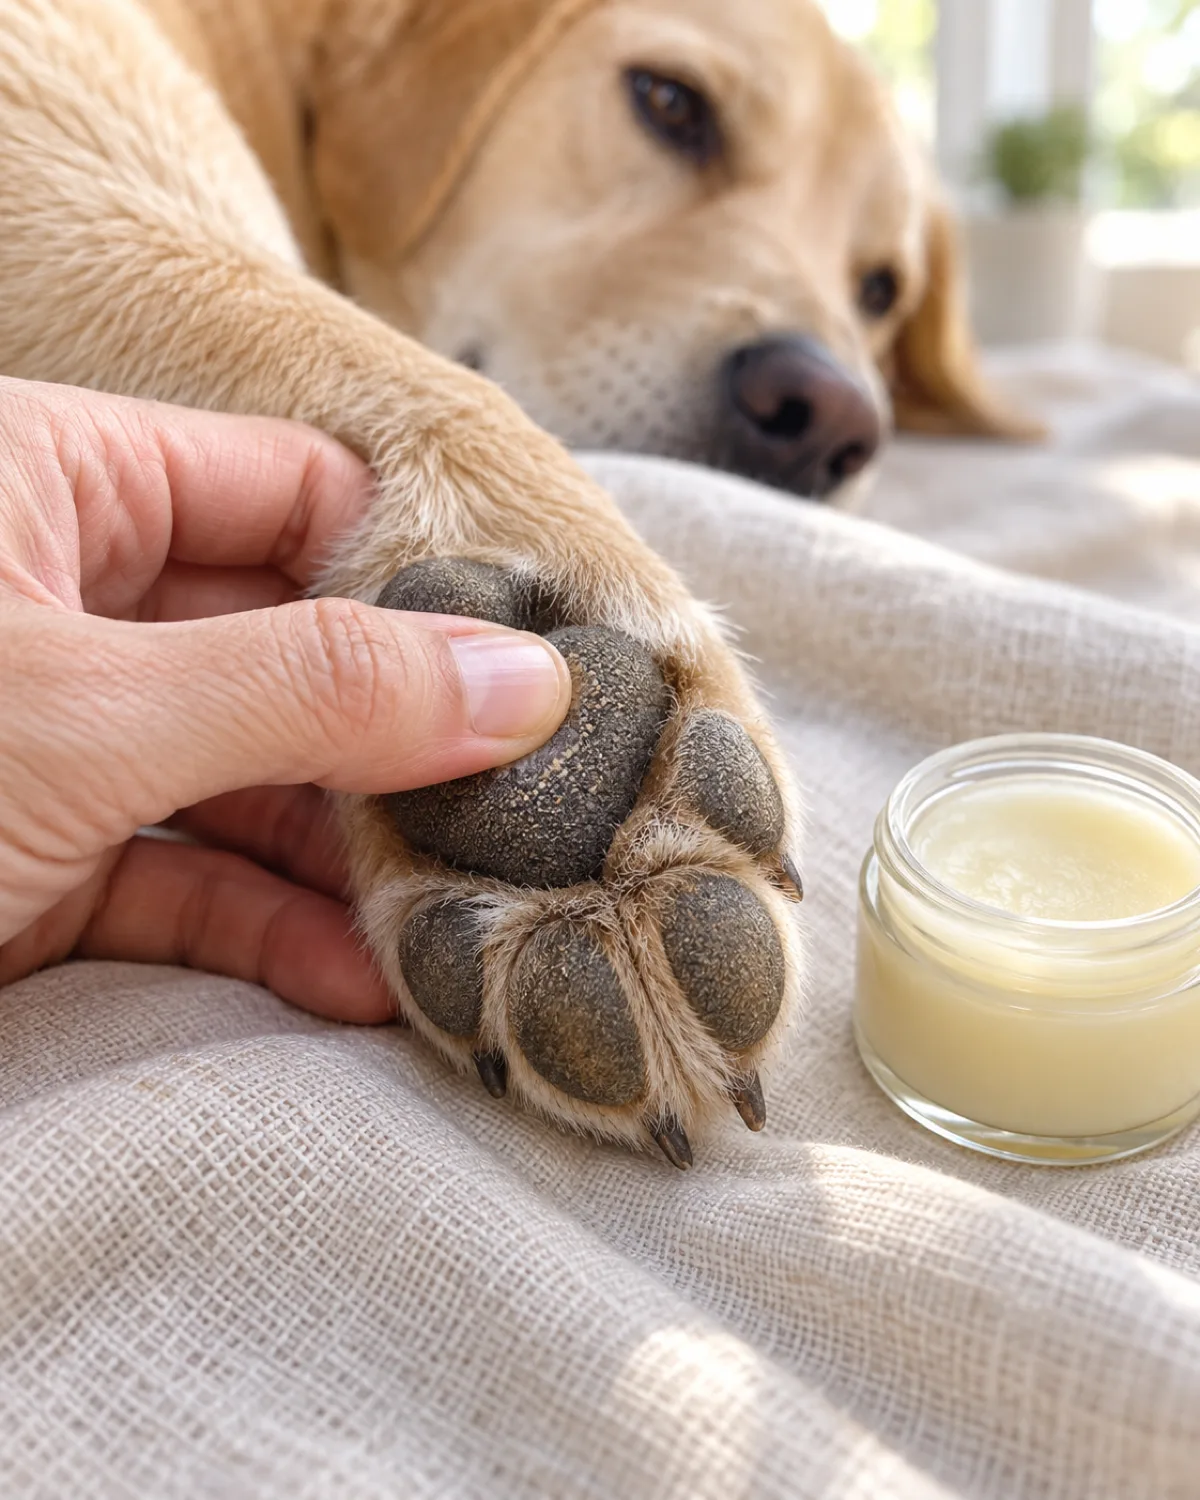
Apply a Dog-Safe Paw Balm Before and After Extreme Weather
Paw balm serves two purposes depending on when you apply it. Before a walk in extreme cold or heat, it creates a thin protective barrier between the pad and the surface. After a walk, it replenishes moisture that the surface stripped away.
Look for balms with these ingredients:
Beeswax as a base \u2014 it creates the barrier and is safe if licked
Shea butter or coconut oil for moisturizing
Vitamin E for skin repair
Avoid balms with essential oils like tea tree, which is toxic to dogs, or anything with artificial fragrances. If the ingredient list is longer than five or six items, it probably contains something unnecessary.
Application method:
Thin layer only \u2014 a thick glob sits on the surface and makes the dog slip on floors
Rub it in until the pad looks slightly shiny but not wet
Let it absorb for two to three minutes before letting the dog walk on carpet or furniture
Apply to the main pad and the smaller toe pads \u2014 the toe pads crack too
In winter, apply before every walk on salted or icy surfaces. In summer, apply after walks on hot pavement. During mild weather, once or twice a week is enough for maintenance.
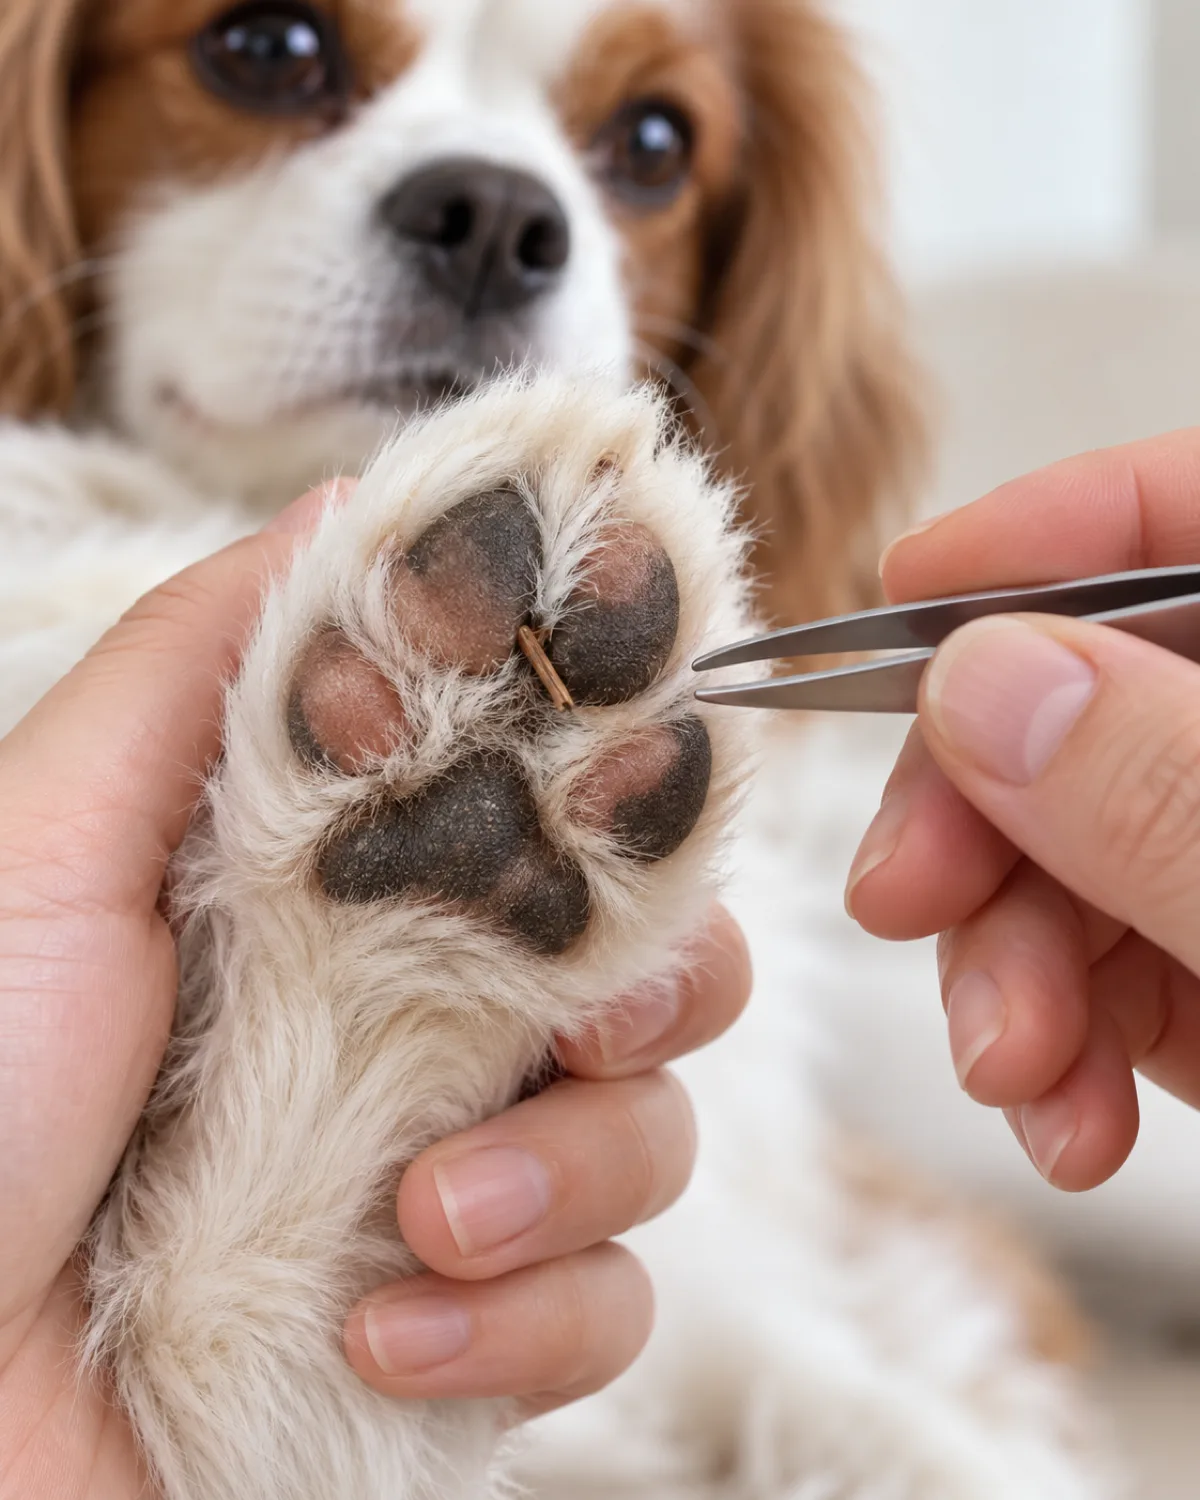
Inspect for Foreign Objects Lodged Between the Pads
The spaces between a dog\u2019s toes and pads are soft, deep, and surprisingly good at trapping things. A foxtail seed, a thorn, or a tiny shard of glass can wedge in there and work its way deeper with every step.
Signs that something is stuck:
Sudden limping that started during or right after a walk
Obsessive licking of one specific paw
Visible swelling or redness between the toes
Yelping or pulling away when you touch a specific toe
To remove a visible object:
Hold the paw steady with one hand and spread the toes gently
Use blunt-tipped tweezers to grip the object as close to the skin as possible
Pull straight out in the direction the object entered \u2014 do not twist
Clean the area with a dog-safe antiseptic wipe
Monitor the spot for the next twenty-four hours for swelling or discharge
If the object is not visible but the dog is clearly bothered, or if you can see the entry point but the object is too deep to grip, stop and call your vet. Digging around in a wound with tweezers risks pushing the object deeper or introducing infection.
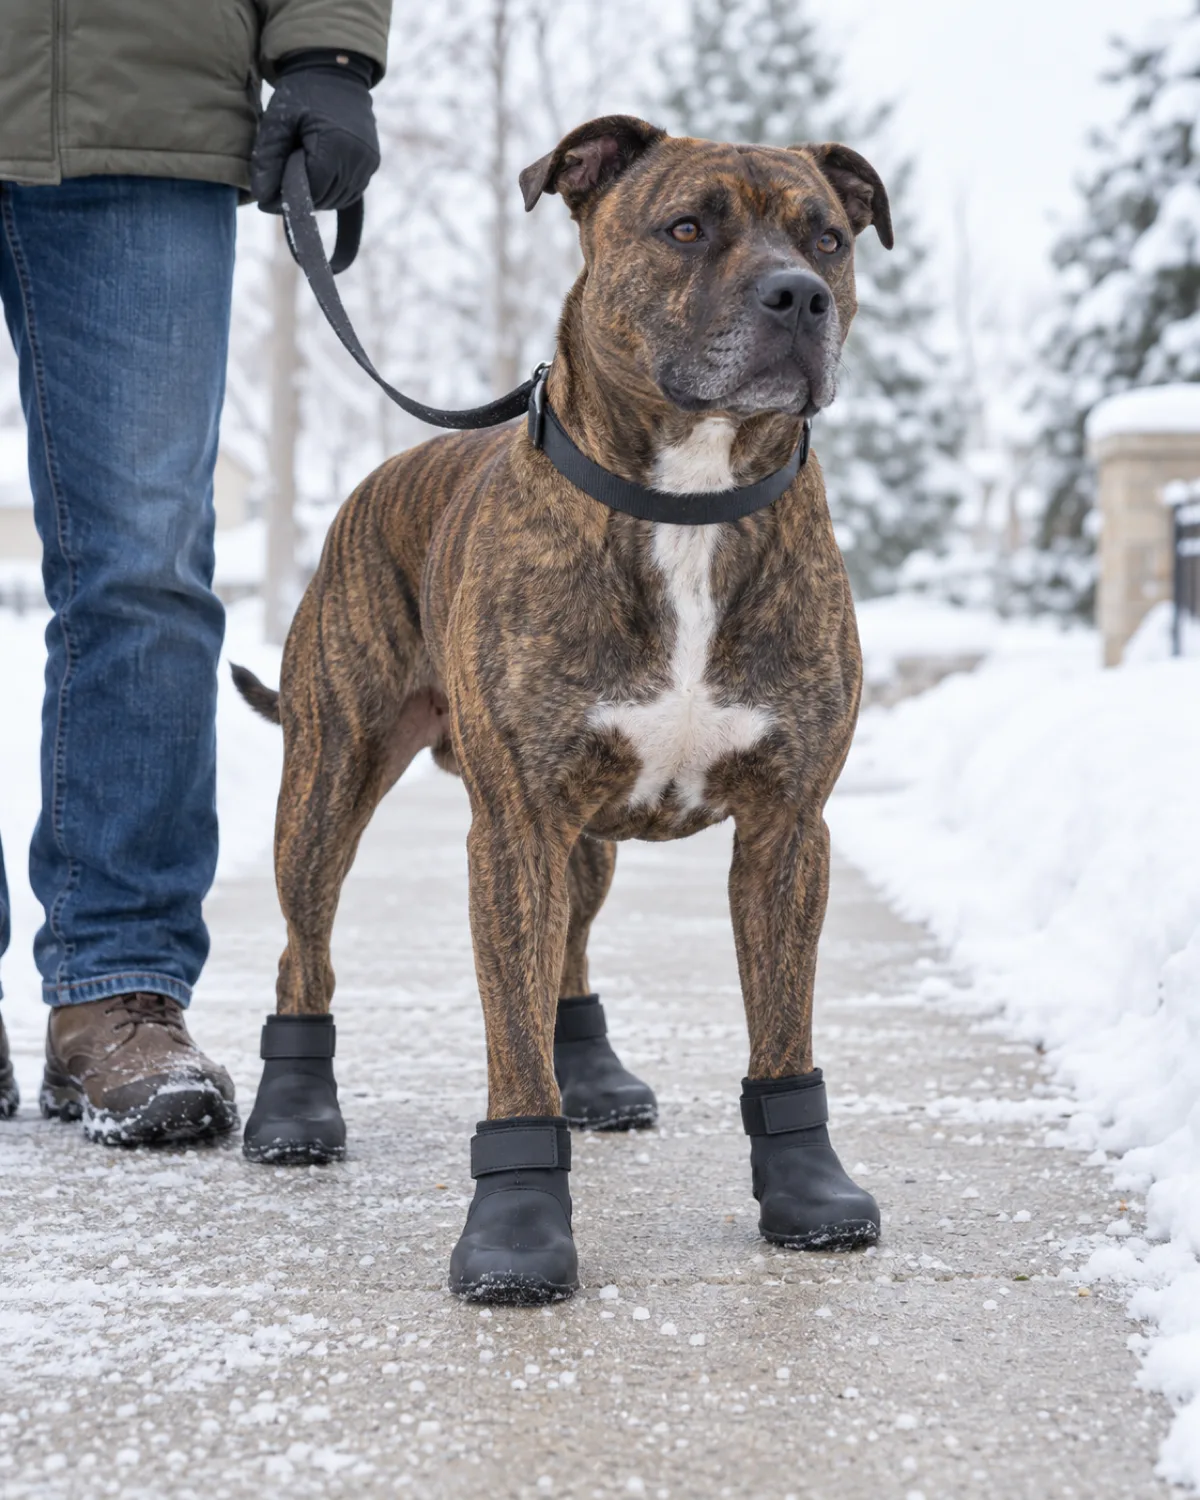
Use Dog Boots for Sustained Exposure to Salt, Ice, or Chemicals
Dog boots are not fashion accessories. They are functional protection for situations where balm alone is not enough \u2014 long winter walks on heavily salted roads, hiking over sharp rocky terrain, or walking through areas recently treated with lawn chemicals.
Most dogs resist boots at first. The awkward high-stepping gait usually fades within three to five walks if you introduce them gradually.
How to introduce boots:
Day one: put one boot on one paw for thirty seconds, treat, remove
Day two: one boot on each front paw for a minute, treat, remove
Day three: all four boots indoors for five minutes with treats and play
Day four onwards: short outdoor walks in boots, gradually extending the time
Fit matters more than brand. A boot that slips off mid-walk is useless, and one that is too tight restricts circulation. The boot should sit snug around the ankle with no gap at the top, and the dog\u2019s toes should be able to spread naturally inside.
For a deeper look at cold-weather paw protection, including when boots are essential versus when balm is enough, see our winter paw care guide.
Moisturize Dry or Rough Pads With a Vet-Approved Balm
Healthy paw pads feel firm and slightly textured \u2014 like the sole of a well-worn leather shoe. When pads dry out, they become rough, cracked, and more vulnerable to cuts and infections.
Common causes of dry pads:
Hot pavement strips moisture from the pad surface on every step
Winter air and indoor heating dry out skin everywhere, including paws
Excessive licking from allergies or boredom removes natural oils
Walking on rough surfaces like gravel or concrete wears down the top layer faster than it regenerates
The fix is straightforward: apply a vet-approved paw moisturizer or balm to the dry pads, rub it in, and let it absorb before the dog walks on fabric.
What not to use:
Human hand lotion \u2014 the fragrances and chemicals are not formulated for dogs and can cause stomach issues when licked
Petroleum jelly \u2014 it sits on the surface without absorbing and makes floors slippery
Coconut oil alone \u2014 it moisturizes but does not create a protective barrier, so it works best mixed into a proper paw balm
Apply moisturizer two to three times per week during dry seasons, or daily if the pads are visibly rough. Focus on the large center pad and the edges where cracking starts.
Quick check
Moisturize or Vet Visit?
Use this quick test to decide whether at-home moisturizing is enough or whether your dog needs professional attention.
Home moisturizingPads feel rough or dry but show no visible cracks, bleeding, or swelling. The dog walks normally and does not lick excessively.
Vet visitVisible cracks that are deep enough to see pink or raw skin. Any bleeding, pus, or swelling. The dog limps, licks one paw obsessively, or avoids putting weight on it.
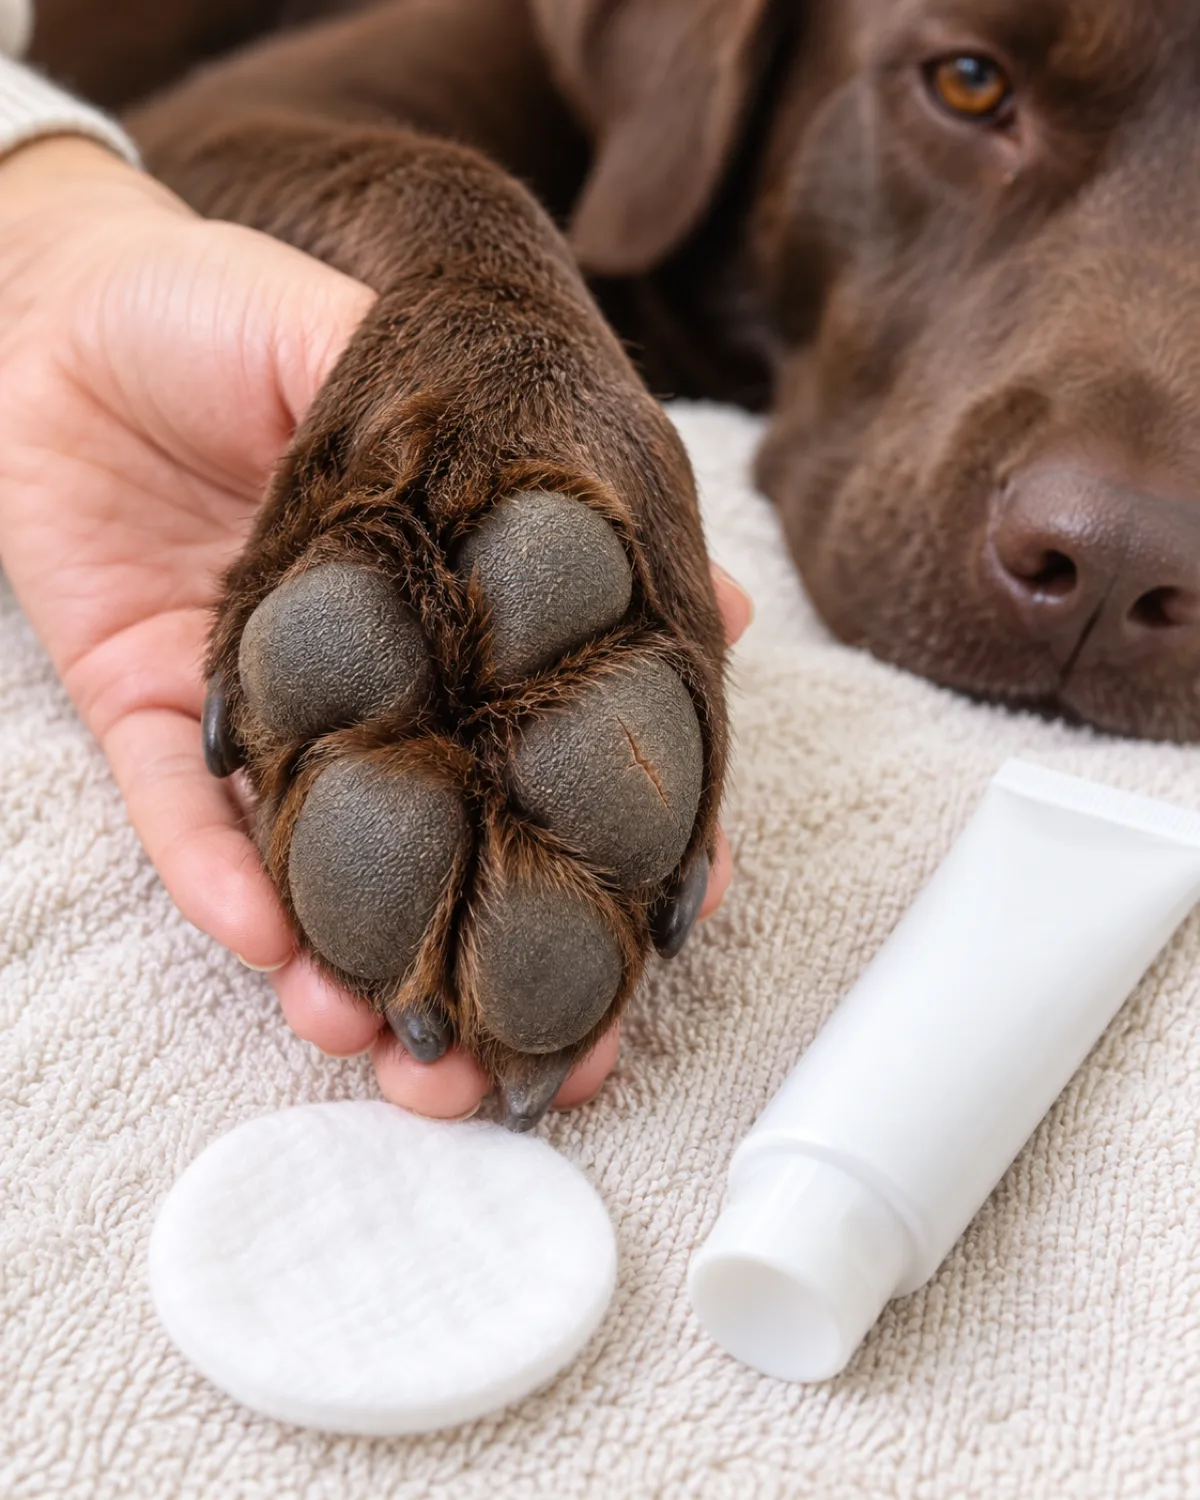
Treat Small Cracks Before They Become Open Wounds
A hairline crack in a paw pad is the dog equivalent of a paper cut \u2014 small, easy to miss, and surprisingly painful if it gets worse. Left untreated, a small crack dries further, splits deeper, and eventually becomes an open wound that bleeds, gets infected, and takes weeks to heal because the dog walks on it constantly.
Early treatment is simple:
Clean the cracked pad with warm water and a gentle dog-safe antiseptic
Pat dry completely \u2014 moisture trapped in the crack slows healing
Apply a thin layer of paw balm or a vet-recommended pad ointment
Cover the cracked pad with gauze and a dog sock to prevent licking
Reapply balm twice daily until the crack is no longer visible
During healing, shorten walks and avoid rough or treated surfaces. Grass and smooth indoor flooring are easiest on a cracked pad.
When to see the vet instead of treating at home:
The crack is deep enough to show pink or raw tissue underneath
There is any bleeding that does not stop with gentle pressure
The area around the crack is swollen, red, or warm to the touch
The dog refuses to put weight on the paw
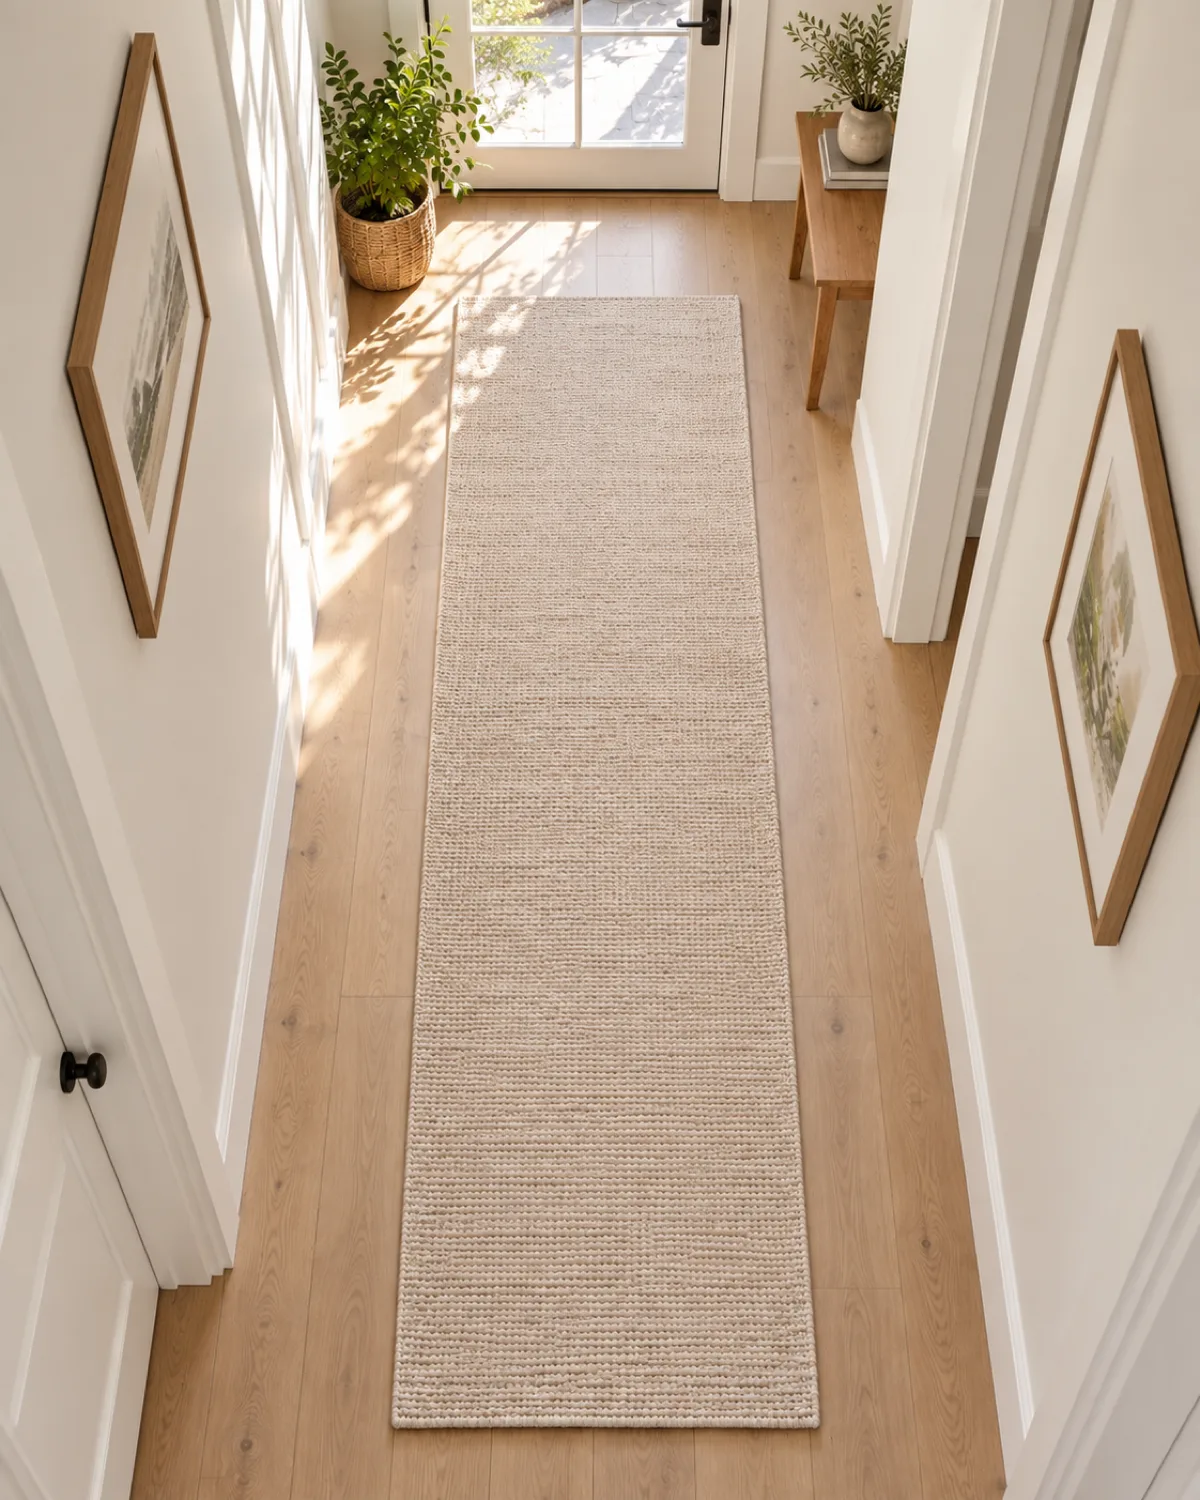
Keep Walking Surfaces at Home Paw-Friendly
Your dog spends more time walking on your floors than on any outdoor surface. If those floors are slippery hardwood, rough unsealed concrete, or tile with sharp grout edges, the paws take daily low-grade wear that adds up.
Simple home adjustments that protect paws:
Runner rugs on hardwood hallways \u2014 they give traction and cushion the joints. Washable rugs are practical for dogs that track in mud.
Non-slip mats near food and water bowls \u2014 dogs shift their weight while eating and drinking, and slippery floors under the bowl area stress the paw pads
Smooth the garage floor path if your dog walks through the garage regularly \u2014 unsealed concrete is rougher than most outdoor sidewalks
Check for exposed nails or screws on decks and stairs \u2014 a tiny protruding nail head can puncture a pad
If your dog slips frequently on smooth floors, the issue may not be the floor alone. Long nails and untrimmed toe fur both reduce traction. Fix the nails and fur first before adding rugs everywhere.
Adjust Walk Timing to Avoid Peak Heat and Cold
The simplest paw protection tool is a clock. Walking before 9 a.m. or after 7 p.m. in summer avoids the worst pavement heat. Walking midday in winter means warmer surfaces and less ice.
Summer timing guide:
Before 8 a.m.: pavement has cooled overnight and is safe for bare paws
8 a.m. to 10 a.m.: borderline \u2014 shaded routes are fine, sunny asphalt may already be warm
10 a.m. to 6 p.m.: assume all pavement is too hot unless you confirm with the hand test
After 7 p.m.: asphalt takes one to two hours after sunset to cool, so test before trusting the clock alone
Winter timing guide:
Early morning: coldest surfaces, most ice, most salt \u2014 use boots or balm
Midday (11 a.m. to 2 p.m.): warmest surfaces, least ice, easiest on bare paws
Evening: temperatures drop fast after sunset \u2014 keep walks short and stick to cleared paths
On extreme weather days \u2014 heat advisories, polar vortex warnings, ice storms \u2014 skip the walk and use indoor exercise instead. A missed walk is better than a burned or frostbitten pad.
Common questions
Dog Paw Care FAQ
How often should I moisturize my dog\u2019s paw pads?
Two to three times per week during dry seasons like winter and peak summer. Daily if the pads are visibly rough, cracked, or peeling. During mild spring and fall weather with regular outdoor walks on grass, once a week or even less may be enough. The right frequency depends on the individual dog\u2019s pad condition, not a fixed calendar.
Can I use coconut oil on my dog\u2019s paws?
Coconut oil moisturizes but does not create a protective barrier the way a beeswax-based paw balm does. It is safe if licked and works as a short-term moisturizer, but it absorbs quickly and does not last through a walk on rough or treated surfaces. Use it as a supplement to a proper paw balm, not a replacement.
How do I know if my dog\u2019s paw pads are burned?
The most common signs are limping or refusing to walk, visible redness or blistering on the pad surface, and the dog obsessively licking one or more paws. In mild cases the pad looks slightly darker or smoother than normal. In severe cases the pad peels or blisters visibly. If you suspect a burn, rinse the paw with cool water, apply aloe-based balm, and contact your vet for next steps.
Are dog boots necessary or just a trend?
Dog boots are functional protection, not a trend. They are necessary for sustained walks on heavily salted roads, sharp rocky trails, or chemically treated surfaces where balm alone cannot provide enough barrier. They are not necessary for everyday walks on mild surfaces. Most dogs benefit from having a pair available for winter and extreme conditions rather than wearing them year-round.
My dog licks its paws constantly. Is that a paw care problem?
Constant paw licking has several possible causes: allergies (environmental or food), dry or irritated pads, a foreign object stuck between the toes, boredom, or anxiety.
If the licking is focused on one paw, inspect it for injury or foreign objects. If the dog licks all four paws equally and frequently, allergies are the most likely cause and warrant a vet visit. Paw care routines help rule out surface irritation, but they do not fix the underlying allergy.
Introduce Paw Handling Early So Your Dog Stays Calm
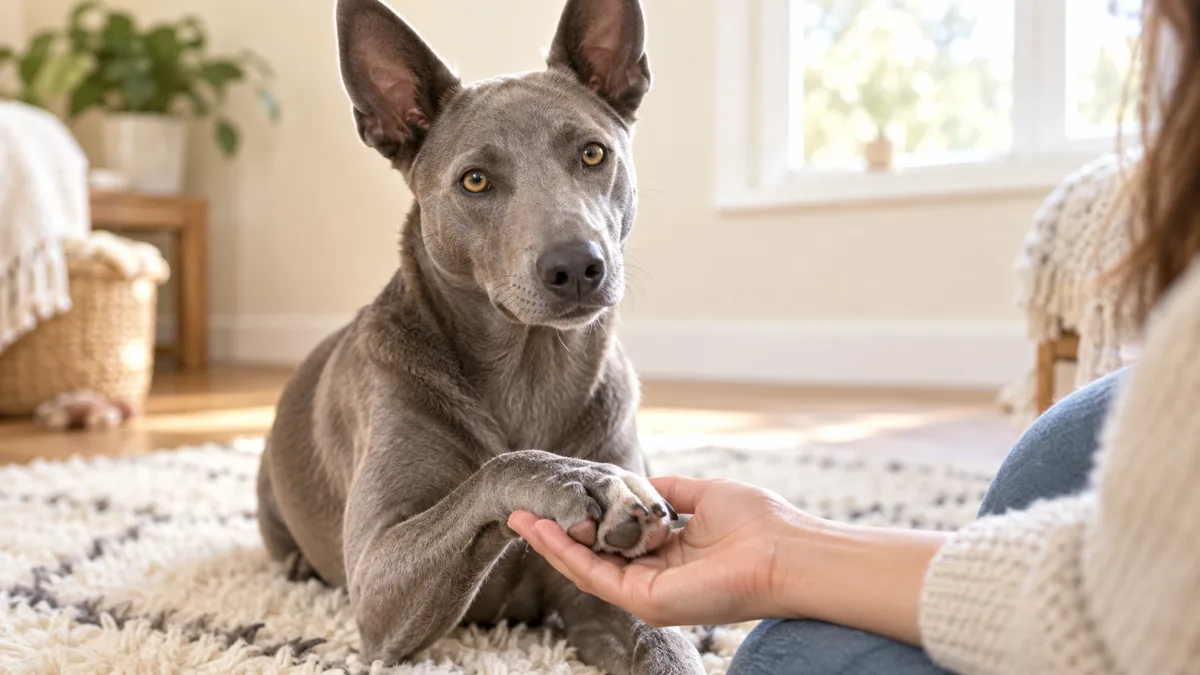
Every paw care task in this guide requires your dog to let you hold, touch, and manipulate its paws without panicking. That tolerance does not happen automatically. It is trained, ideally starting in puppyhood, but possible at any age.
The desensitization sequence:
Week one: touch the shoulder, run your hand down the leg to the paw, hold the paw for two seconds, treat, release. Do this once per session, one paw per day.
Week two: hold the paw for five seconds, gently press each toe, treat, release. Increase to two paws per session.
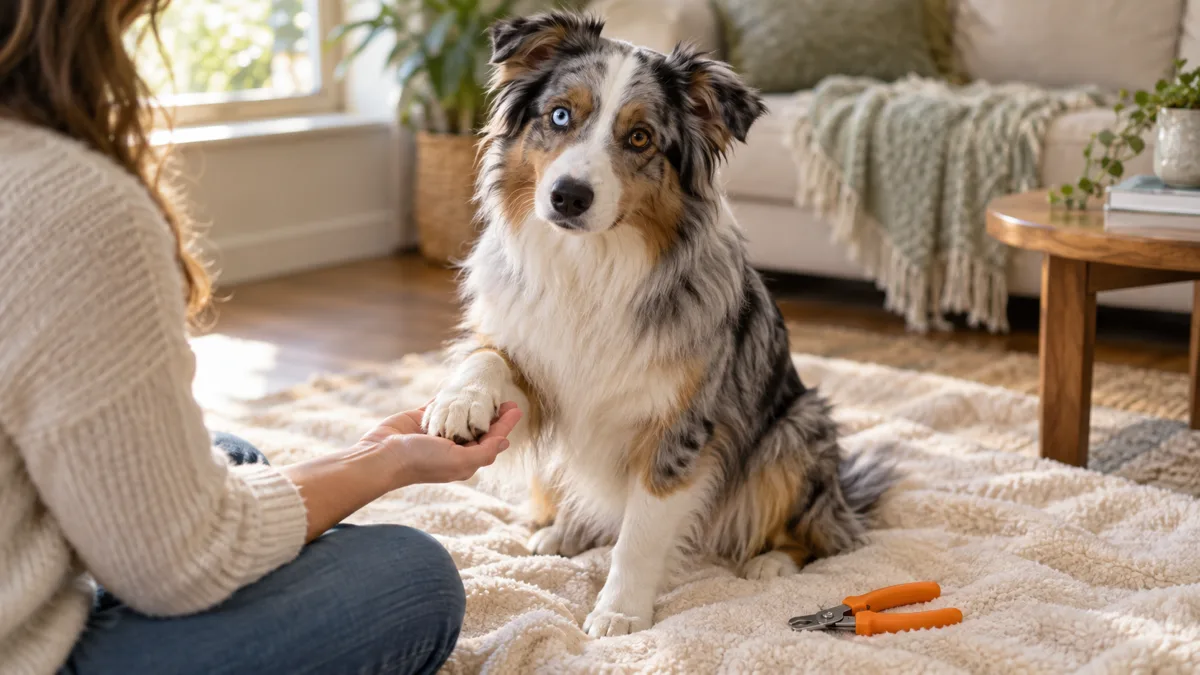
Week three: hold the paw, spread the toes, touch the pad surface with your thumb, treat. Introduce the sight of tools \u2014 lay the nail clipper or scissors on the floor near the dog during the session without using them.
Week four onwards: hold the paw, touch with the tool (closed clipper against the nail, closed scissors near the toe fur), treat. Then progress to one actual trim or clip per session.
The key principle: every paw-touching session ends before the dog gets stressed, and every session includes at least one high-value treat. The dog should associate paw handling with food, not with being restrained.
For adult dogs that already dislike paw handling, the same sequence works but may take longer. Start at whatever step the dog tolerates without pulling away, and progress from there.
Watch for Licking, Limping, or Favoring One Paw
Dogs are remarkably good at hiding pain. By the time a paw problem is obvious \u2014 pronounced limping, refusal to walk, visible wound \u2014 it has usually been building for days. The early signals are subtler.
What to watch for:
Licking one specific paw more than the others, especially if it started suddenly
Slight favoring of one leg that appears as an uneven stride rather than a full limp
Reluctance to walk on certain surfaces that the dog previously walked on without hesitation
Shaking or lifting one paw while standing still
Red, swollen, or warm skin between the toes
Change in nail color on one paw \u2014 a darkened or discolored nail can indicate trauma or infection at the nail bed
When you spot any of these signs, do a full paw inspection immediately. Check the pad surface for cuts, cracks, or burns. Spread the toes and look for foreign objects. Press gently on each toe to check for pain response.
If the inspection does not reveal an obvious cause and the symptoms persist for more than twenty-four hours, call your vet. Some paw issues \u2014 interdigital cysts, deep infections, autoimmune conditions \u2014 look normal from the outside but require professional diagnosis.
Build a Simple Seasonal Paw Care Routine
Paw care does not need to be complicated. It needs to be consistent. A simple routine that adjusts by season covers every risk your dog\u2019s paws face throughout the year.
Spring routine (mild weather, wet ground):
Wipe paws after walks on muddy or fertilized ground
Trim toe fur to prevent mud matting
Check for ticks between toes after walks in tall grass
Summer routine (heat, rough surfaces):
Hand-test pavement before every walk
Walk before 9 a.m. or after 7 p.m.
Apply paw balm after walks on hot surfaces
Check for burns, blisters, or unusual roughness weekly
Fall routine (transition, moderate conditions):
Continue post-walk wipe-downs as leaves and organic debris collect
Moisturize pads two to three times per week as air dries out
Trim nails and toe fur on the regular schedule
Winter routine (cold, salt, ice):
Apply balm before every walk on salted or icy surfaces
Wipe or rinse paws immediately after coming inside
Use dog boots for walks longer than twenty minutes in heavy salt or ice
Moisturize pads daily to combat dry indoor heating air
Check for ice balls between the toes after every snow walk
The constant across all seasons: check paws after every walk, keep nails short, and act on small problems before they become big ones.
Key takeaway
Paw Care Is a Daily Habit, Not a Seasonal Fix
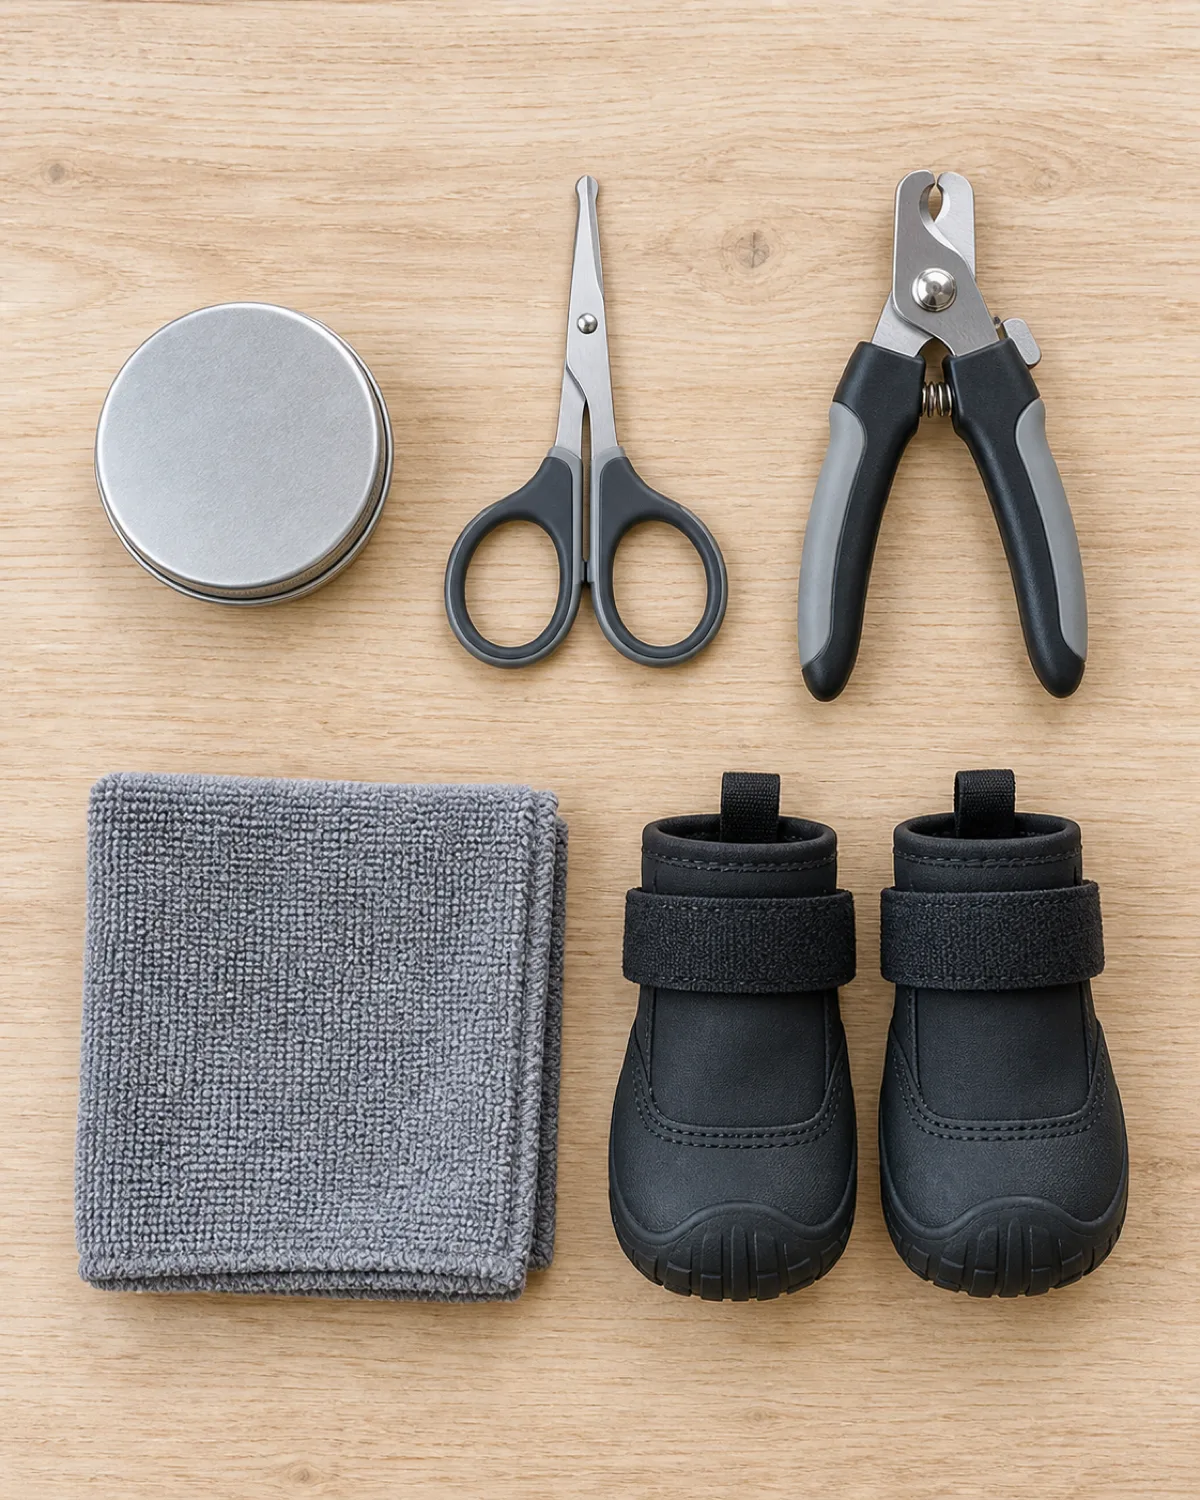
Two minutes after every walk \u2014 a quick pad check, a wipe on treated surfaces, balm when the weather demands it \u2014 prevents the kind of pad damage that costs time, money, and your dog\u2019s comfort. The tools are simple: a cloth, a tin of balm, a pair of scissors, and your thumb. The routine adjusts by season but never stops.
Written by
Jess Calloway
Dog mom to three very different dogs and the voice behind Pawliqa. Jess writes about the messy, rewarding reality of life with dogs \u2014 from the training wins to the chewed-up couch cushions. Every tip here has been tested on at least one reluctant patient.
Fourteen dog nail trimming tips covering tool choice, anxiety cues, quick avoidance, dark nails, grinding versus clipping, frequency, and when to call a groomer.