Most dogs do not hate nail trims. They hate the way nail trims usually go — a tight grip, no warning, and a clipper that pinches before it cuts.
Dog nail trimming gets easier once you shift the goal from "get it done fast" to "keep the dog under threshold." That means smaller cuts, better tools, and a dog who expects a treat after every single clip.
Here are fourteen tips that turn nail day from a two-person wrestling match into a calm, five-minute routine.
Start With One Nail Per Session, Not All Four Paws
The fastest way to ruin dog nail trimming for both of you is trying to do all eighteen nails in one sitting. A dog that has never enjoyed the process will not suddenly tolerate twenty minutes of paw handling because you want to get it over with.
One nail. One treat. Done for the day.
That sounds painfully slow, but it works. After a few sessions of one calm clip followed by something wonderful, the dog starts to associate the clipper sound with food instead of dread. Within two weeks most dogs will sit for an entire paw. Within a month, a full session.
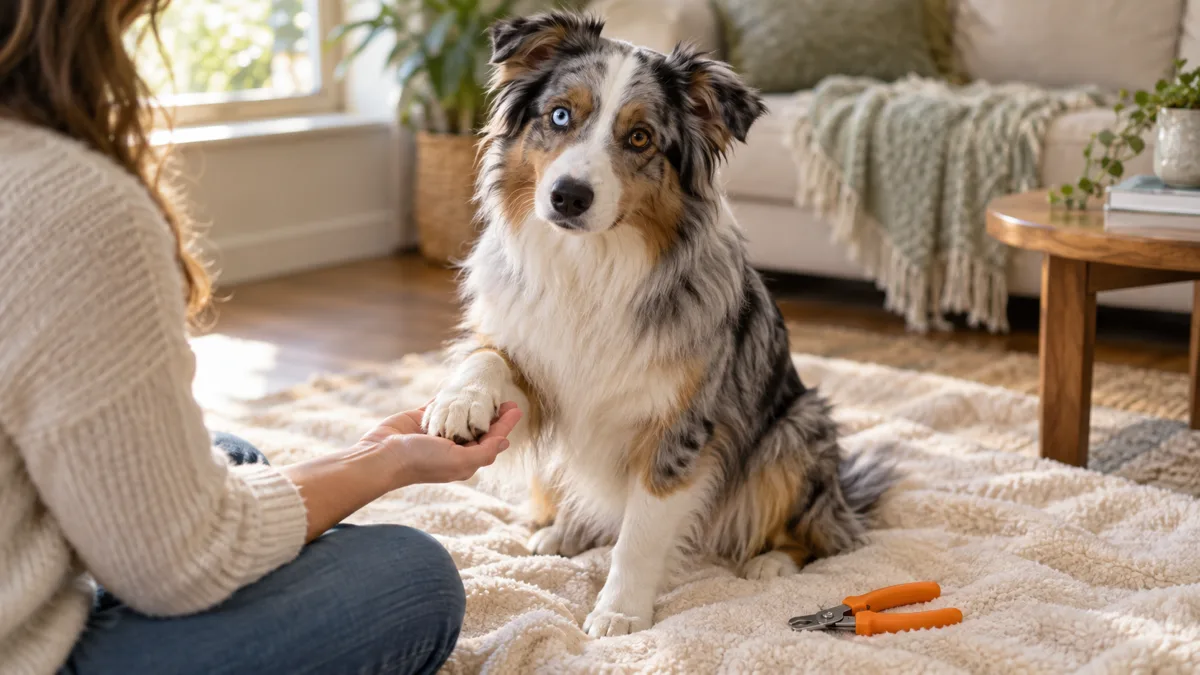
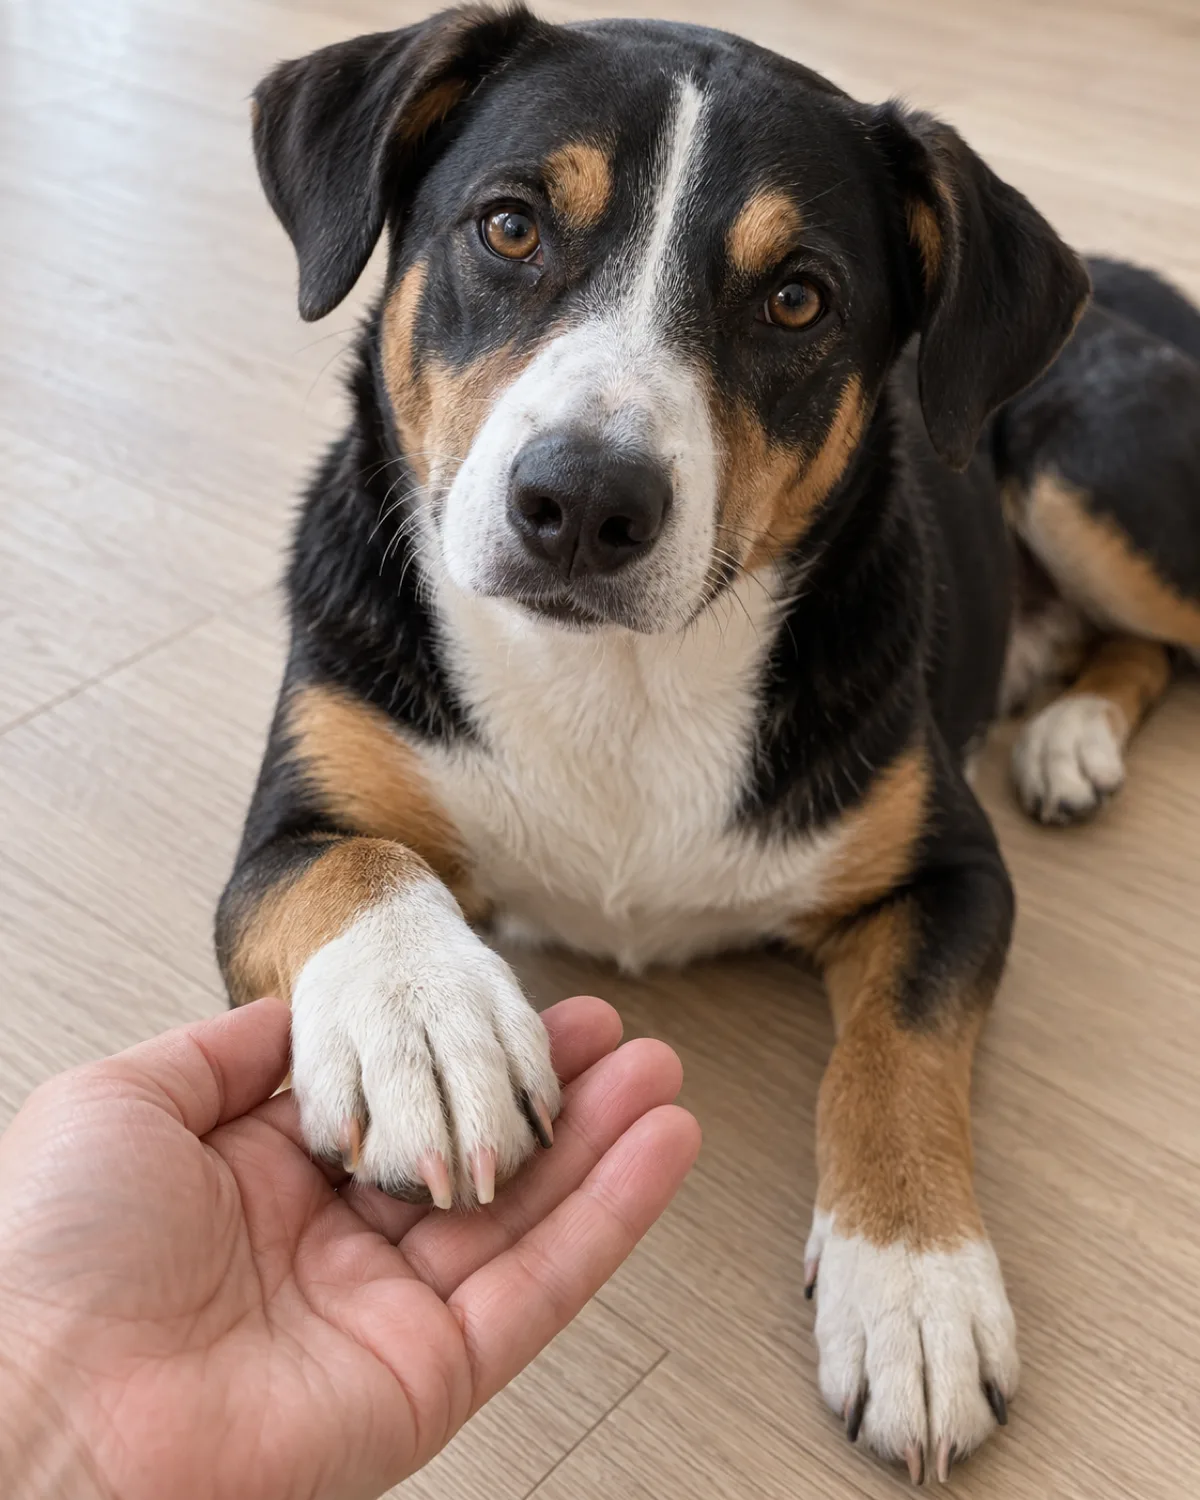
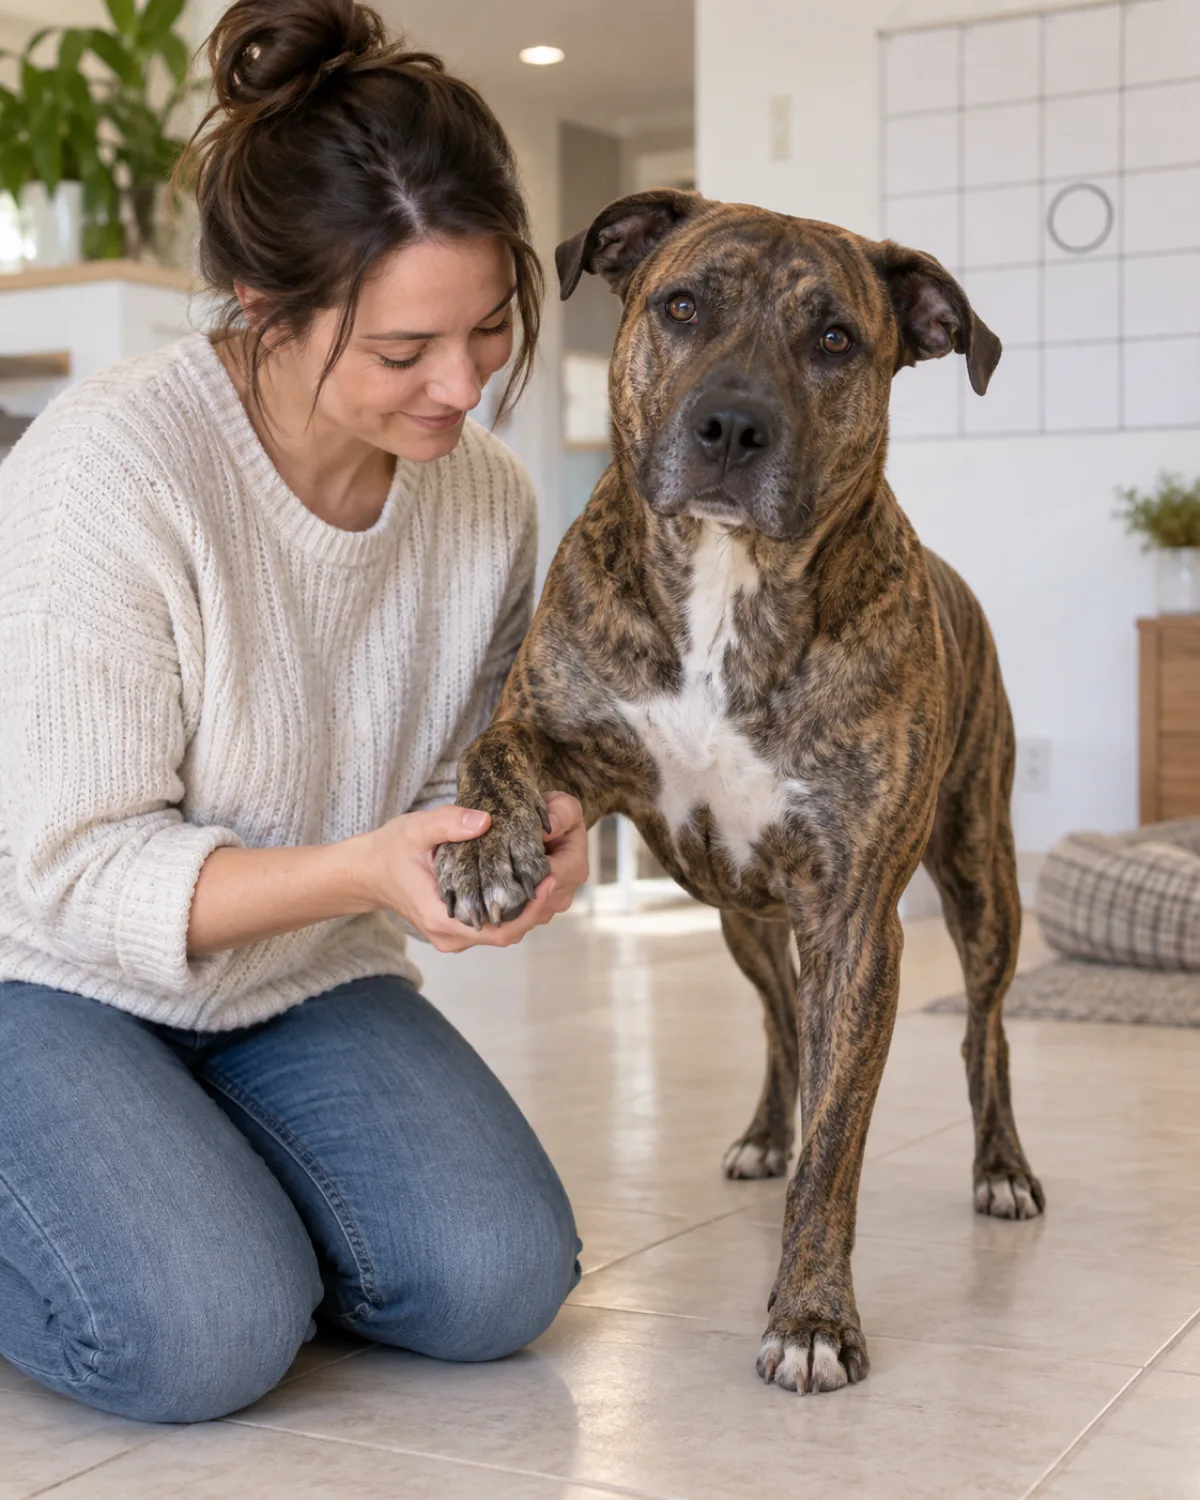
Day one to three: touch the paw, reward. No clipper yet.
Day four to seven: rest the closed clipper against one nail, reward.
Week two: clip one nail, reward, stop.
Week three onward: add one more nail per session as the dog stays relaxed.
If you need the full step-by-step walkthrough, that guide breaks the desensitization process into daily phases. This tip is the single most important one: go slower than you think you need to.
Watch for Stress Signals Before You Even Pick Up the Clipper
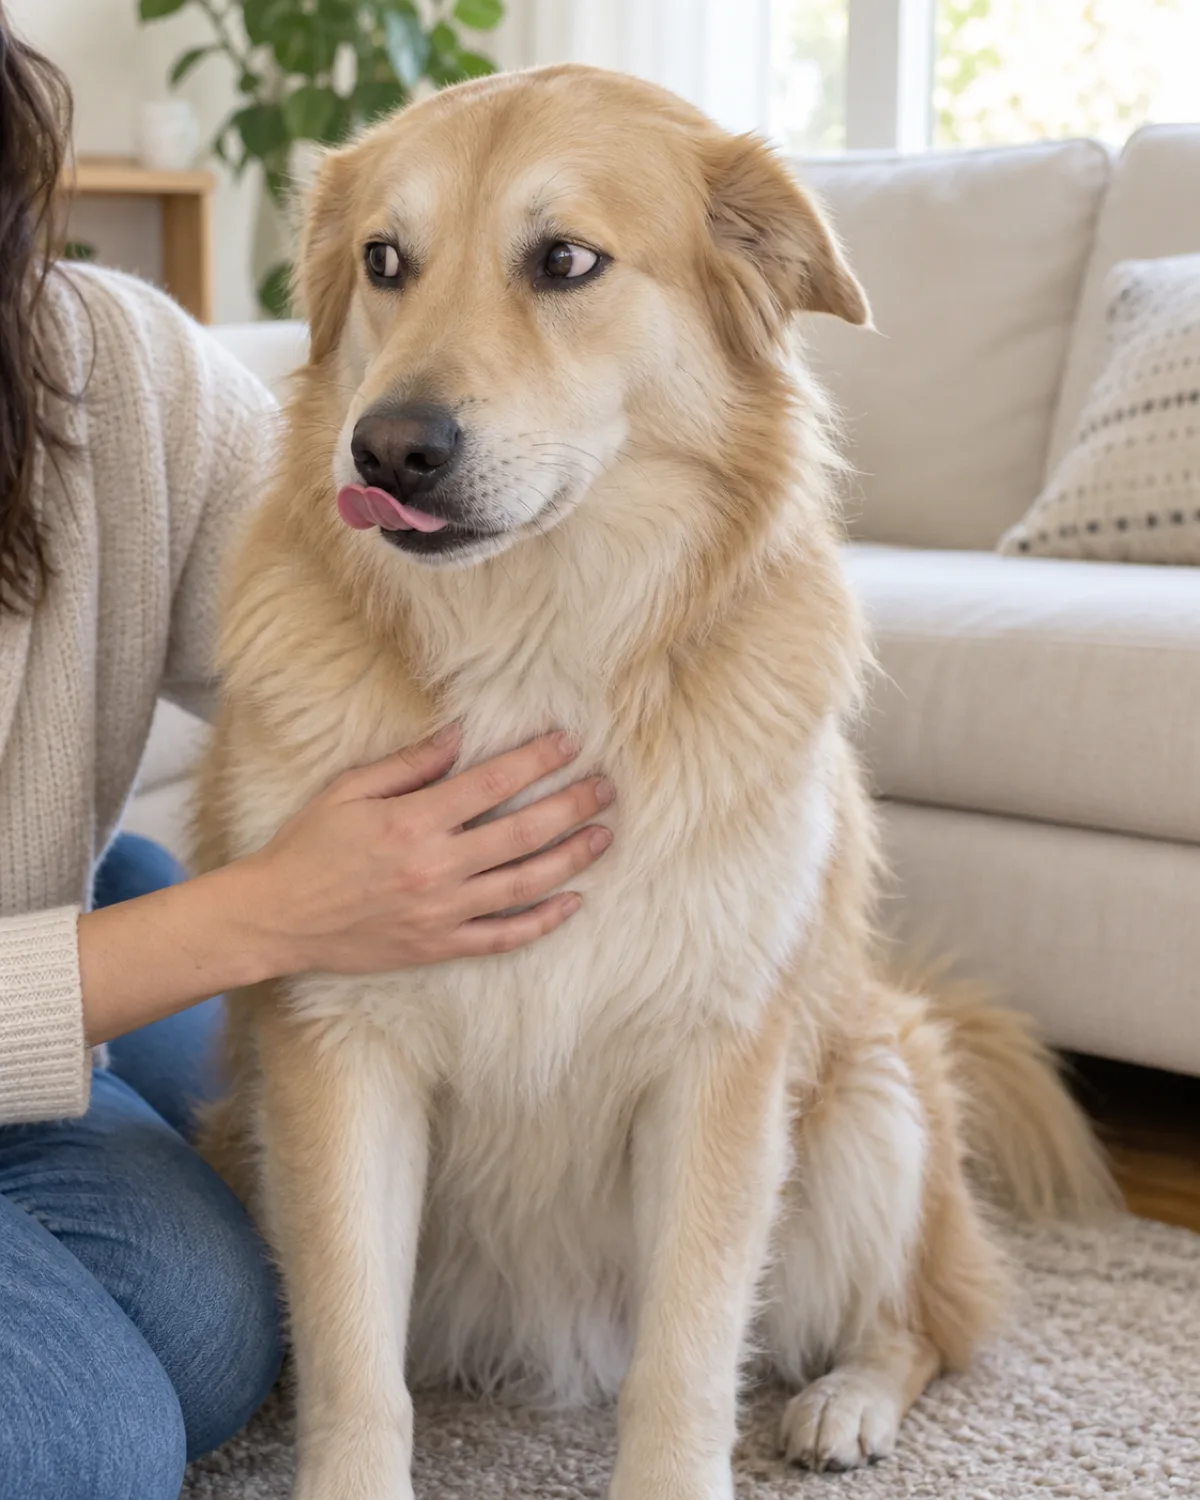
Dogs tell you they are uncomfortable long before they snap or pull away. The signals are quiet, and most owners miss them because they are focused on the nail, not the dog.
Watch for these early stress cues:
Whale eye: the whites of the eyes become visible as the dog turns its head away but keeps watching your hand
Lip licking: a quick tongue flick with no food present
Yawning: slow, exaggerated yawns outside of a sleepy context
Paw pulling: gentle, repeated tugging away from your grip
Ears pinned flat: pressed back against the head instead of in their natural position
Any one of those signals means the dog is approaching its threshold. Two or more at the same time means you should stop, reward, and try again tomorrow.
Pushing past these signals is how dogs escalate from subtle discomfort to biting. They warned you. If the warning was ignored, the next step is louder.
Quick check
Stop or Continue?
Use this two-second check between each nail to decide whether to keep going or call it a day.
Green lightDog is loose-bodied, ears in natural position, accepting treats eagerly, paw relaxed in your hand. Continue to the next nail.
Red lightWhale eye, lip licking, ears pinned, paw pulling, or refusing the treat. Stop immediately. Give a treat for the work already done and end the session on a positive note.
Choose the Right Trimmer for Your Dog's Nail Type
Not every trimmer works for every dog. The wrong tool makes the job harder and the dog more anxious.
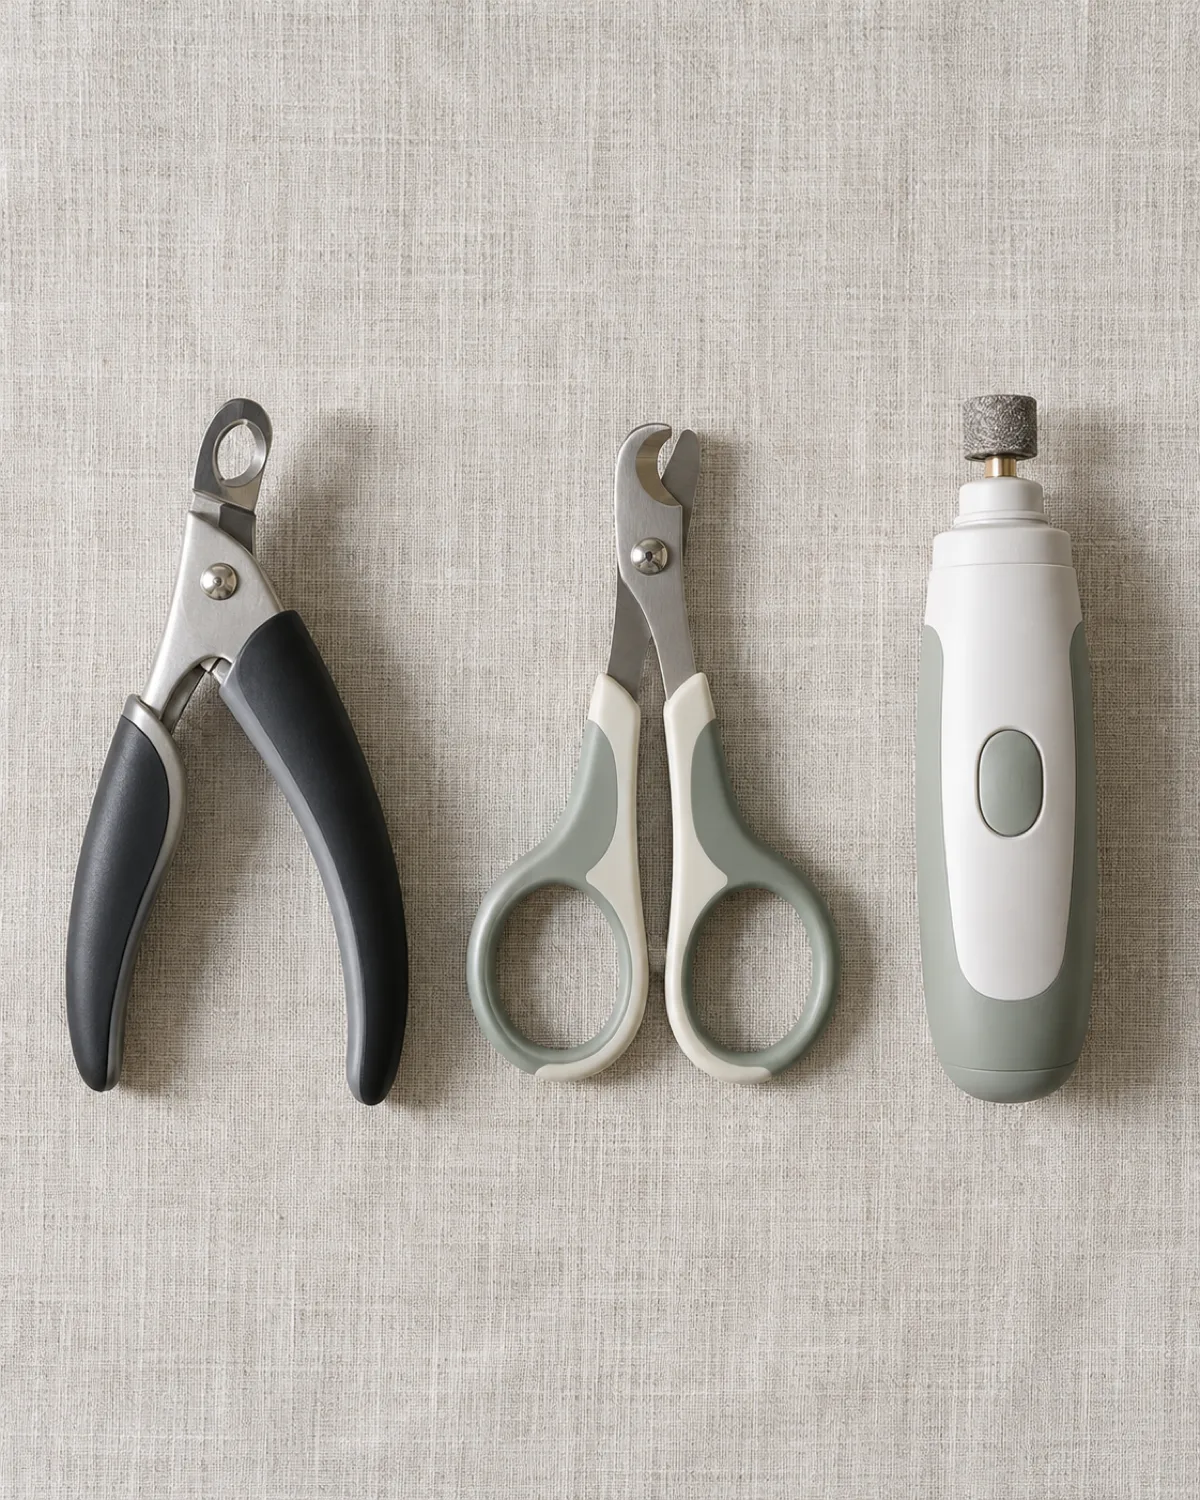
Three main options:
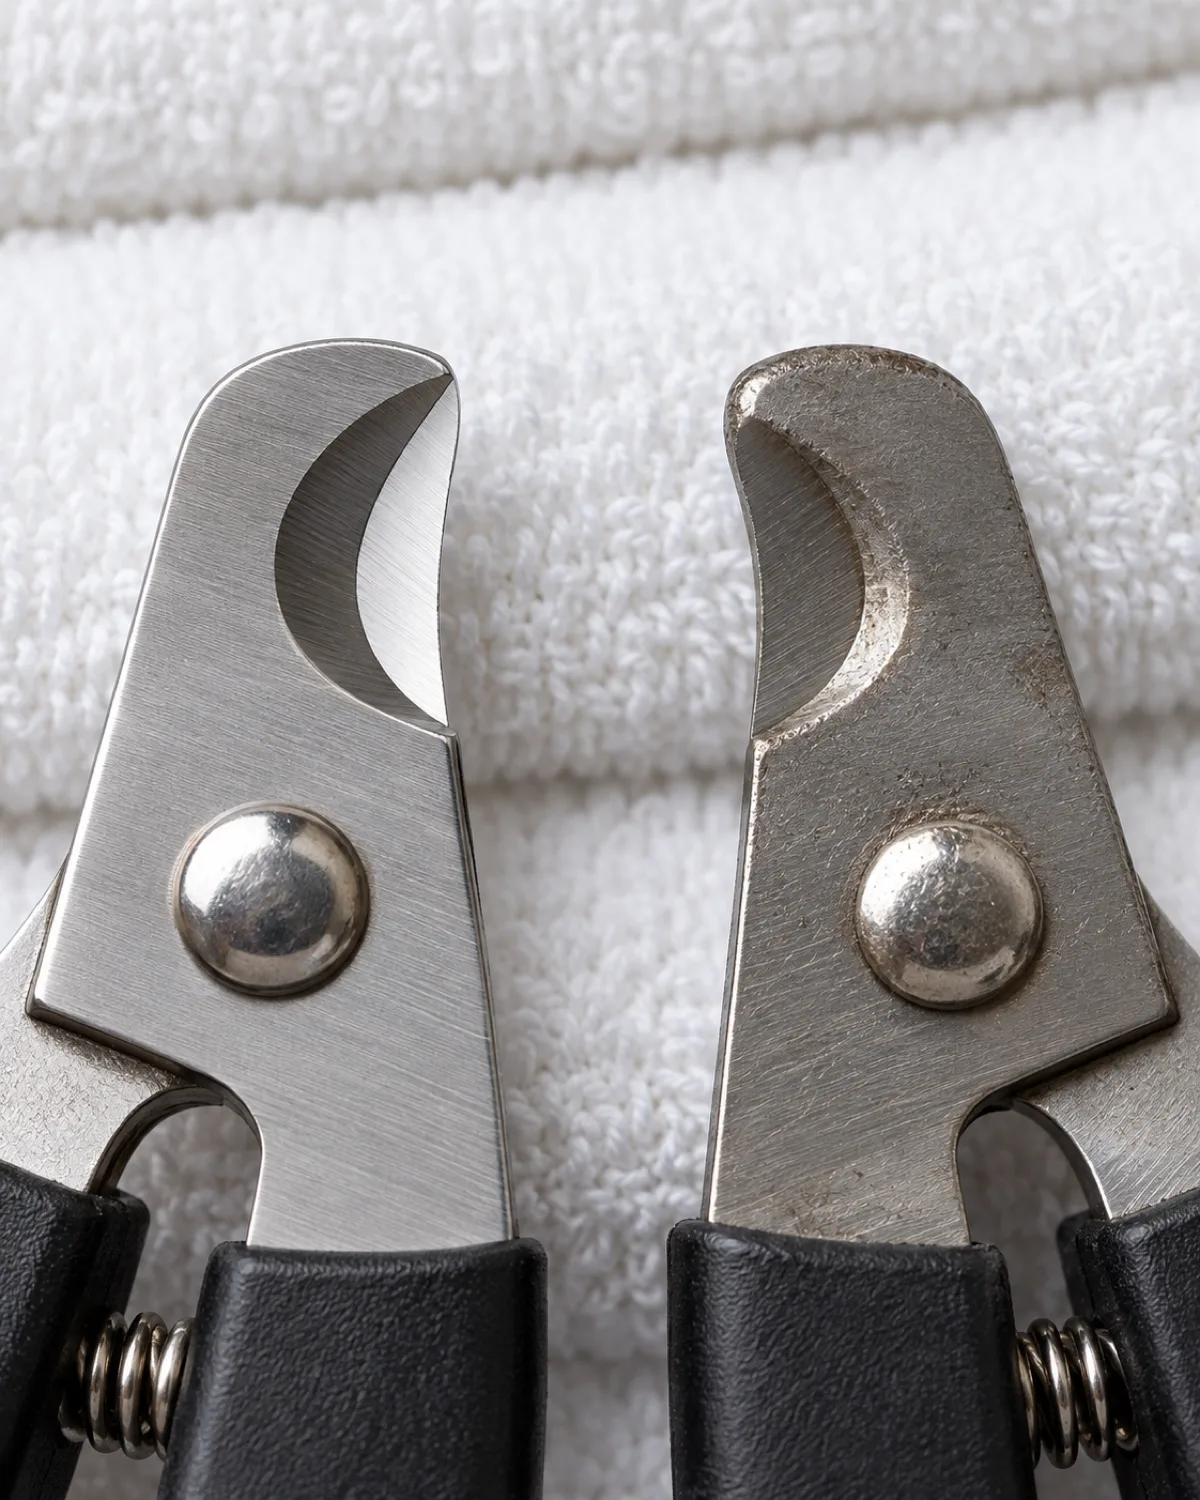
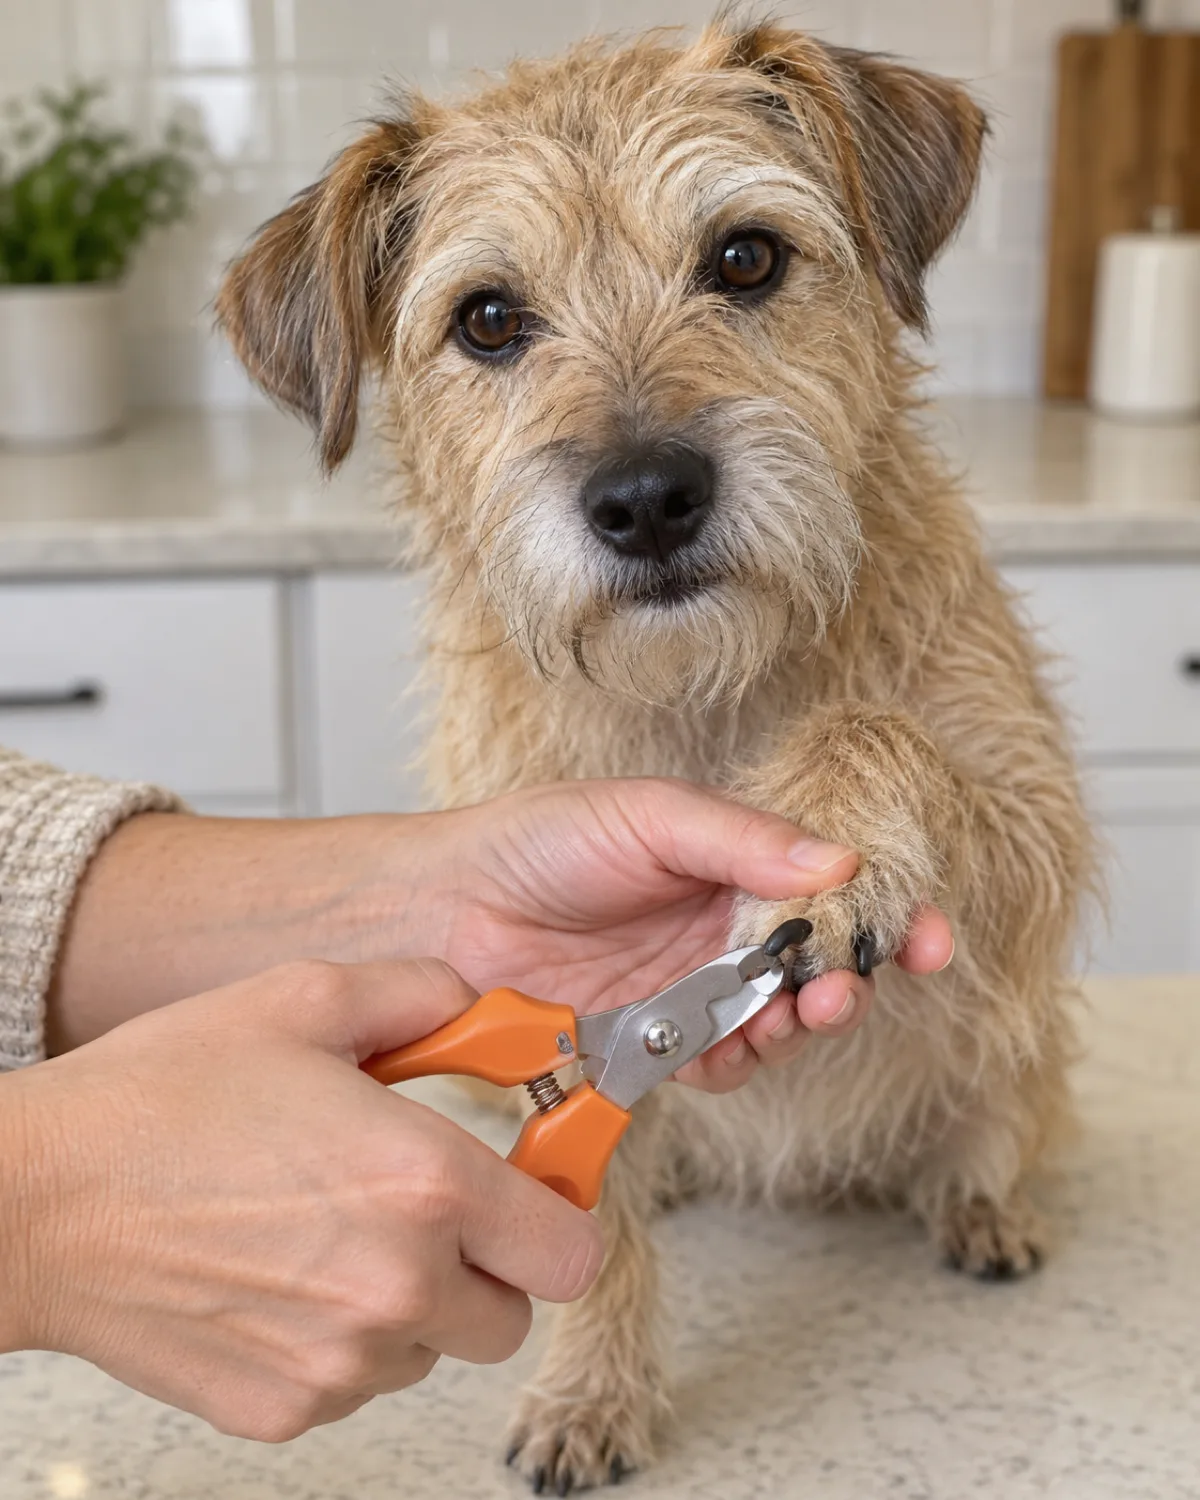
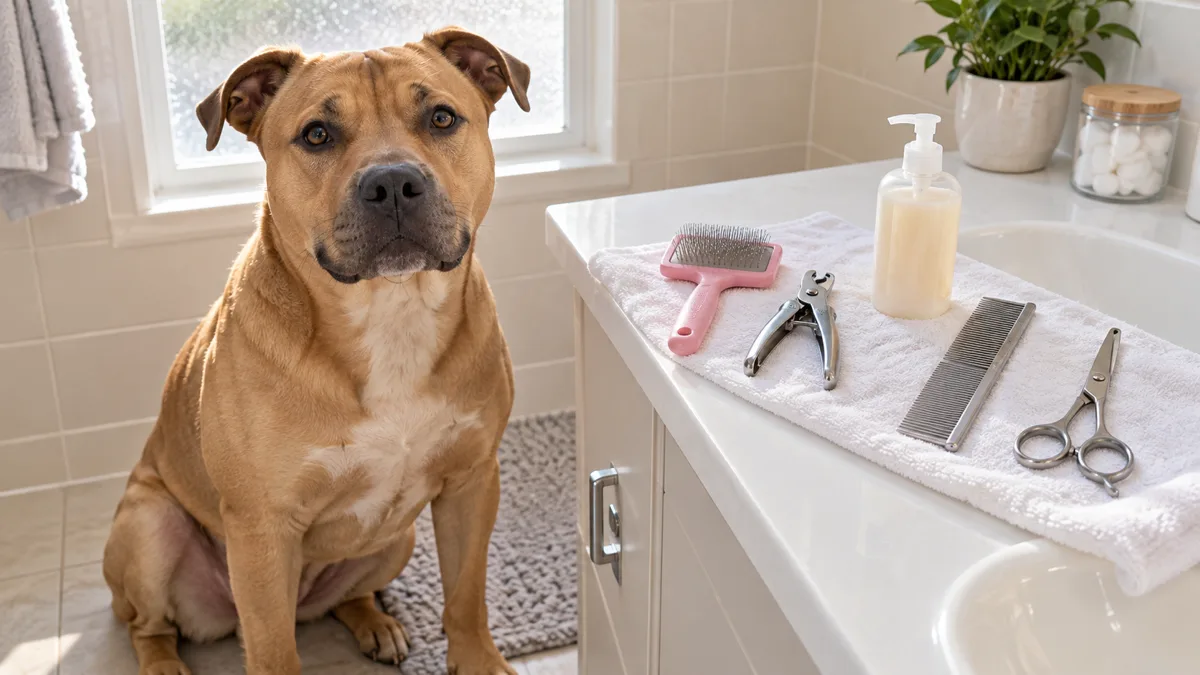
Guillotine clippers: a single blade slides across the nail when you squeeze the handle. Best for small to medium dogs with thin nails. They are quiet and precise, but the blade dulls quickly and struggles with thick nails.
Scissor-style clippers: two curved blades meet like scissors. Best for medium to large dogs with thick, hard nails. They require more hand strength but give you more control on dense keratin.
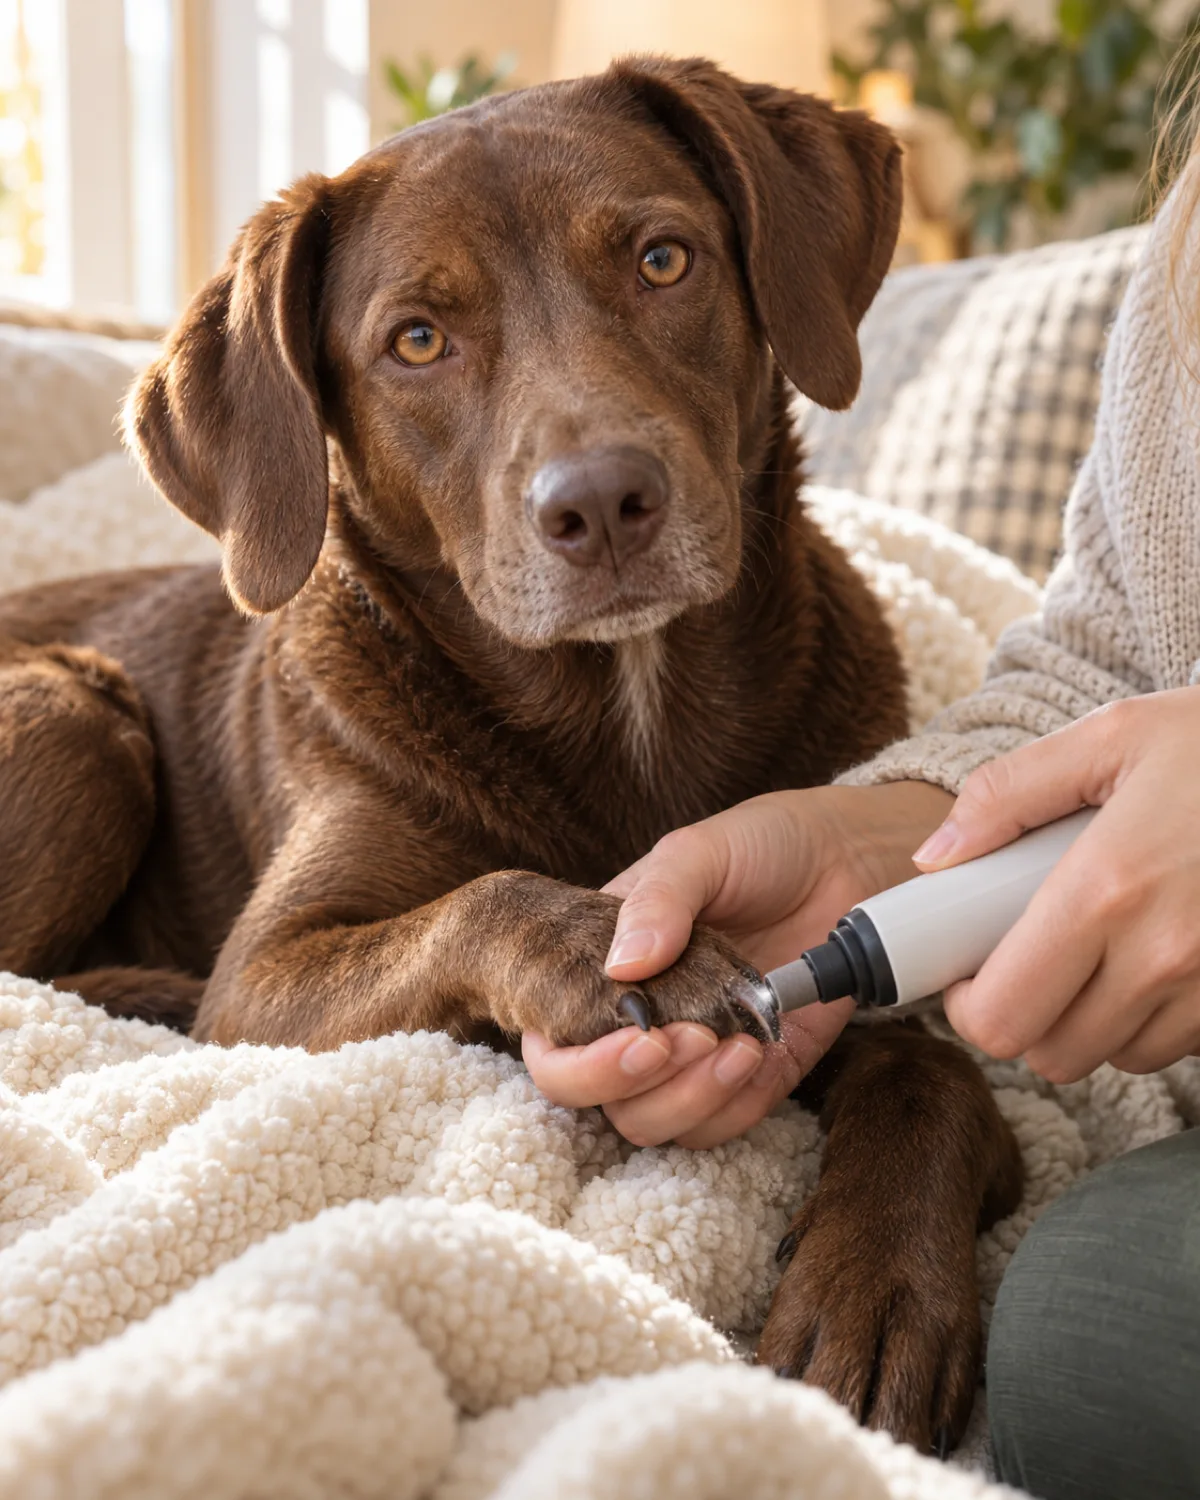
Electric nail grinders: a rotating sanding drum files the nail down gradually. Best for dogs that panic at the crunch sound of a clipper. Slower, but produces smooth edges and makes it nearly impossible to hit the quick in one pass.
Trimmer type
Best for
Noise level
Quick risk
Guillotine
Small to medium, thin nails
Very low
Moderate
Scissor-style
Medium to large, thick nails
Low
Moderate
Electric grinder
Noise-sensitive or quick-shy dogs
Medium hum
Very low
Try each tool on one nail before committing to a full session. Some dogs that hate clippers will sit perfectly still for a grinder, and some dogs that tolerate clippers will bolt at the vibration of a grinder.
Keep the Clipper Sharp — Dull Blades Pinch and Crack
A dull clipper does not cut cleanly. It crushes and splinters the nail, which hurts the dog and leaves jagged edges that snag on carpet and fabric.
Signs your clipper blade is dull:
The nail cracks or splits instead of cutting cleanly
You need to squeeze harder than usual
The cut edge looks rough and splintered instead of smooth
The dog flinches more than it used to, even though you are not hitting the quick
Replace guillotine blades every three to four months if you trim every two weeks. Scissor-style clippers last longer because both blades share the cutting force, but check the edge every couple of months. If you hold the blade up to a light and see a rounded edge instead of a sharp line, it is time for a new pair.
A sharp tool is a safer tool. This is true for dog nail trimming the same way it is true for kitchen knives — dull blades slip, and slips cause injuries.
Learn Where the Quick Ends on Light and Dark Nails
The quick is the blood vessel and nerve bundle that runs through the center of the nail. Cut it and the dog bleeds, feels pain, and remembers. That memory makes the next session harder.
On light-colored nails, the quick is visible as a pink shadow inside the translucent keratin. You can see exactly where it ends. Trim two millimeters past that pink line and you are safe.
Dark nails are harder. The keratin is opaque, so you cannot see the quick from the outside. Instead, look at the cross-section after each small cut:
Dry white or grey center: still in the safe zone. Keep going in small increments.
Dark grey dot appears in the center: you are getting close. One more thin slice at most.
Pink or moist center visible: stop immediately. That is the quick.
The key with dark nails is to take thin slices, about one millimeter each, and check the cross-section after every cut. This is slower but far safer than guessing and taking a large chunk off the end.
Trim at a 45-Degree Angle Just Below the Quick
The angle of the cut matters almost as much as where you cut. A flat straight-across trim leaves a blunt edge that clicks on hard floors and catches on fabric. A 45-degree angle mimics the natural wear pattern of a nail that gets ground down by walking on pavement.
Hold the clipper so the blade meets the nail at roughly 45 degrees, angled slightly toward the pad. This removes the pointed tip and the curved hook underneath without going anywhere near the quick.
Two things to keep in mind:
Cut from underneath, not from the top down. Top-down cuts compress the nail before cutting, which pinches and can crack thick nails. Coming from underneath lets the blade slice cleanly.
One thin slice at a time on dark nails. Check the cross-section after each cut. Stop when you see the chalky white center start to darken.
If you are using the desensitization approach from our full nail trimming guide, this angle becomes automatic once you have practiced it on a few nails. The first few times, focus on the angle before you think about speed.
The 4-point trim
Every Clip in Four Checks
AnglePosition the clipper at 45 degrees to the nail, blade facing slightly toward the pad. Not flat, not steep.
DistanceTwo millimeters past the visible quick on light nails. Thin slices on dark nails until the grey dot appears.
DirectionCut from underneath upward, not from the top down. This avoids compression cracking.
CheckLook at the cross-section after every cut. White or grey center means safe. Pink means stop.
Use a Dremel for Smooth Edges Without the Crunch Sound
Some dogs will never tolerate the crunch-and-snap sound of a clipper. It is not a training failure. The sound and vibration of a blade shearing through keratin is genuinely startling to certain dogs, and no amount of treats will fully override that reaction.
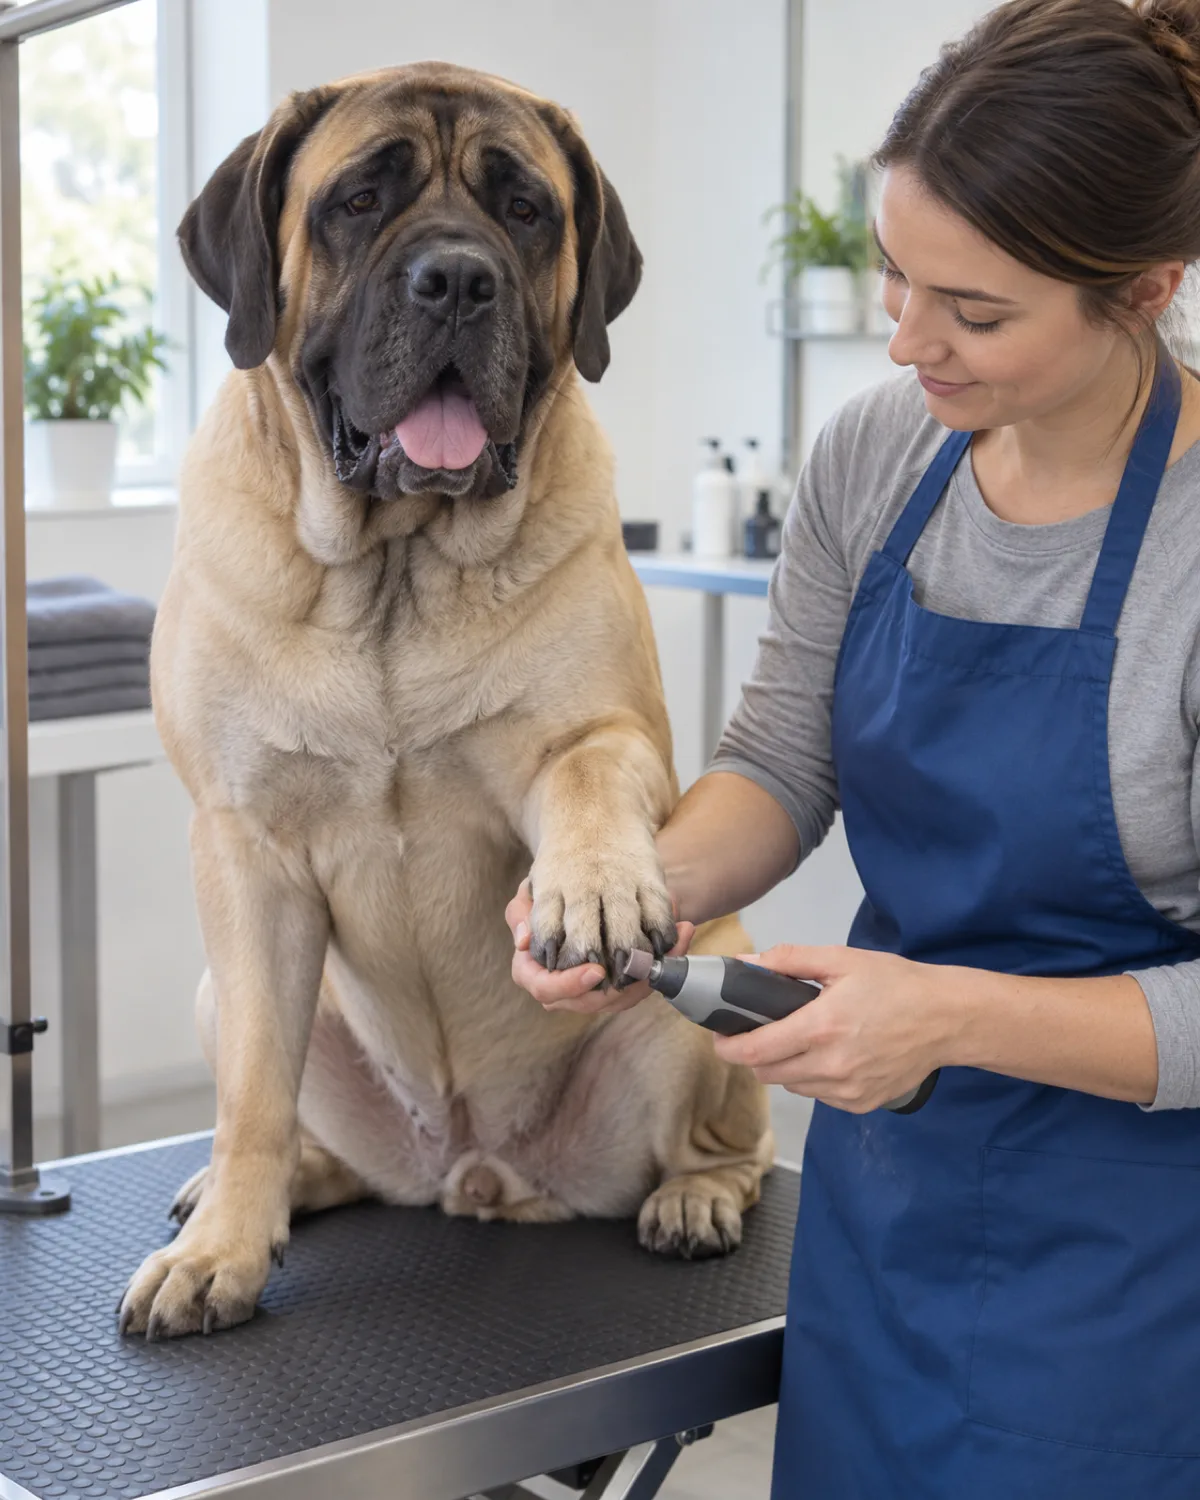
An electric nail grinder solves two problems at once. It eliminates the crunch sound and replaces it with a steady hum, and it files the nail down gradually instead of removing a chunk in one motion. That makes it nearly impossible to hit the quick in a single pass, which is the real advantage for nervous dogs.
How to introduce a grinder:
Day one: turn the grinder on across the room. Let the dog hear the hum. Treat. Turn it off.
Day two to three: hold the running grinder near the dog, not touching any nail. Treat.
Day four to five: touch the grinder to one nail for two seconds. Treat.
Week two: grind one nail per session, three to five seconds per nail.
The main trade-off is speed. Grinding takes longer than clipping — about two to three minutes per paw compared to thirty seconds with clippers. But if the dog sits calmly for a grinder and panics with clippers, the grinder is faster in practice because you are not fighting the dog.
Keep the grinder moving. Holding it in one spot for more than five seconds generates heat from friction, which is uncomfortable and can burn the quick area.
Trim Every Two Weeks to Push the Quick Back
The quick grows forward as the nail grows. Long nails mean a long quick, which means less safe keratin to trim before you hit nerve and blood vessel. This is why dogs with overgrown nails bleed so easily — there is almost no margin left.
Regular trimming reverses this. When you cut the nail back every two weeks, the quick gradually recedes. Over the course of several months, the quick shortens enough that even dark-nailed dogs have a comfortable margin of dead keratin to trim.
Severely overgrown nails: trim a tiny sliver every five to seven days. Do not try to correct months of growth in one session. The quick needs time to recede.
Moderately long nails: every two weeks, trim just past the quick. Within six to eight weeks the quick will be noticeably shorter.
Already short nails: every two to three weeks to maintain. The click-on-the-floor test works here — if you hear nails clicking on hard flooring, they are due for a trim.
Set a repeating reminder. Dog nail trimming is easy to forget because the nails grow slowly and the change is gradual. By the time you notice they are long, the quick has already crept forward and the next trim is harder.
Have Styptic Powder Within Reach, Every Time
Even experienced groomers nick the quick occasionally. It happens. The important thing is to stop the bleeding quickly and calmly so the dog does not associate nail day with panic.
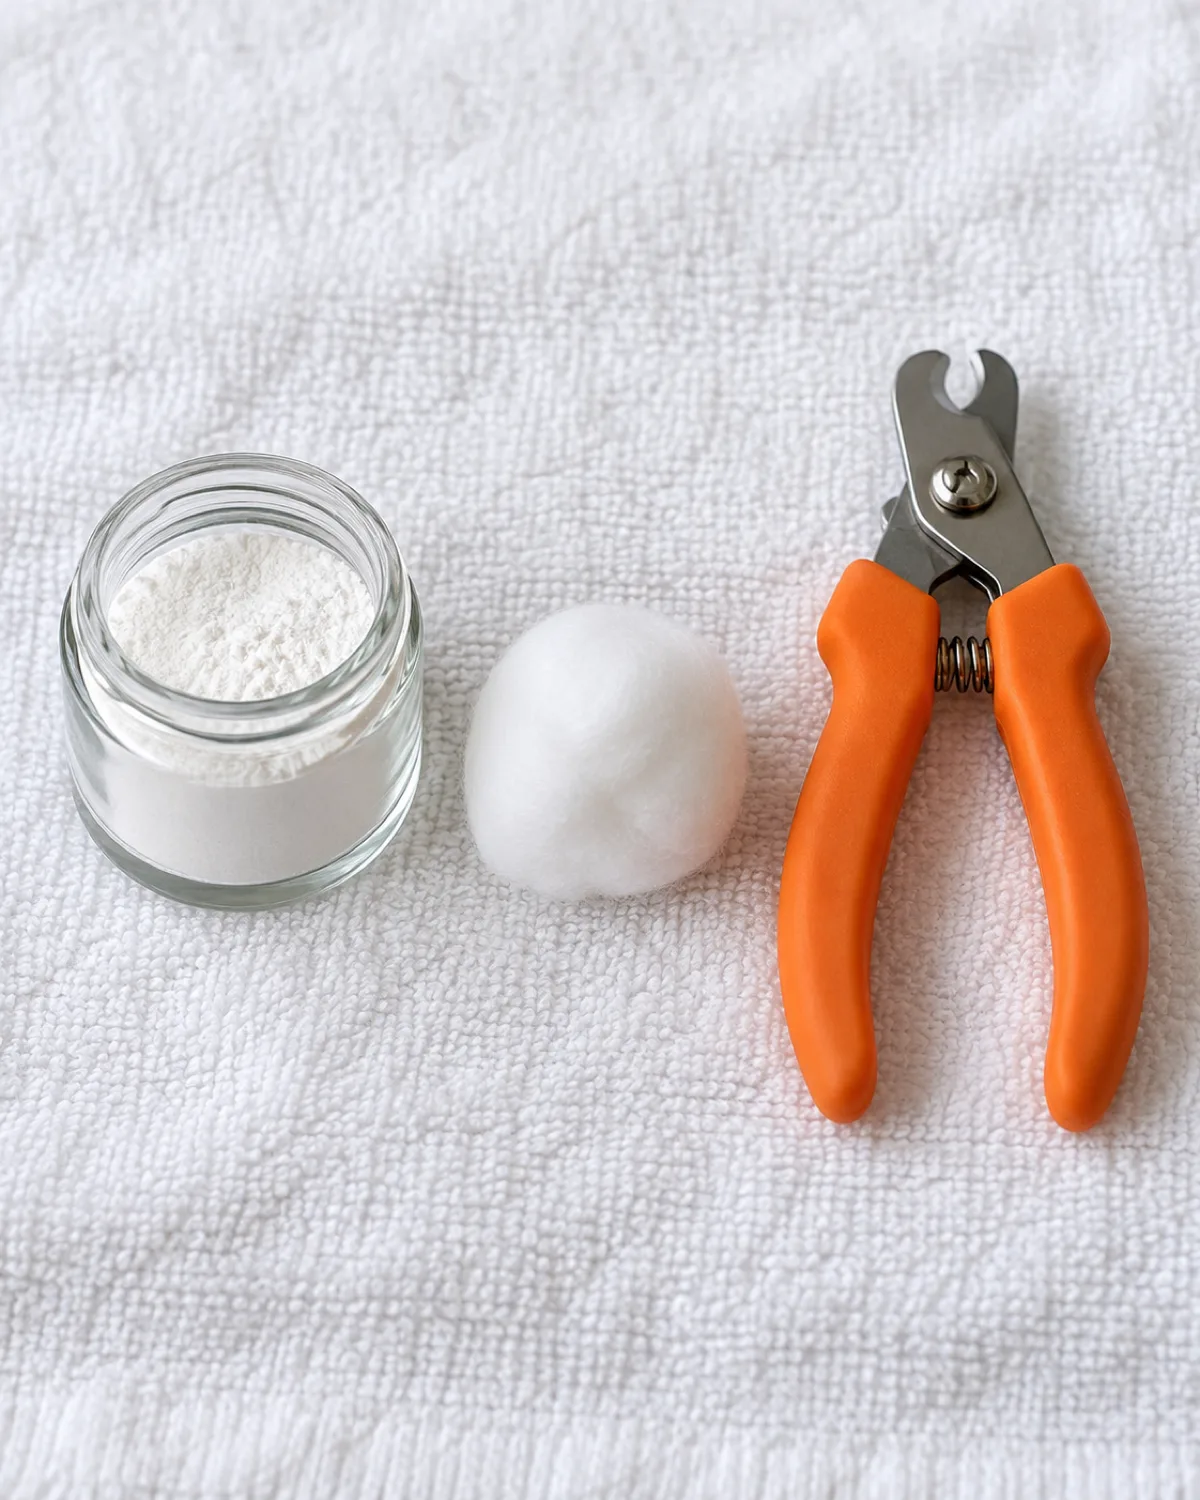
Styptic powder is the standard tool. It contains a clotting agent that stops minor nail bleeding in about thirty seconds. Press a pinch of powder firmly against the bleeding nail tip, hold for ten seconds, and release. The bleeding should stop almost immediately.
What to have on hand before every trim:
Styptic powder or a styptic pencil: the primary bleeding tool
Cornstarch or flour: a backup if you run out of styptic powder. Less effective but works in a pinch. Pack it onto the nail tip the same way.
Cotton balls or gauze: for applying pressure if the bleeding does not stop with powder alone
A calm voice: the dog reads your reaction. If you gasp and scramble for supplies, the dog escalates. If you calmly press powder to the nail and offer a treat, the dog stays settled.
Do not reach for styptic powder after a nick and discover it is in another room. Have it within arm's reach before you pick up the clipper. Every session.
Work Under Good Light So You Can See the Nail Cross-Section
Poor lighting is an underrated cause of nail trimming accidents. If you cannot see the cross-section clearly after each cut, you are guessing where the quick is. Guessing is how dogs get nicked.
Two lighting setups that work:
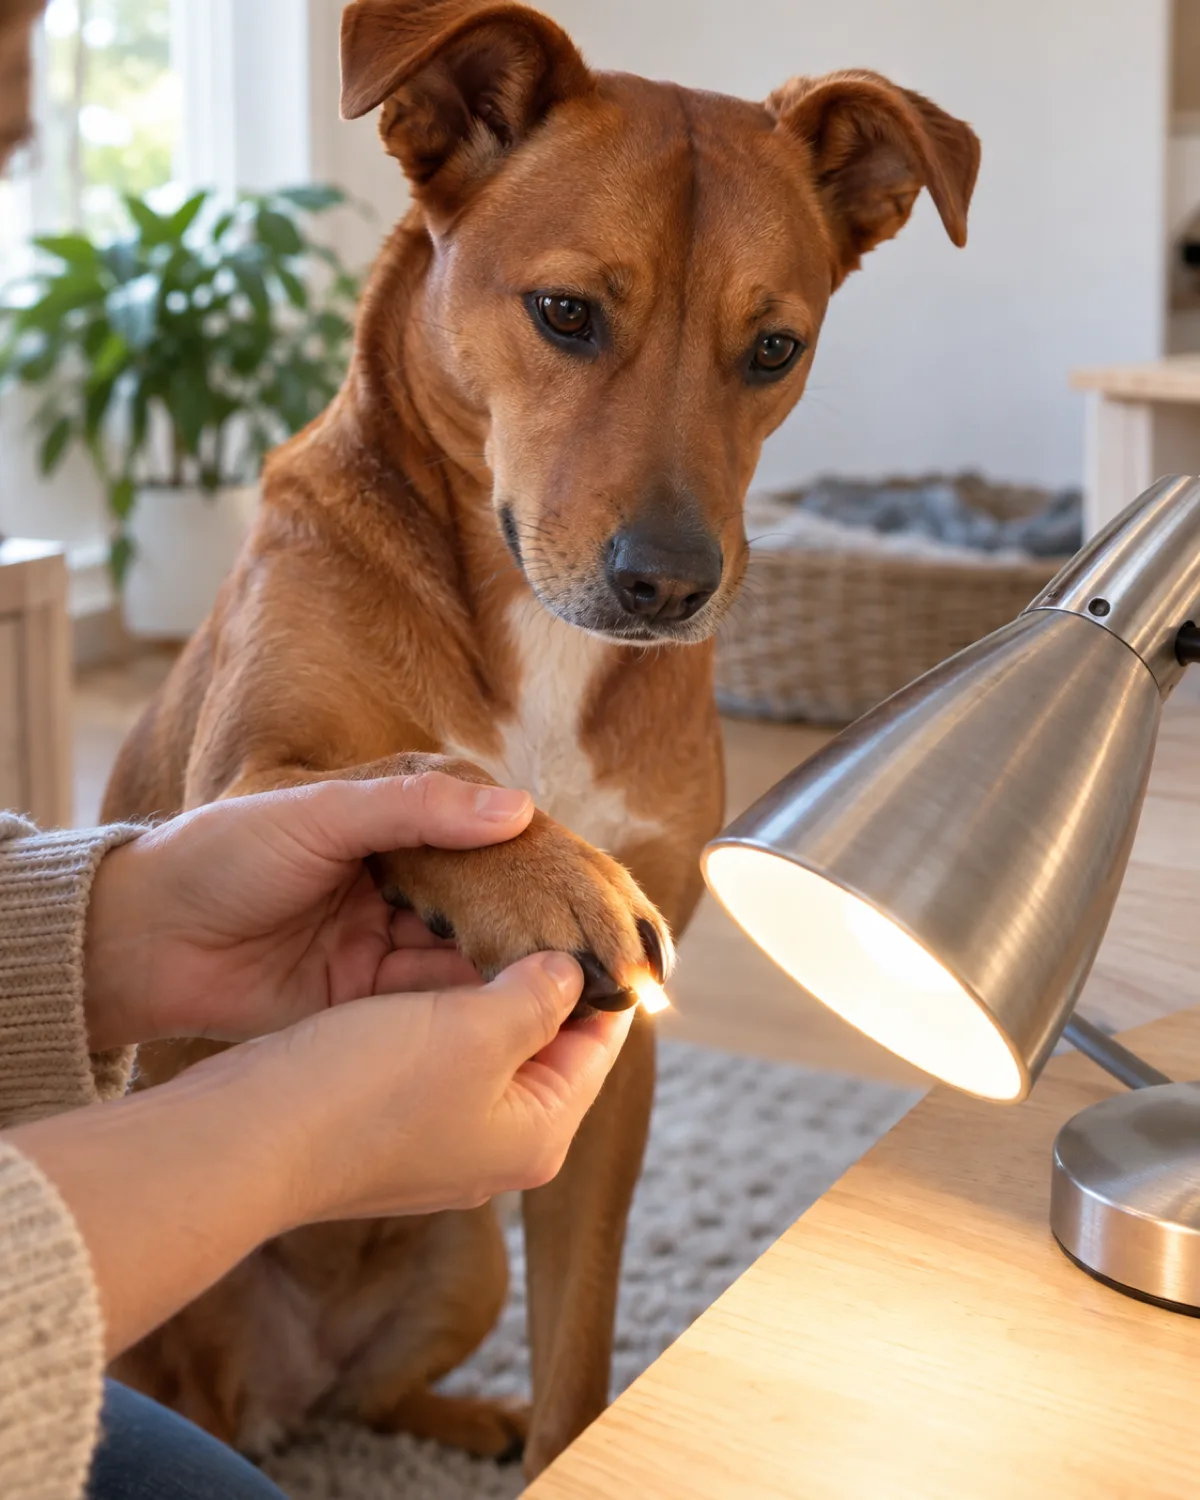
A bright overhead light plus a desk lamp: the overhead gives general visibility, and the desk lamp aimed at the paw from the side highlights the nail cross-section after each cut.
A well-lit window seat: natural sidelight during the day is excellent. Position the dog so the light hits the paw from the side, not from behind.
For dark nails, backlighting helps. Hold the nail up to a bright light source and you can sometimes see the faint shadow of the quick through the keratin. This does not work on every dog — some nails are too dense — but it is worth trying before you resort to the slice-and-check method.
Trimming in a dim hallway or on the couch in front of the television at night is asking for trouble. Move to a well-lit area. The extra thirty seconds of setup saves you a trip to the styptic powder jar.
Let Your Dog Choose the Position — Standing, Lying, or Lap
There is no single correct position for dog nail trimming. The correct position is whichever one your dog tolerates best.
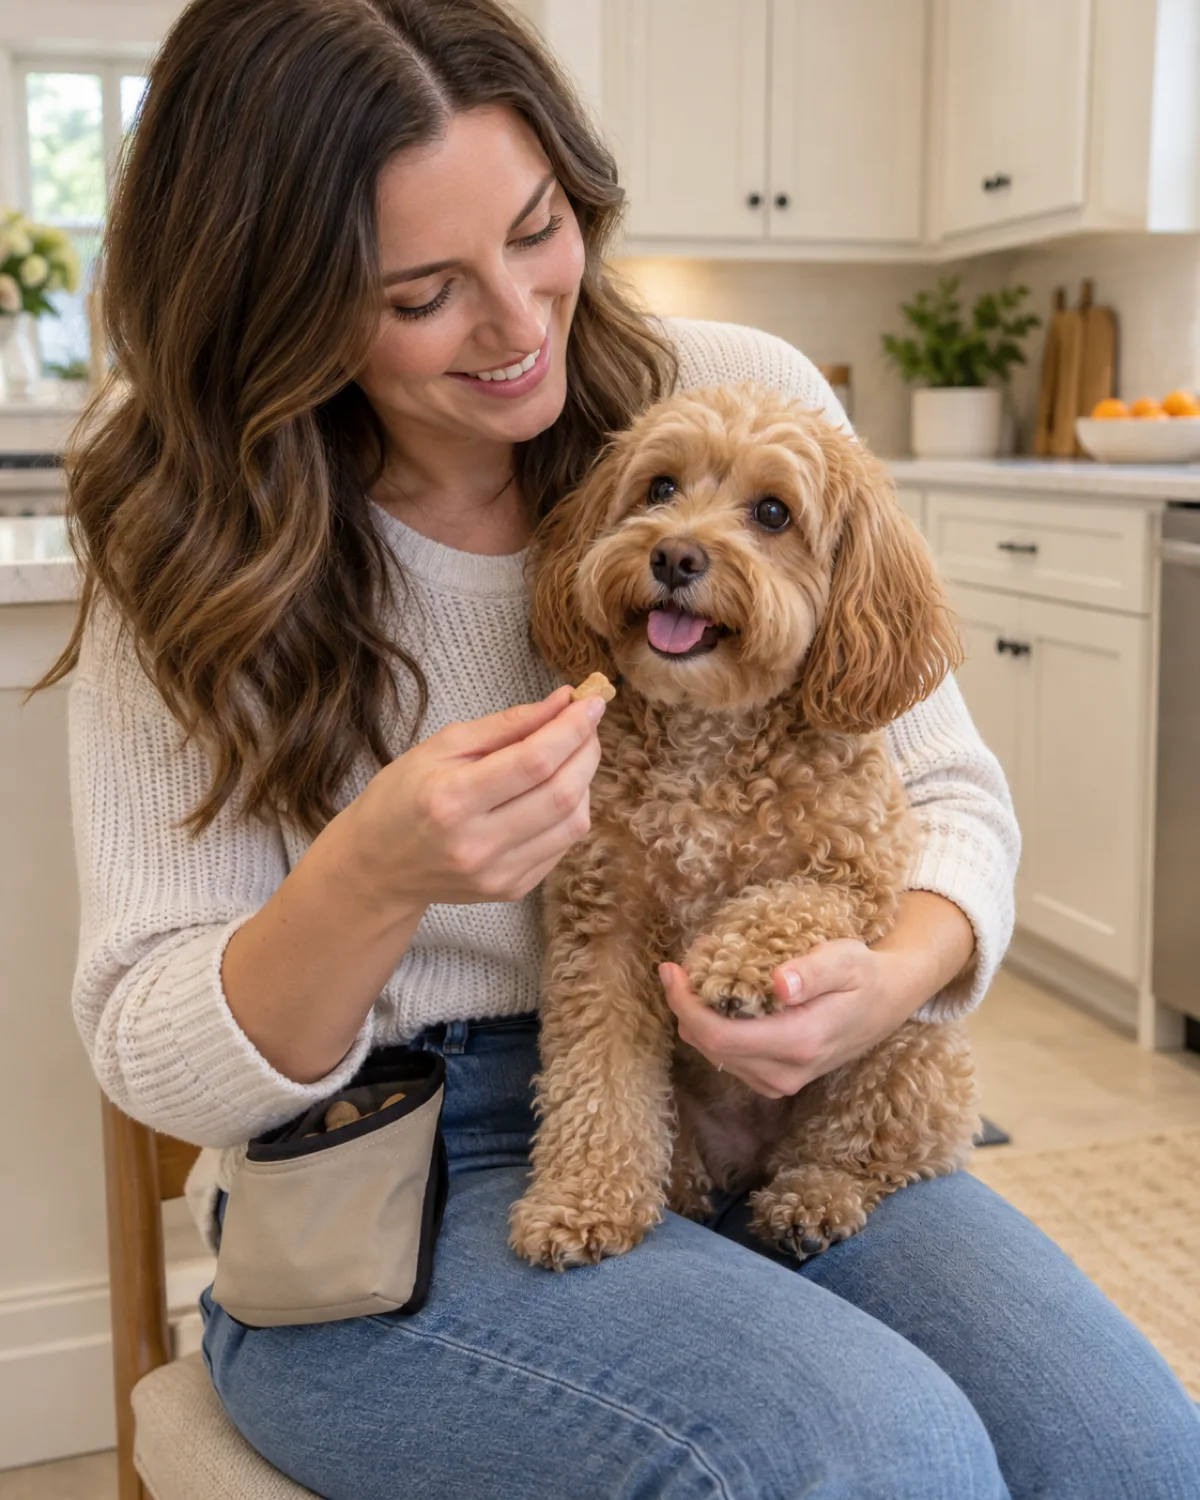
Small dogs: lap is usually easiest. The dog feels secure, you have good control of the paw, and the nail is at eye level.
Medium dogs: sitting or lying on the floor beside you. Some do well on a raised surface with a non-slip mat, which puts the nails at a comfortable working height.
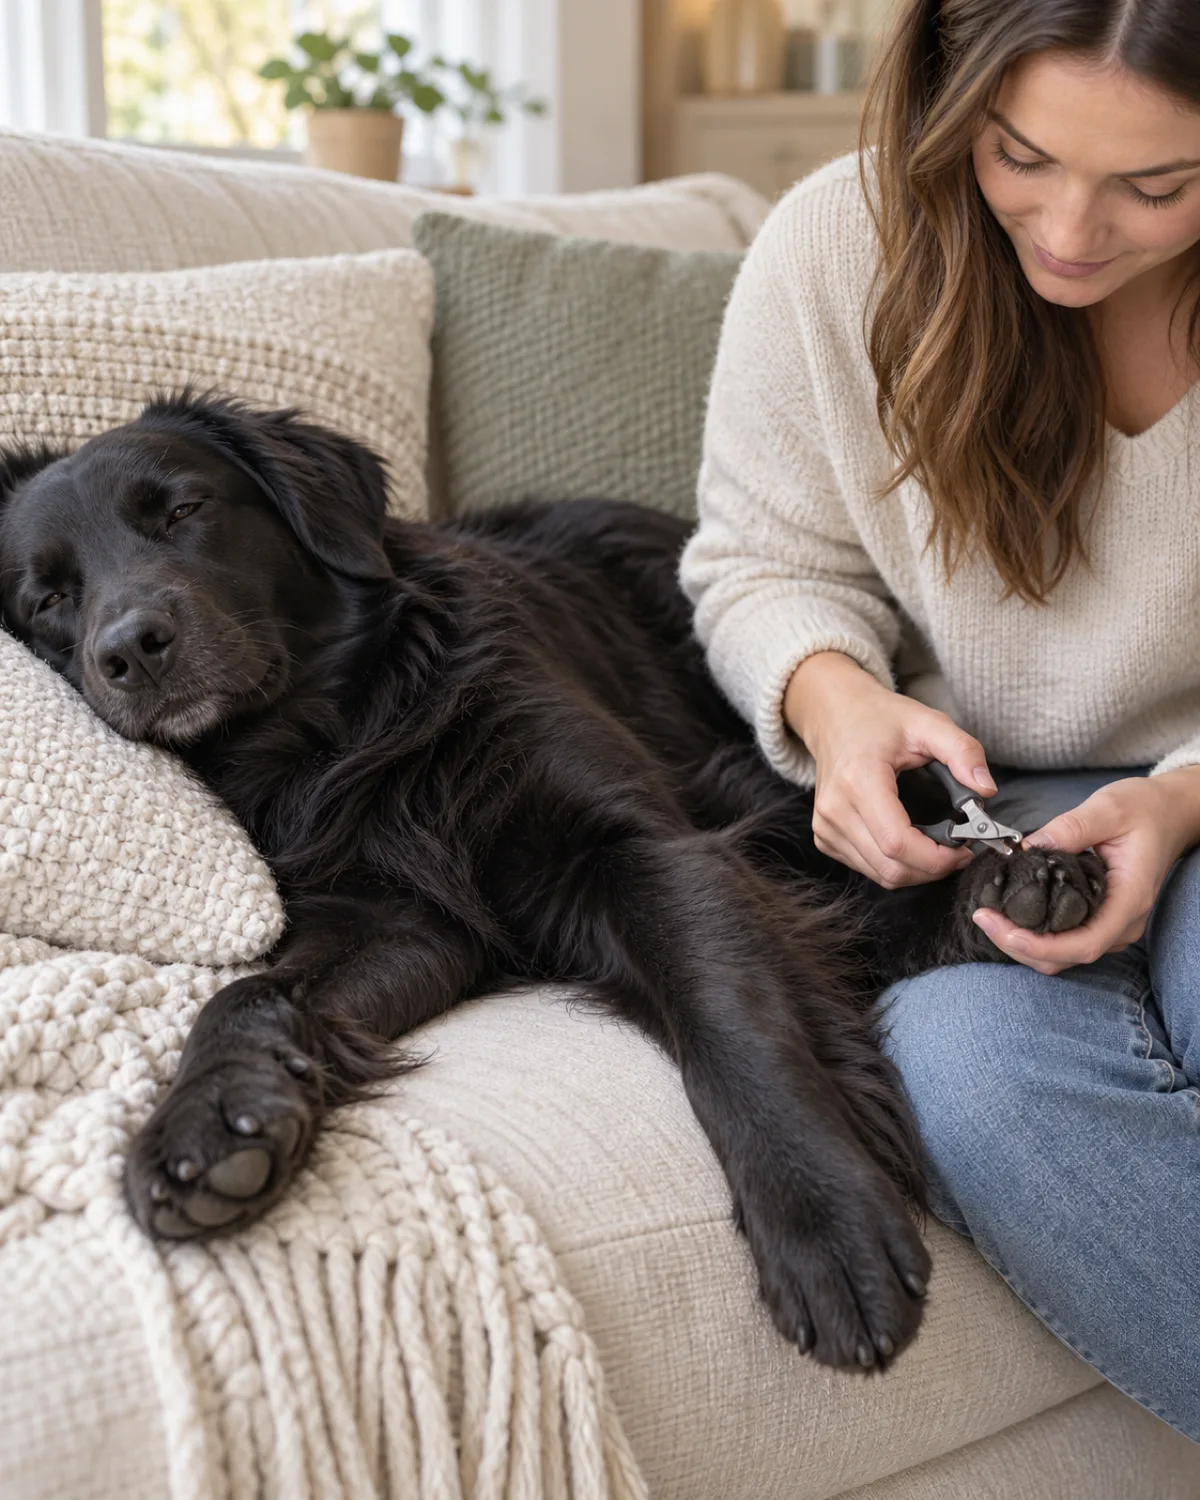
Large dogs: lying on their side on the floor or a large dog bed. Trying to hold a seventy-pound dog's paw while both of you are standing is awkward for everyone.
Back paws are easier to reach when the dog is lying on its side. The natural angle of a back paw in a standing position makes it hard to see the nail cross-section. Lying down opens the angle and gives you a clear view.
Let the dog settle into position before you start. If the dog shifts, let it move and resettle. Fighting the dog into a position it does not want to be in raises stress before you even pick up the trimmer, and elevated stress means a shorter session before the dog hits its threshold.
Pair Every Single Clip With a High-Value Treat
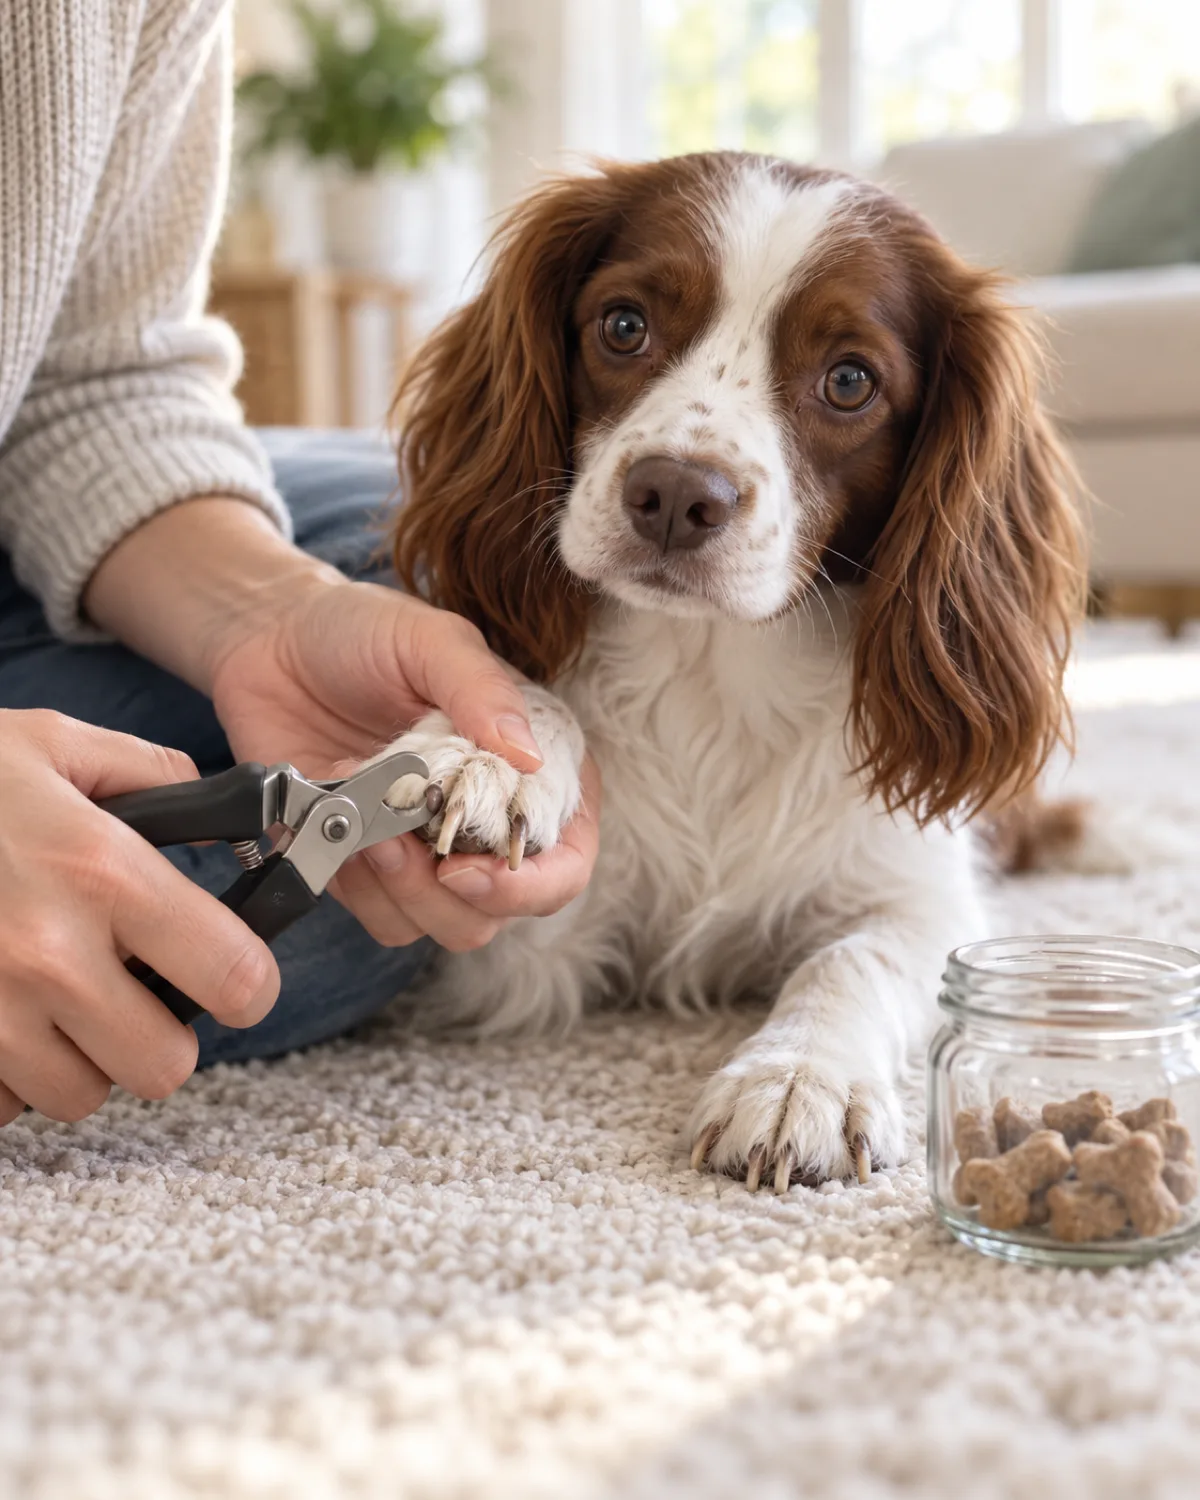
One clip, one treat. Not one paw, one treat. Not one session, one treat. Every single nail gets its own reward.
This is the fastest way to change a dog's emotional response to nail trimming. The dog learns that the clipper sound predicts something wonderful. Over time, the dog actually looks forward to the sound because it means food is coming.
What counts as high-value:
Tiny pieces of real meat: chicken, turkey, or freeze-dried liver. Something the dog does not get at any other time.
Squeeze tube treats: peanut butter or meat paste in a tube. The dog licks between clips, which keeps it occupied and calm.
A lick mat smeared with peanut butter: stuck to the floor or a surface near the dog. The dog licks the mat while you work on the paw. This is especially effective for dogs that cannot hold still long enough to take individual treats.
The treat must arrive within one second of the clip. Timing matters. If the treat comes five seconds later, the dog does not connect it to the clipper sound. Clip, treat, clip, treat — the rhythm becomes the routine.
The desensitization approach from brushing resistance training uses the same principle. Pair the scary thing with the good thing, consistently, and the scary thing stops being scary.
Handle Dewclaws Separately and Check Them Monthly
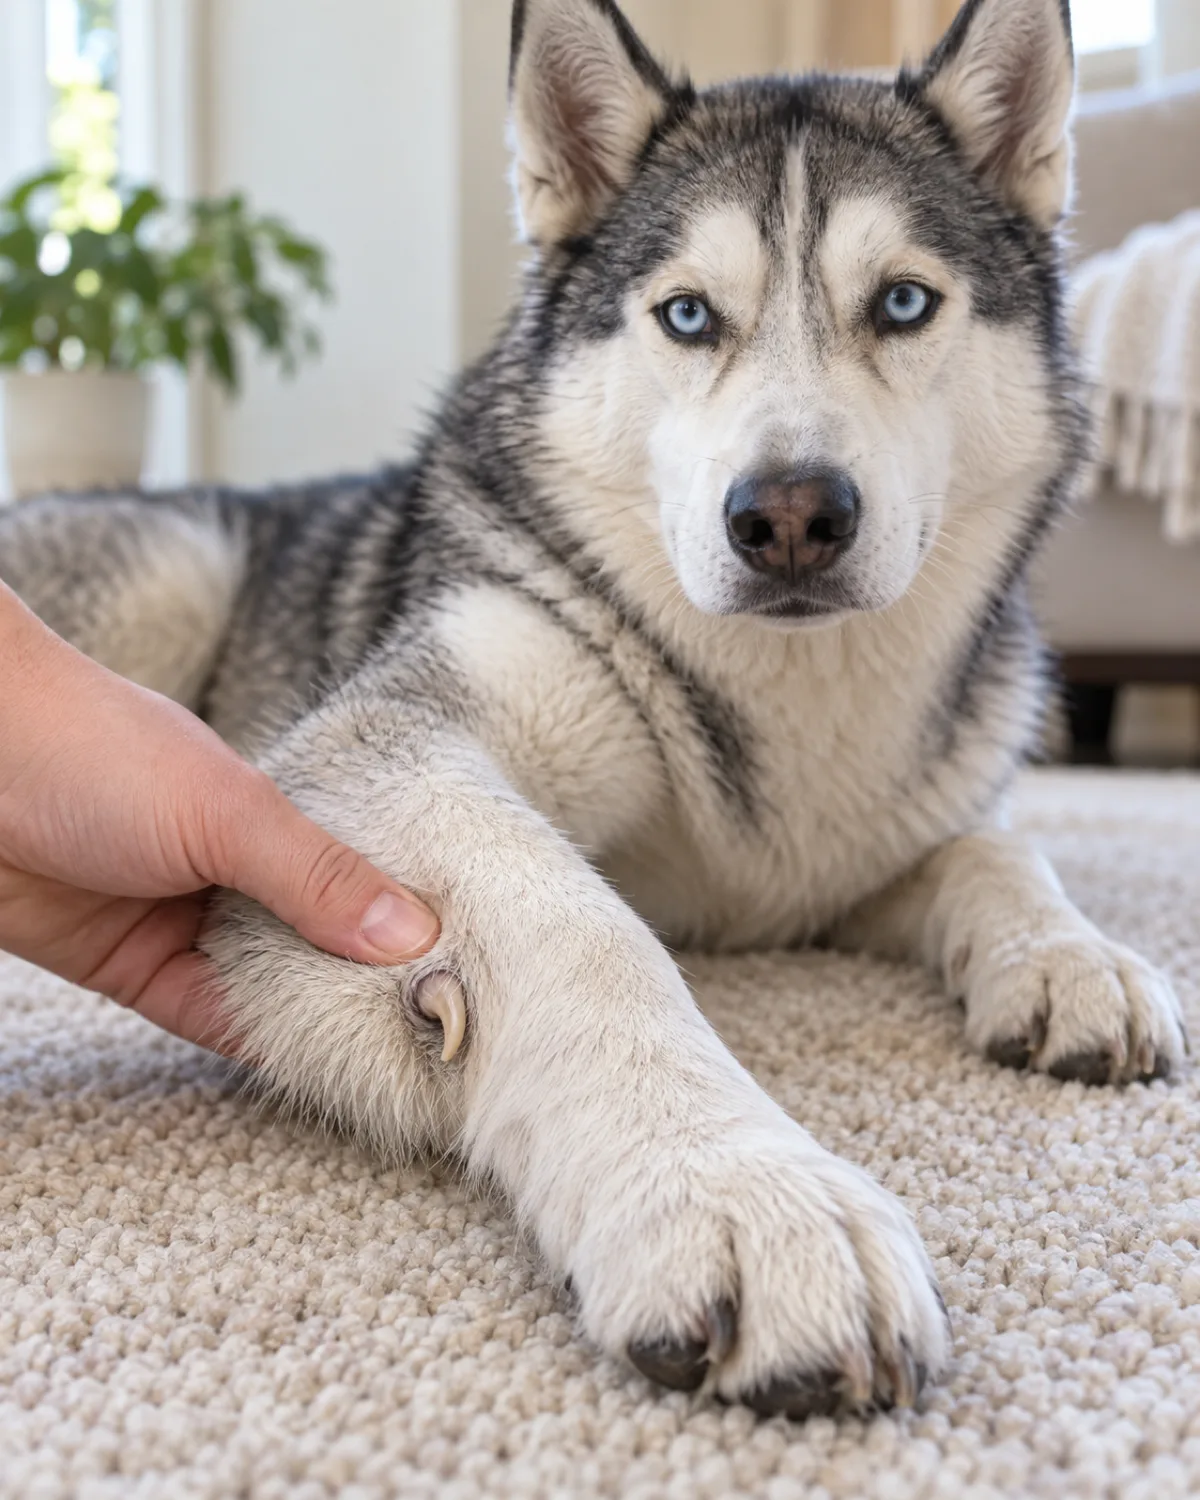
Dewclaws are the small nails on the inner side of the front legs, higher up than the regular nails. Most dogs have them on the front legs. Some dogs have them on the back legs too, and some have double dewclaws.
Because dewclaws do not touch the ground when the dog walks, they never wear down naturally. They grow in a continuous curve, and if left unchecked, they will curl around and grow into the pad. This is painful and often gets infected.
Three dewclaw rules:
Trim them on a separate day if your dog is already at threshold from the regular nails. Adding dewclaw handling to a full session can push the dog over the edge.
Check them monthly even if the regular nails are fine. Dewclaws grow at a different rate and are easy to forget because they are tucked up and out of sight.
Use a guillotine clipper for dewclaws regardless of what you use for the other nails. The small, precise cut of a guillotine is easier to control on a nail that sits at an awkward angle.
If a dewclaw has already started to curl, do not try to straighten it out by cutting a large piece. Trim a thin sliver off the curved tip to relieve the immediate pressure, then trim again in a week. The quick inside a curled dewclaw is often longer than expected because it has been growing unchecked.
Save this
14 Dog Nail Trimming Tips
1One Nail Per SessionStart slow. One nail, one treat, done for the day. Build up over weeks.
2Watch Stress SignalsWhale eye, lip licking, ear pinning. Any two at once means stop.
3Right TrimmerGuillotine for thin nails, scissor-style for thick, grinder for anxious dogs.
4Sharp BladeDull blades pinch and crack nails. Replace every three to four months.
5Find the QuickPink shadow on light nails, grey dot on dark nails. Stop when it appears.
645-Degree AngleCut from underneath at 45 degrees. Never flat across the top.
7Try a GrinderNo crunch sound, smooth edges, nearly impossible to hit the quick fast.
8Every Two WeeksRegular trims push the quick back and make each session easier.
9Styptic Powder ReadyWithin arm's reach before you start. Cornstarch works as backup.
10Good LightingBright overhead plus desk lamp from the side. Never guess the quick.
11Dog Picks PositionStanding, lying, or lap. The right position is whichever the dog tolerates best.
12Treat Every ClipOne nail, one high-value treat. Within one second of the cut.
13Dewclaws MonthlyThey never touch the ground. Unchecked, they curl into the pad.
14Know When to StopStruggling dog, curled nails, or black nails you cannot read. Call a groomer.
pawliqa.com
Know When to Stop and Book a Professional Groomer
Some nail situations are beyond home trimming, and recognizing that boundary is a sign of good judgment, not failure.
Book a professional groomer or ask your vet to handle the nails when:
The dog becomes genuinely aggressive during nail trims despite weeks of patient desensitization. Some dogs need a professional who has handled hundreds of anxious dogs and knows how to manage the situation safely.
The nails are severely overgrown and curling. The quick is likely extended deep into the nail, and one wrong cut can cause significant bleeding. A groomer or vet can sedate if needed and trim in controlled increments over several visits.
You cannot see the quick on dark nails even under good light, and you have nicked the quick more than once in recent sessions. A groomer has the experience and the tools to handle dark nails confidently.
The dog has a dewclaw growing into the pad. This needs professional attention, often with a vet, to remove the embedded portion without damaging the tissue.
A groomer visit every six to eight weeks is also a reasonable maintenance strategy for owners who want to handle most grooming at home but leave the nails to a professional. It is not expensive, and it removes the single most stressful part of home grooming from your routine.
There is no rule that says you have to do everything yourself. The goal is short, healthy nails and a dog that is not afraid of having its paws touched. However you get there counts.
Frequently Asked Questions About Dog Nail Trimming
How short should I cut my dog's nails?
Short enough that they do not click on hard flooring when the dog walks at a normal pace. For most dogs, that means trimming to about two millimeters past the quick on light nails, or just before the dark grey dot appears on dark nails. The nail tip should not extend past the bottom of the paw pad when viewed from the side.
What happens if I accidentally cut the quick?
The nail will bleed and the dog will likely pull away. Stay calm, press styptic powder or cornstarch firmly against the bleeding tip for ten seconds, and hold. The bleeding should stop within thirty seconds. Give the dog a treat and end the session. One nick does not ruin future sessions as long as you stay calm and do not force the dog to continue while it is stressed.
Can I use human nail clippers on my dog?
Human nail clippers are not designed for the rounded, tubular shape of dog nails. They tend to crush the nail rather than cut it cleanly, which causes splitting and discomfort. Use dog-specific clippers or a grinder. The only exception is very small puppies with soft, thin nails, where a human clipper can work for the first few weeks of life.
How do I get my dog to stop pulling away during nail trims?
Paw pulling is a stress signal, not defiance. Go back to the desensitization steps: touch the paw and treat, rest the closed clipper against the nail and treat, clip one nail and treat. Build tolerance gradually over days, not minutes. If the dog pulls consistently after several weeks of patient work, try a different position, a different tool, or a professional groomer.
Is a nail grinder better than clippers?
Neither is objectively better. Grinders are slower but produce smooth edges and are nearly impossible to quick the dog in one pass. Clippers are faster and quieter but require more precision. The better tool is whichever one your dog tolerates with less stress. Some dogs prefer one, some prefer the other, and some are fine with both.
Written by
Jess Calloway
Dog mom to three very different dogs and the voice behind Pawliqa. Jess writes about the messy, rewarding reality of life with dogs — from the training wins to the chewed-up couch cushions. Every tip here has been tested on at least one reluctant patient.
Fifteen dog paw care tips covering pad checks, nail length, moisturizing, hot pavement tests, winter balm, cracked pad first aid, and seasonal routines.