The first time I tried to trim my dog at home, I ended up with a lopsided patch on one hip and a dog who refused to come near the bathroom for a week. The clippers were too loud, the coat was still tangled, and I had no plan for where to start.
Most home haircuts go sideways not because the owner lacks skill, but because the setup was wrong before the first snip. The right tools, the right order, and a calm dog make the difference between a decent trim and a stressful mess.
Here is how to do it without traumatizing either of you, and how to know when the smarter move is to hand it over to a professional.
Jump to a section
How to give your dog a haircut at home
The tools, the order, and the areas to treat carefully or skip entirely.
1. Why Most Home Haircuts Go Wrong Before the First Snip
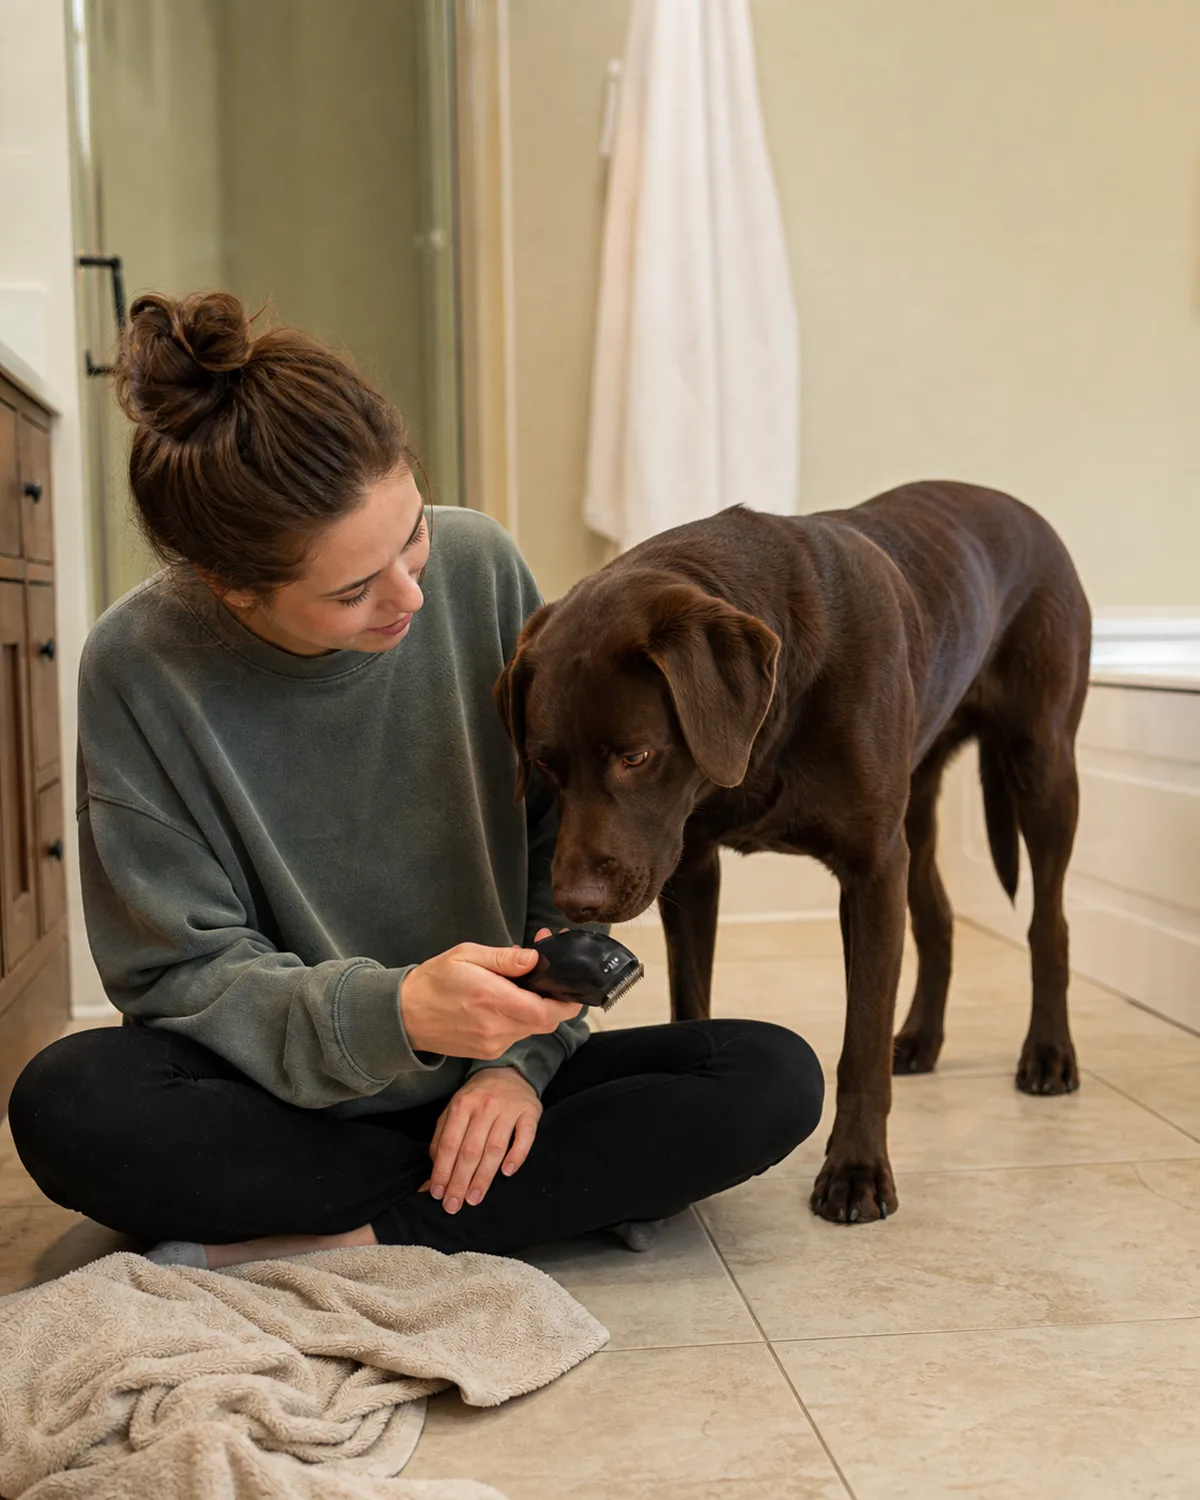
The top reason home trims turn into disasters is starting too soon. The coat is still tangled, the dog has never heard clippers before, the fur is damp from a bath that just happened, or the person holding the clippers has no plan for which area to tackle first.
Any one of those is enough to turn a twenty-minute session into a fight. All four together, which is how most people attempt their first home haircut, almost guarantee a bad experience for both sides.
A good home trim starts with groundwork that happens hours or even days before the clippers come out: a thorough brushing session, a calm introduction to the tools, a fully dried coat, and a mental map of where you will cut and where you will leave alone.
2. The Tools You Actually Need (and the Ones You Can Skip)
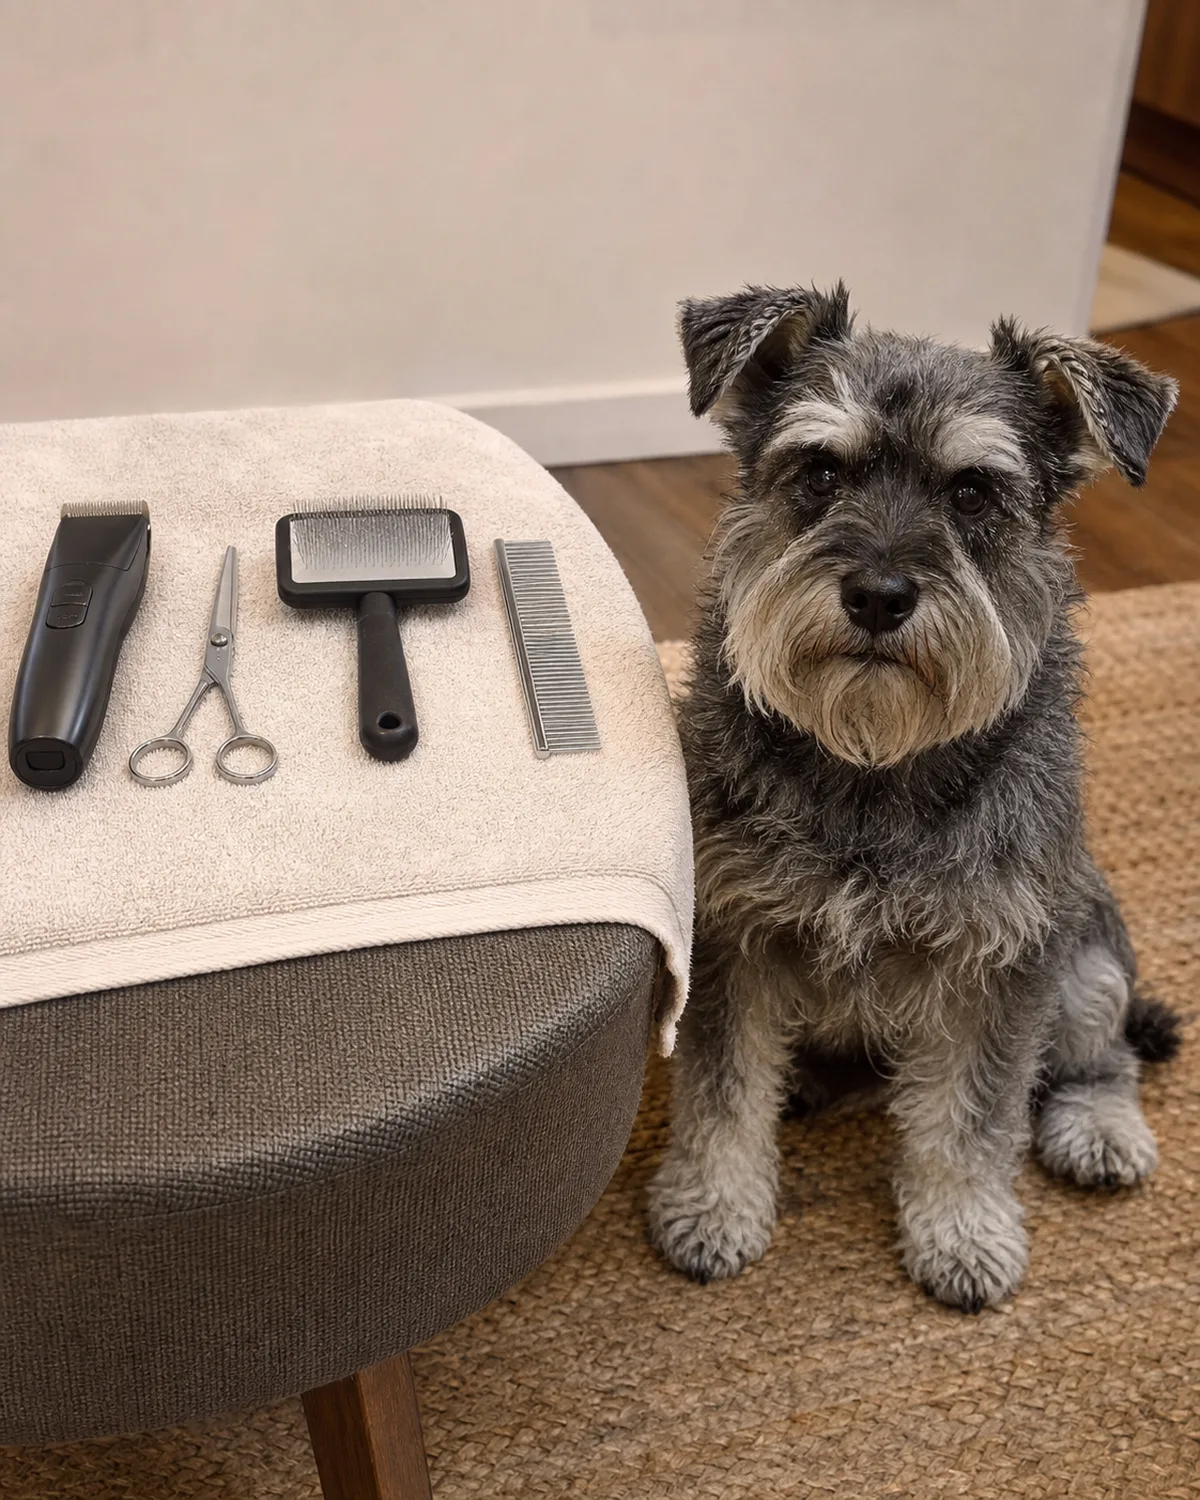
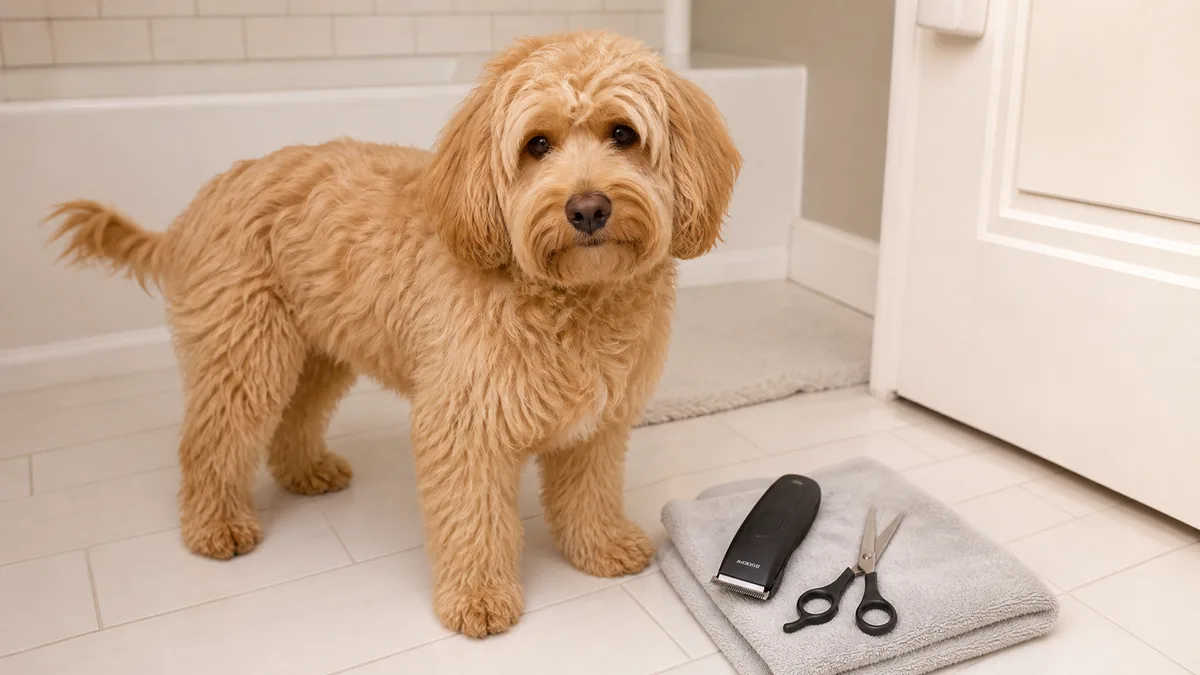
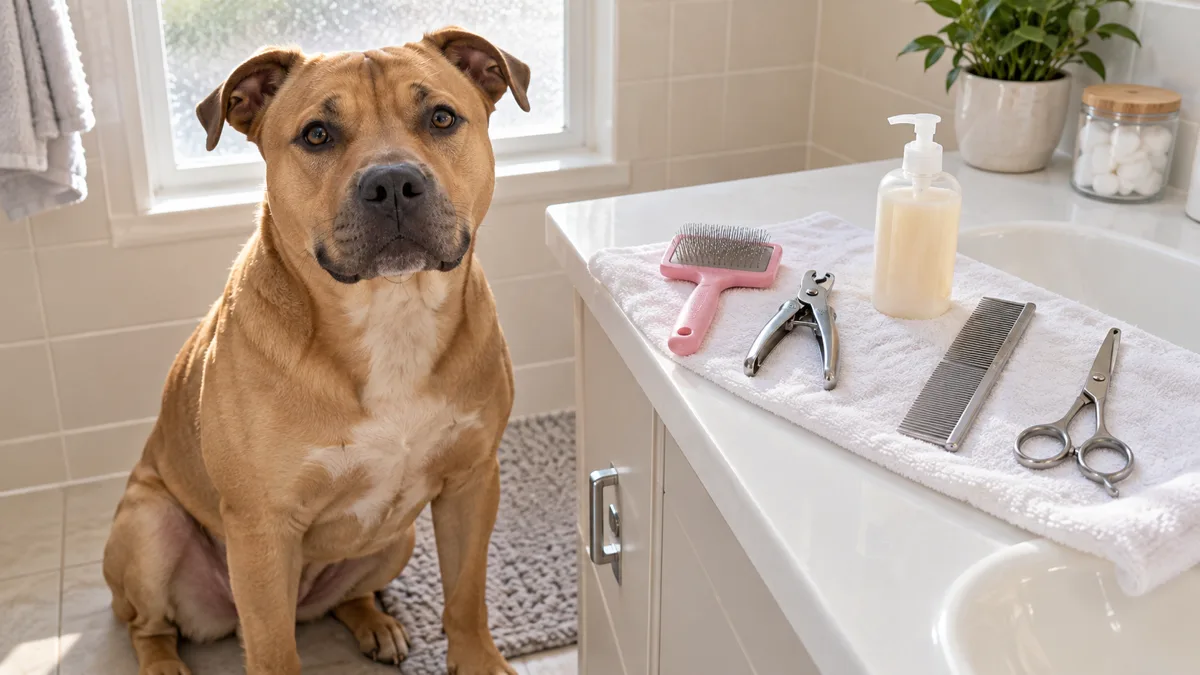
You need four things: a quiet clipper with a guard comb set, a pair of blunt-tip safety shears, a slicker brush, and a metal comb. That is the entire kit for a basic home maintenance trim.
You do not need a professional grooming table, a forced-air dryer, thinning shears, or a dozen blade sizes. Those tools exist for a reason, but that reason is breed-standard show grooming, not keeping your dog comfortable between professional appointments.
A full bath and blow-dry should happen before any trimming session. Clean, completely dry fur cuts evenly, while damp or dirty fur clumps, pulls, and dulls clipper blades fast.
Which coat type are you working with
Match your coat to the right approach
Not every coat needs the same tools or the same amount of trimming.
Short / smooth coatMinimal trimmingThese coats rarely need clippers at all. Occasional sanitary trims with safety shears and regular brushing keep things tidy.
Medium / wavy / wiry coatHome maintenance trimThe sweet spot for at-home work. A clipper with a guard comb and safety shears handle the body, legs, and face.
Long / curly / double coatBasics at home, shaping by a proYou can do sanitary trims and basic body maintenance. Full-body shaping and breed clips belong with a professional groomer.
Not sure which category your dog falls into? Run a metal comb through the coat. If it glides through with no resistance, you are likely in the short-coat group. If it catches or slows, move up a tier.
3. Getting Your Dog Used to the Sound and Feel of Clippers
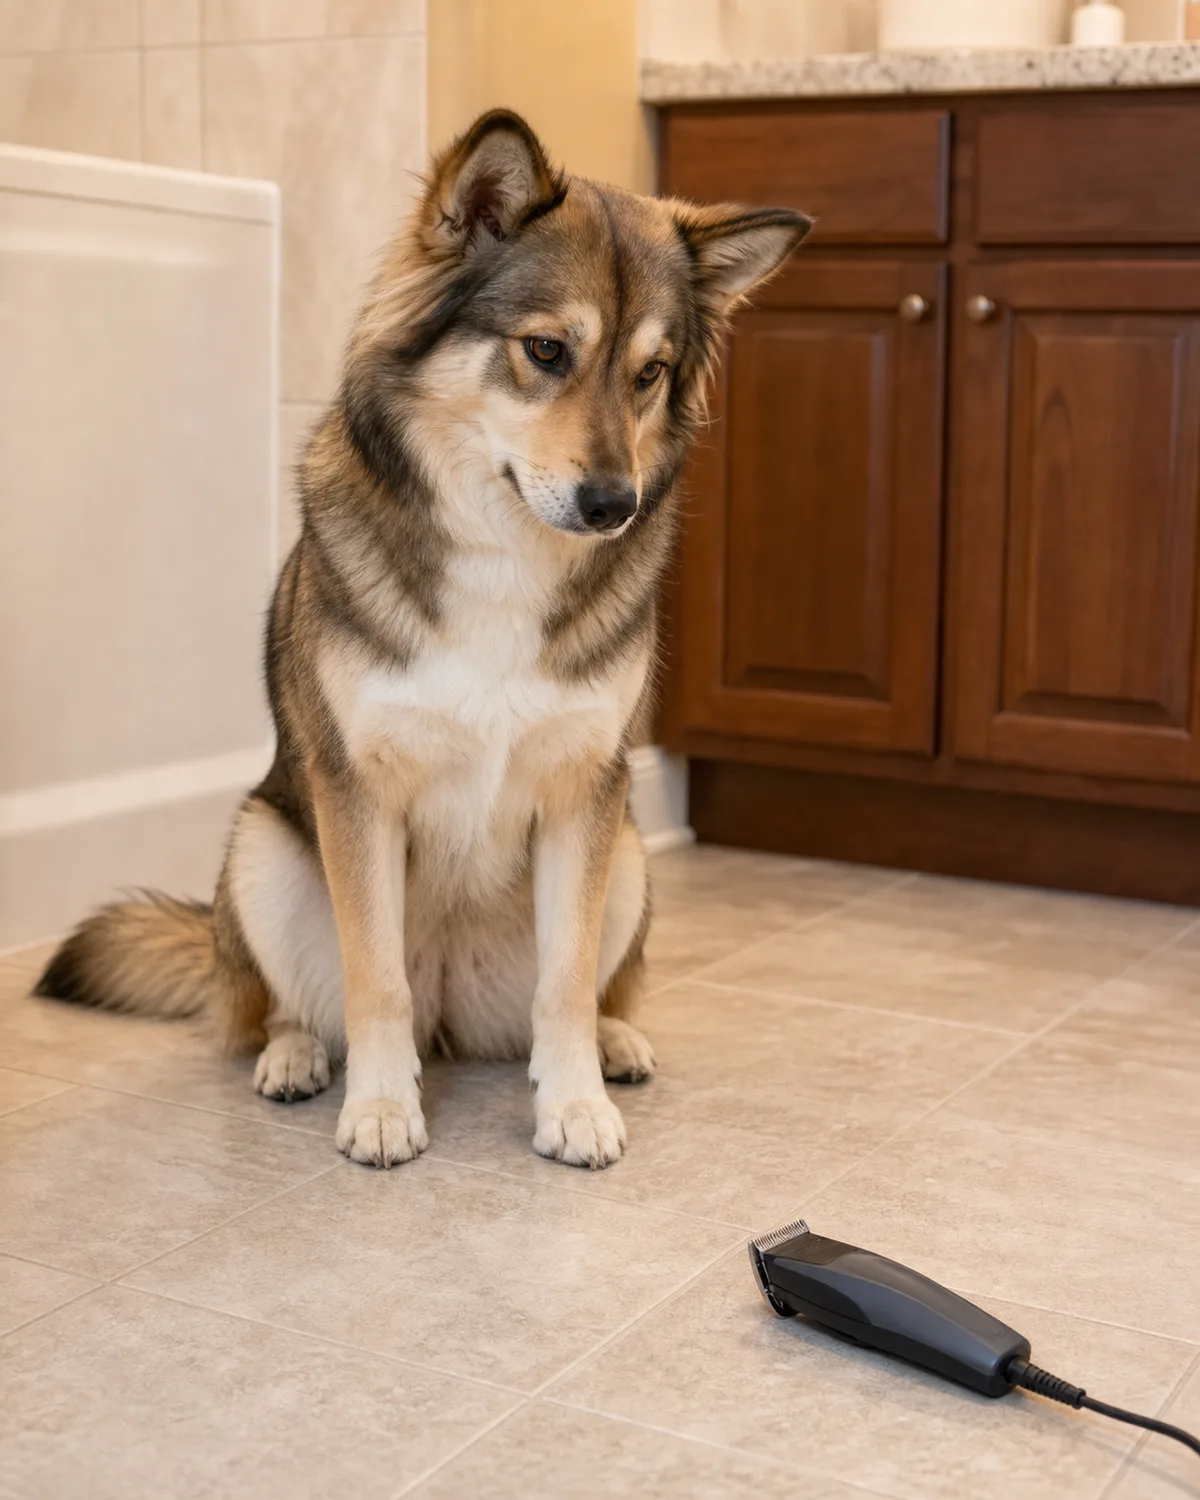
Clippers buzz, vibrate, and get warm. A dog who has never encountered any of those sensations will not sit still for them, and forcing the issue creates a lifelong grooming problem that costs far more time than a few days of desensitization.
Start with the clippers turned off. Let your dog sniff them, then rest them against the body without any motor running. Treat generously. The next session, turn the clippers on and set them on the floor nearby while your dog eats a meal or chews a long-lasting treat. No contact yet, just the sound paired with something good.
The same gradual exposure that works for getting a reluctant dog to accept brushing applies here, with one extra variable: noise. A dog who tolerates the brush beautifully may still panic at a buzzing motor held against the skin, so treat them as two separate skills to build.
4. Brush First, Always — Why You Never Cut Into a Tangled Coat
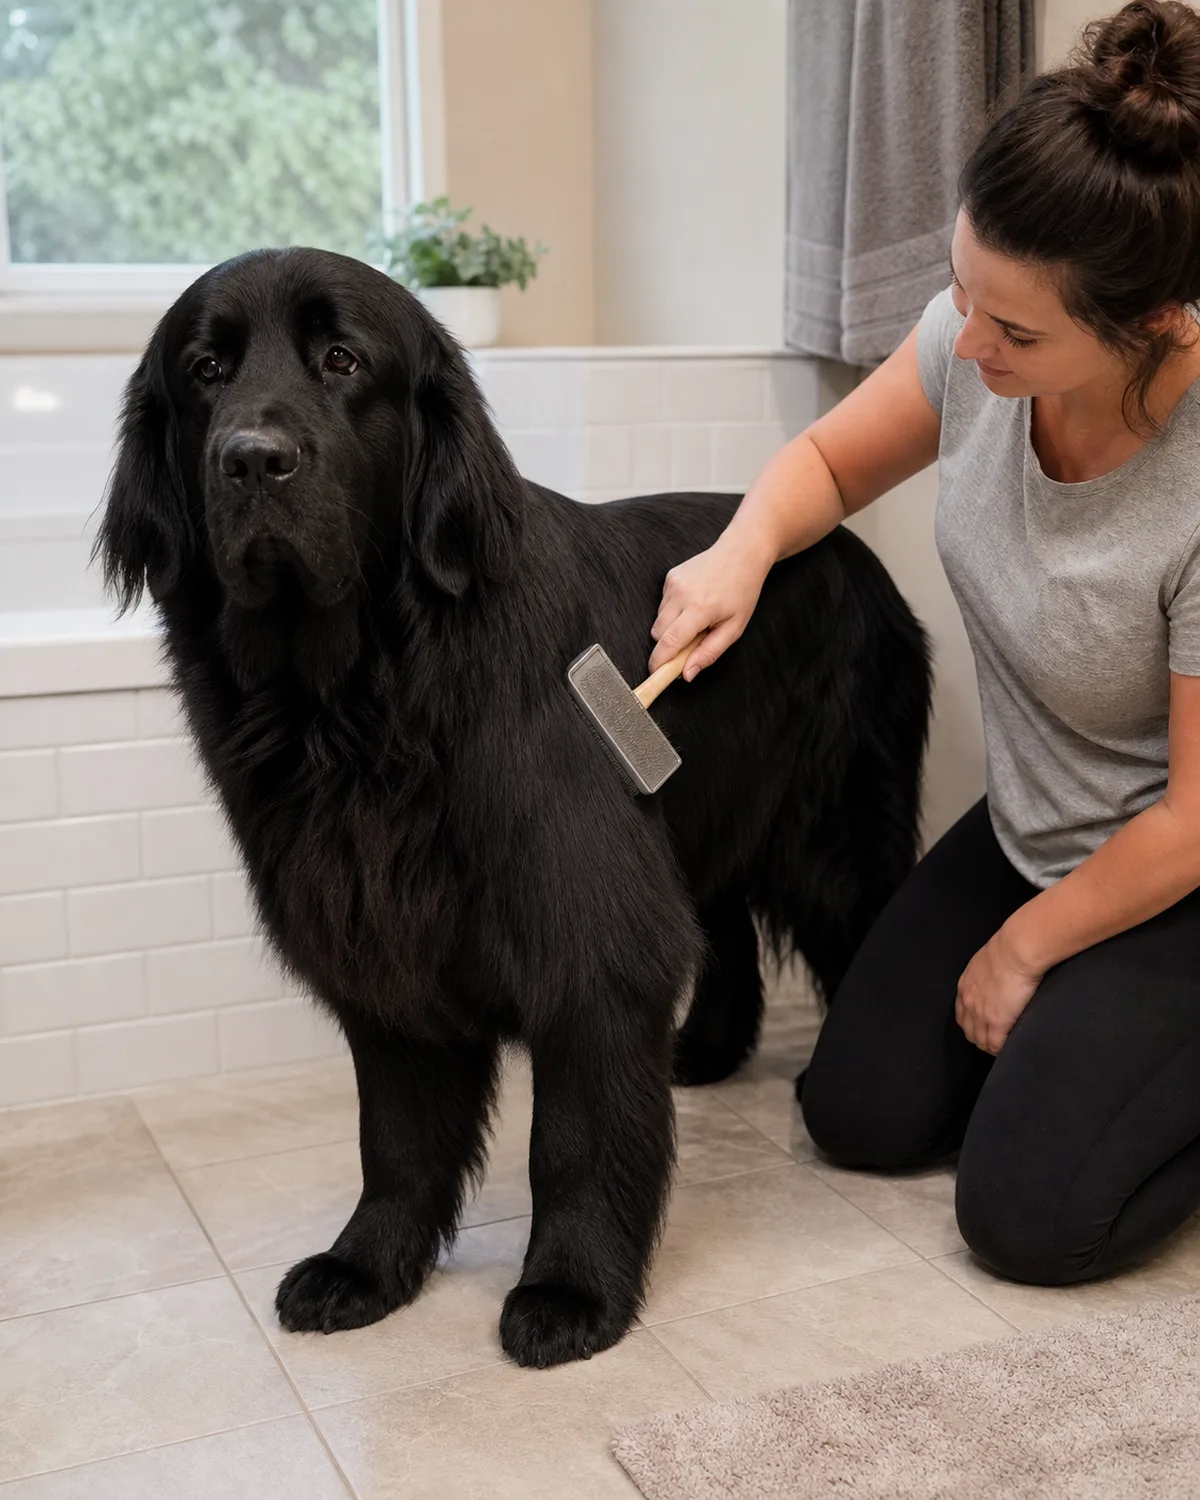
Running clippers through a matted coat pulls the tangled fur against the skin, which hurts. It also produces an uneven cut because the blade skips over dense clumps and cuts too close everywhere else.
Every single home trim session starts with a thorough brush-out from root to tip, checking for mats behind the ears, under the armpits, around the collar line, and along the back legs. If a mat is too tight to brush out, it needs to be carefully isolated and removed with blunt-tip shears before any clipper work begins.
Skipping this step is the single most common cause of a painful or uneven home haircut, and the fix is always the same: slow down, brush everything first, then pick up the clippers only when the comb slides through every section without catching.
5. Where to Start: The Safe Zones That Build Confidence
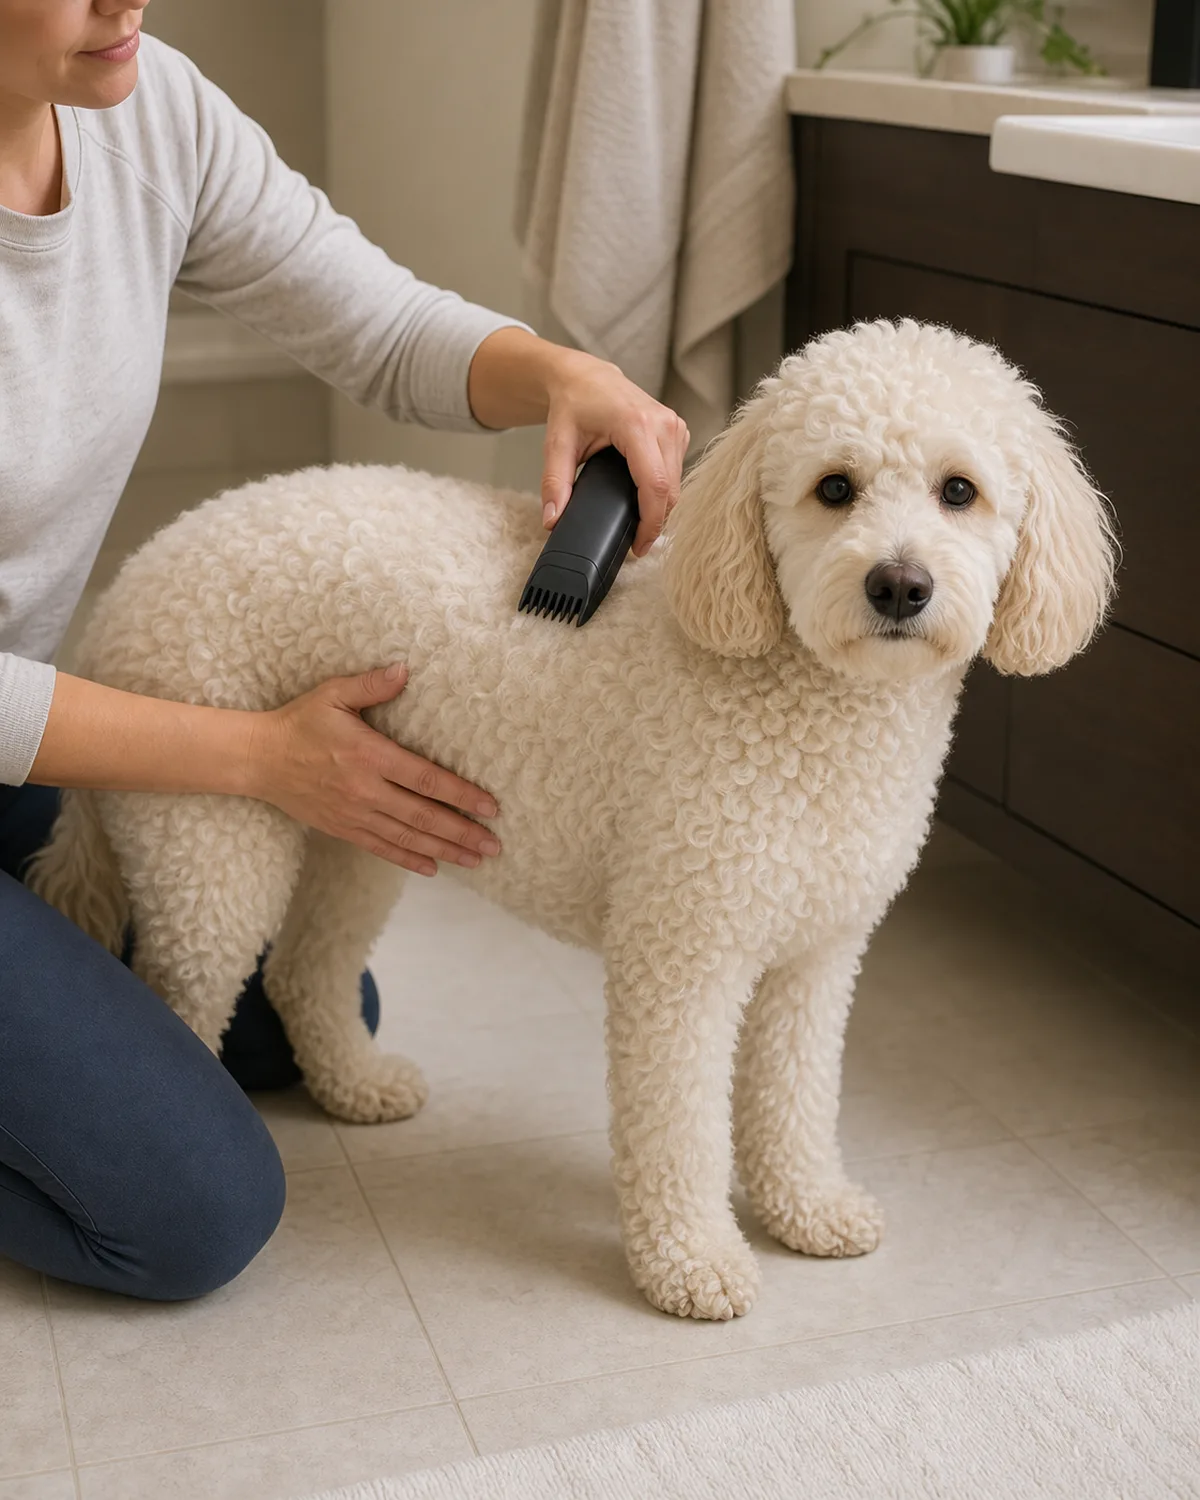
Start on the back and sides, the large flat areas where the skin sits smoothly over muscle and the dog is least sensitive. These zones are forgiving because the surface is even, there are no folds or tight curves, and any small inconsistency in clipper angle blends naturally into the surrounding coat.
Save the face, ears, legs, paws, and underbelly for later or for a separate session entirely. Starting with a tricky area when neither you nor your dog has warmed up is a setup for a bad reaction that poisons the rest of the trim.
Building confidence on the easy zones first means that by the time you reach the harder spots, both of you have settled into a rhythm and the dog has already been rewarded several times for holding still.
6. How to Use Clippers Without Nicking the Skin
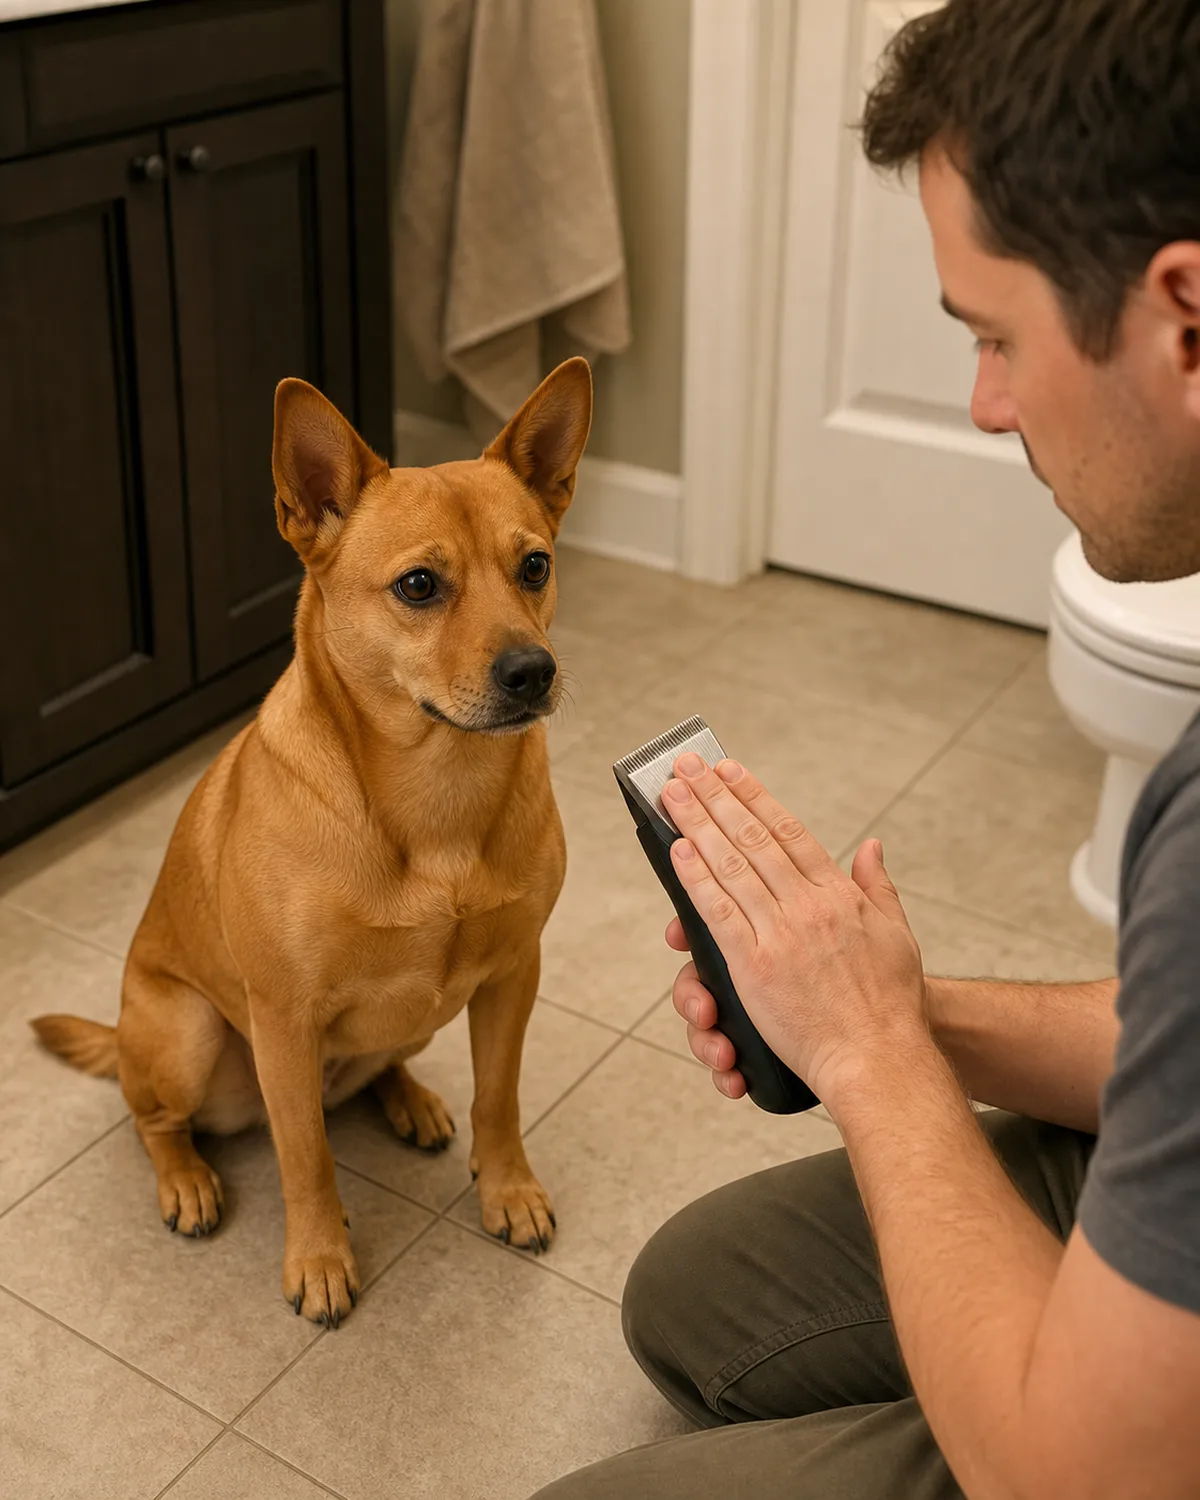
Three rules prevent most clipper injuries: move in the direction the fur grows, keep the blade flat against the coat instead of angling the edge into the skin, and never press down.
The clipper does the cutting. Your job is to guide it along the surface at a consistent, slow pace. Pressing harder does not cut closer; it pushes the blade edge into uneven skin folds and increases the chance of a nick.
Every ten minutes or so, stop and press the back of your hand against the blade. If it feels more than slightly warm, switch it off and let it cool, or spray clipper coolant if you have it. A hot blade against thin skin, especially on the belly or inner thighs, will burn before either of you notices.
The home haircut do’s and don’ts
Safety lines for every trim session
Most nicks, uneven patches, and grooming anxiety trace back to one of these.
Always Do
- Brush the entire coat through before picking up clippers.
- Move clippers in the direction the fur grows, blade flat.
- Check blade temperature with the back of your hand every ten minutes.
- Use blunt-tip safety shears for face, paws, and sanitary areas.
- Give treats throughout the session, not just at the end.
- Stop and take a break the moment your dog tenses or pulls away.
- Make sure the coat is fully dry before any clipper work.
Never Don’t
- Never cut into wet or damp fur.
- Never press the clipper blade down into the skin.
- Never angle the clipper edge against the body.
- Never hold a struggling dog down and keep cutting.
- Never use regular household scissors near the face or paws.
- Never attempt to cut too short in one pass.
- Never skip the brush-out because the coat looks fine on the surface.
7. Trimming Around the Face, Ears, and Eyes — the Tricky Parts
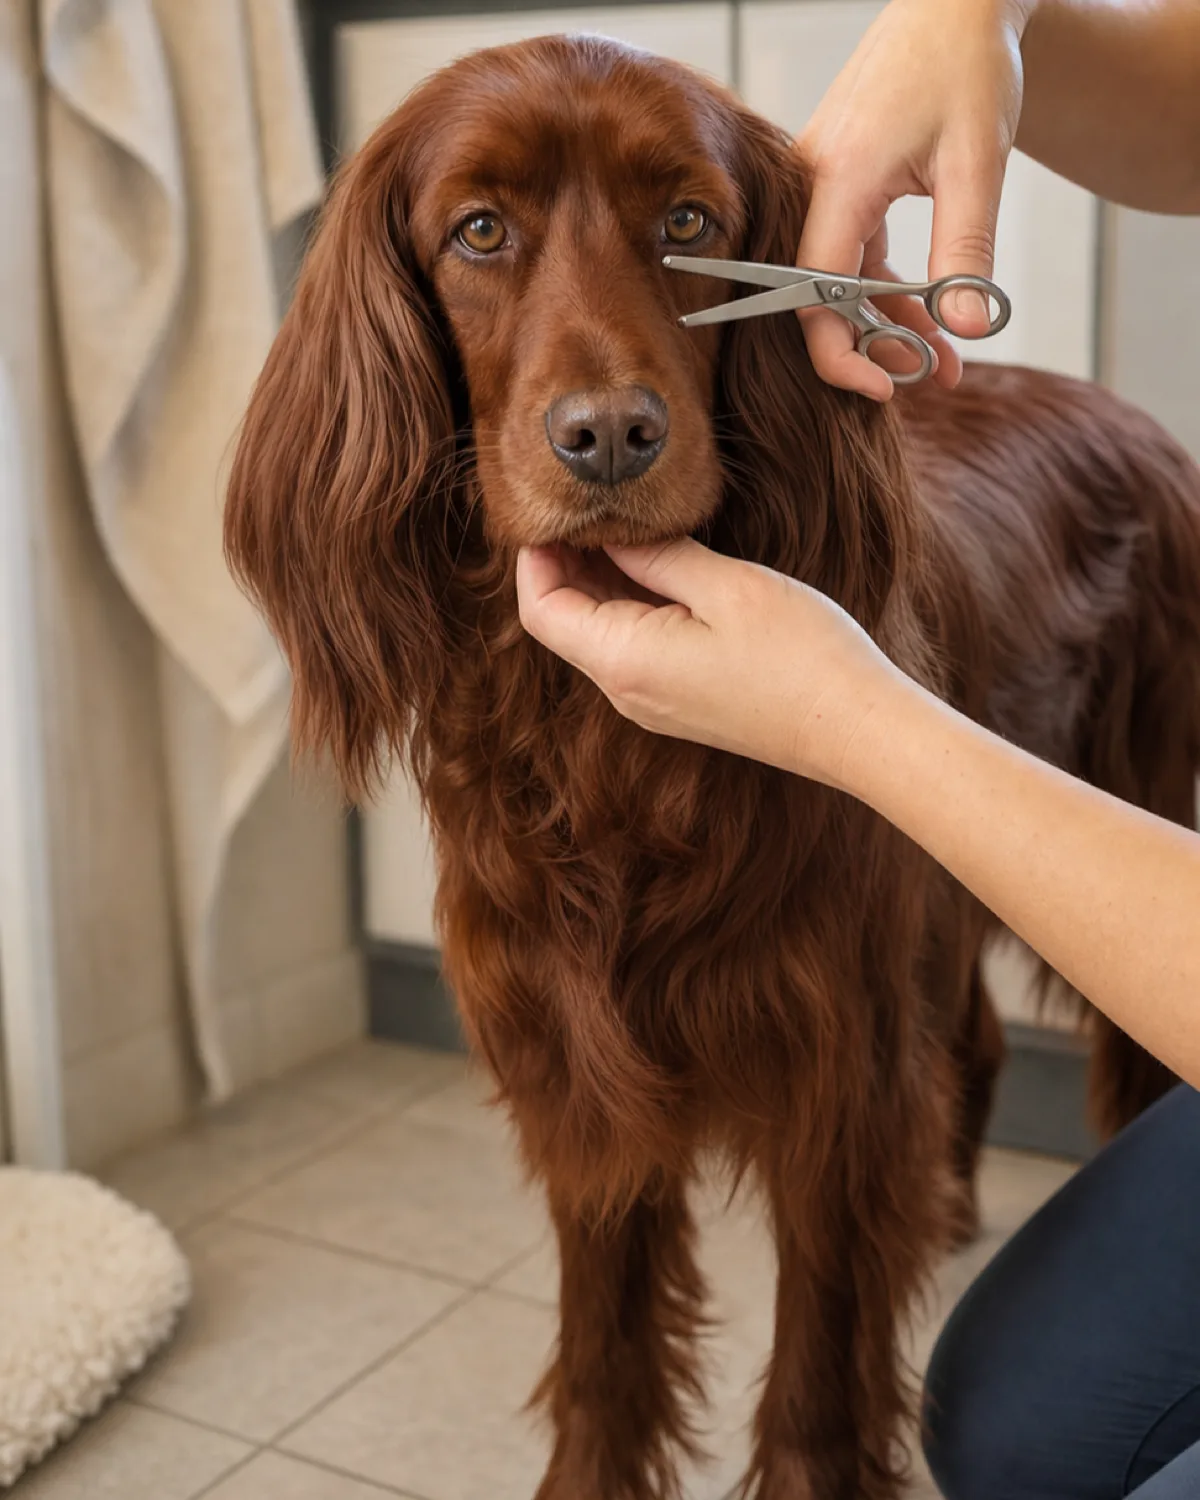
Switch from clippers to blunt-tip safety shears for everything around the face. The rounded tips mean a sudden head turn does not end with a poked eye or a nicked ear flap.
Hold a small section of fur between two fingers, slide the shears along your fingers, and cut only what extends past them. Less is always better here. You can trim more tomorrow, but you cannot put fur back.
The goal around the eyes is visibility, not style: trim just enough so the dog can see clearly without hair falling into the line of sight. Ear edges need only stray wisps tidied, not a sculpted shape.
8. Legs, Paws, and Sanitary Areas — Go Slow
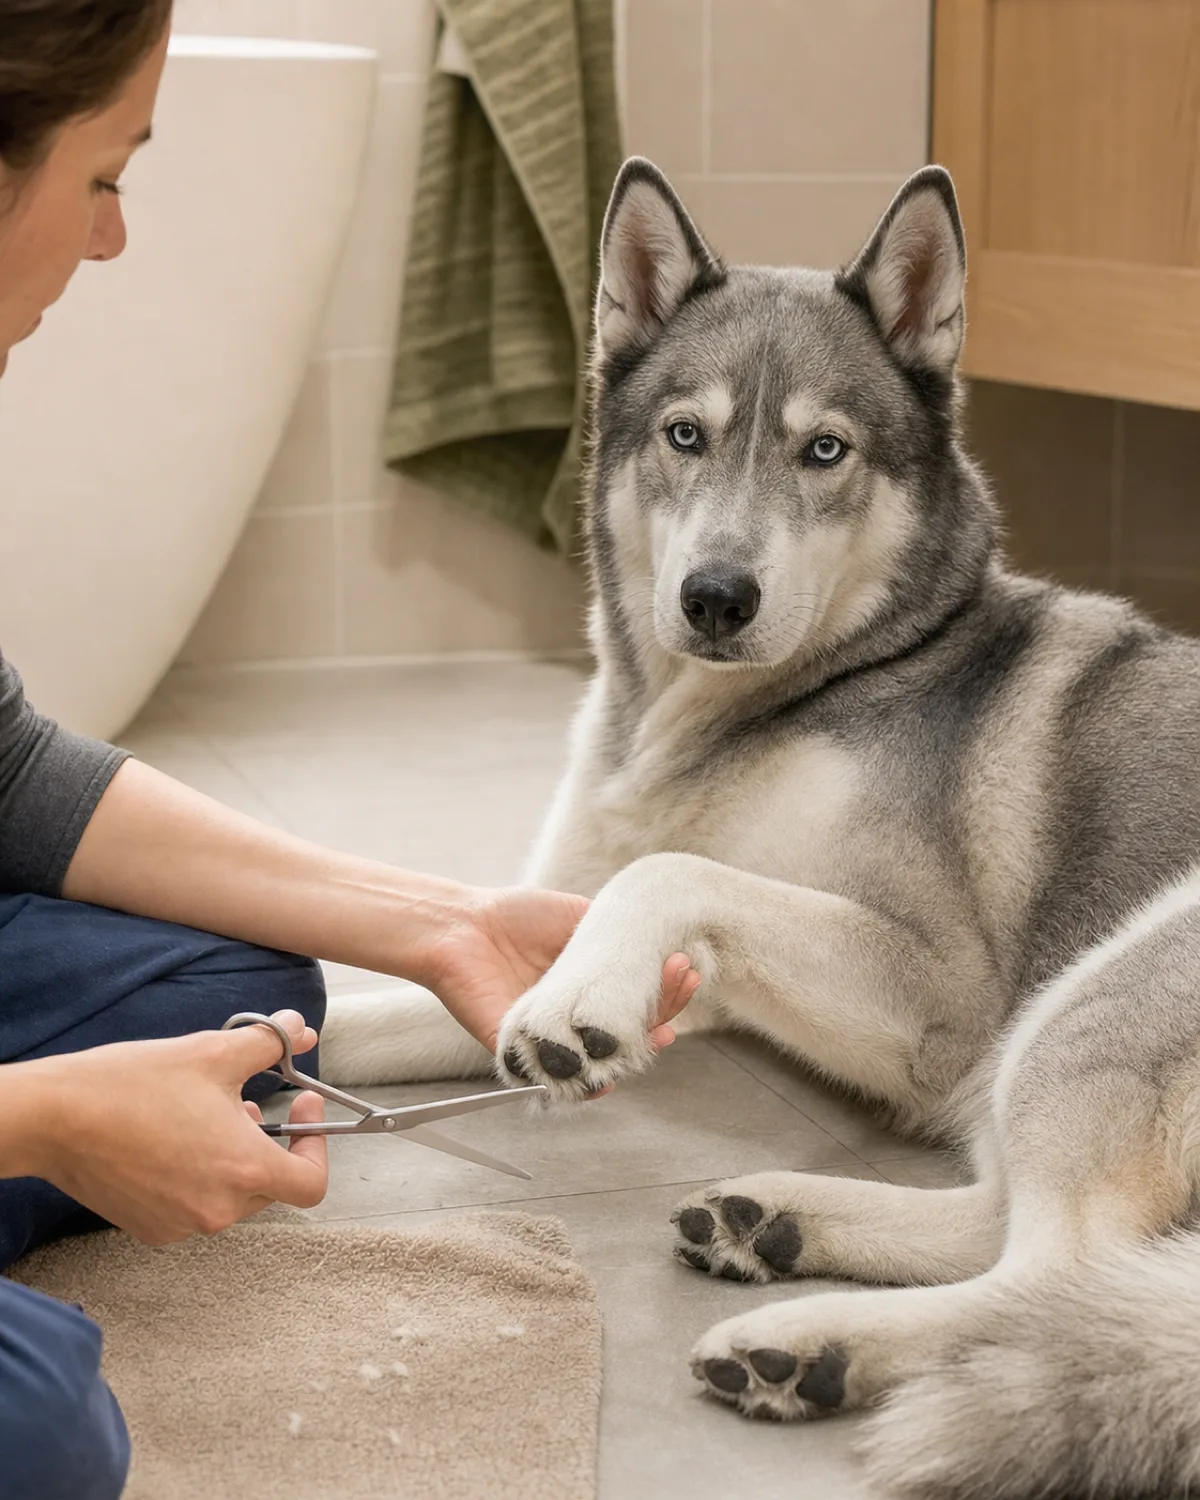
Legs have curves, tendons close to the surface, and skin folds at every joint. Paw pads have fur growing between them that mats easily and picks up debris but sits right next to sensitive webbing. Sanitary areas involve thin, loose skin that bunches unpredictably.
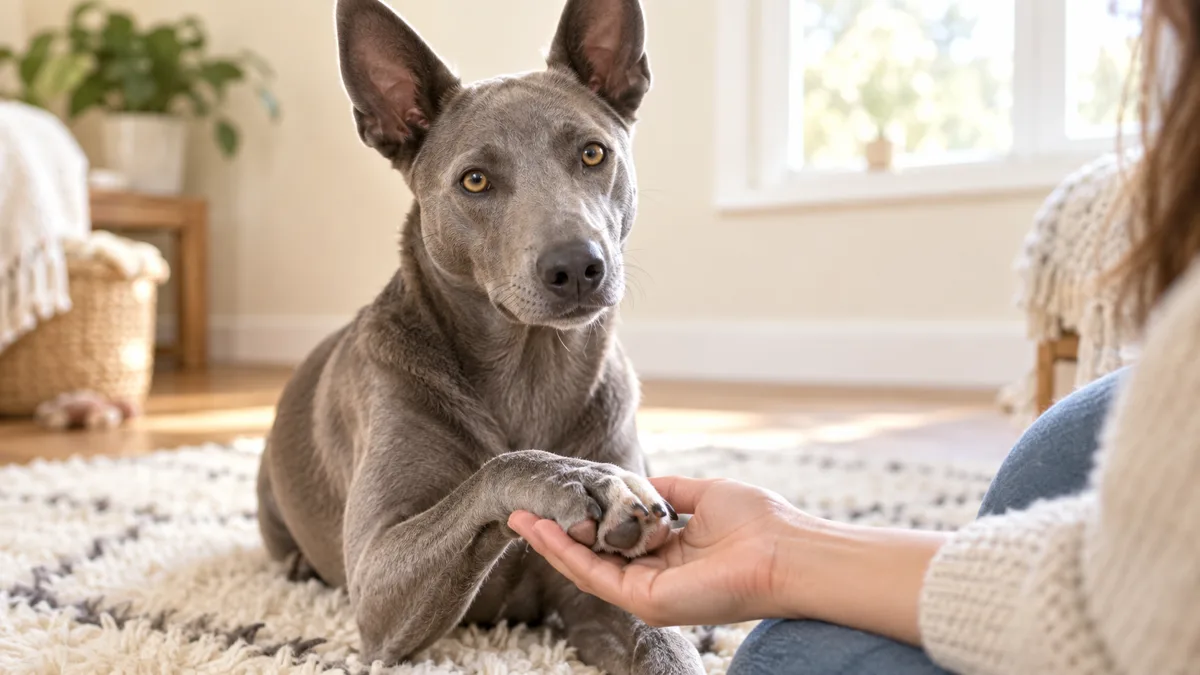
Use blunt-tip shears for all three. Lift the paw gently, spread the toes just enough to see the fur between the pads, and trim only what extends past the pad surface. For sanitary areas, hold the skin taut with one hand and make short, careful cuts with the other.
If your dog pulls away or tenses up during any of this, stop. Give a break, give a treat, and come back to it later or on another day.
Save this before your next trim
Home Haircut Safety Checklist
Run through this list before every at-home trimming session.
- Coat brushed fully from root to tip, no tangles remaining.
- Coat completely dry after bath (never trim wet fur).
- Clipper blades clean and oiled, guard comb attached.
- Blunt-tip safety shears ready for face, paws, and sanitary areas.
- High-value treats within arm’s reach for mid-session rewards.
- Start with the back and sides, save face and paws for last.
- Check blade temperature every ten minutes (back of hand).
- Stop immediately if the dog tenses, pulls away, or panics.
- Sanitary area done with shears, skin held taut, short careful cuts.
- Finished result: even length, clear eyes, tidy sanitary area, no distress.
General grooming guidance, not a substitute for a certified professional groomer on complex coats or skin conditions.
9. What a Good Enough Home Haircut Actually Looks Like
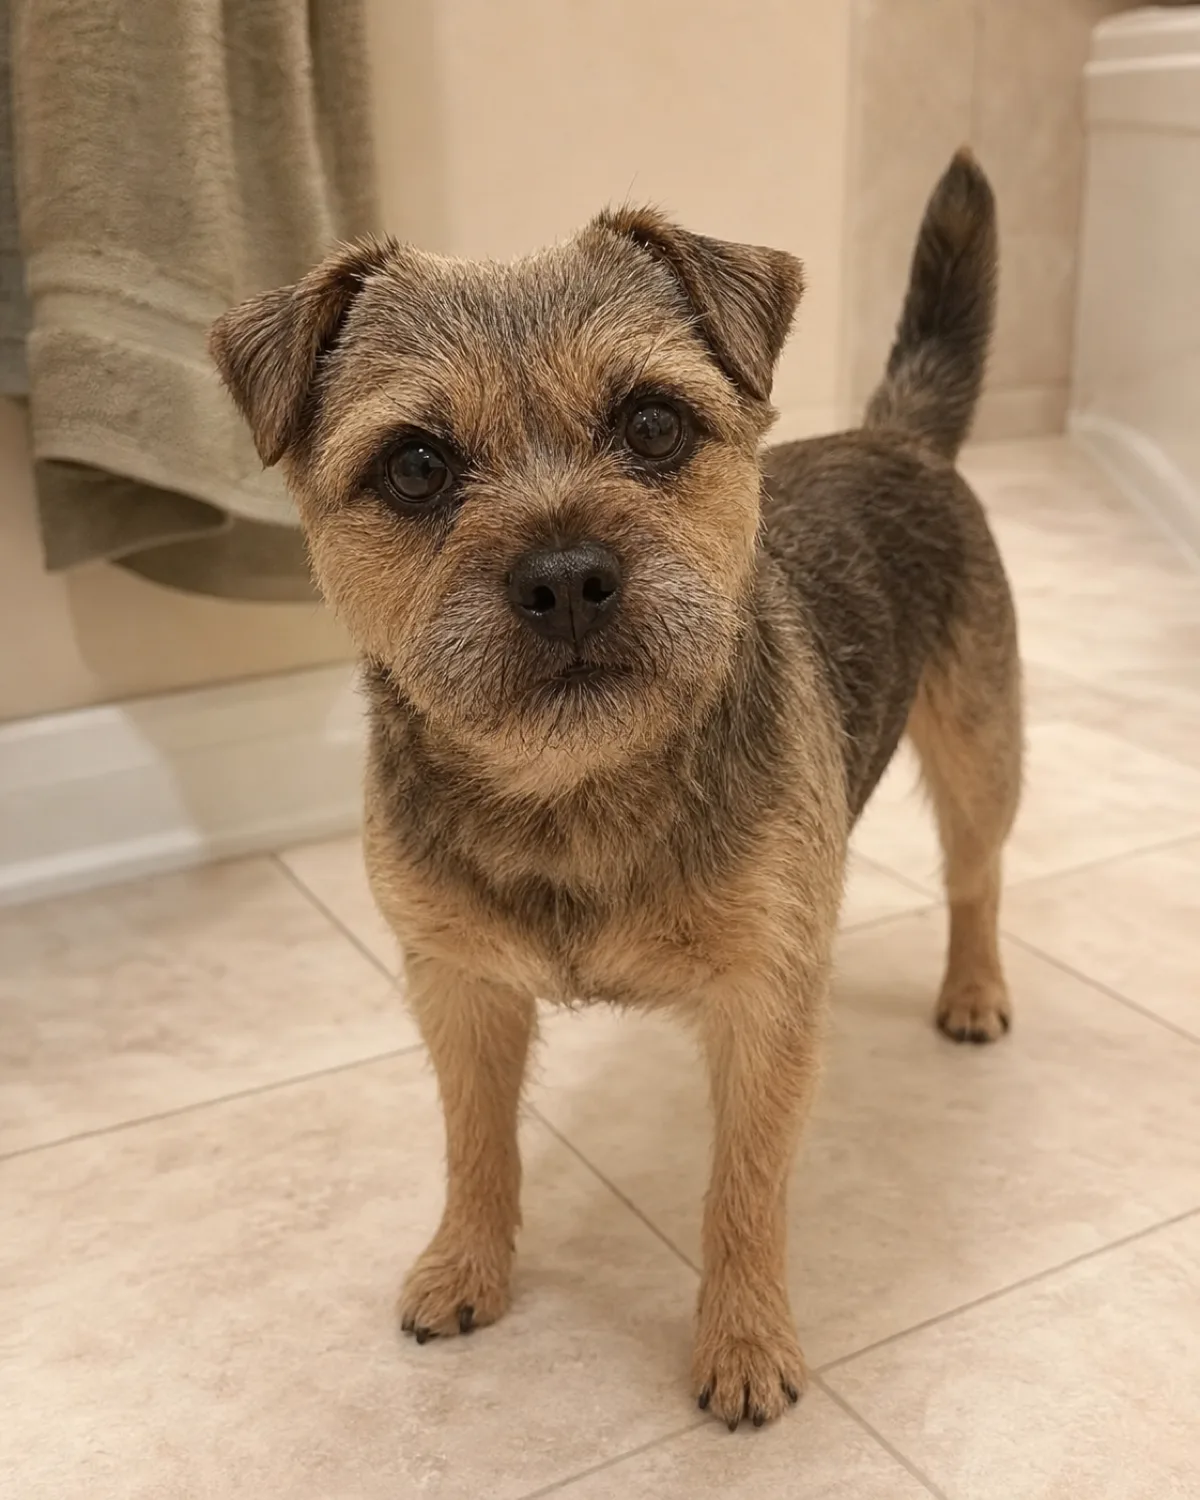
A home maintenance trim is not supposed to look like a professional groom. The bar is functional, not cosmetic: the coat is an even length with no stray long patches, the eyes are clear, the sanitary areas are tidy, there are no mats, and the dog went through the process without distress.
If that describes the result, the haircut worked. An uneven spot on one hip or a slightly longer section behind one ear is normal for a home trim and will blend out within a week or two of natural growth.
Chasing perfection on every pass is how a twenty-minute maintenance session turns into an hour of stress for a dog who was already doing a good job of holding still.
10. Not Every Dog Needs a Haircut
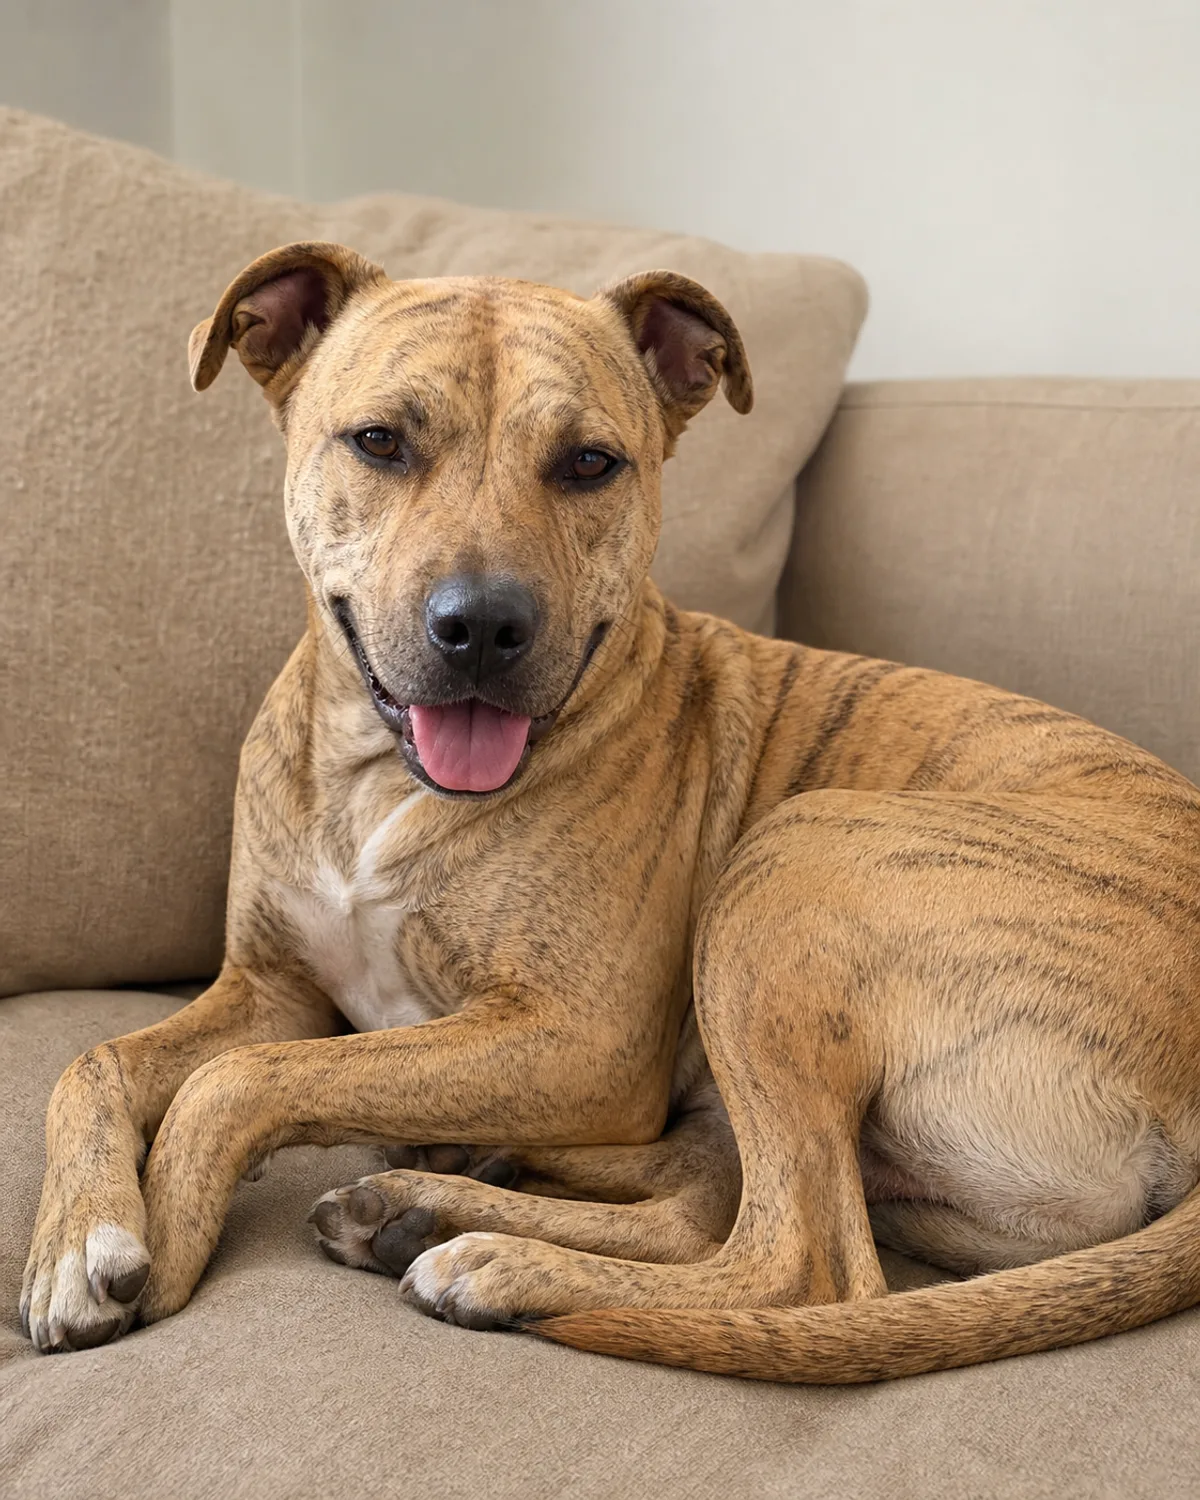
Short-coated dogs with smooth, close-lying fur rarely need any trimming at all. Their coat is already at a functional length, and running clippers over it does not improve anything. It risks irritating skin that was fine.
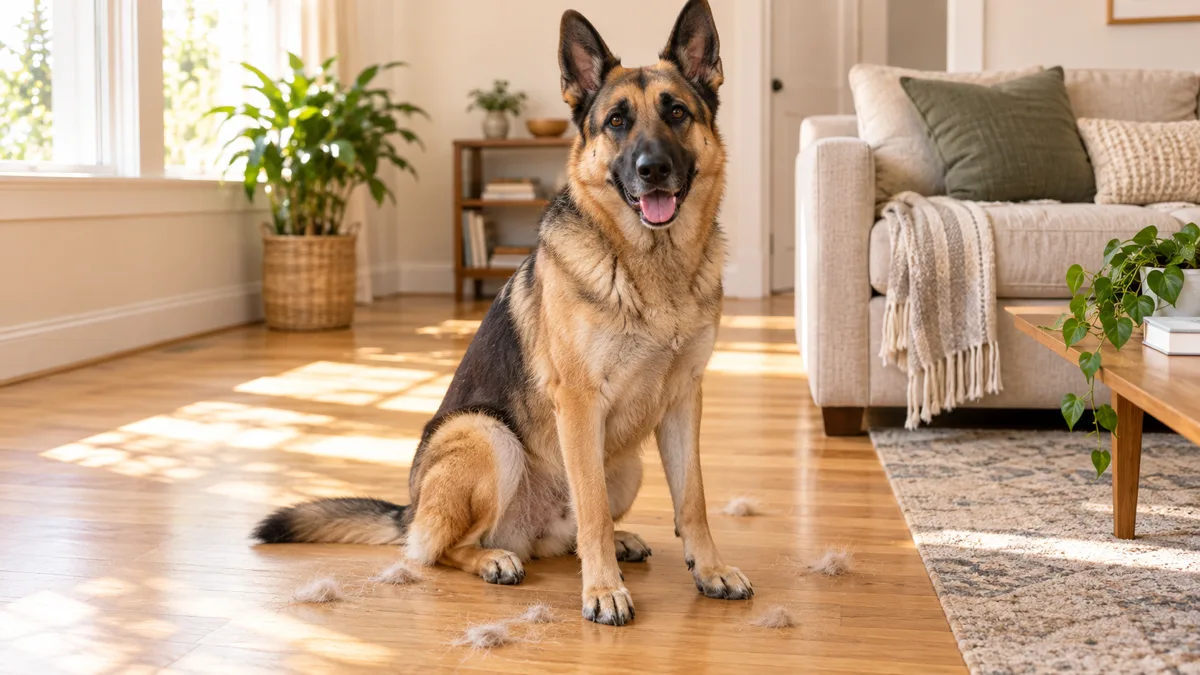
What these dogs do need is regular brushing to remove loose hair and distribute oils, a bath when they are actually dirty, and attention to the nails, ears, and teeth that no haircut replaces.
If your coat lies flat and stays clean between baths, the best thing to do with a set of clippers is leave them in the drawer.
11. The Sanitary Trim That Every Long-Coated Dog Needs
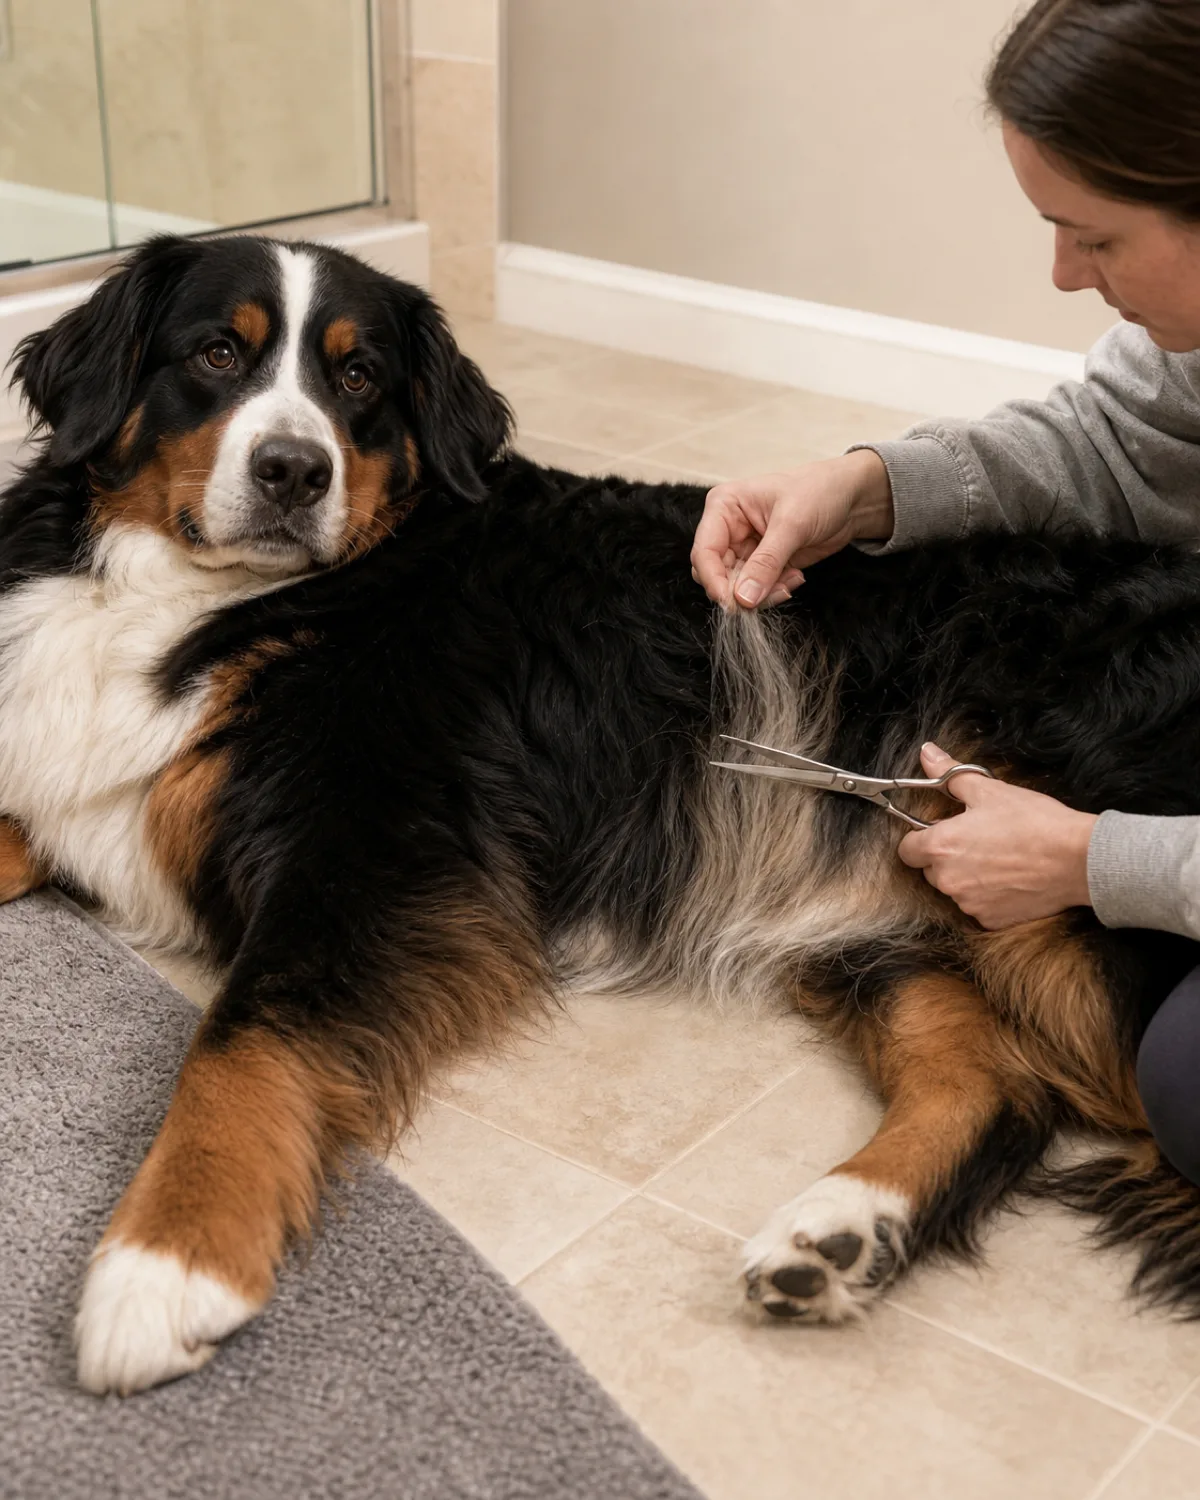
Even if you skip a full body trim, one area deserves regular attention on any dog with medium or long fur: the sanitary zone around the tail base, inner thighs, and lower belly.
Fur in these areas collects waste, traps moisture, and creates a breeding ground for skin irritation if it gets long enough to mat. A quick pass with blunt-tip shears every few weeks keeps the area clean without requiring a full grooming session.
This is the single most practical skill a home groomer can learn, because it solves the most common hygiene problem and takes less than five minutes once you and your dog are used to the routine.
12. Finishing Up: Reward the Whole Session, Not Just the End
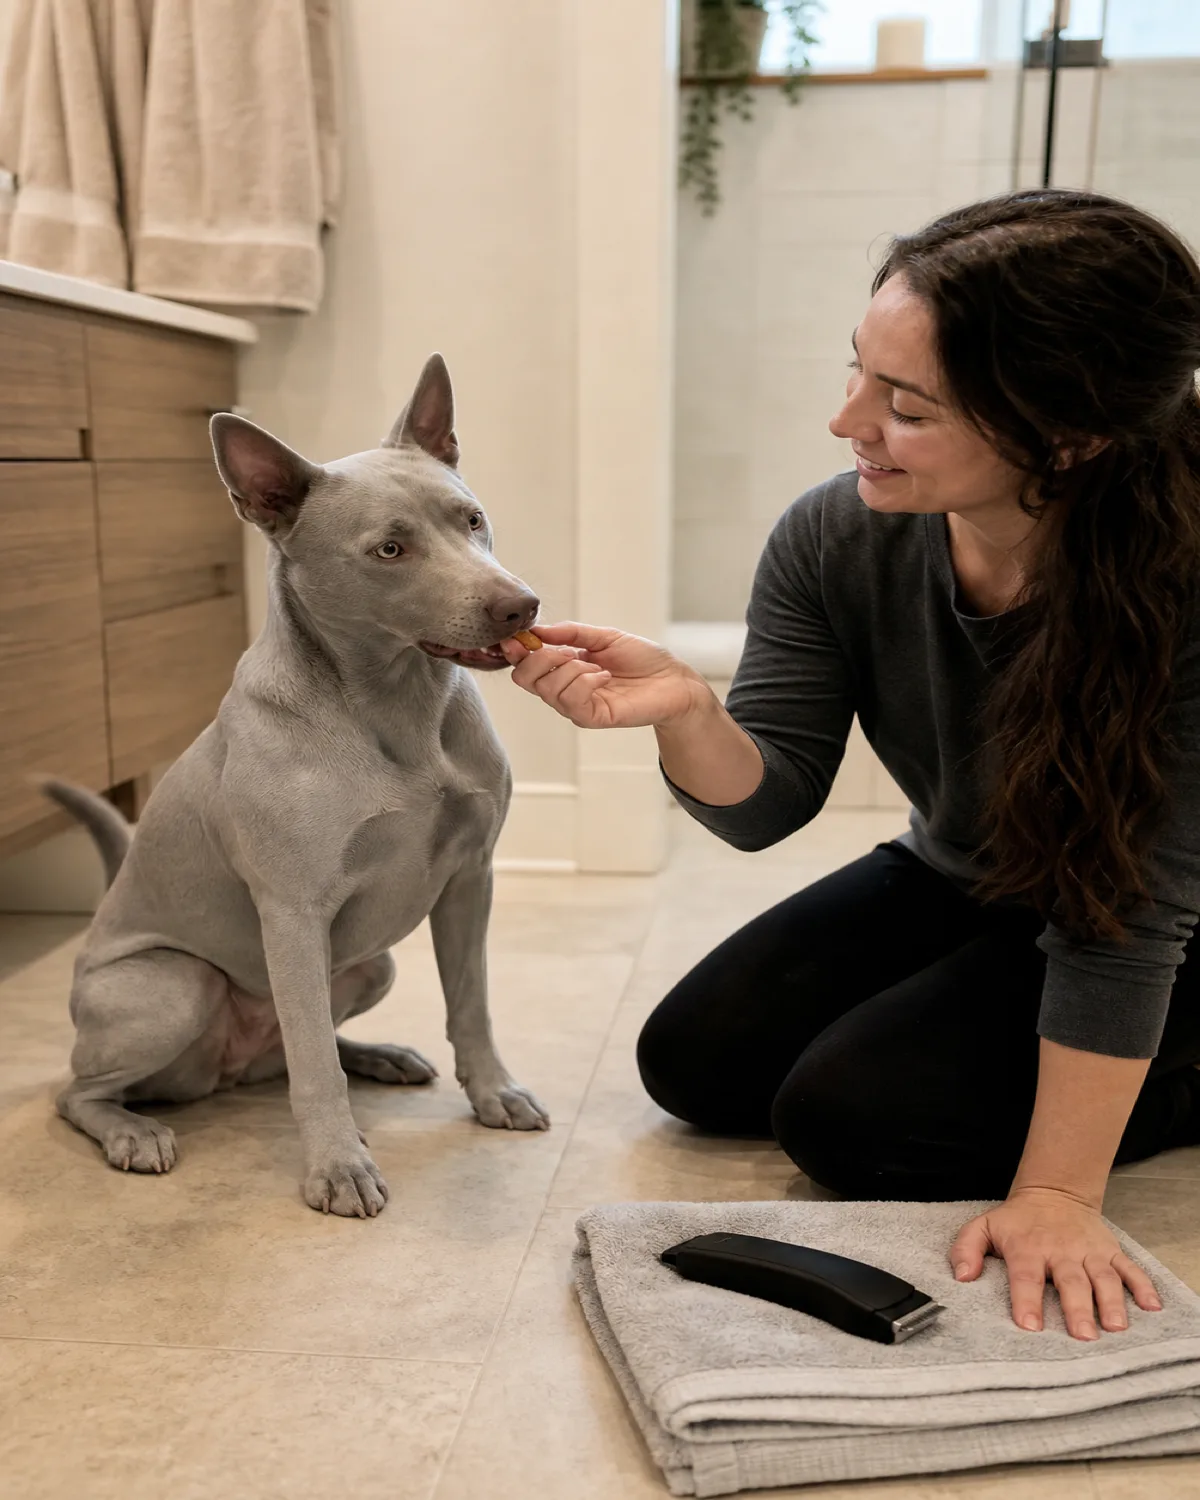
A treat at the end is fine, but a treat every few minutes during the session is what actually builds a dog who cooperates the next time. The connection between holding still and getting something good has to happen in real time, not ten minutes after the clippers are put away.
Keep a small pile of high-value treats within arm's reach. Every time you finish a section, one side of the body, one ear, one paw, pause, praise quietly, and hand over a treat before moving to the next section.
Over a handful of sessions, the dog learns that clippers and shears predict a steady stream of good things, and the amount of fidgeting drops on its own.
13. When to Stop and Call a Professional Instead
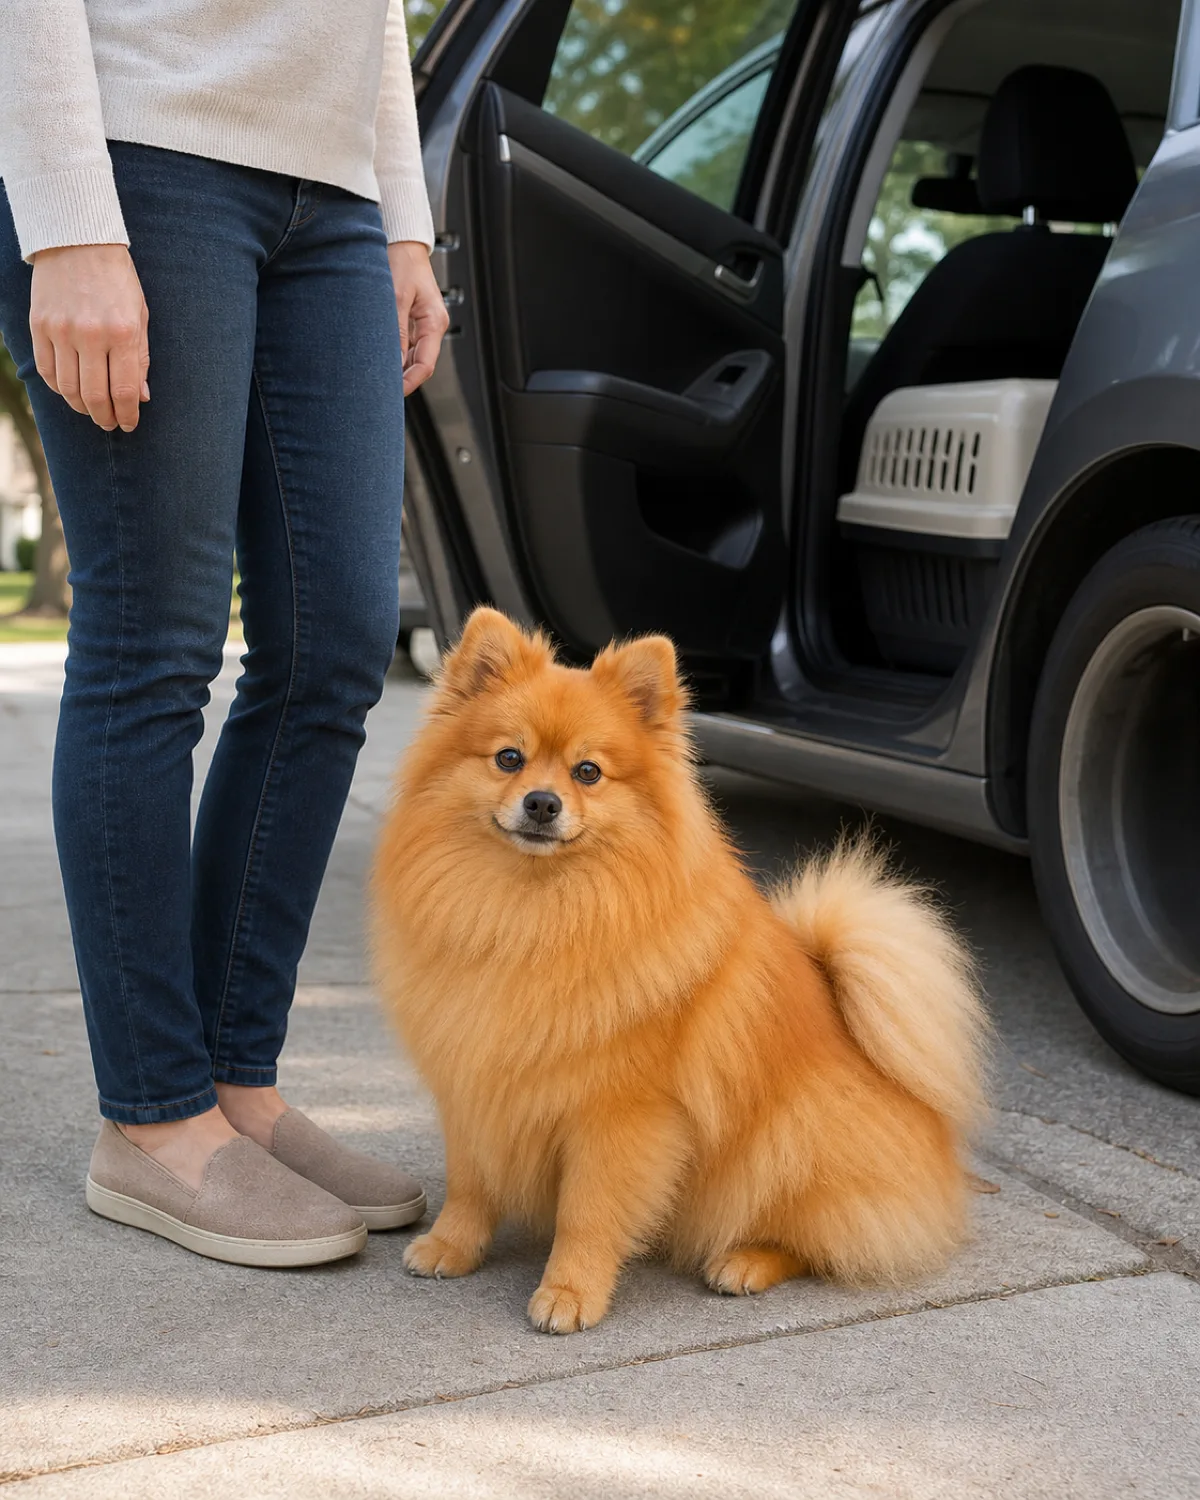
A dog who panics despite slow desensitization, a coat with mats too severe to brush out safely, visible skin problems like redness, bumps, or open sores underneath the fur, or a breed-standard clip that requires scissoring skills beyond a basic guard comb all belong to a professional groomer.
There is no shame in a partial home trim. Plenty of owners handle the body and legs at home and bring their dog in for face and feet work every six to eight weeks. The two approaches are not competing; they work best together.
The question is not whether you can do it all yourself, but whether attempting a particular area or a particular coat condition is going to make the experience worse for your dog. If the answer is yes, hand it off.
About the author
Jess Calloway
Jess is a dog mom of three who learned the hard way that a loud clipper and a tangled coat are the fastest route to a lopsided trim and a week-long bathroom boycott. This guide covers why most home haircuts go wrong before the first snip, the four tools you actually need, getting your dog used to clippers, why you always brush first, where to start cutting, how to avoid nicking the skin, the tricky parts around the face and paws, what a good enough result looks like, which dogs do not need a haircut at all, the sanitary trim every long-coated dog needs, how to reward the whole session, and when to hand the job to a professional. Visit the About page.