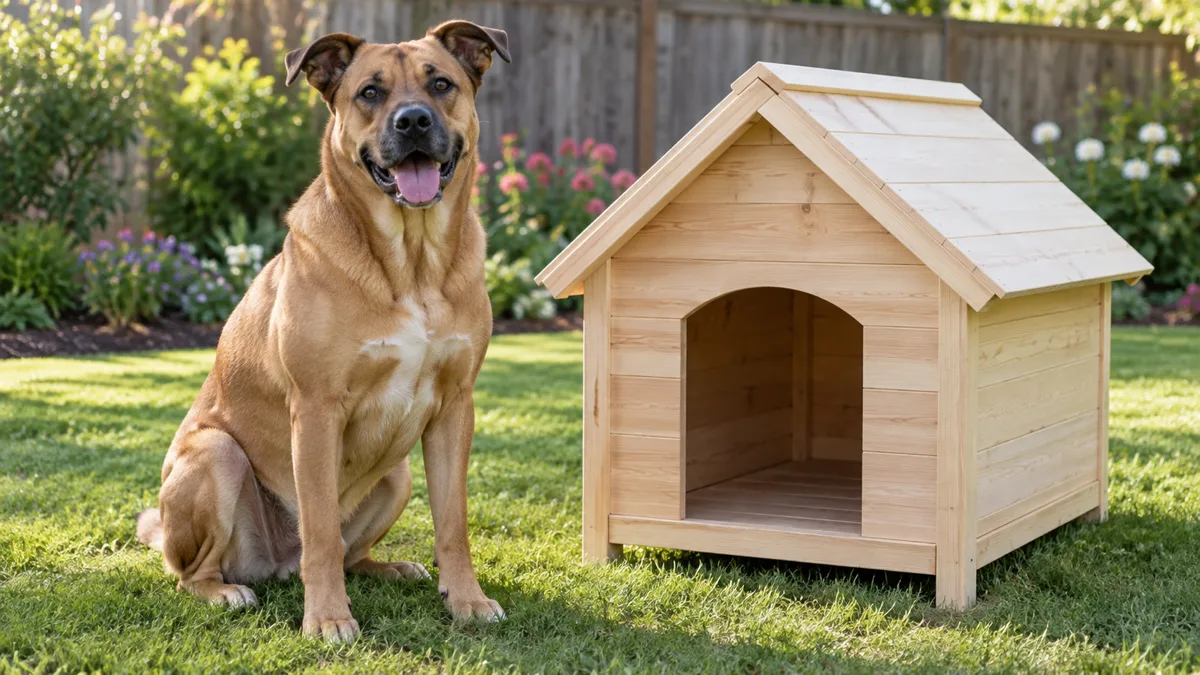
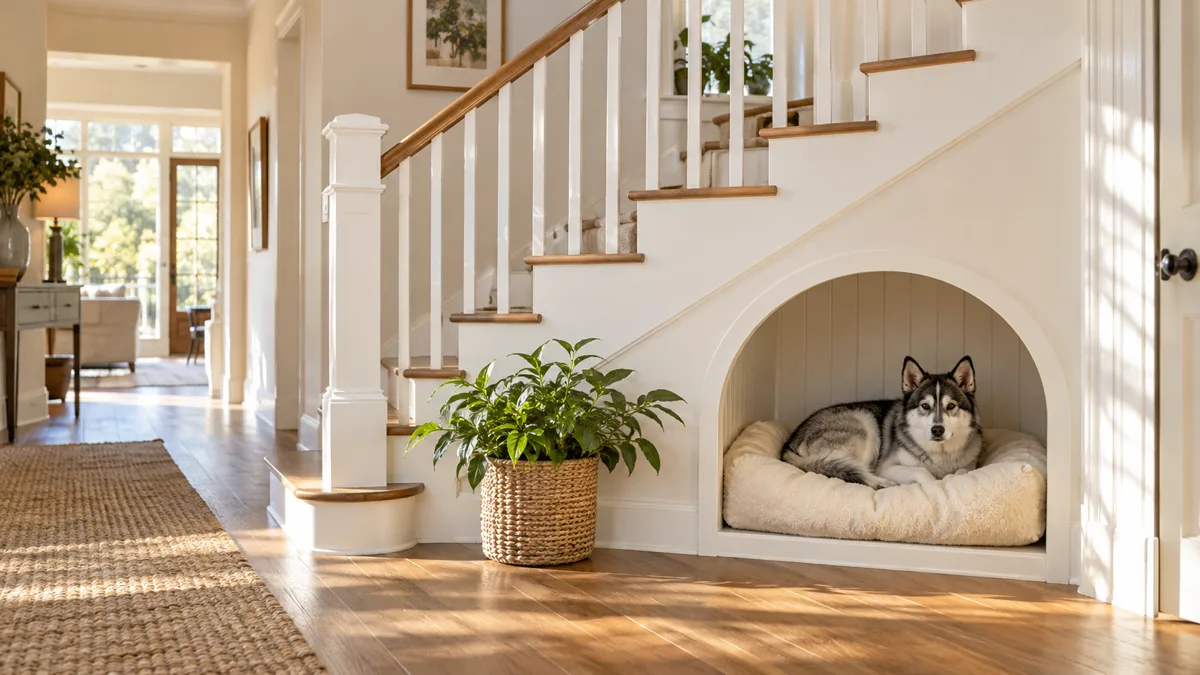
My oldest dog camped under the porch awning every warm afternoon. One weekend I built her a small cedar shelter, and she chose it over the porch on day one.
A DIY dog house does not require woodworking experience or expensive tools. If you can measure, cut a straight line, and drive a screw, you can build one in a single weekend that lasts for years.
Here are ten steps to get from a pile of lumber to a finished dog house your dog will actually use.
The most common mistake in any DIY dog house project is building to a plan you found online without checking whether it fits your actual dog. A house that is too small is cramped and stuffy. A house that is too large loses heat in winter and feels exposed instead of cozy.
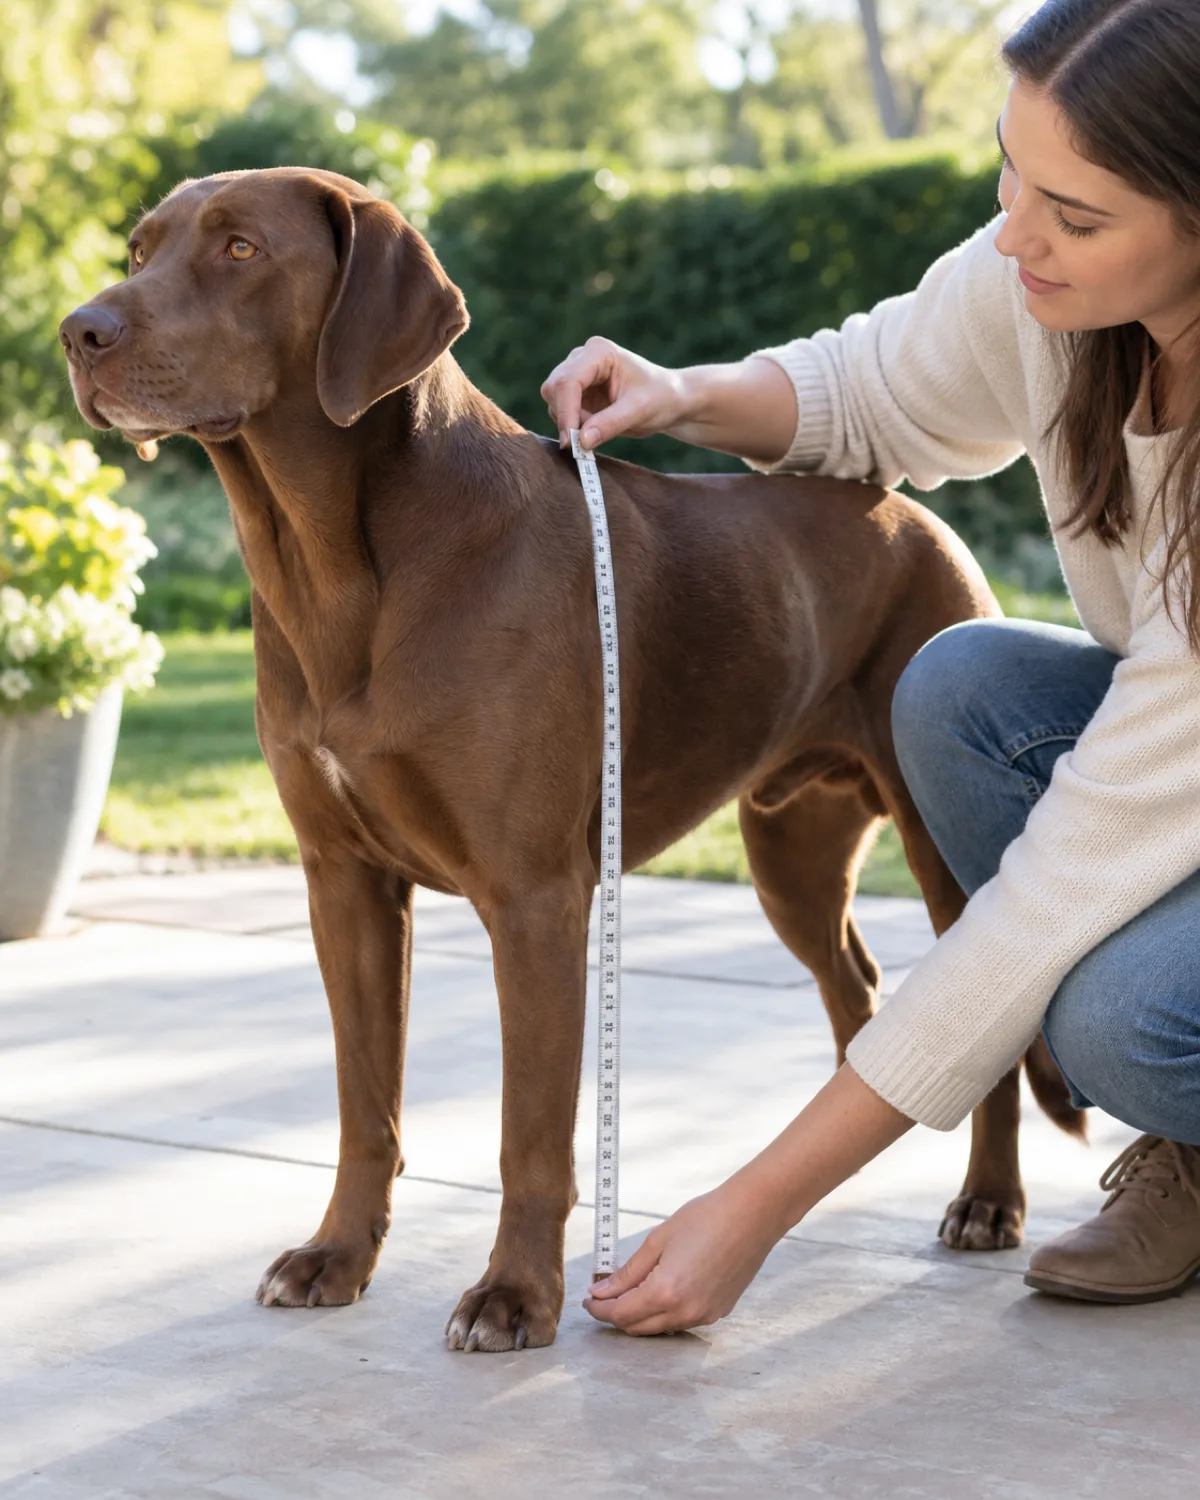
You need three measurements. Stand your dog on a flat surface and measure from the ground to the top of their shoulders. Then measure from the tip of their nose to the base of their tail. Finally, measure the widest point of their chest from side to side.
Door height should be roughly eighty percent of shoulder height so your dog can step in without ducking but cold air stays below the opening
Interior length should be at least nose-to-tail length plus six inches so your dog can turn around and lie down stretched out
Interior width should be chest width multiplied by two so they can shift positions without pressing against a wall
Write these numbers down and keep them next to your lumber when you start cutting. Every dimension in this build references your dog, not a generic plan.
2. Pick the Right Lumber and Materials
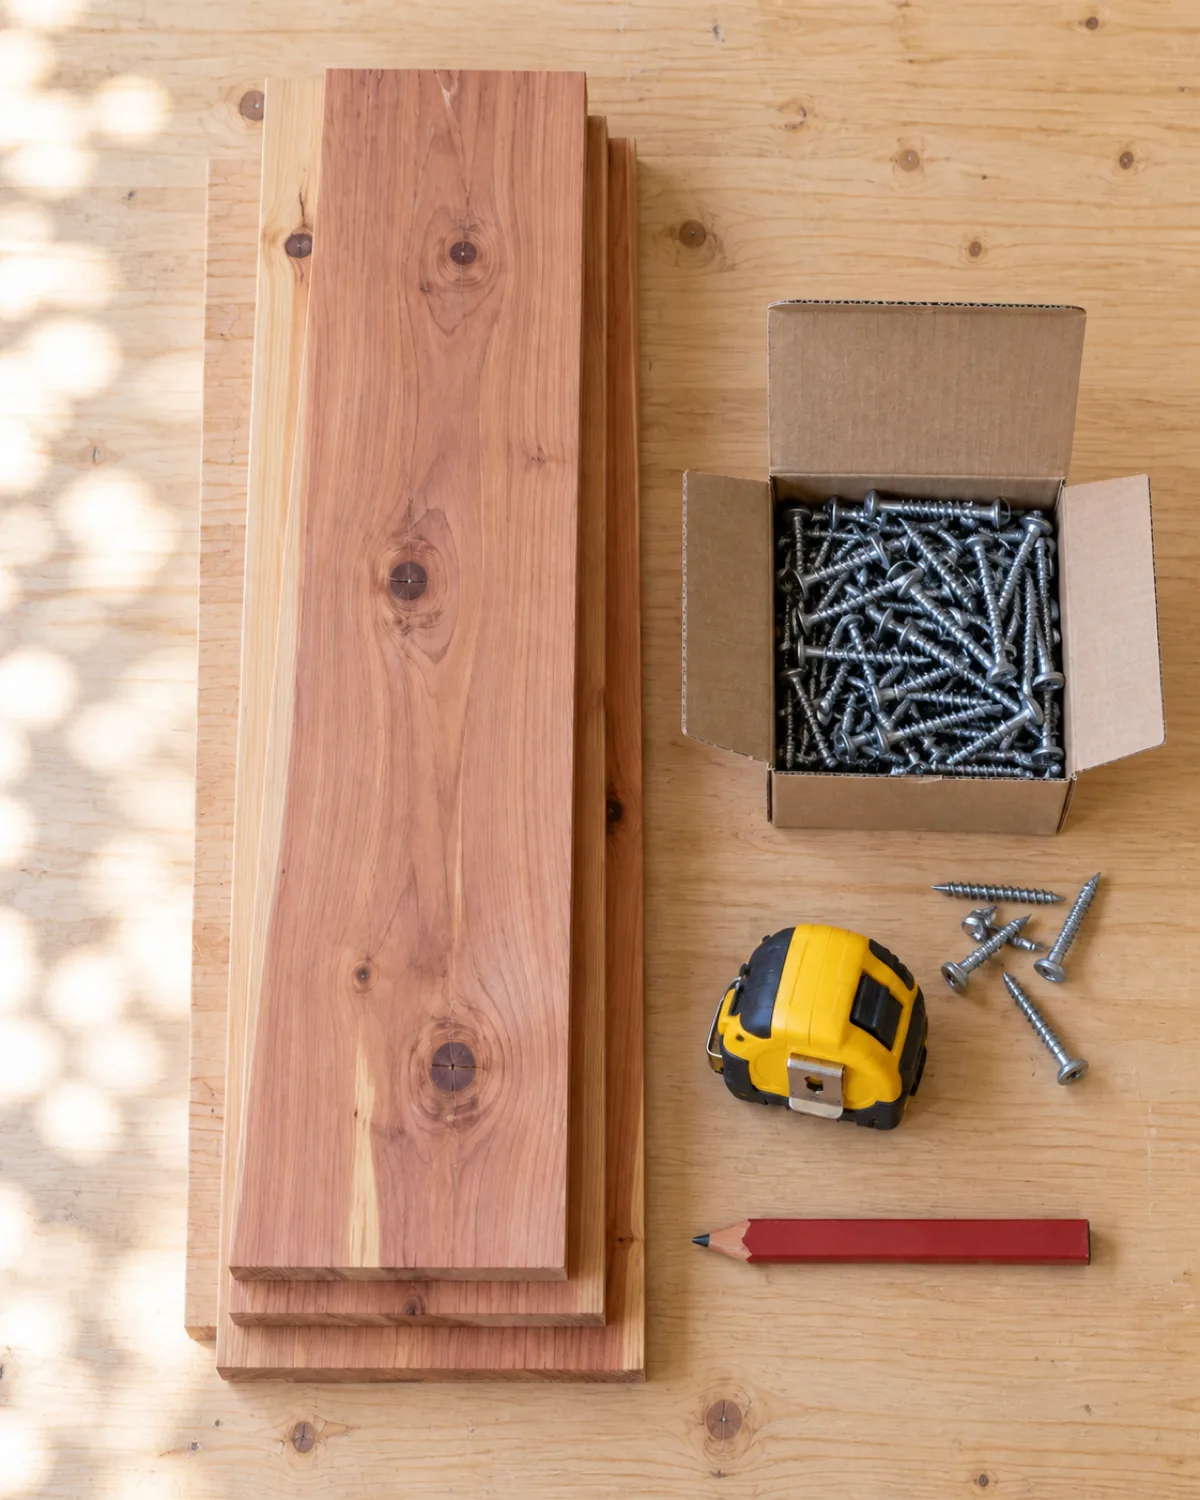
Cedar and pine are the two most practical choices for a DIY dog house. Cedar is naturally resistant to rot and insects, smells pleasant, and weathers to a soft grey if left unsealed. Pine costs less and works fine if you seal the exterior.
Avoid pressure-treated lumber for any surface your dog can chew or lick. The chemicals used to preserve it are not safe for prolonged animal contact. Use it only for the base skids that sit directly on wet ground, and even then cover the top of those skids with untreated wood.
Material
Best for
Notes
Cedar boards
Walls, roof
Rot-resistant, no sealant needed
Untreated pine
Walls, interior
Budget pick, seal exterior
Exterior plywood
Base, roof
Half-inch minimum
Deck screws
All joints
Galvanized, rust-proof
Wood glue
Seams
Waterproof formula
You also need a circular saw or jigsaw, a cordless drill, a tape measure, a speed square, sandpaper in eighty and one-hundred-twenty grit, and exterior wood sealant. Most of this is already in a basic home toolkit.
3. Build the Base Platform First
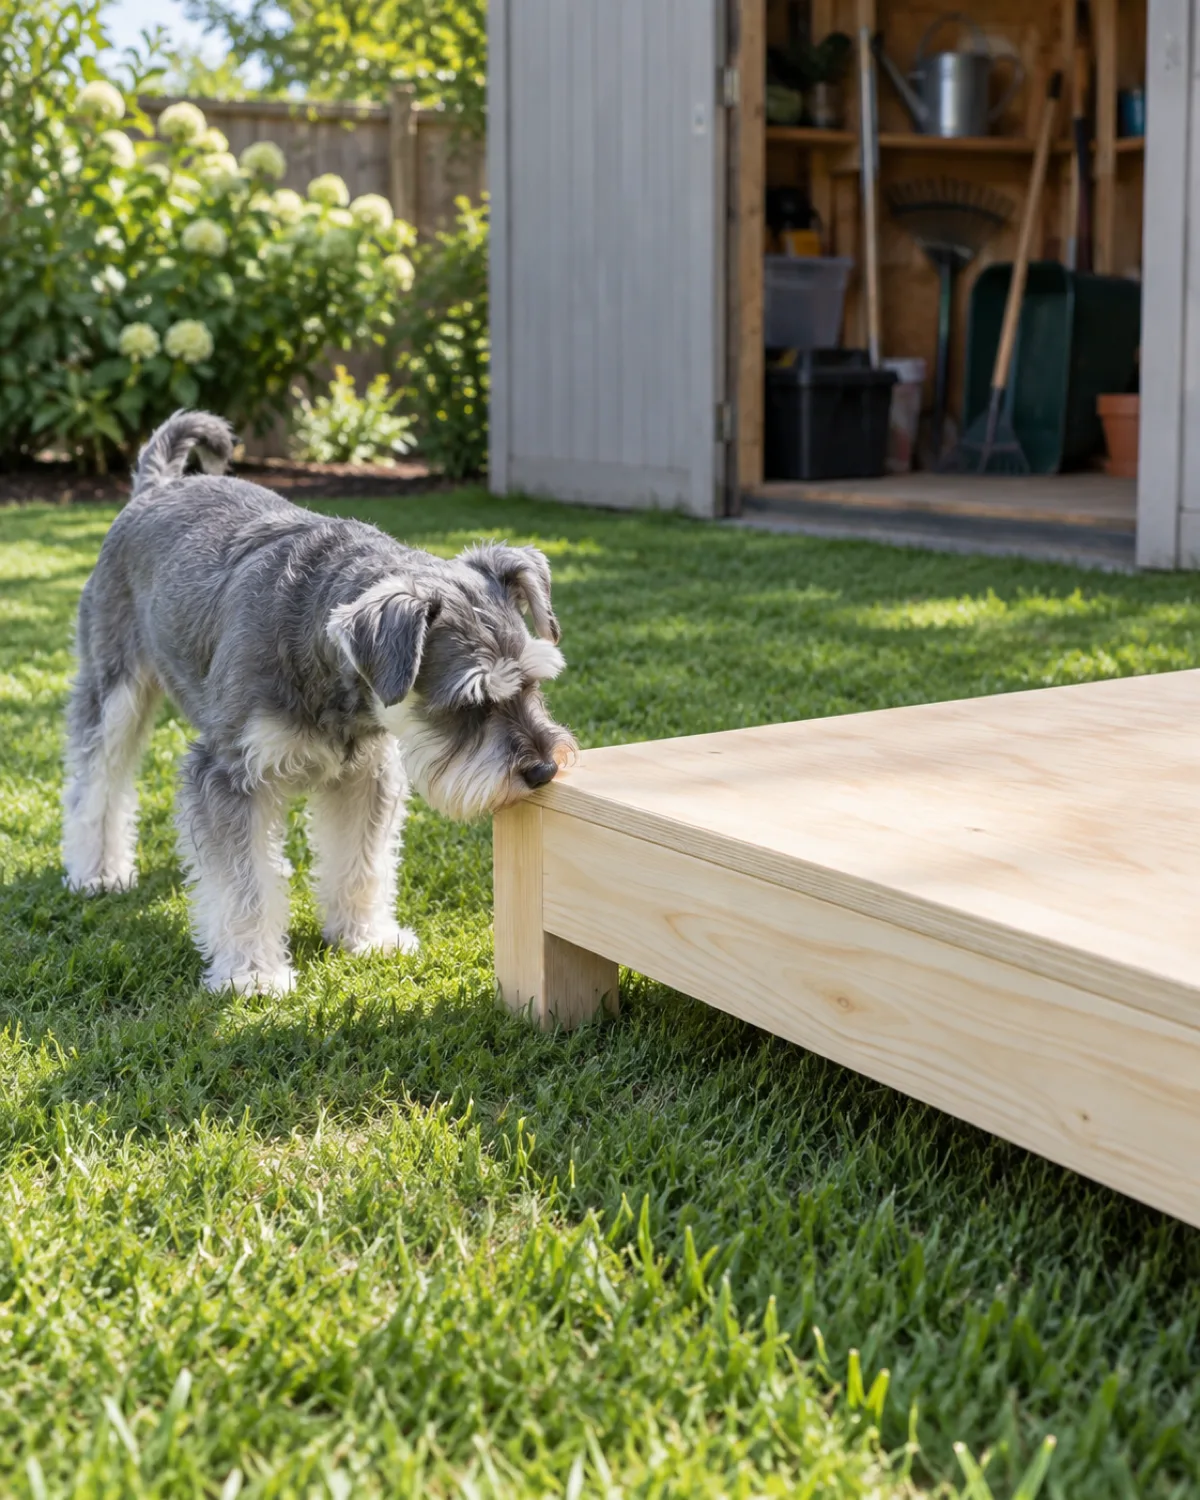
The base is a rectangular frame with a plywood floor on top. Start by cutting two long runners and two short cross pieces from two-by-four lumber. The outer dimensions should match the interior length and width you calculated from your measurements plus the thickness of the walls on each side.
Screw the frame together at the corners with three-inch galvanized deck screws, two per joint. Then cut a piece of half-inch exterior plywood to fit the top of the frame and screw it down every eight inches along each runner.
Raise the base off the ground by screwing two additional two-by-four skids underneath, running front to back, so the floor sits at least three inches above the dirt
This air gap prevents moisture from wicking up through the floor and keeps the interior dry after rain
Check the platform with a level before moving on because a crooked base makes every wall crooked too
The finished base should feel solid when you stand on it. If it flexes, add a center cross brace.
Match the approach to your climate
Flat roof or sloped roof?
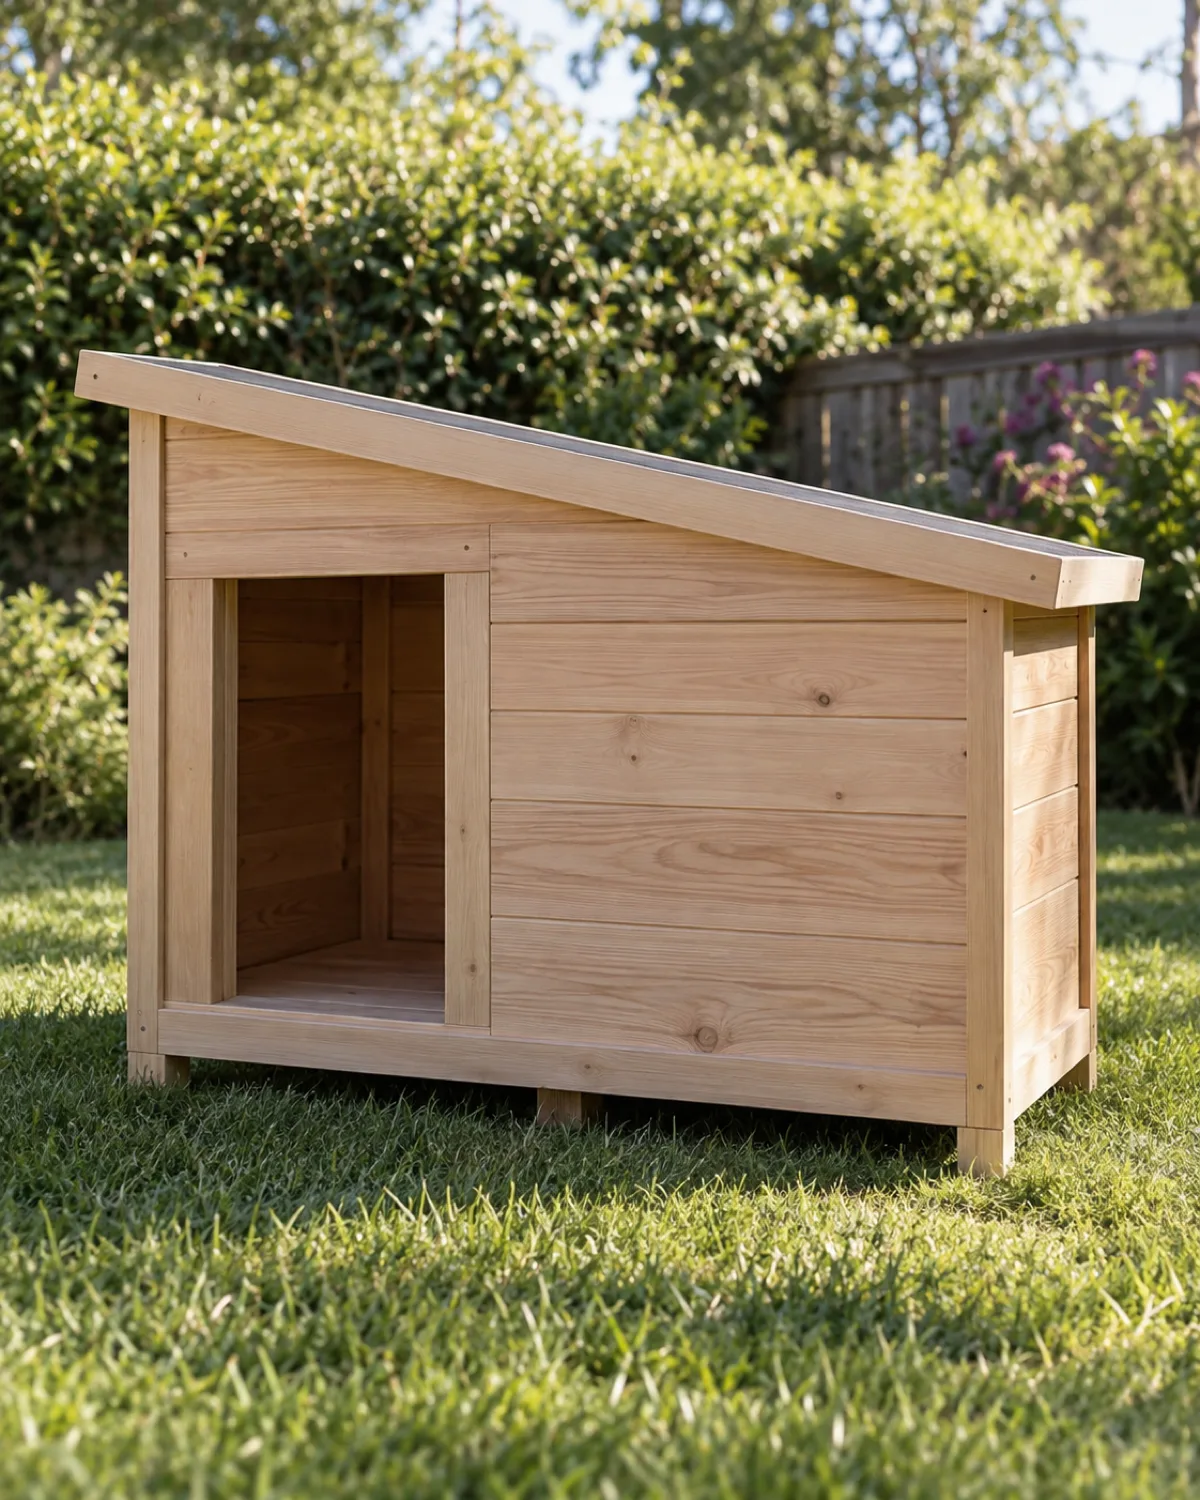
Single-slope shed roofEasiest to build. One side higher than the other so rain runs off. Works well in mild to moderate climates with regular rainfall.
A-frame peaked roofClassic look. Sheds water and snow in both directions. Takes more cuts but handles heavy snow load better than a flat surface.
Hinged lid roofFlat or slightly sloped panel attached with hinges. Lifts open for easy cleaning. Great for small and medium dogs.
Hot climate?Skip insulation and maximize ventilation. Drill three one-inch holes near the roofline on the back wall for cross-breeze airflow.
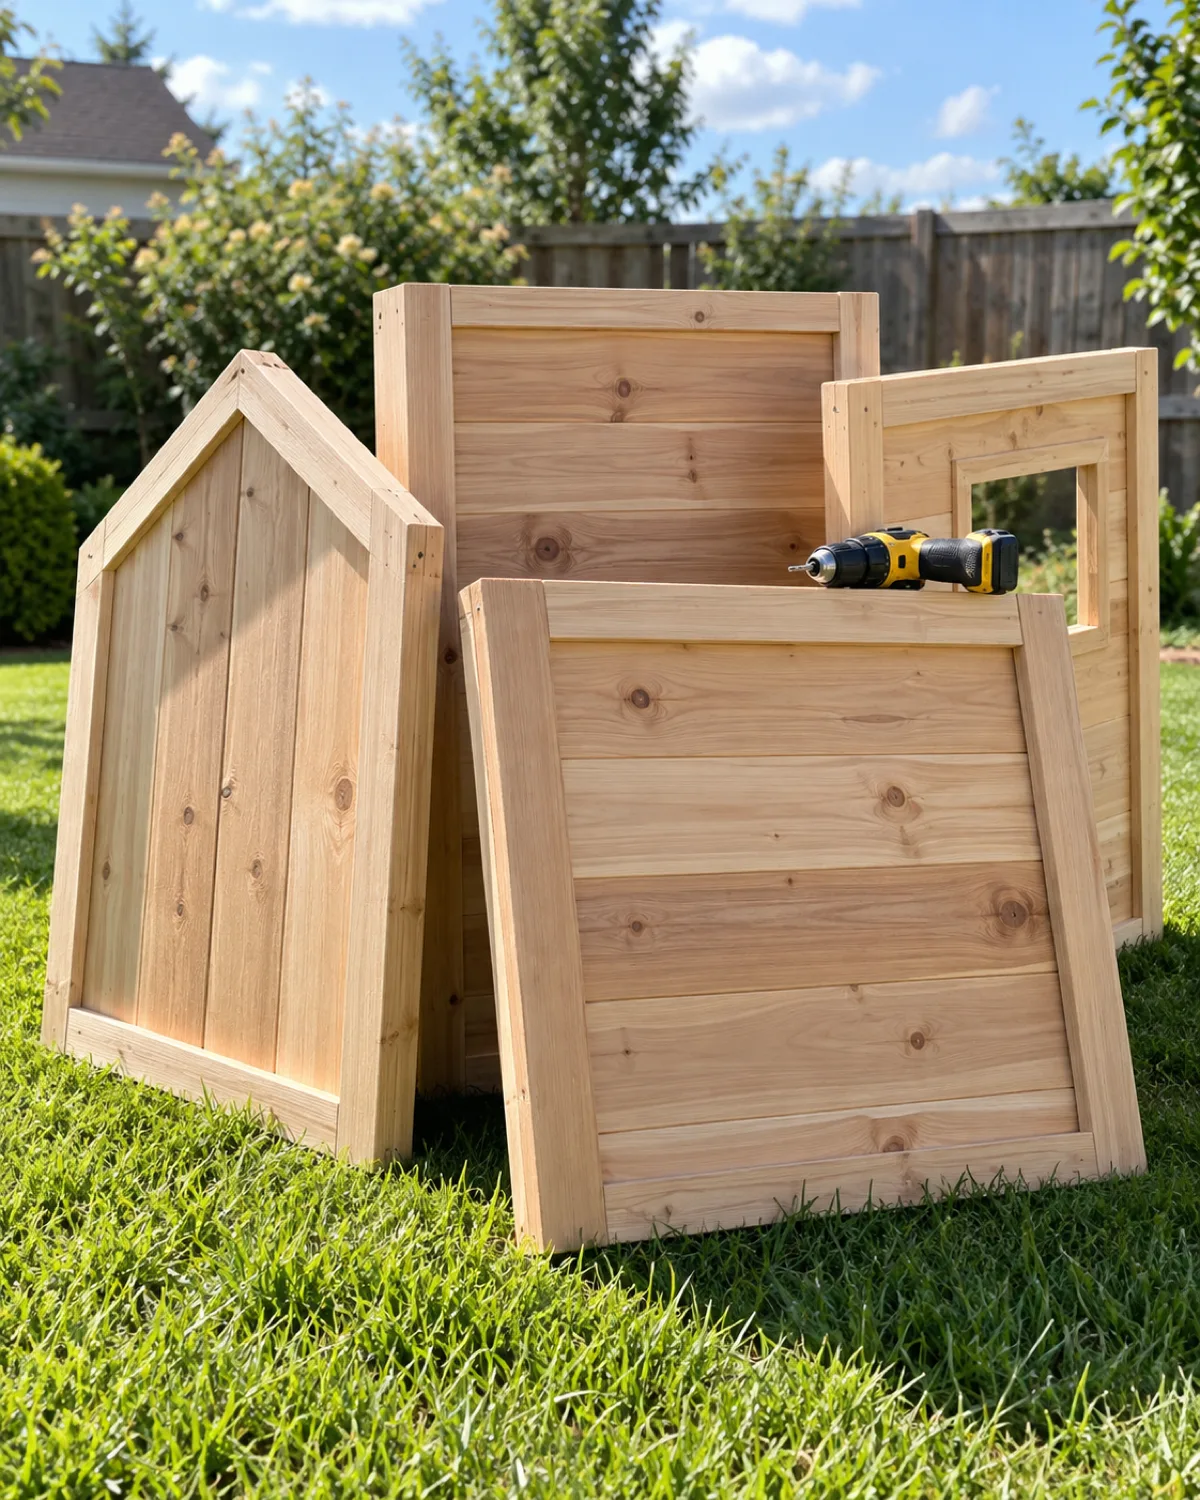
4. Frame the Four Walls
Build each wall as a separate panel. Cut the vertical studs and top and bottom plates from two-by-two lumber, then skin one side with your wall material. Working flat on the ground is easier than trying to assemble walls upright.
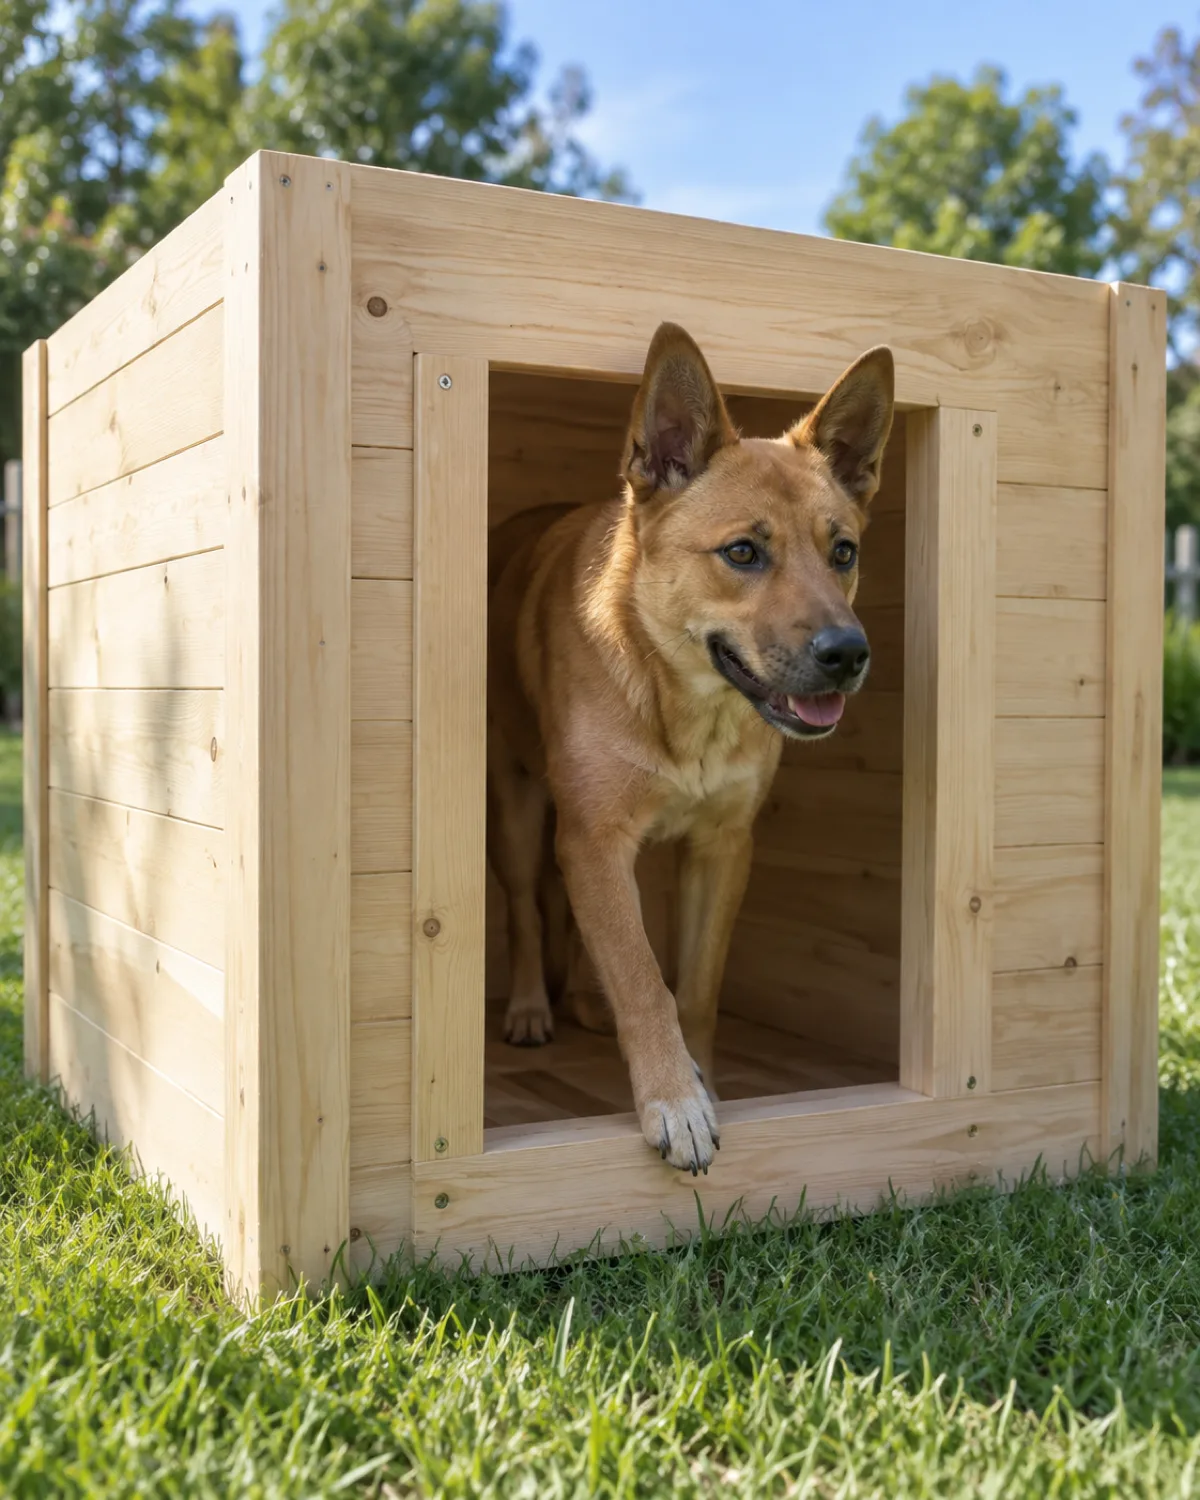
The front wall gets the door cutout. Use your door height measurement, center the opening horizontally, and make the opening wide enough for your dog to walk through without brushing both sides. Round the top corners of the door with a jigsaw so there are no sharp angles.
Build the two side walls identical in height and width
Make the back wall the same width as the side walls but solid with no openings
If you chose a single-slope roof, cut the side wall studs at an angle so the front is taller than the back by about three inches per foot of depth
Once all four panels are skinned, stand them up on the base platform and screw through the bottom plate into the base frame. Then screw adjacent wall corners together. The box should feel rigid enough to push against without racking.
5. Add a Raised Entrance With a Wind Baffle
The entrance should sit a few inches above the base platform, not flush with the floor. This raised threshold keeps rain from running in, blocks drafts along the ground, and holds bedding material inside.
A wind baffle is a partial interior wall set about four inches behind the entrance, offset to one side, so your dog walks in and then turns left or right to reach the sleeping area. This simple L-shaped path blocks direct wind from blowing straight through the house.
Cut a piece of plywood the full interior height minus one inch and about two-thirds the interior width
Screw it vertically to the floor and one side wall, leaving a gap on the opposite side for your dog to pass through
The gap should be the same width as the door so your dog has no trouble navigating
This feature makes the biggest difference in cold and windy climates. It keeps the sleeping area warmer without any additional insulation by breaking the line of sight between the entrance and the back of the house.
6. Attach the Roof With a Slight Overhang
The roof should extend at least two inches past the walls on every side. This overhang directs rainwater away from the wall joints, which are the most vulnerable spots for rot.
For a single-slope roof, cut a piece of exterior plywood that fits the top of the wall box plus the overhang on all four sides. For an A-frame, cut two panels and join them at the ridge with a strip of galvanized flashing.
Screw the roof panel into the top plates of the walls every six inches along each edge
If you want a hinged lid for easy cleaning, attach one long edge with a piano hinge and add a simple barrel bolt on the opposite side to keep it closed
Apply a strip of self-adhesive roofing membrane along every seam and the ridge if you used an A-frame
A removable or hinged roof is worth the extra hardware. Being able to open the top makes cleaning out old bedding, checking for pests, and replacing insulation straightforward instead of impossible.
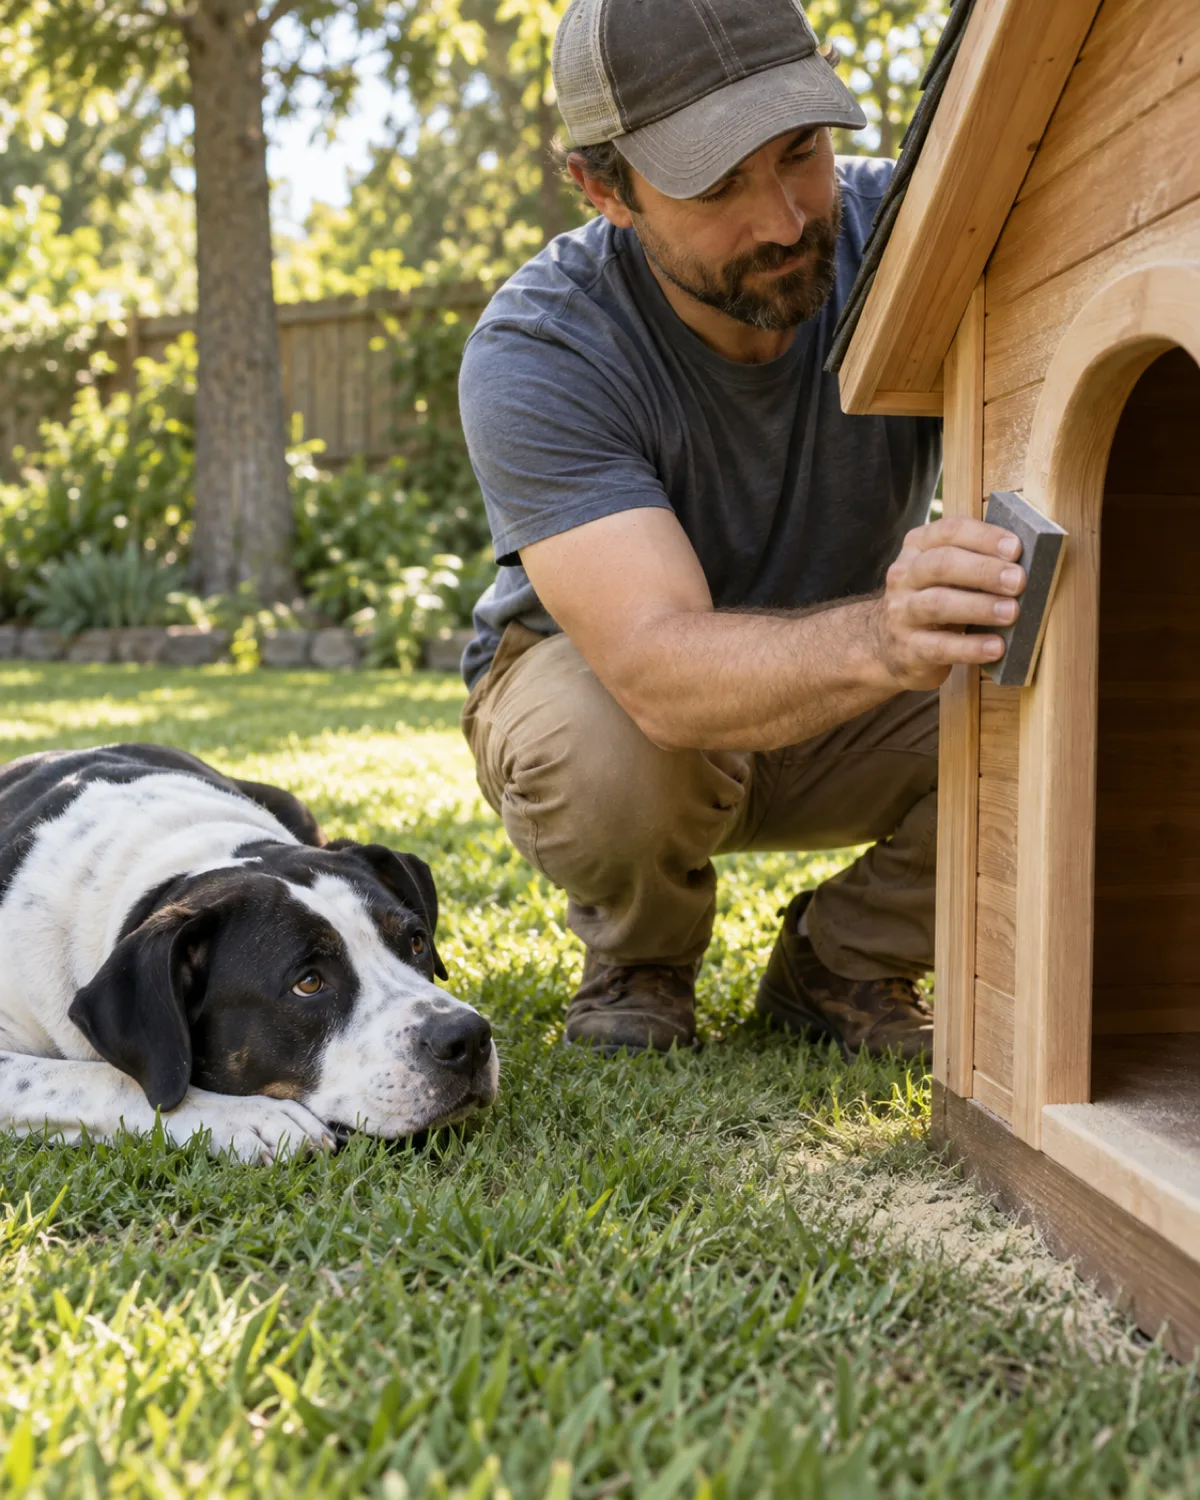
7. Sand Every Edge Your Dog Can Reach
Run your hand along every edge inside and outside the house. Any spot where you feel a splinter or a rough cut is a spot where your dog can get hurt. Dogs rub against doorframes when they enter and exit, press their bodies against walls when they settle, and chew corners when they are bored.
Start with eighty-grit sandpaper to knock down rough saw cuts and raised grain. Then follow with one-hundred-twenty grit for a smooth finish. Pay extra attention to the door opening, the threshold, and any interior corners.
Sand the top of the base platform where your dog will lie down
Round over the door frame edges so there are no sharp ninety-degree corners
Check the underside of the roof if your dog is tall enough to bump their head against it
This step takes about thirty minutes and prevents splinters, scraped noses, and irritated paw pads for the life of the house.
Four rules that keep the build safe and lasting
The durability checklist
Raised off groundThree inches of air gap under the base. Moisture, insects, and cold air all travel through ground contact.
No exposed fastenersCountersink every screw inside the house. A dog lying on a raised screw head gets a pressure sore.
Overhang on every sideTwo inches minimum. Water running down walls rots joints. Overhang throws it clear.
Sealant outside onlySeal the exterior for weather protection. Leave the interior bare so your dog is not breathing fumes in an enclosed space.
8. Seal and Weatherproof the Outside
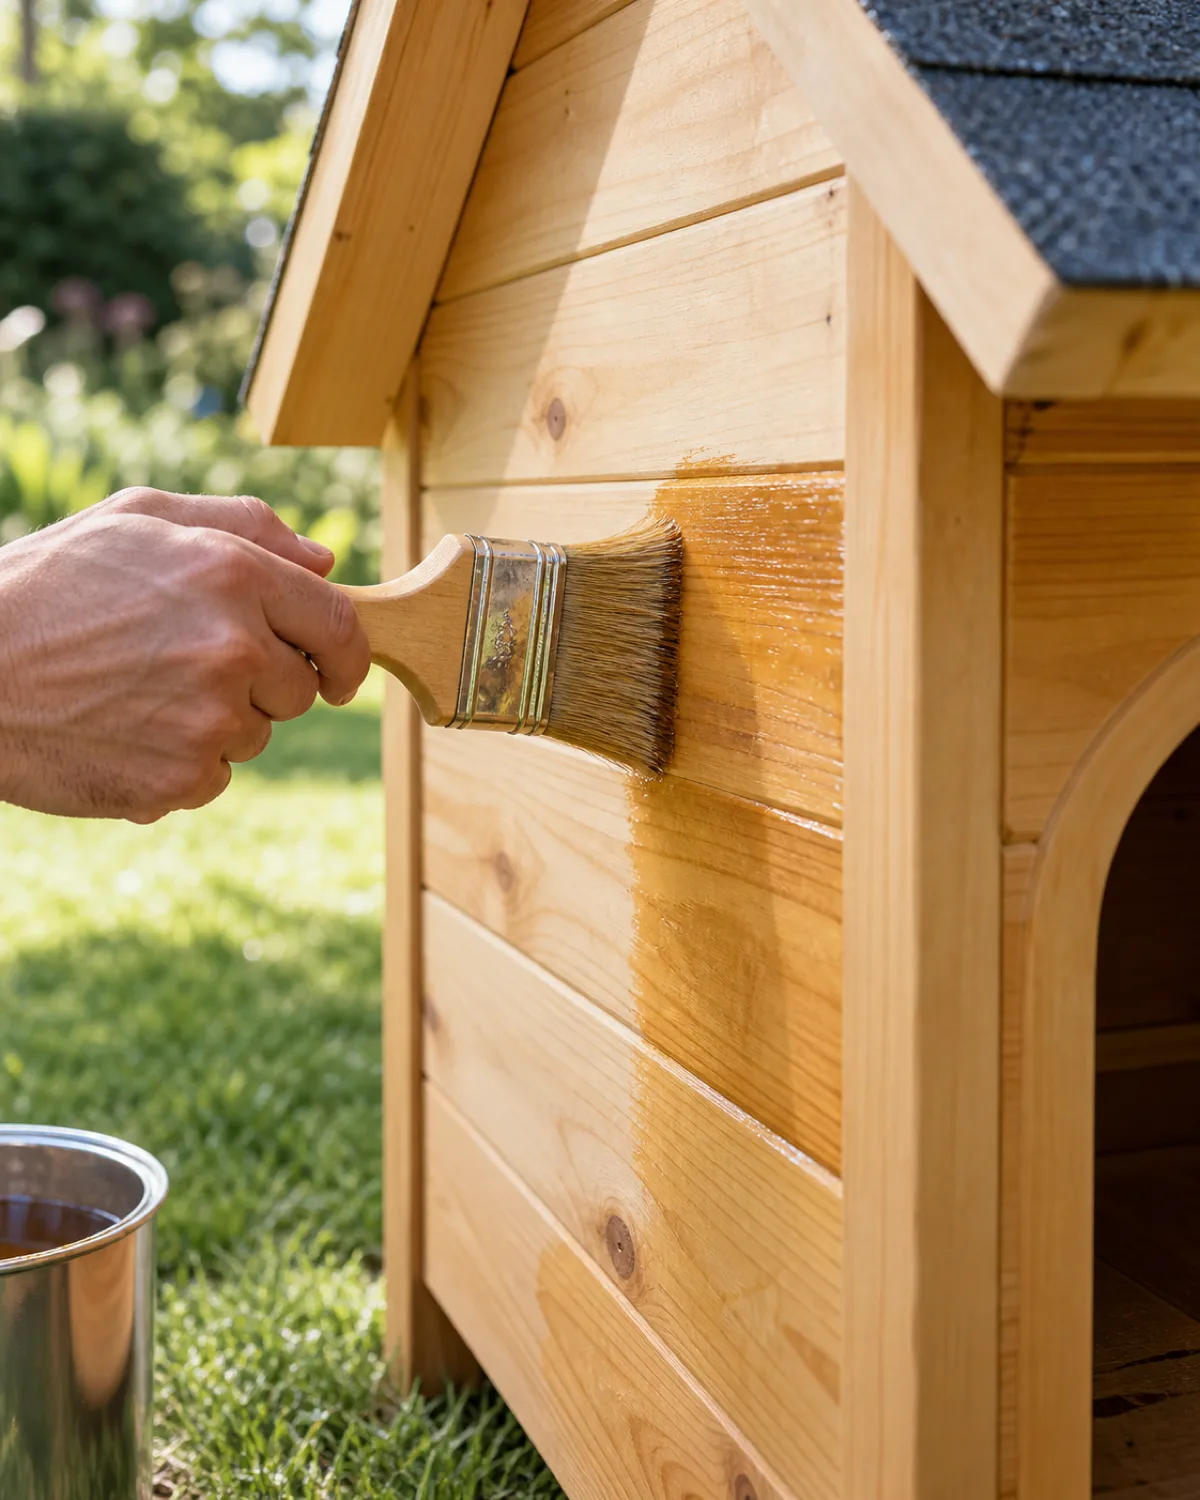
Apply two coats of exterior wood sealant or exterior paint to every outside surface. This protects the wood from rain, UV damage, and temperature swings that cause cracking.
Use a product labeled safe for pet environments or a plain exterior polyurethane. Avoid anything with a strong chemical odor that lingers. Apply the first coat, let it dry according to the label, then lightly sand with one-hundred-twenty grit before the second coat for better adhesion.
Cover the roof, all four walls, and the base skids that touch the ground
Do not seal the interior walls or floor because fumes concentrate in an enclosed space and your dog sleeps with their nose inches from those surfaces
Let the house cure outdoors for at least forty-eight hours with the door facing away from wind before letting your dog inside
If you used cedar and prefer the natural look, a clear exterior oil is enough. If you used pine or plywood, a solid-color exterior stain gives better protection and hides the grain variation.
9. Add Insulation for Cold Weather
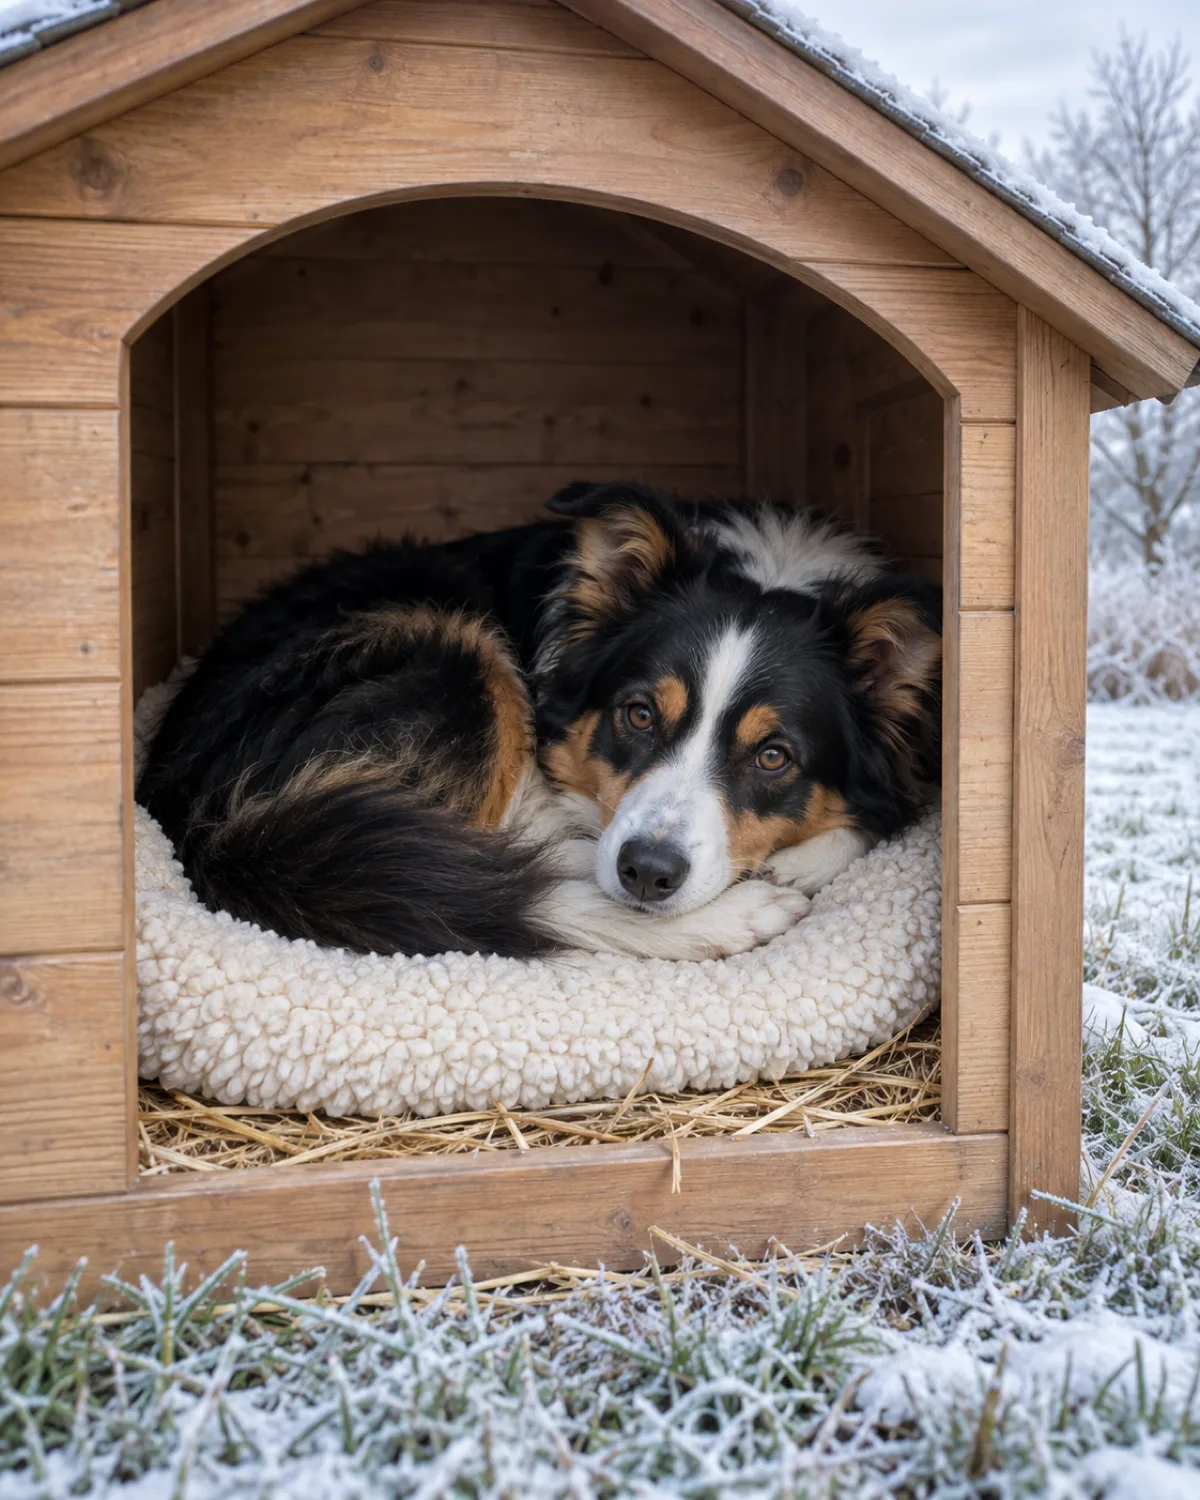
If you live where winter temperatures drop below freezing, insulation turns your DIY dog house from a wind shelter into a warm retreat. The simplest approach is to build double walls with a gap between them and fill the gap with rigid foam board.
Cut one-inch-thick rigid foam insulation panels to fit between the wall studs, then cover them with a thin interior skin of plywood so your dog cannot chew the foam. Do the same for the floor and the underside of the roof.
Rigid foam board is lightweight, moisture-resistant, and easy to cut with a utility knife
Straw makes excellent bedding on top of the insulated floor because it traps warm air and resists mold better than blankets or towels
Avoid fiberglass batts inside a dog house because they lose effectiveness when wet and can irritate skin if exposed
Protecting your dog from cold starts with the same thinking behind winter paw care. The house handles the shelter side. Proper bedding and a wind baffle handle the rest.
Save this for later
10 Steps to Build a DIY Dog House
1Measure your dogShoulder height, nose-to-tail length, and chest width. Every cut references these three numbers.
2Choose materialsCedar or pine boards, exterior plywood, galvanized deck screws, and exterior sealant.
3Build the baseRectangular frame with plywood floor, raised three inches off the ground on skid runners.
4Frame the wallsFour separate panels skinned flat on the ground, then stood up and screwed to the base and each other.
5Add a raised entranceThreshold above floor level plus an interior wind baffle that blocks direct drafts.
6Attach the roofTwo-inch overhang on every side. Hinged lid optional but makes cleaning easy.
7Sand every edgeEighty grit then one-twenty grit. Focus on the doorframe and interior corners.
8Seal the outsideTwo coats of exterior sealant on walls, roof, and base. Interior stays bare.
9Insulate for coldRigid foam between double walls, covered with interior plywood. Straw bedding on top.
10Pick the right spotShaded in summer, sheltered from wind, on level ground, facing away from prevailing storms.
pawliqa.com
10. Place It in the Right Spot in Your Yard
Where you put the house matters as much as how you build it. The entrance should face away from the direction your strongest winds come from. In most of the continental US, that means facing the door south or east.
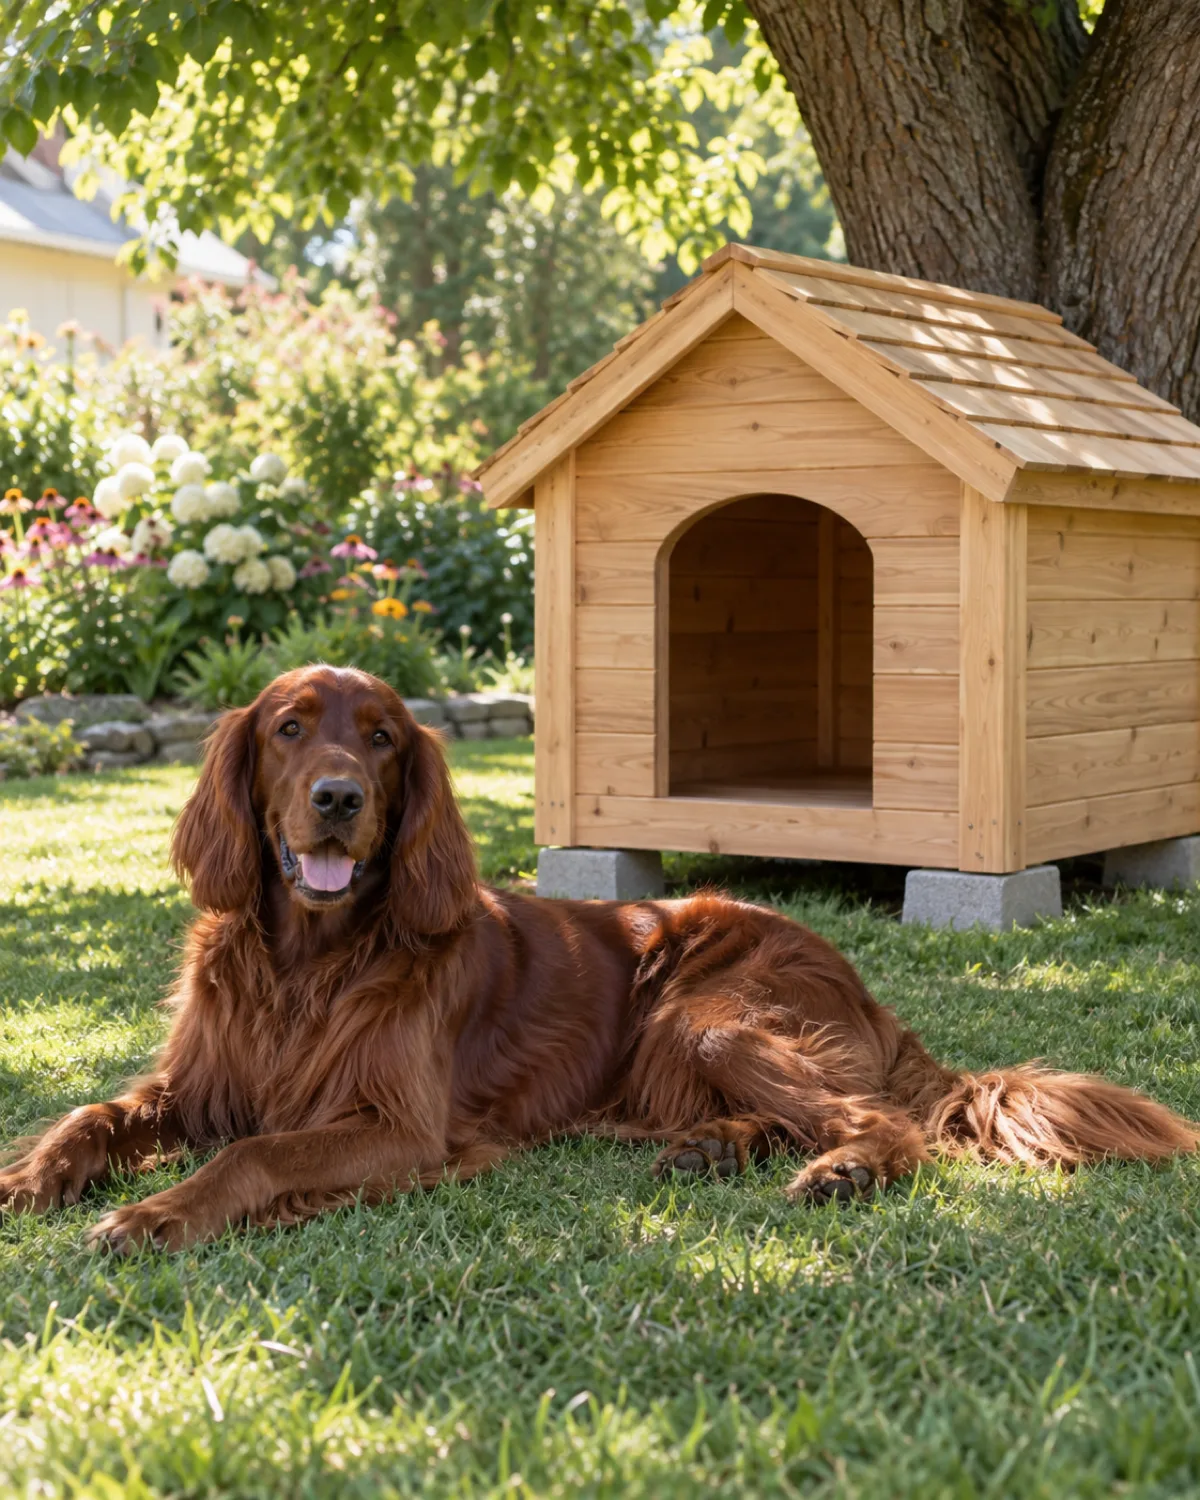
Place the house on level ground, ideally on a few concrete pavers or a gravel pad so water drains away from the base instead of pooling underneath it. Position it under a shade tree or along a fence line that provides afternoon shade in summer.
Avoid placing it directly against a house wall where reflected heat can overheat the interior in summer
Keep it within sight of a window or door you use often so you can check on your dog without going outside
Leave enough space behind and beside the house for air circulation and occasional cleaning access
A well-placed DIY dog house becomes your dog's favorite outdoor spot within a week. If your dog ignores it at first, toss a few treats inside and leave the decision to them. Most dogs figure out the value of their own shelter the first time it rains while they are already inside.
P
About the author
Jess Calloway
Jess Calloway edits Pawliqa, where she shares dog care, grooming, training, and new-owner tips — plus DIY and pet-friendly home ideas — for anyone who wants a happy, well-cared-for dog. As a dog mom to three very different dogs, she writes the honest, tested version of what actually works. Every guide is image-led and reviewed for clarity, usefulness, image accuracy, and Pinterest-to-page alignment before it goes live. Visit the About page.
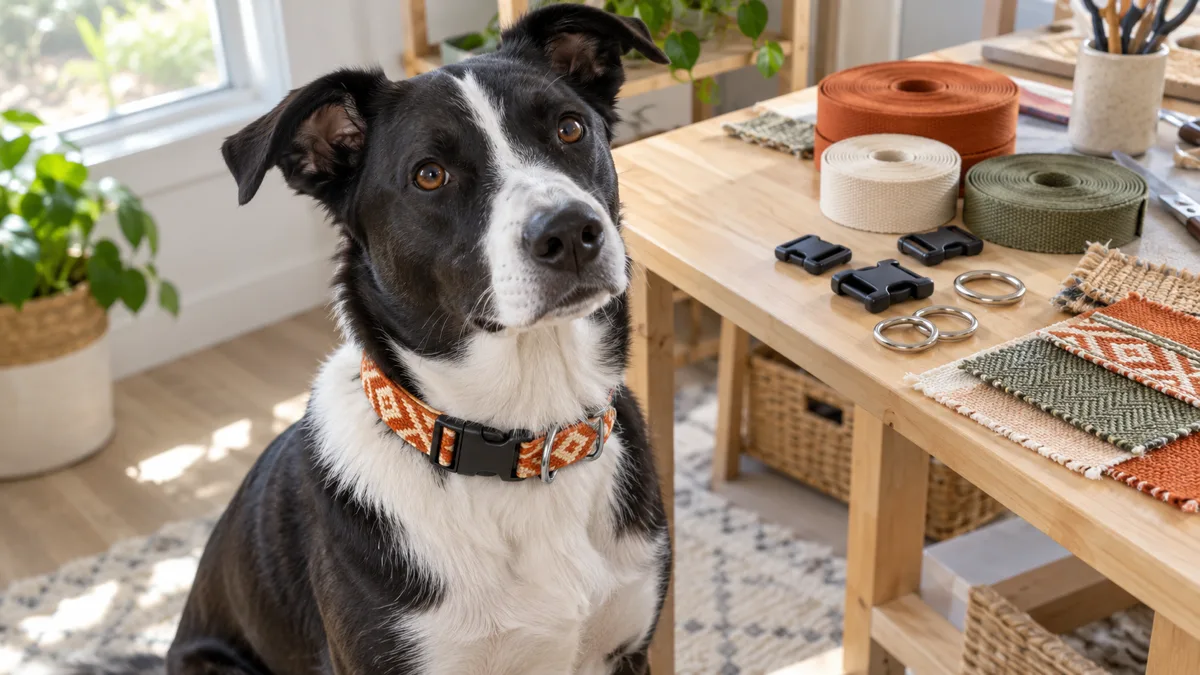
Making a dog collar at home gives you full control over fit, material, and style. This guide walks through picking the right webbing, threading hardware, hand-sewing a box stitch that holds, and running the safety checks that matter before your dog wears it out the door.