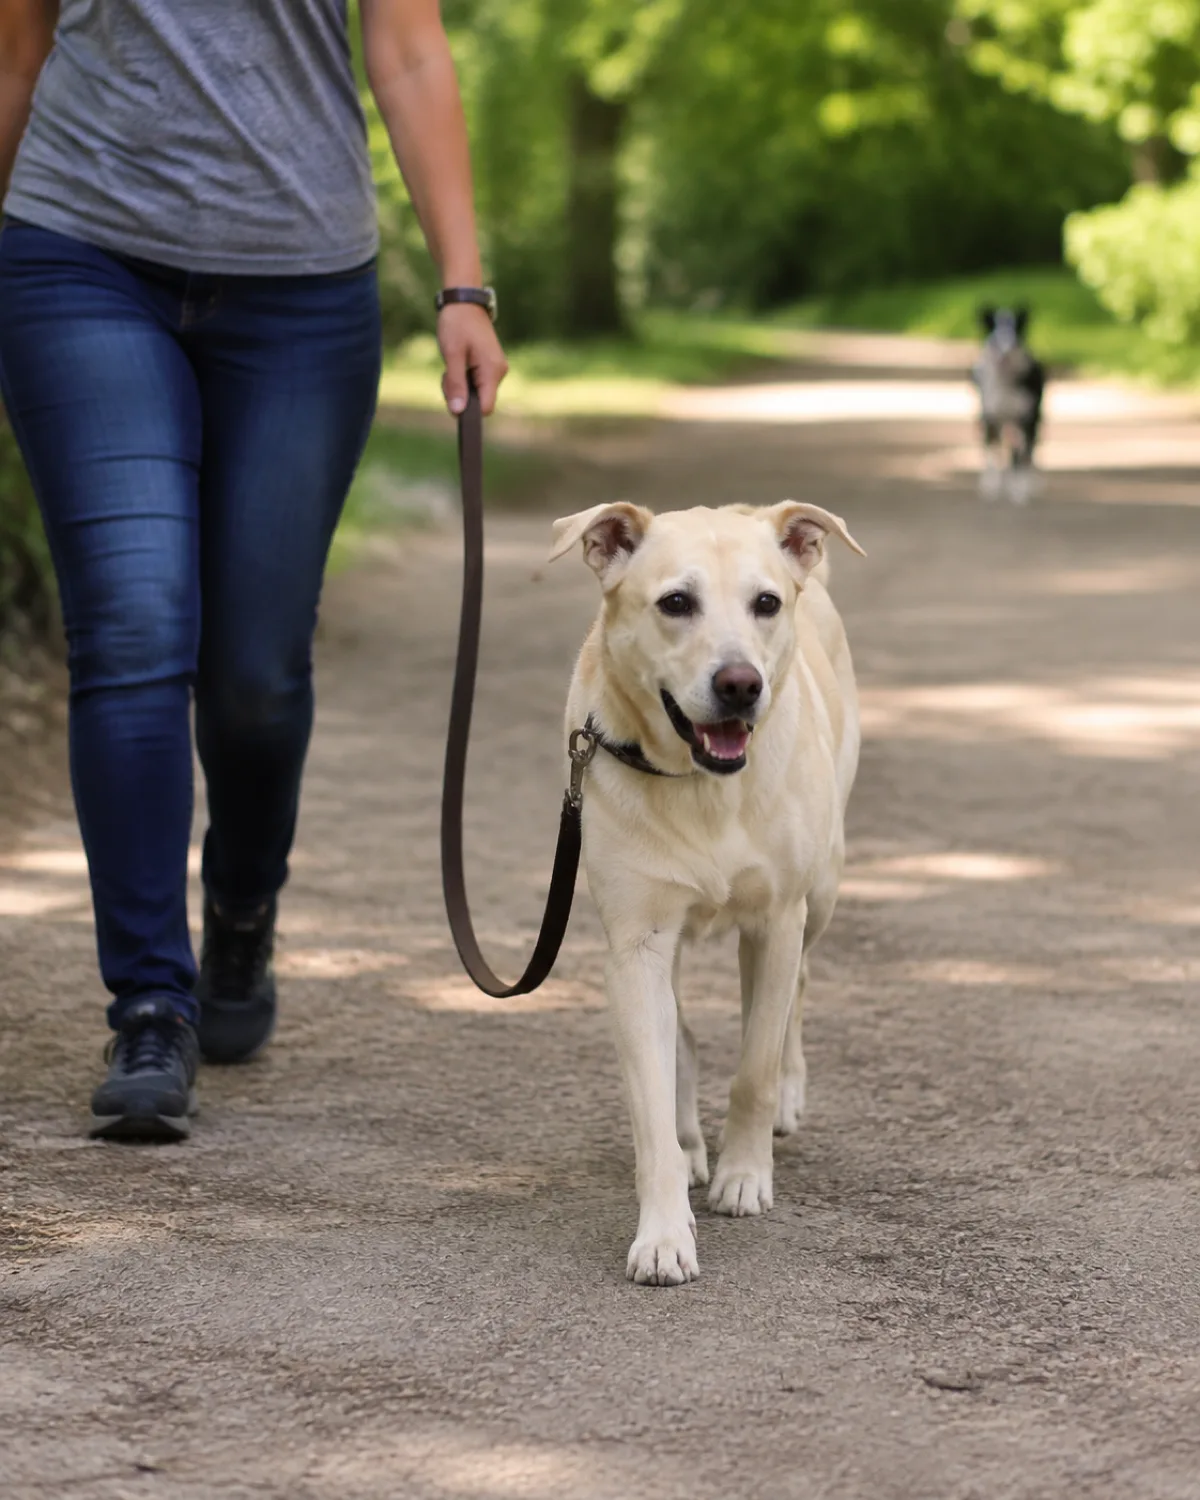
My middle dog used to lose her mind every time she spotted another dog on a walk. Barking, spinning, pulling so hard her front paws left the ground. I thought she was aggressive until a trainer explained the difference.
Reactivity is a big emotional response to a specific trigger. It comes from frustration or fear, not a desire to cause harm. Reactive dog training follows a predictable process, and most dogs improve within weeks of consistent practice.
Here are twelve steps that helped my reactive dog go from full meltdown mode to calm, boring walks past the same triggers that used to wreck us both.
Jump to a training step
12 steps for reactive dog training
From reading your dog\'s body language to building a realistic timeline, these twelve steps cover the full reactive dog training process using distance, treats, and patience.
1. What Reactivity Actually Looks Like and Why It Happens
A reactive dog is not a bad dog. Reactivity is an outsized emotional response to a specific trigger, and it usually looks like barking, lunging, or spinning when the dog spots another dog, a person, a bicycle, or something else that sets them off.
The root cause is almost always one of two things. Some dogs react out of frustration because they want to reach the trigger and cannot. Others react out of fear because the trigger makes them uncomfortable and they want it to go away. Both look similar on the leash, but the training approach stays the same for either.
Reading your dog's body language before a reaction starts is the first skill to learn. A hard stare, stiff posture, closed mouth, and forward weight shift all happen in the seconds before the barking begins. Learning to spot these early warning signs gives you time to intervene.
Frustration-based reactivity often comes with a wagging tail and high-pitched whining before the explosion
Fear-based reactivity usually includes a lowered body, tucked tail, or backing up before the bark
Some dogs react to every dog they see while others only react to specific triggers like large dogs, skateboards, or joggers
2. Find Your Dog's Threshold Distance
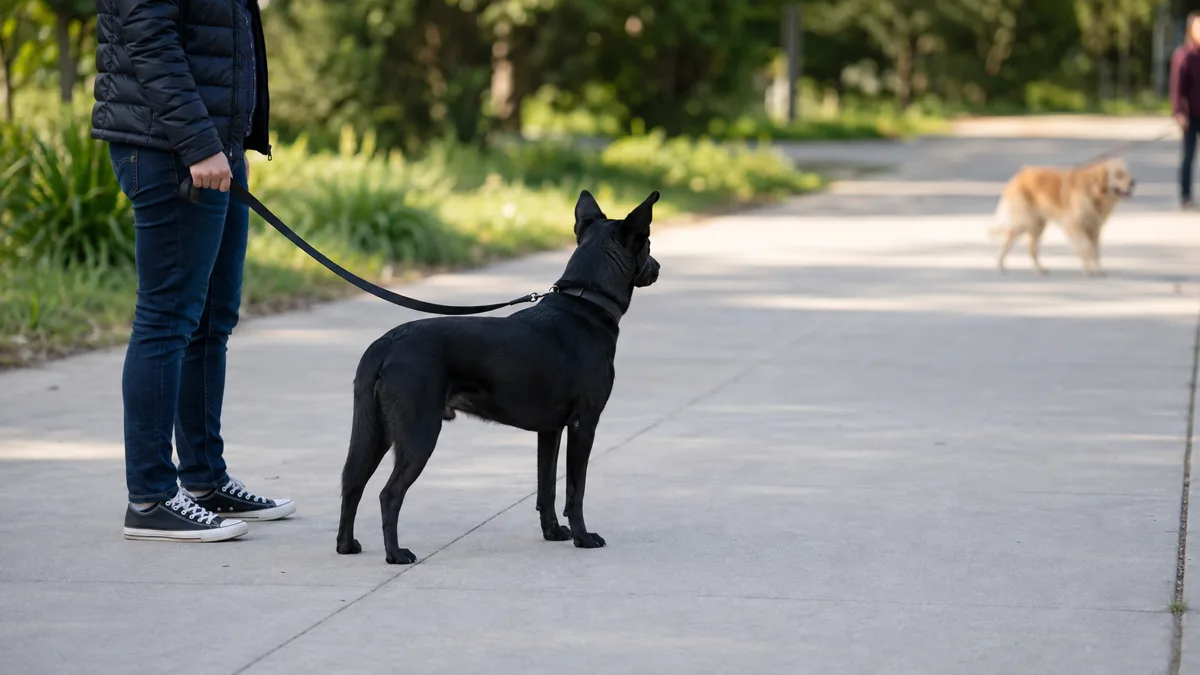
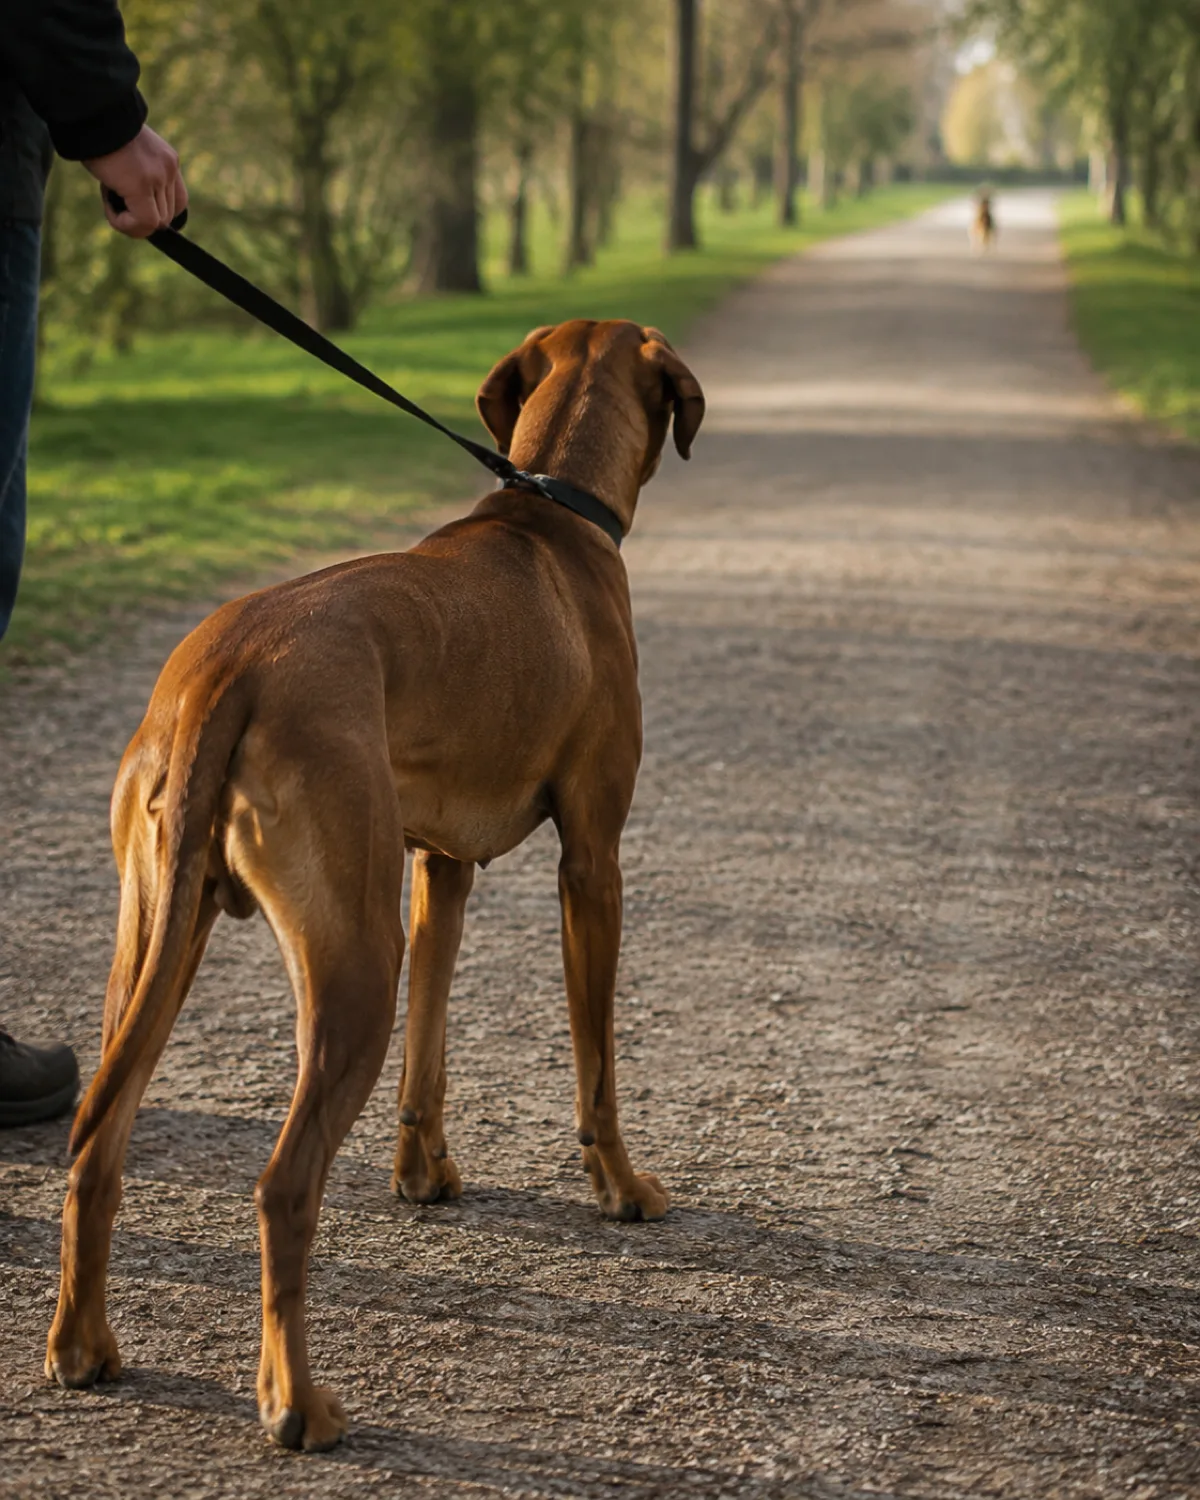
Threshold distance is the minimum distance between your dog and a trigger where your dog can notice the trigger without reacting. Below that distance, your dog cannot think. Above it, your dog can still take a treat, look at you, and make decisions.
Finding this distance requires a trip to a park or open area where you can see triggers coming from far away. Walk your dog and pay attention to when they first notice another dog or person. If they stiffen but can still look at you when you say their name, you are near the edge of their threshold. If they are already barking, you are too close.
Most reactive dogs have a threshold somewhere between thirty and one hundred feet, but some need even more space in the early stages
Threshold distance changes based on context: a calm dog walking away is less triggering than an excited dog running toward you
Write down the approximate distance from your first few sessions so you have a starting point to measure progress against
Every training session in reactive dog training starts with this number. You will always set up your practice at or beyond threshold, and over weeks you will watch that number shrink.
3. Start Every Session Below Threshold
Training a reactive dog above threshold is like studying for an exam while someone screams in your ear. The information cannot get in. Your dog needs to be far enough from the trigger that their brain is still functioning and they can make choices.
If you push too close too fast, you are not training. You are flooding your dog with the thing that scares or frustrates them, and that makes reactivity worse, not better.
Set up so the trigger is visible but distant, and your dog can eat treats and follow basic cues
If your dog refuses food, you are too close and need to add distance immediately
A dog that can sit, watch you, and take a treat while the trigger exists in the background is in the learning zone
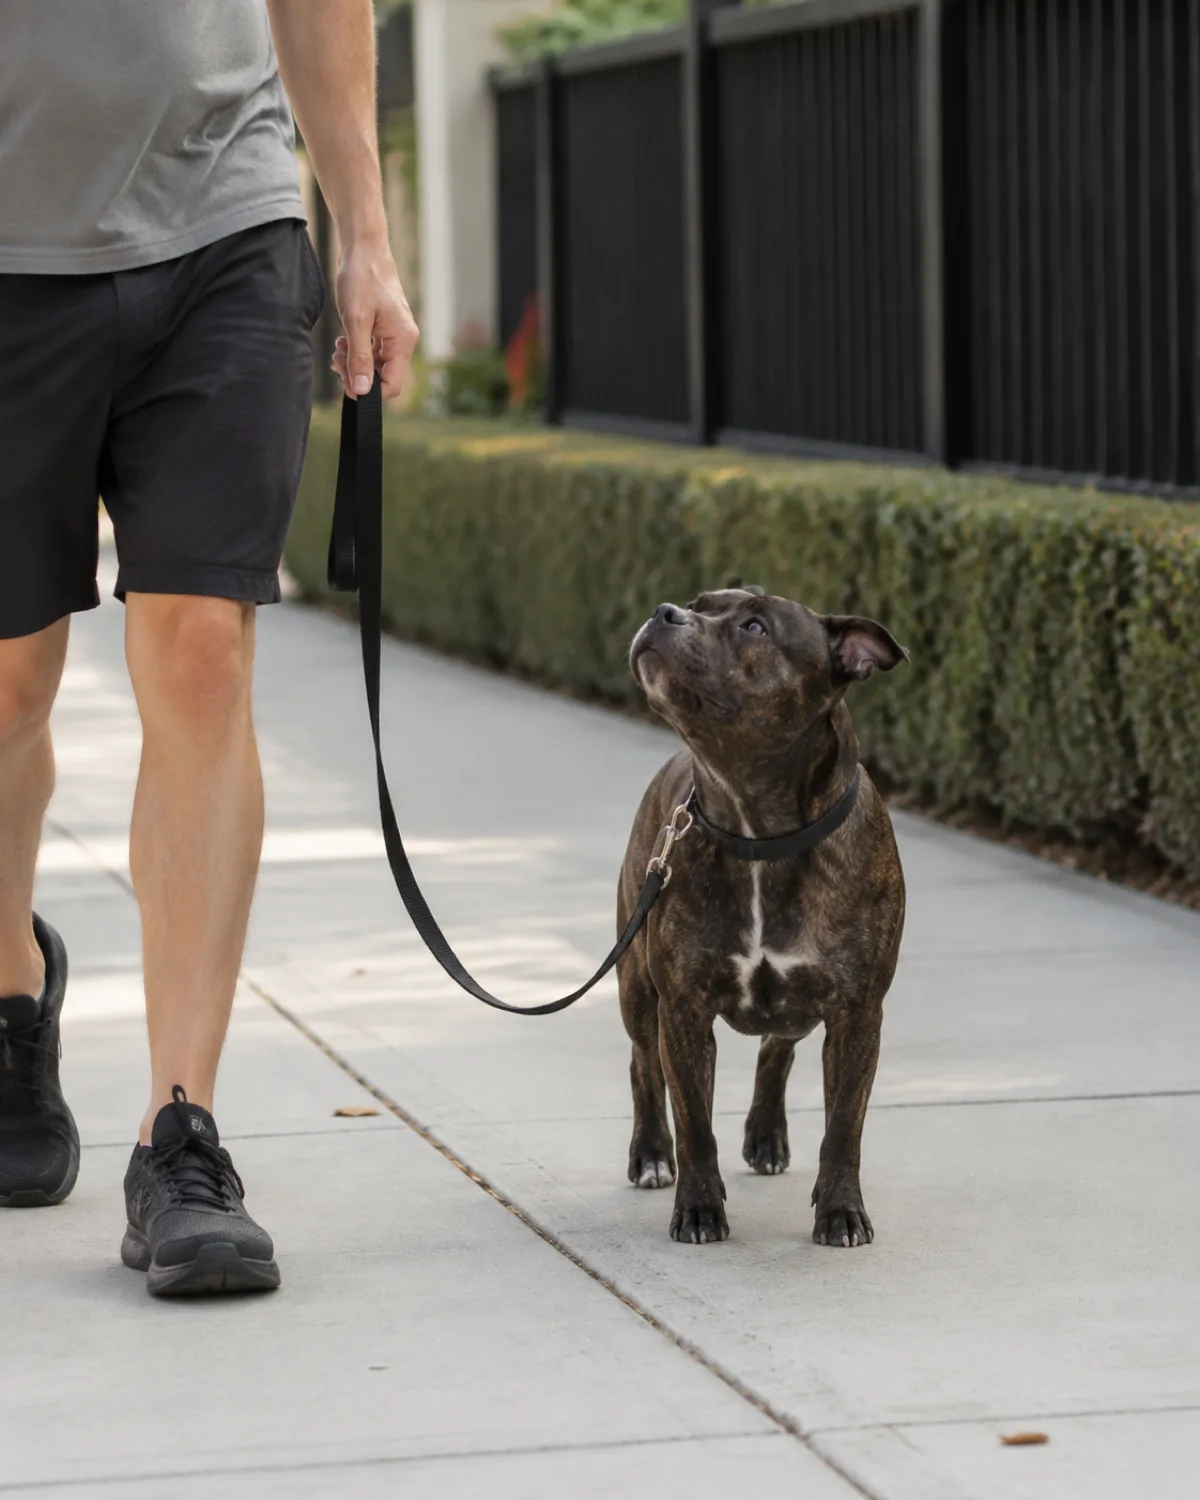
The leash mechanics matter here too. A tight leash adds tension that travels straight to your dog's emotional state. Keep the leash loose and your body relaxed. If you are gripping the leash at shoulder height with white knuckles, your dog can feel that anxiety running right down the line.
Match the approach to what your dog is feeling
Is your dog frustrated or afraid?
Frustration signsWagging tail, whining, pulling forward, standing tall. This dog wants to reach the trigger. Redirect their excitement into a reward for looking at you instead.
Fear signsBacking up, lowered body, tucked tail, lip licking. This dog wants the trigger to leave. Increase distance and pair the trigger with high-value treats.
Mixed signalsSome dogs show both. If you see conflicting body language, default to the fear protocol: more distance, lower pressure, higher rewards.
Not sure?Film a session from the side and watch it back at half speed. You will catch details you missed in real time.
4. Use High-Value Treats to Redirect Focus
Regular kibble is not going to cut it when your dog is staring down a trigger. Reactive dog training demands treats that are so good your dog will choose them over the thing that normally sends them into orbit.
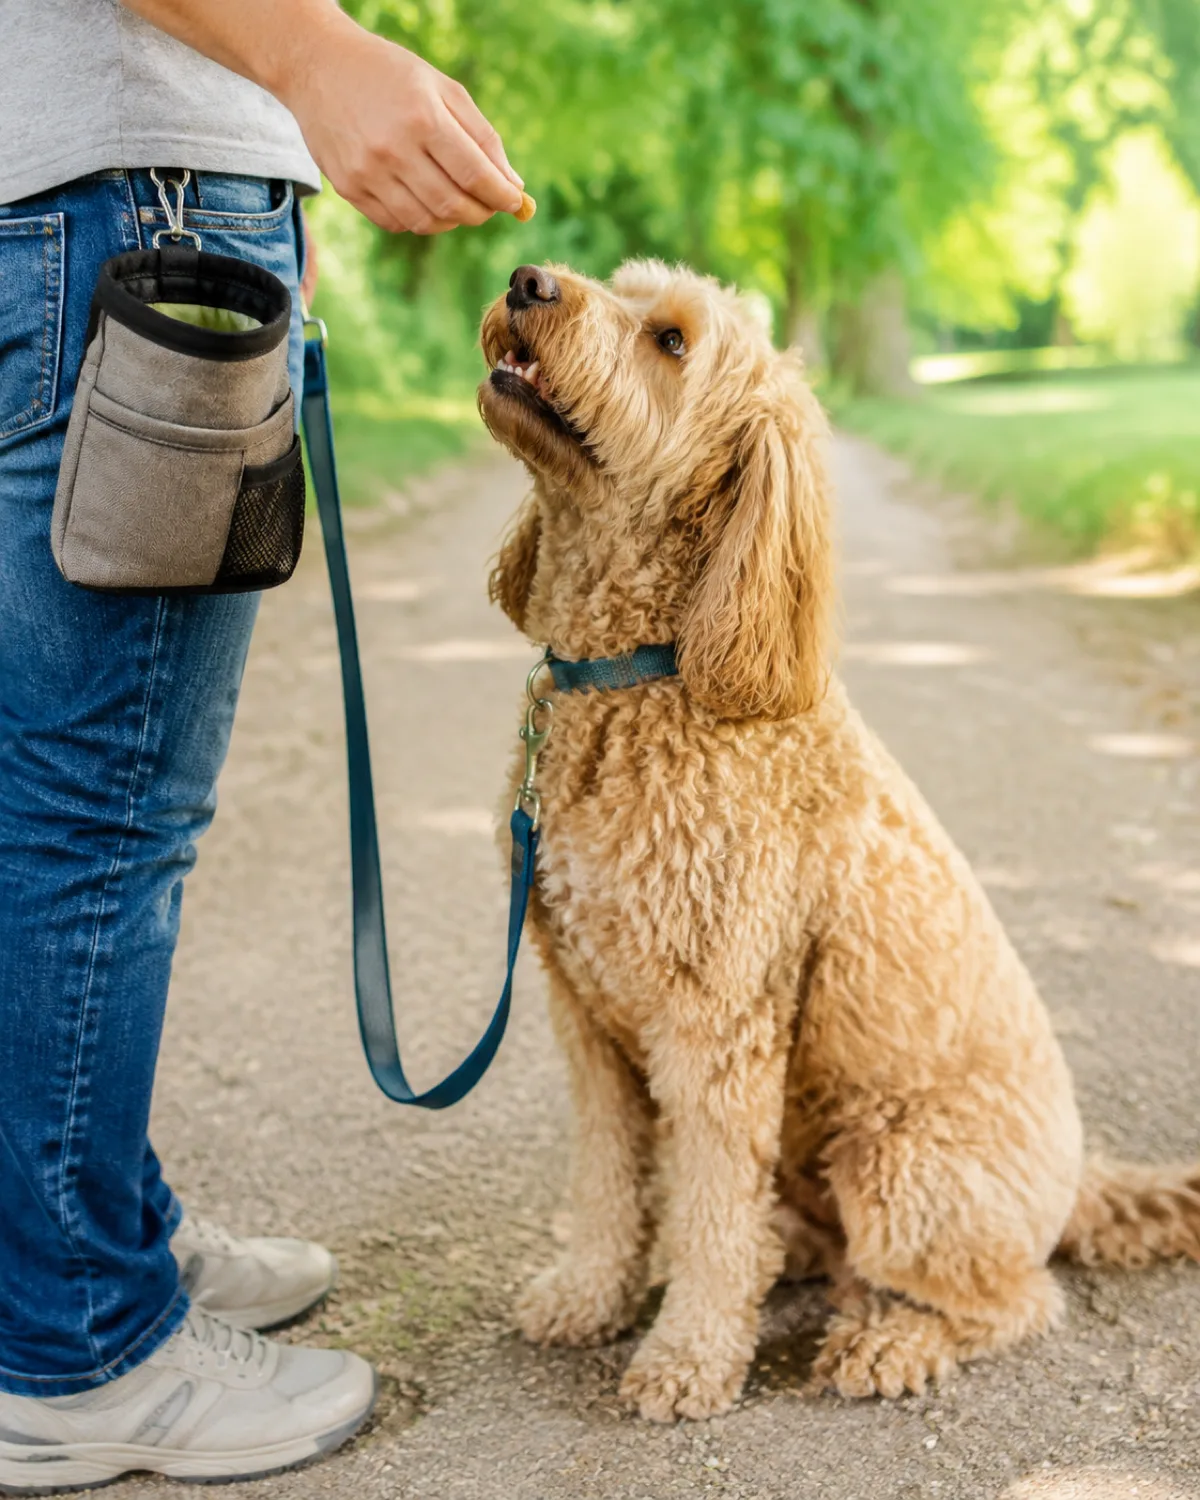
The treat needs to beat the trigger. Soft, smelly, small, and fast to eat. Cheese, hot dog bits, freeze-dried liver, or deli turkey work for most dogs. Cut everything into pea-sized pieces so your dog can eat quickly and refocus.
Load your treat pouch before every walk, not just training sessions, because triggers do not schedule themselves
Test a few options at home first to find what makes your dog lose their mind in a good way
Rotate treats every few days so they stay novel and exciting
Your dog is not being bribed. You are changing the emotional association with the trigger. Every time the trigger appears and something delicious follows, your dog's brain starts to connect that trigger with good things rather than panic.
5. Practice the Look-at-That Game
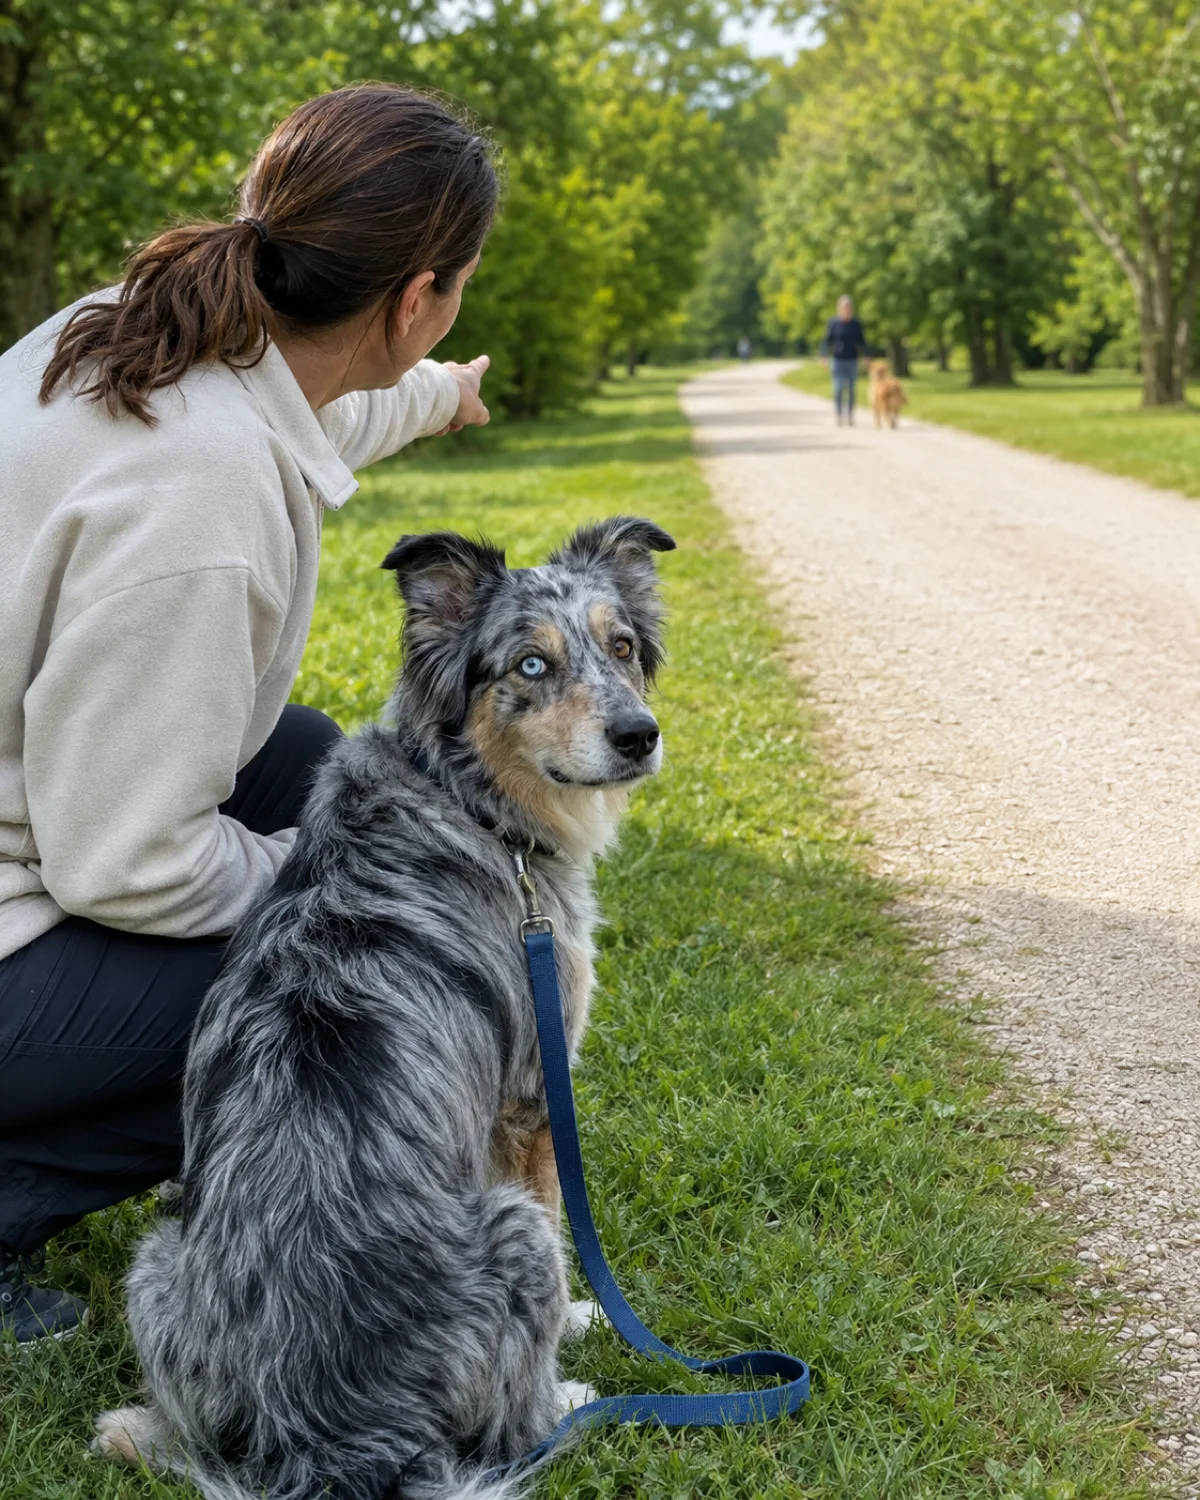
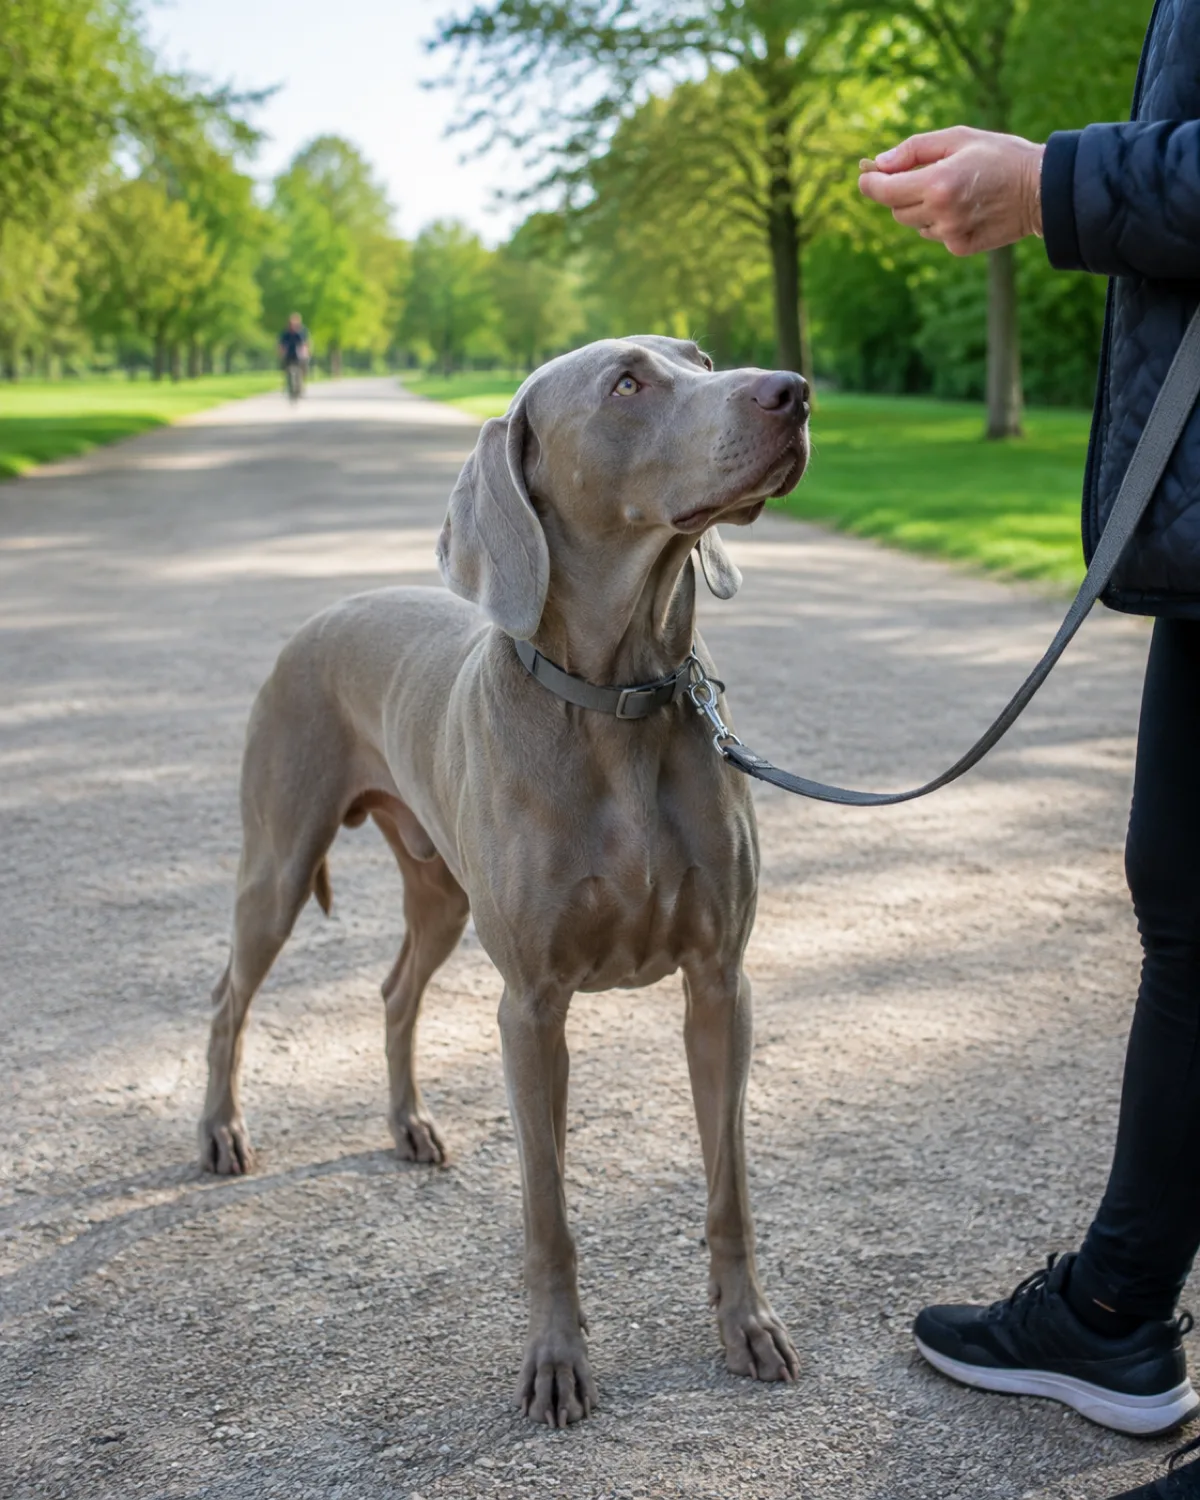
The look-at-that game is the single most effective exercise in reactive dog training. The concept is straightforward: your dog looks at the trigger, and that look earns a treat.
Start at threshold distance. The moment your dog notices the trigger, in that split second before they decide whether to react, mark the look with a word or a clicker and deliver a treat. You are not waiting for your dog to look away from the trigger. You are rewarding the look itself.
Over repetitions, something counterintuitive happens. Your dog starts looking at the trigger and then immediately looking back at you, because looking at the trigger has become the cue that predicts food. The trigger stops being something to react to and becomes something that earns them a reward.
Start with triggers that are far away and stationary before working up to triggers that are closer or moving
Mark and treat within one second of the look for the clearest possible connection
If your dog stares and freezes rather than glancing, you are too close to the trigger
6. Teach an Emergency U-Turn
No matter how well you plan, you will round a corner and walk straight into a trigger at close range. An emergency U-turn gives you a trained escape route that your dog follows automatically.
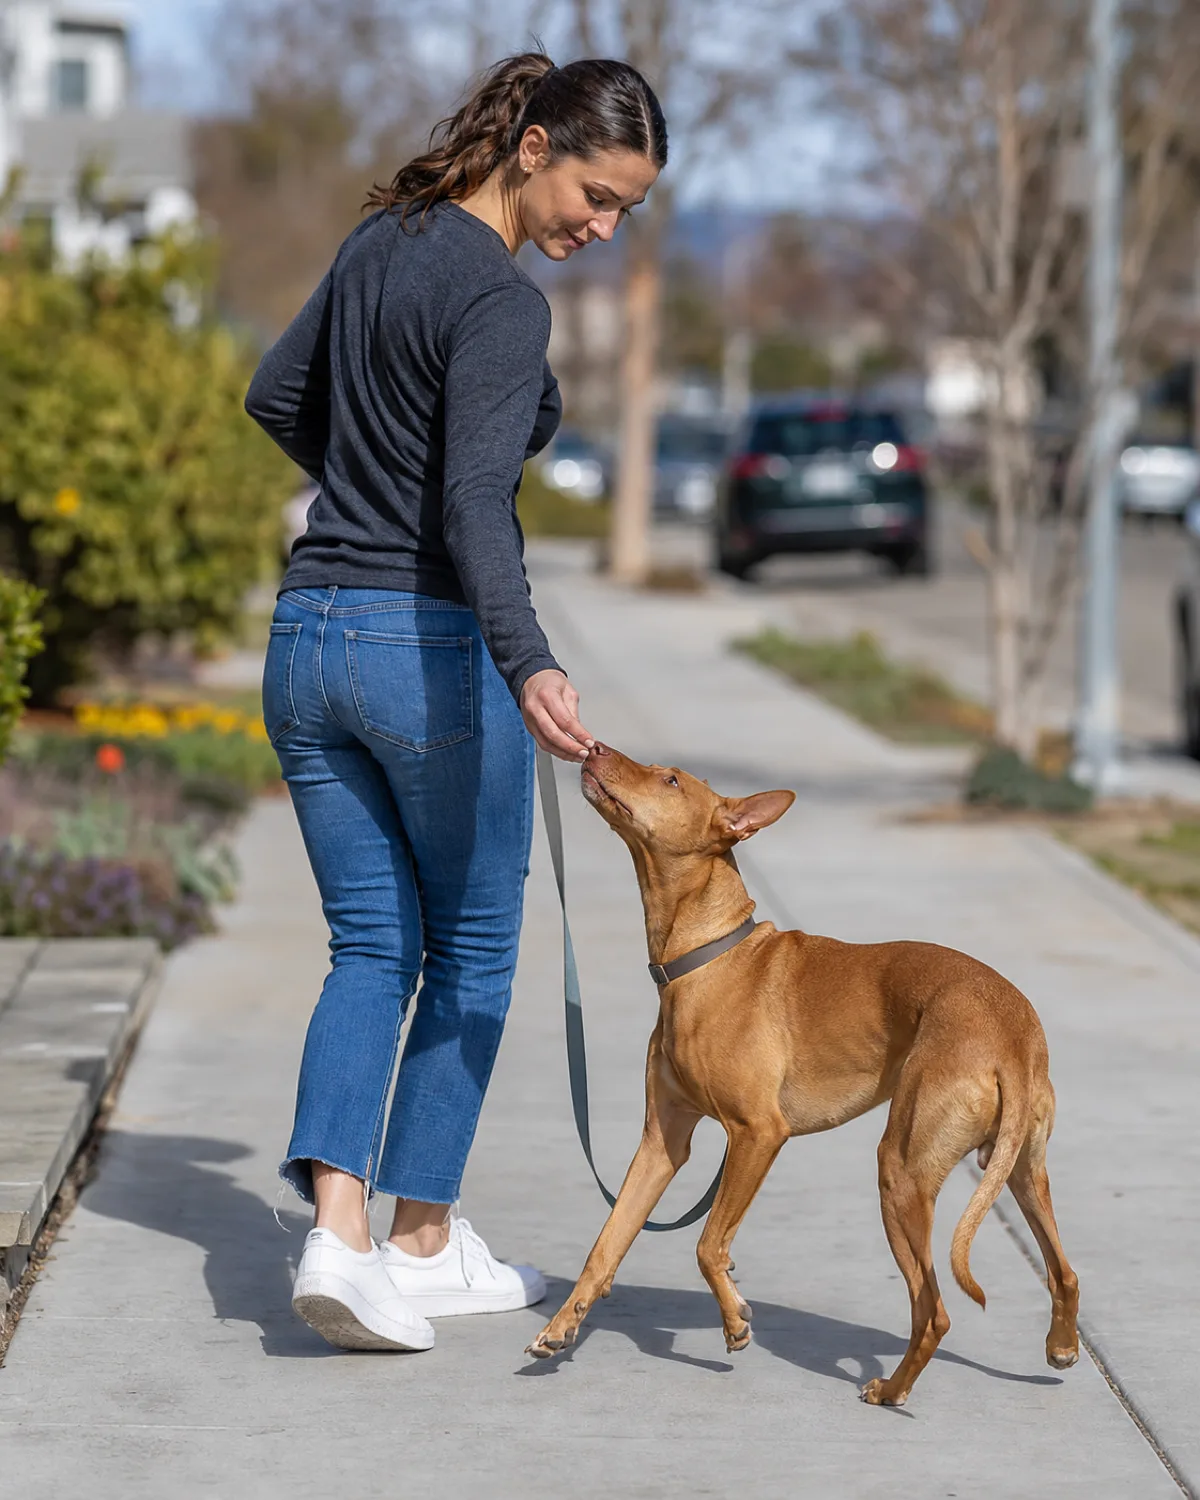
Practice this away from triggers first. Say your cue word, something upbeat like "this way" or "let's go," and turn your body 180 degrees while luring your dog with a treat at nose level. Walk briskly in the opposite direction and deliver several treats in a row as you move.
Practice ten to fifteen U-turns per walk for the first week until your dog spins with you the moment they hear the cue
Use the same cue word every time so it becomes automatic under pressure
In a real emergency, do not wait to see if your dog can handle it. Turn first, assess later
The U-turn is not a failure. It is the most important management tool in your reactive dog training toolkit. Every time you get your dog out of a situation before a reaction, you are protecting the progress you have made.
7. Keep Sessions Short and End on a Win
Reactive dog training sessions should last five to fifteen minutes, not an hour. Short sessions keep your dog's stress low and end before fatigue turns good decisions into bad ones.
Plan your session with a specific goal. Maybe you want three successful look-at-that reps at fifty feet from a trigger. Once you hit that number, stop. Walk your dog somewhere calm, play for a minute, and go home.
Ending on a success teaches your dog that training leads to good outcomes, which makes them more willing to engage next time
If a session is going badly and your dog has already reacted twice, end it immediately by walking to a quiet spot and doing three easy known cues for treats
One good five-minute session is worth more than a thirty-minute session that included three meltdowns
Four principles that protect every reactive dog training session
The session framework
Distance firstAlways start beyond your dog\'s threshold. If they cannot take a treat, add more space before doing anything else.
Reward the lookMark and treat the moment your dog notices the trigger. You are rewarding awareness, not reaction.
Escape earlyUse your U-turn cue at the first sign of tension. Getting out before a reaction protects every rep you have banked.
Quit while aheadEnd every session after a success, even if it only lasted three minutes. Short wins build long-term confidence.
8. Manage the Environment Between Sessions
Training happens in structured sessions, but your dog lives in the real world the rest of the day. Every unplanned reaction outside of training sets your progress back, so managing the environment between sessions matters as much as the sessions themselves.
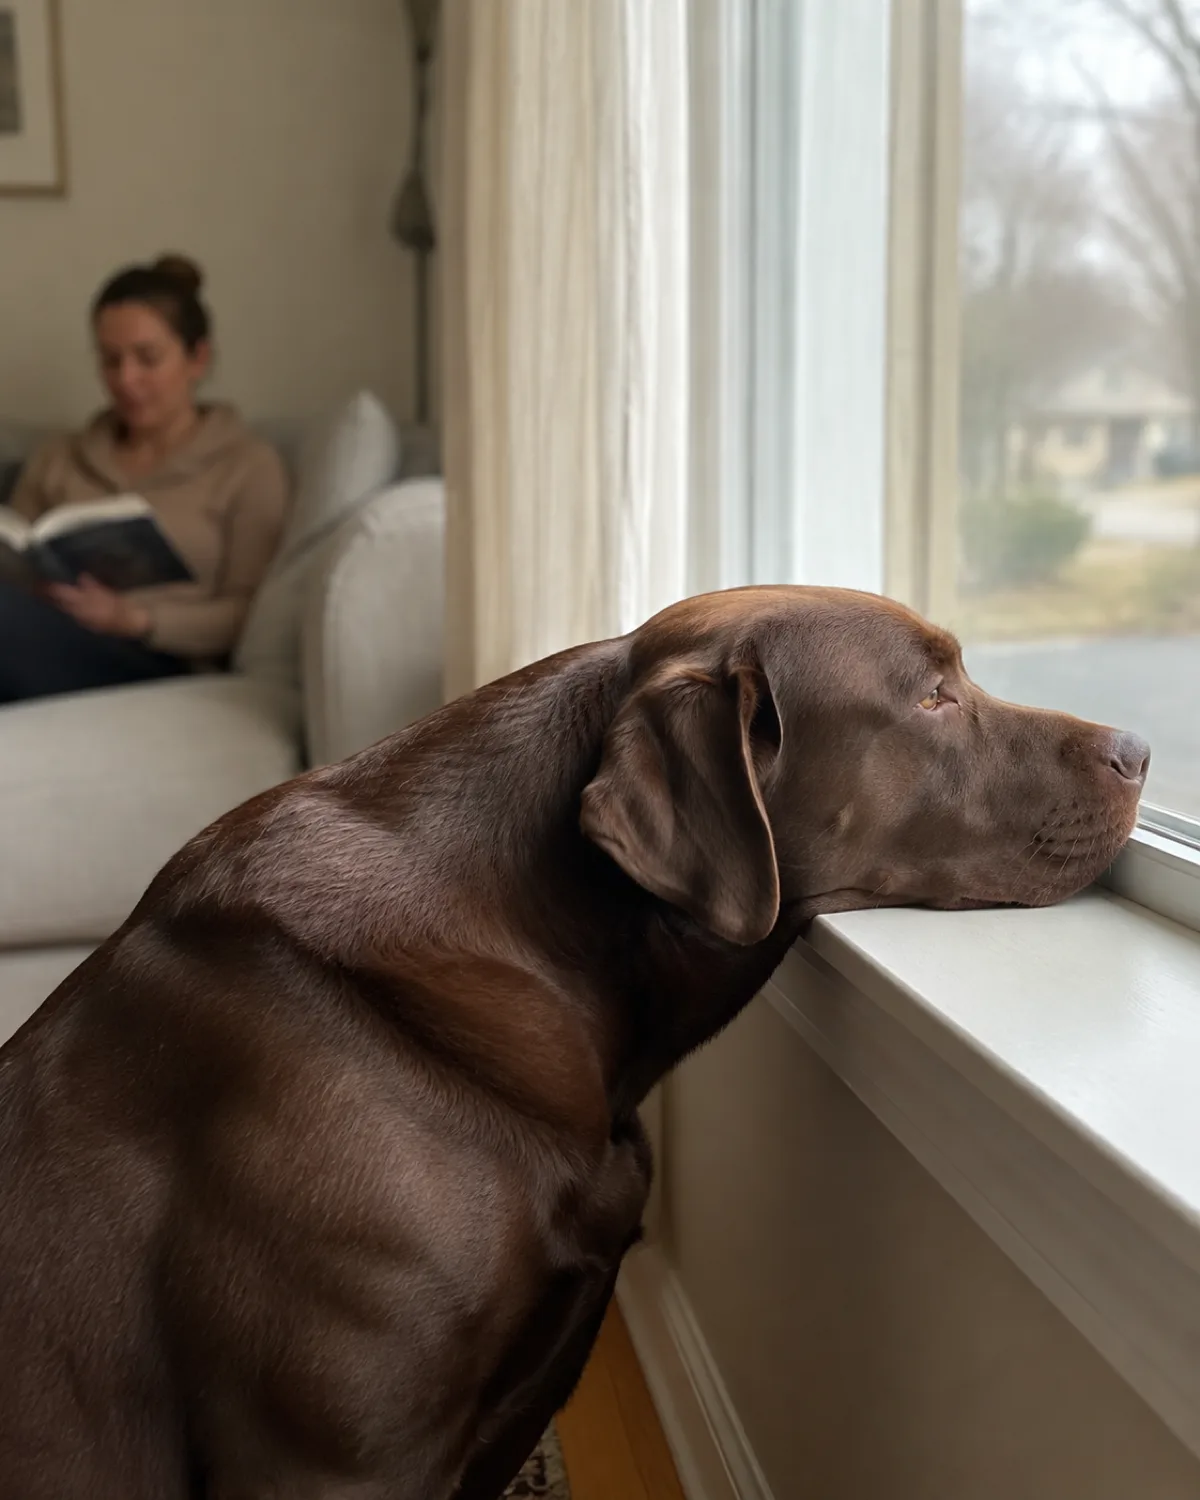
Window barking is one of the biggest progress killers. If your dog spends three hours a day barking at every dog that walks past your front window, your five-minute training session cannot outpace that rehearsal. Block the view with frosted window film or close the blinds during peak traffic hours.
Walk routes that avoid known trigger hotspots during non-training walks
Cross the street or duck behind a parked car when you spot a trigger you were not prepared for
Drive to a quieter park for training sessions rather than walking through a trigger-heavy neighborhood to get there
The goal is to reduce unplanned trigger exposure to near zero while you build skills in controlled settings. Every reaction your dog practices makes the next one more likely. Every calm rep makes the next one easier.
9. Split Your Daily Walks Into Decompression and Training
A reactive dog still needs daily exercise, but cramming training reps into a regular walk puts too much pressure on both of you. Splitting your daily routine into two separate walk types keeps training clean and exercise stress-free.
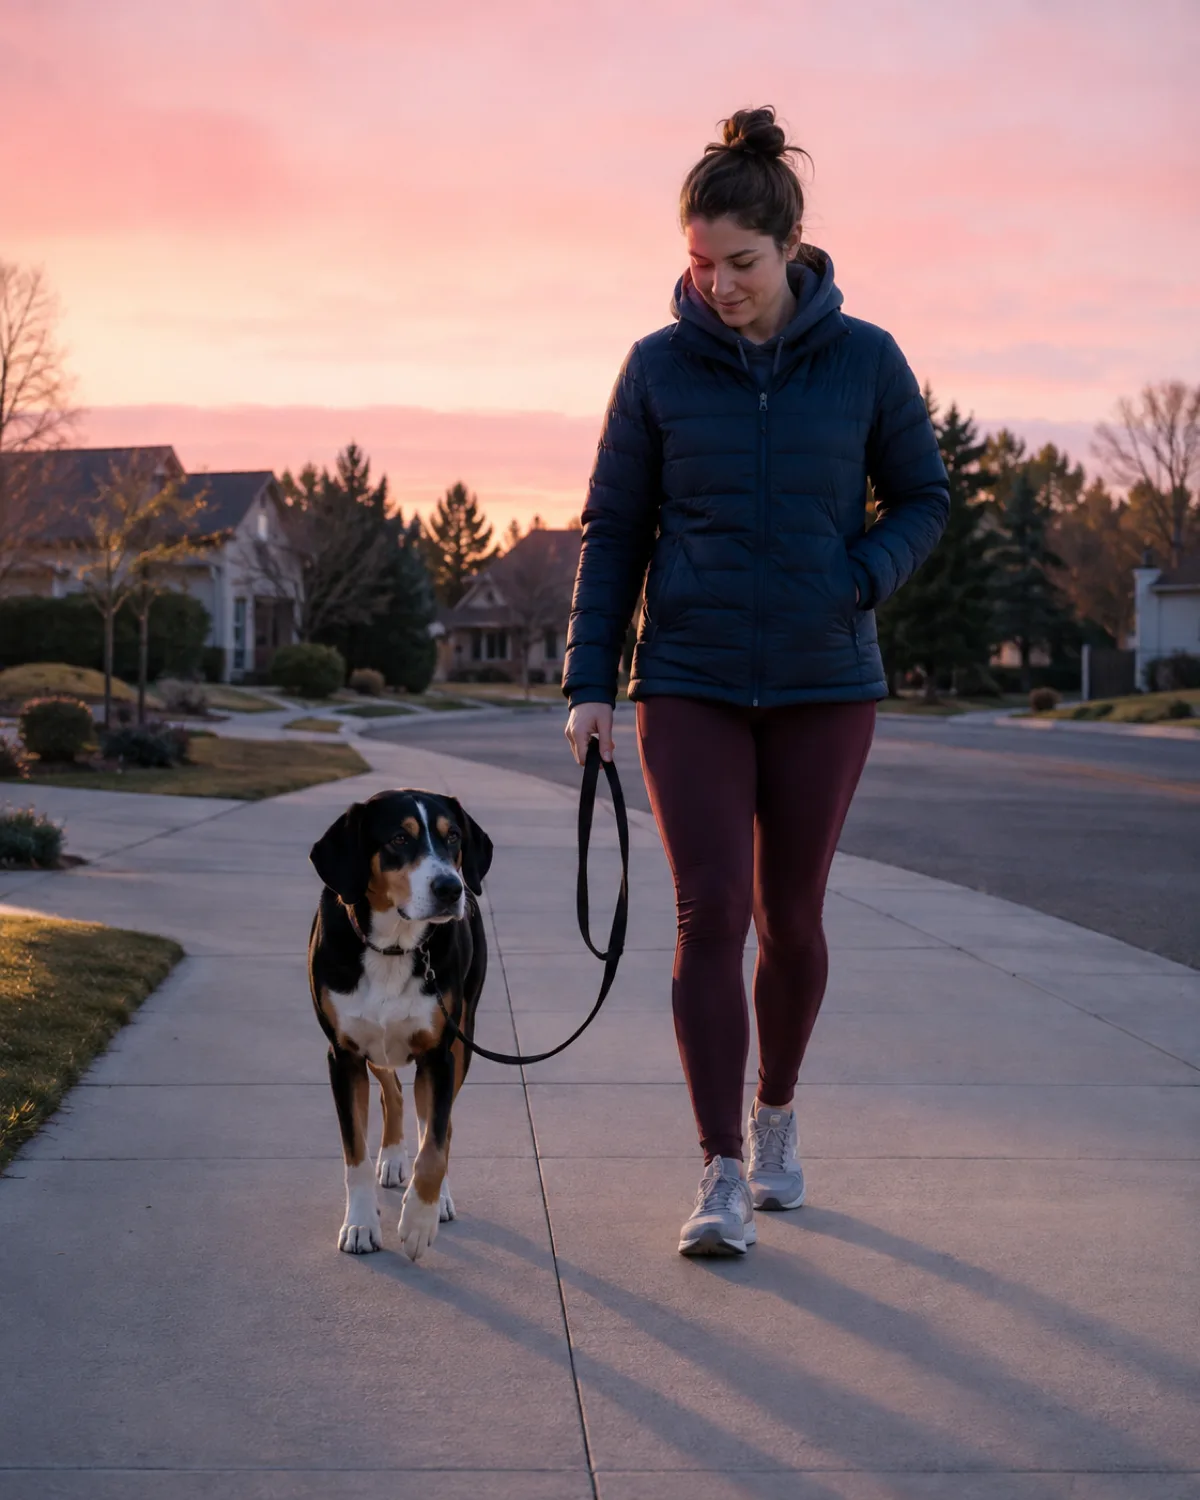
Decompression walks happen in low-traffic areas where triggers are unlikely. The only goal is letting your dog sniff, move, and relax without any demands. A long line in a quiet field, a fenced yard, or a residential street at dawn all work. These walks drain physical energy so your dog arrives at the training session calmer and more able to focus.
Schedule the decompression walk first and the training session second, with at least a thirty-minute rest between them
Never combine a decompression walk and a structured training session into one outing because fatigue erases impulse control
Use a different leash or harness for each type of walk so your dog learns which rules apply before you leave the house
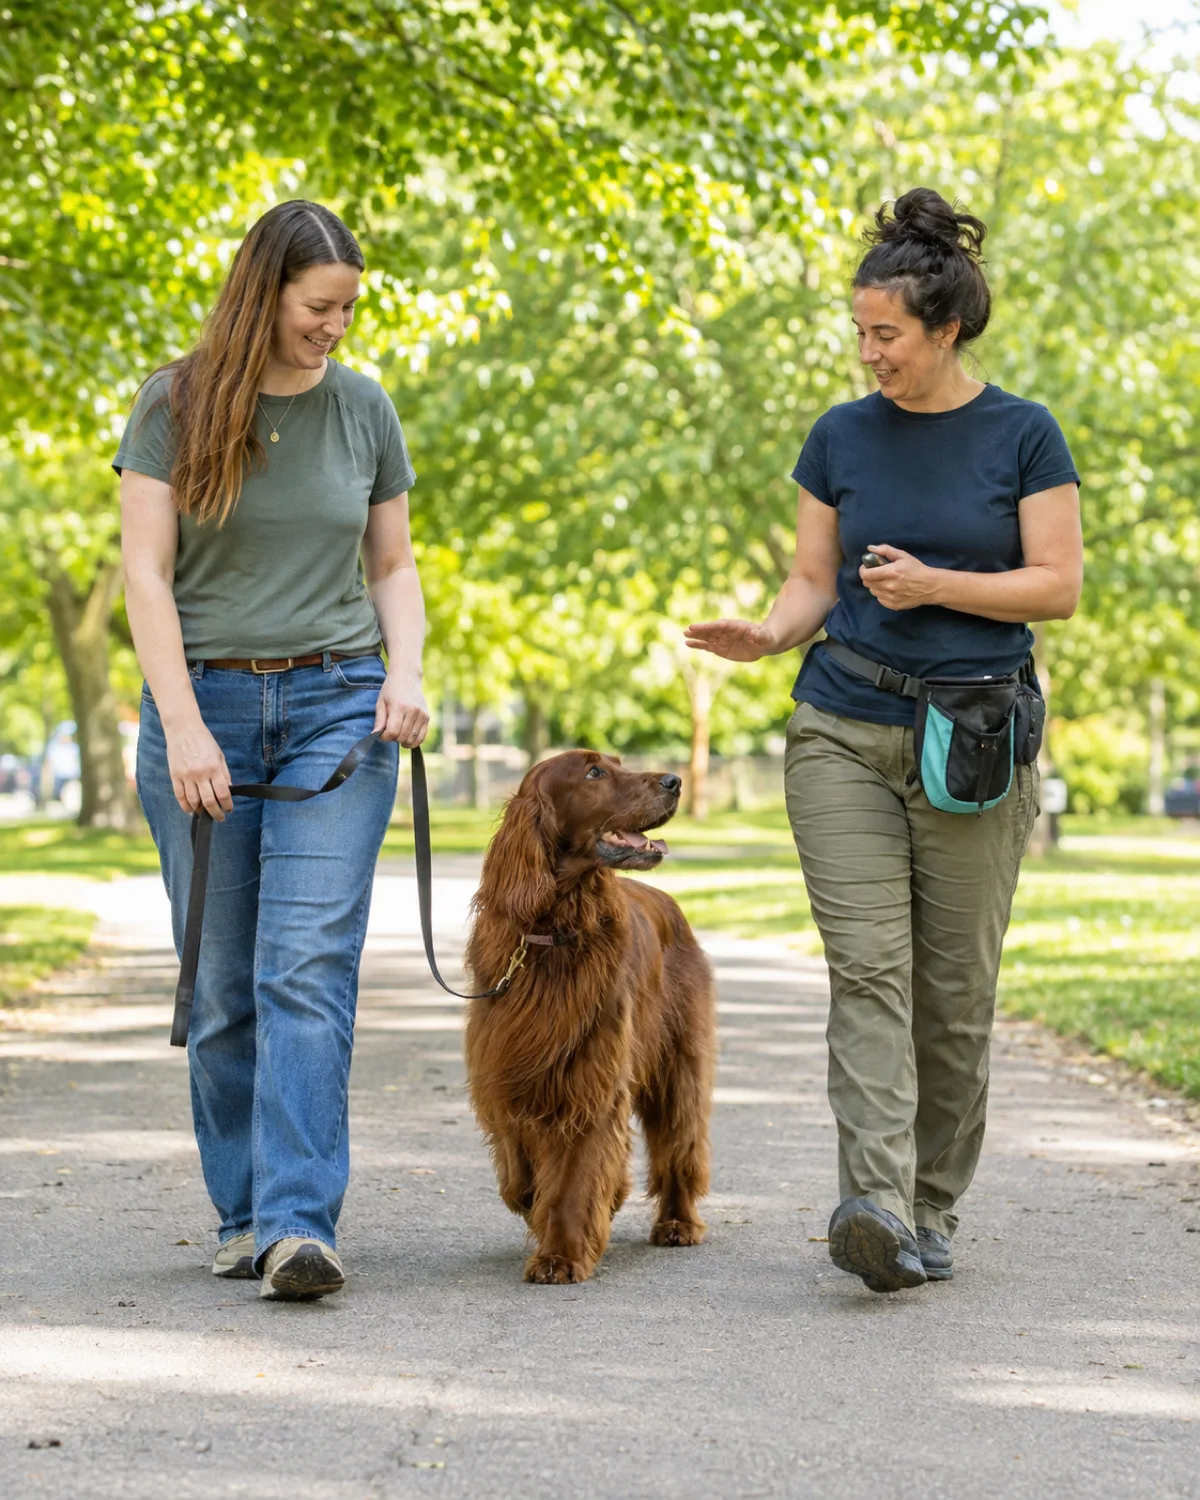
Training walks are short, planned outings to a location where you know triggers will appear at a manageable distance. You go there for five to fifteen minutes of look-at-that reps, then leave. Separating the two protects the quality of both.
10. Track Triggers and Progress in a Simple Log
Reactive dog training progress is slow enough that you will not notice it day to day. A simple log makes the improvement visible and keeps you motivated when it feels like nothing is changing.
After every walk or session, jot down three things: what trigger your dog encountered, the approximate distance, and how they responded. You do not need a fancy app. A notes file on your phone or a small notebook works.
Date
Trigger
Distance
Response
Mon
Golden retriever on path
60 ft
Looked, ate treat, moved on
Tue
Jogger from behind
40 ft
Stiffened, one bark, U-turned
Wed
Small dog across street
30 ft
Looked, auto-checked in, no reaction
After two weeks, read the log from the beginning. You will see patterns you missed in the moment. Maybe your dog handles dogs across the street at twenty feet but still needs fifty feet for dogs on the same sidewalk. Maybe joggers from behind are worse than joggers approaching head-on. These patterns tell you exactly what to practice next.
11. When to Bring in a Certified Trainer
Most reactive dogs improve with consistent at-home practice, but some situations benefit from professional help. A certified trainer can spot mechanical errors in your timing, help you read your dog's body language more accurately, and design a customized plan for triggers that are especially difficult.
Look for a trainer who holds a certification from an evidence-based organization like the Certification Council for Professional Dog Trainers (CCPDT), the International Association of Animal Behavior Consultants (IAABC), or the Karen Pryor Academy. These certifications require continuing education and adherence to humane, science-based methods.
Seek help if your dog's reactivity is not improving after four to six weeks of consistent daily practice
Seek help immediately if your dog's reactivity includes direct contact such as biting or snapping at people or animals
A good trainer will observe you and your dog together before making recommendations, not prescribe a program sight unseen
Avoid any trainer who recommends prong collars, shock collars, or leash corrections for reactive dogs. These tools suppress the visible behavior without addressing the underlying emotion, and they often make the problem worse by adding pain to an already stressful situation.
Save this for later
12 Steps for Reactive Dog Training
1Learn what reactivity looks likeBarking and lunging driven by frustration or fear, not aggression. Read body language to tell the difference.
2Find threshold distanceThe minimum distance where your dog can notice the trigger and still take a treat and look at you.
3Stay below thresholdEvery session starts beyond the distance where your dog loses the ability to think and make choices.
4Use high-value treatsCheese, hot dog, freeze-dried liver. The treat must beat the trigger in value.
5Play look-at-thatMark and treat the moment your dog looks at the trigger. The look becomes the cue for food.
6Teach a U-turnA trained 180-degree escape that gets you out before a reaction happens.
7Keep sessions shortFive to fifteen minutes. End after a success, even if it was only one good rep.
8Manage between sessionsBlock window barking, avoid trigger-heavy routes on regular walks, and reduce unplanned exposures.
9Split walks by purposeDecompression walks for exercise, training walks for reps. Use different gear for each so your dog knows which rules apply.
10Track everythingLog the trigger, distance, and response after each walk. Read it back every two weeks.
11Call a trainer if stuckA CCPDT or IAABC certified trainer after four to six weeks of no progress, or immediately if biting occurs.
12Expect a realistic timelineTwo to four weeks for early wins, two to six months for reliable behavior change in most dogs.
pawliqa.com
12. What a Realistic Timeline Looks Like
Reactive dog training is not a weekend project. Most dogs show the first noticeable improvement within two to four weeks of daily practice. That improvement usually looks like a faster recovery after a reaction and a shorter threshold distance, not the absence of all reactions.
Consistent practice over two to six months is where the real change happens. Your dog will go from reacting at every trigger to reacting at some triggers to occasionally noticing a trigger and choosing to look at you instead. That last shift is the one that feels like a miracle, but it is the predictable result of hundreds of small reps.
Setbacks are normal and do not erase progress. A bad day after three good weeks is not a restart. It is a data point
Hormonal changes, illness, lack of sleep, and new environments can temporarily increase reactivity
Some dogs reach a point where they can walk past most triggers calmly but still react to one or two very specific ones, and that is a perfectly acceptable outcome
Your goal is not a dog that ignores every trigger in every situation. Your goal is a dog that can walk through the world without melting down, that trusts you to keep them safe, and that recovers quickly when something catches them off guard.
P
About the author
Jess Calloway
Jess Calloway edits Pawliqa, where she shares dog care, grooming, training, and new-owner tips — plus DIY and pet-friendly home ideas — for anyone who wants a happy, well-cared-for dog. As a dog mom to three very different dogs, she writes the honest, tested version of what actually works. Every guide is image-led and reviewed for clarity, usefulness, image accuracy, and Pinterest-to-page alignment before it goes live. Visit the About page.
Teaching a dog to spin starts with a food lure at nose level, progresses to an open-palm hand gesture, and ends with a verbal cue alone. This guide walks through every stage, flags the mistakes that stall progress, and shows how to keep training sessions short and productive.
An overstimulated dog is not being bad. This guide walks through the place cue, structured down-stays, environment management, and daily decompression routine that teach a dog to settle on its own.
Fourteen puppy training games covering hide and seek recall, the name game, touch targeting, cup puzzles, puppy pushups, which hand, red light green light, muffin tin puzzles, tug with rules, scent work, two-toy fetch, obstacle courses, spin tricks, and settle mat training for puppies who learn best through play.